Showing posts with label Halifax. Show all posts

Saturday, 18 September 2021

Revisiting the multifaceted Halifax hoodie pattern, by Hey June patterns

 This was so long overdue but in my head, there were too many pattern pieces and it was complicated...because there were three versions to this top.  Ridiculous excuse.  I got excited when I had this vision involving some long stashed etro jersey (so buttery, so amazing) and my forever in the queue idea to upcycle cashmere jerseys.  Holey ones.  I finally realised I didn't have enough holey jerseys to make a pair of loungepants, but I might just barely have enough to LINE AN ENTIRE HOODIE!  A friend had just given me the orange one and that was the inspiration to get on with it.

Anyway I started with version B size S.

I shortened it 2" as my previous blog told me to (here) and I used the reverse of the fabric, a merino blend from Otara in Auckland, to create some visual interest.  Great, easy, simple, happy. 


The hoodie took a LOT more thinking and effort.  First I had to tetris pieces of the cashmere to match each pattern piece.  I had to then patch all the holes - I laid more of the same cashmere on, after I interfaced the scraps, and I zig zagged it in place.  I salvaged hems from the black cashmere to use as the cuffs and somehow magically had black rib sitting around to use as the hem.  The pockets are also lined.  And the yellow lining is actually a lighter weight silk cashmere blend I had lying around which was a mystery item, not a sweater.  I didn't have enough sweaters on their own.  It's a little heavier because of the silk, but worked out fine.  


Sewing the hoodie together didn't have too many challenges, it got to be many layers but my overlocker managed ok.  I interfaced the fronts of the hoodie - all 4 of them, prior to installing the zip and it's not quite perfect but it's close enough - at the hem something jumped out of place a bit which is always exasperating but not worth fixing.  I had huge issues when I got to the hood though.  I have recently bought massive grommets and I was really sad that I didn't think to use them.  I used normal sized ones.  The hood was jersey plus cashmere folded over, so the string had to pass through a tunnel of cashmere...and it was catastrophic. I could barely get it through the grommet.  It got lost and tunnelled down through all the layers to some netherland in the mid back of the hoodie.  I had to open my stitching and save my string.  I got it in place at last (2+ hours of torture!) but unfortunately I think it will need to be redone with some very thin waxed cord, because I actually want to pull the hood tight to wear this when I'm cold and it hangs up on the channel and on the grommet hole.  That's a fix for another time.  The hoodie is long despite my previous 2" shortening to the pattern - because the fabrics drag it down a bit.  But it's pretty amazing!  


I was, as you might notice, inspired by the construction zone state of my house to advance my photography a bit.  Probably I should put more effort into good photos more often.  I get in the habit of just thinking I'm really quite ugly because I don't bother to take more flattering pictures.  

I was going to do the cowl neck sweatshirt version too but my attention span moved onto something else, so maybe next winter. 

Friday, 12 May 2017

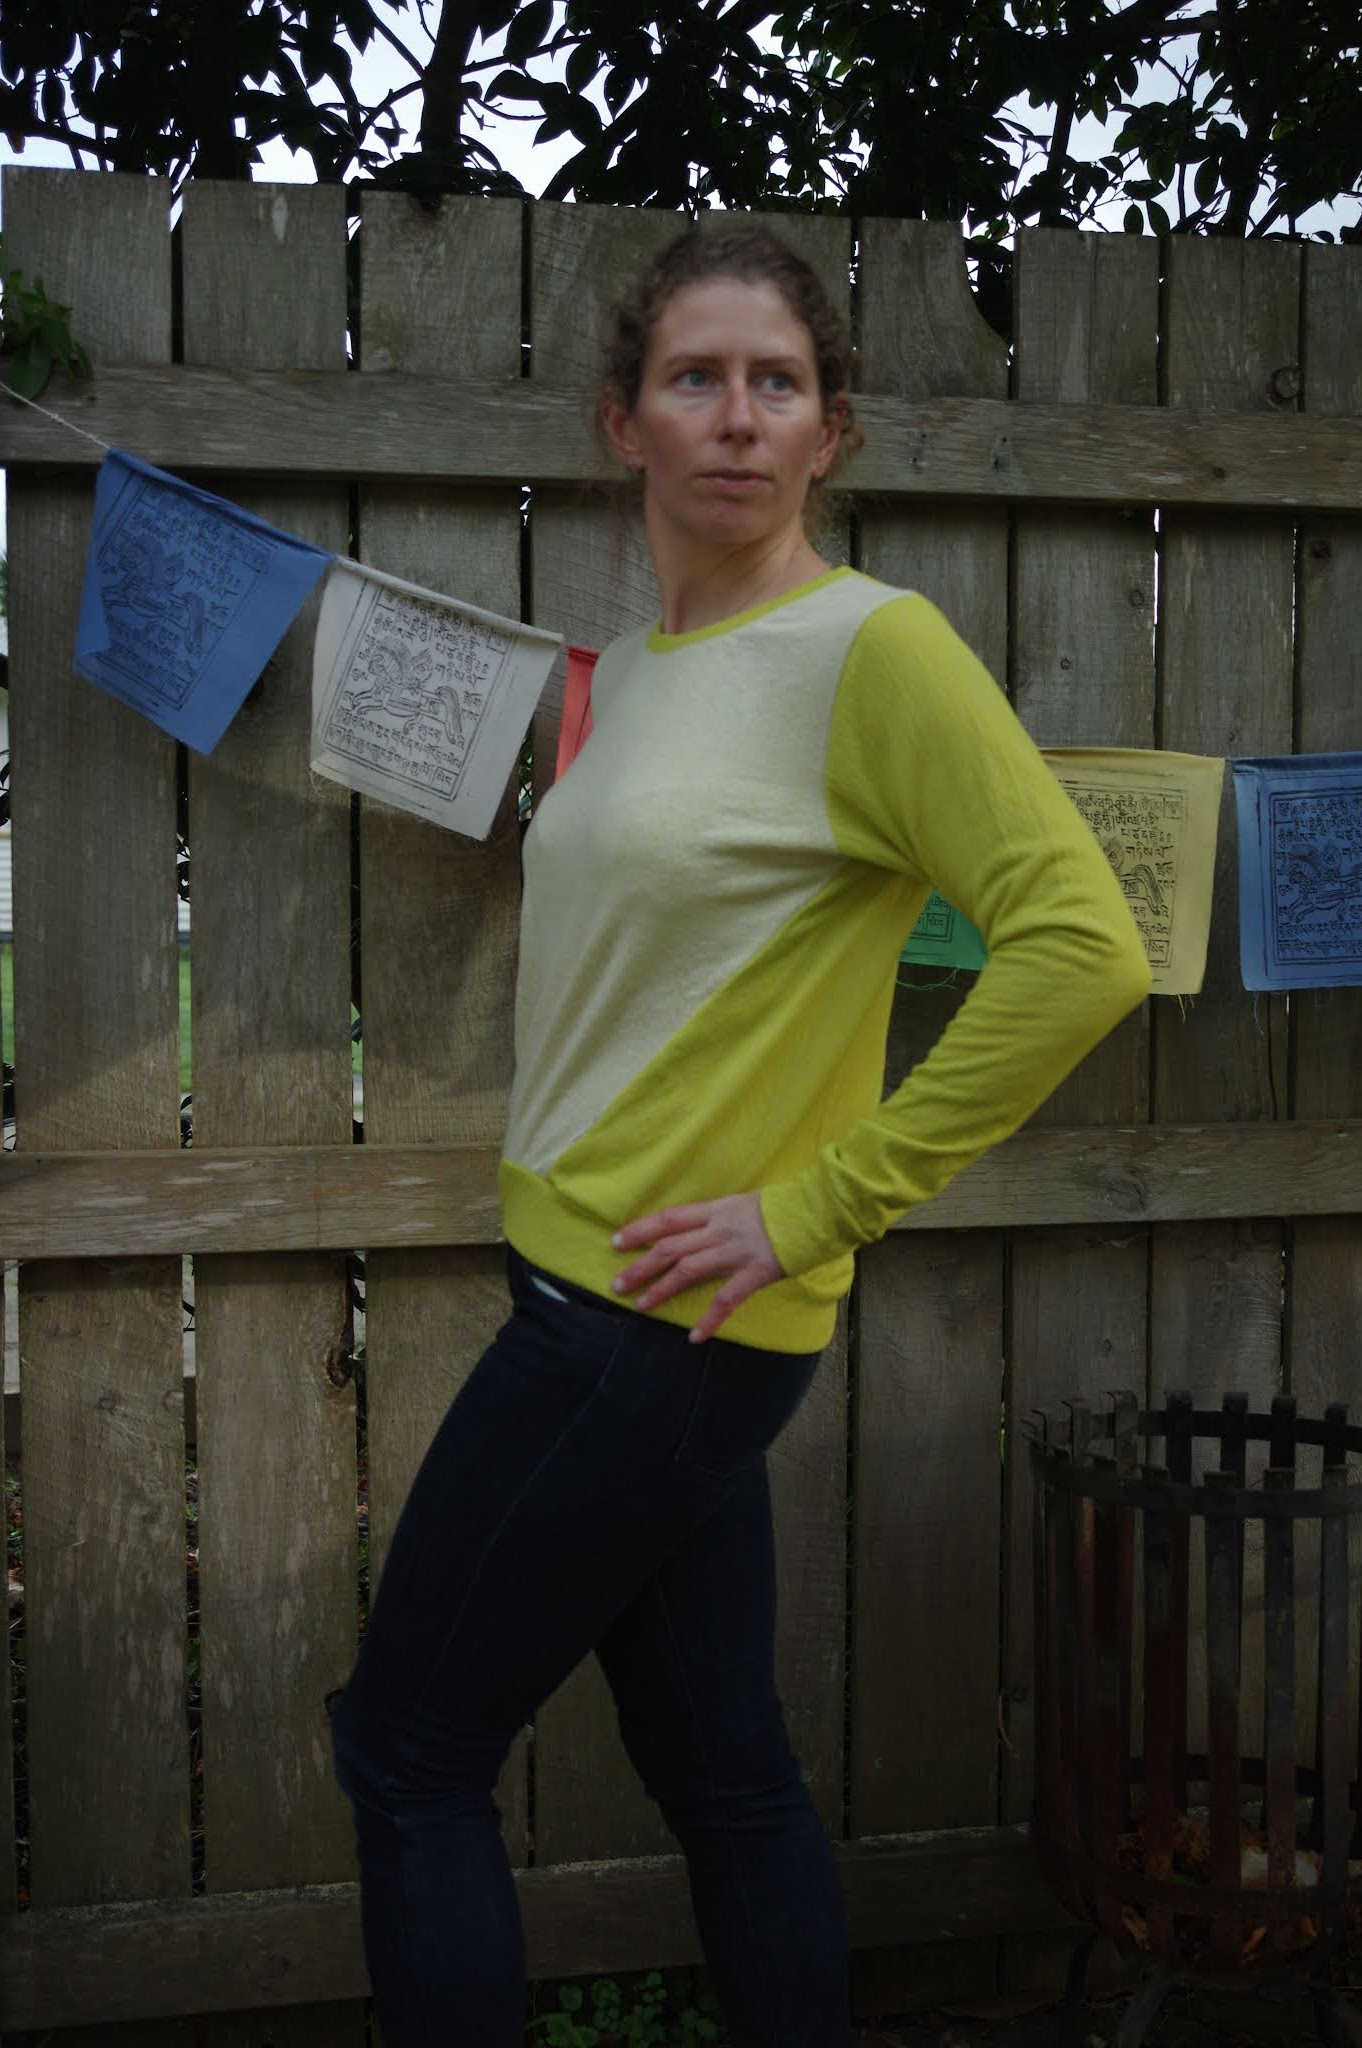
Cowl neck Geodesic sweatshirt, by Blueprints for Sewing

I had a lot of Geodesics planned in my head, mostly involving various colours of merino.  For some reason I couldn't get inspired by the colours available. I concluded at some point that if I did the version with pockets it would be too long.  I also fell in love with this Frank & Eileen tee lab sweatshirt, which uses rib knit for the arms to make them tighter.  The Fabric Store provided, with matching terry jersey and binding.

This is still size C/D although I think I was having body image issues in Ukraine when I traced the pattern, and should have gone a size smaller.  Many of the patterns I prepped in Ukraine were sizes too big!

So I used the binding for the sleeves as well as bindings, and I lengthened the bottom binding double its initial length.  I wasn't sure it would create the same effect because the binding is still very loose.  Also, with the loose fit to start it was a challenge.  I cut off quite a bit at the side seam through the armpit but didn't want to overdo it because then you cut into the geometry of the armpit itself - was I overthinking?

I added the cowl from the Halifax Hoody pattern, with no changes.  I found it weird that it wasn't doubled over.  You just fold over the top after making two button holes and that is the track for the string, and it's not got a clean finish or anything.  I guess in the end if you had a double layer it might be too heavy.  But I don't really like that edge being so obvious.  I think if I used this technique again I would cut two so there's a clean finish throughout.

I will comment that I'm a bit grubby in the pictures because I didn't have the best week.  It involved staples to the forehead.  I jumped at the chance to have a photographer and a nice backdrop so just overlook the hair and the melancholy poses...


Although I'm really happy how this Geodesic hack came out, I wasn't super inspired by the loose fit.  My friend Nicole took my pictures in Taupo and she was inspired so I gave it to her.  Old habits...but now I'm on a tshirt making binge and I'll keep all those cause I need them desperately. 

Monday, 21 November 2016

Hey June Halifax Hoodie take 2

Hot on the heels of my first Halifax Hoodie, I made a second one, still in size S. I cut it out before the first was done, optimism springs eternal and so forth.  I guess this is an example of when a functional muslin is great.  Because I had a lot of anxiety and took forever to make the first hoodie, and the second one took a day.  This was partly a learning curve - new sewing machine, with buttonholer, zipper foot, etc that I didn't know how to use and was anxious about.  On the second version there were no such problems. 

Sometimes, though, a project is great because of great fabric.  This is lightweight, dry feeling scuba material from emmaonesock, by Theory.  It's sold out.  The black inside is slightly more cottony feeling, while the outside is smooth.  In order to use this fabric I had to make some changes to the pocket binding, but other than that it simplified the process dramatically, because of course this stuff doesn't need any finishing!! 

The only, and obvious, fit change I made was to shorten the bodice by 4".  So, be warned.  If you are long of torso, the Halifax Hoodie will fit you like a dream.  If you are like me: 5'4" and with functionally no space between your ribs and hipbones, this thing will be like a sweater-dress. 


My pictures were taken while out dogwalking; I thought it might be nice to see something in use for once.  That totally means I was caught in every photo with a weird expression on my face! Also I haven't sourced a string for the hood but the buttonholes are functional.  They are in a really strange location, 1/3 of the way up the hood.  I would recommend  putting them much lower down. 


So, more on the fun of working with scuba:

As I noted, I had to do some work on the pockets.  In fact I had to cut one pocket out two or three times.  The binding as instructed didn't work, because the binding was too short and didn't stretch.  A longer binding did fit, but it stuck out on the curve, because scuba has too much body to lie flat on a curve like that.  I tried a different colour cotton jersey binding, but having a second color and type of material was too distracting.  So in the end I drafted a little facing by just copying the top curve of the pocket, and then understitching and flipping it inside.  I topstitched it down and cut off the excess.

Edges: I didn't fold over edges on the pockets, I just sewed them flat.
Similarly, I didn't finish the: jacket to hood seam, the zipper seam, or the jacket to hem seam because they look just fine hanging out.  What I do recommend is to finish these seams by cutting all except one seam short, and just topstitching that one down - like a faux-flat fell seam.  That would enclose the loose edges and look cool on the inside (although the seams don't bother me.)  So obviously I skipped the twill tape this time, and I'm glad of that because I still don't know what I think of it. 

I did find that the scuba had enough stretch to use it as the cuffs and hem without any change. 

I'm really thrilled with this hoody and everyone is impressed because it looks professional.  I have a sexy riri zip that I brought back from Switzerland, specially cut for this project, and for once it was even cut to the right length. 

My only final thought about the scuba fabric is that this particular fabric is thin scuba with a cool feel, and although it's good for layering since things slide over it, it isn't very warm.  I think it'll be best in spring when I just need something to take the edge off - here it's already frosty in the mornings!

Tuesday, 25 October 2016

Hey June Halifax Hoody view C in merino

I'm trying to wean myself off a Lululemon habit and a key element is a good hoody.  I loved the details of this hoody - the twill tape on the inside gives it an RTW finish that I yearn for in my own sewing.  I think I was actually interested in the Halifax hoody initially because of the cowl neck, so it's funny that's the version I have the least interest in making after buying the pattern... anyway with version C I dove into the deep end with maroon merino terry from The Fabric Store  - shipping, by the way, was literally over the weekend!  

The problem with that whole plan is that it was going to be too long, and I knew it was going to be too long.  The pattern even admits it's drafted for a 5'8" person.  Maybe it's time to start just making those inevitable pattern changes?  I'm never going to stop being short-waisted, after all.  I'm at least pretty sure I cut the size S, and  I compared the pattern pieces to those of view B which I did before, just to make sure it was narrower cut (yes.) 

I noticed after I put the body all together that I had no twill tape and speed ordered it on etsy.  However this put a kink in things.  Too bad, because terry cloth sheds bits everywhere, ugh.  I stabilized the zipper band with some thin stretchy interfacing -- my stash has been reunited so I have no idea where this stuff is from anymore.  I also noticed that the loops of terry got damaged by my feed dogs when they went back and forth, like when I reversed.  That was only really evident at the pockets, but I guess it's kind of fragile fabric.

Note to self: don't overdo it with the interfacing.


So...the last few steps took awhile.  I was daunted by the automatic buttonholer for the hood (went fine, only took one try and a quick read of the manual.)  I was daunted by the new zipper foot (learning curve was fine) and I was daunted by using the twill tape (went just fine too.) 
 
At the end I was totally relieved to have this thing done.  I was equally relieved that my friend M did want it, despite the interfacing hanging out and a slightly wonky zip placement - there is about 2cm at both the bottom and the top where there's no zipper.  And actually although the twill tape is a cool idea, the stuff I had was very thick, and the merino terry has a lot of loft, so it was many layers to get through the sewing machine right at the spot you want to look good -- the corner!  And my corners are kind of shoddy. 
 
In the end, the hoody has a new happy home, but I'm not actually convinced on the twill tape finish.  With thinner twill tape maybe.  And thinner fabric. 


Tuesday, 30 August 2016

Upcycled Halifax Hoody by Hey June patterns

Hi!  Welcome to Flagstaff!  And a new (borrowed) sewing machine and there's a Goodwill next door.  So instead of like, dipping a toe into the waters as far as the Singer Quantum Stylist is concerned, you know, with a dress made out of quilting cotton or something, I dove right into the deep end with an upcycling project even more mismatched than my Geodesic. 

A cream cashmere sweater (ladies small) with a hideous cowl.
A blue silk-cashmere blend sweater.
And a cream sweatshirt.
This time they were cheap - about $10 for the lot. 

I suspected that the sweatshirt was unwise but it was a perfect colour match and it was right next to the sweater on the rack.  The weight and drape of the sweatshirt didn't match the sweater knits at all, but also I was in the women's section, and I learnt on my last sweater that you need a men's L or XL to get two sleeves from one sweater.  So I had to do even more patchworking to get this to work out - first on the back, and then on the sleeves.

The pattern is the Halifax Hoodie by Hey June patterns, in a size S.  This is view B, I think.
The pattern is a little complicated because after tracing you have soooo many pieces and they don't all go for the same variation.  But I was tracing in Ukraine and wanted to have everything ready, so I also traced it all at once instead of just as I needed, which added to the confusion.  (Except I didn't trace the hood.  WTF?  I wanted to make the hooded version next...)


All of my bands are from the blue sweater, obviously.
My main hiccup was the armpits.  They were pieced together, and multilayer as the original sweatshirt was multilayer in that spot, and so they are super bulky.  I have gone over that a few times increasing the seam allowance a few mm at a time until I got the best fit on each side.  The bulk contrasts with the softness and drape of the cashmere - to the point that I was wondering if they were too terrible to keep.

I also only have one bobbin so when I ran out of white thread I had to stop, and do the final finishing later.  The finishing was pretty lazy on this - I realised after the fact that I HAD to topstitch the back seams down or they would lie really badly, but I didn't iron much (possibly that also shows).

Overall the sewing machine was ok!  I kind of hate sewing machines that have three things:
1. needle threaders
2. thread cutters
3. automatic needle down position

and I haven't figured out how to disable no. 3 yet.  The other two are just in the way, occupying needle and vision space.  Ugh.  Why do people like these things?  Am I just being stubborn?

At the end I totally thought this project was stupid.  It's all patchworked, it's big, the seams hang out...but then it got cold and I wore it out of the house and got a lot of compliments.  Funny how that changes an opinion!  Also, the sweatshirt sleeves are stretchy so it's great to just slide up my arms, and is really warm and cozy!  So in the end it's not a loss!  I'm going to do this pattern again but I will use the XS and shorten it a few inches.  I know this particular variation was supposed to be oversized but I think I'll like it more smaller.  In the meantime I compared the pattern pieces to assure myself the other variations will be smaller, and I'm going to try the zip up hoody (yeah after I reprint the hood pages).

 My photos were taken inside No Basis in Reality, a new shop that just opened in Flagstaff.  The focus is on locally made and ethically produced clothing and housewares. The shop's owner is also the owner of my borrowed sewing machine : )  I think I mentioned that my goal for this life phase is to take better pictures, so thanks Kirsten for taking super photos for me!