Showing posts with label make your own clothes. Show all posts

Tuesday, 29 August 2023

Hove, cardboard but shiny, throwing the sewing machine out the window?

 It is a real pleasure that I've made time to get into the sewing room in the past month.  I am bombing through projects I've wanted to sew for over a year.  Including the endless queue of jackets!  Hove has been top of the list, and this fabric from Mood has been earmarked for it.  Because the inside is white, I bought black jacket nylon to line the body with.  I assumed one of my zipper collection would fit, which was not entirely accurate.  The zip I chose was too long (pity I shortened the jacket...) and so I decided cleverly to just let it go further up the front of the hood than it's supposed to.  This worked out fine but when wearing the jacket it's really hard to zip up those extra 3 cm.  I obviously just don't.  If you had a too-short zip it would be better, because you can just start it higher up the hem, but I don't really recommend letting the zip go higher than it's meant to on the front. 

At some point in the planning stages, I got serious and bought bias tape and matching thread specifically to use for this pattern - a rare event which pretty much catapulted this to the top of the list.

I have not used a pattern by In the Folds before, except for the free ones by Peppermint Magazine. I made size C going by the size chart, that matches my measurements pretty well and this fabric is quite heavy so I thought it is good for it to stand away from my body a bit (could have chosen B).  I did pay attention to the comments in the pattern about drape and I do think you should go with a fabric that will drape better than mine does unless you also want a bell over your bottom (but I'm resigned to this situation.) 

I also took note of the height this pattern is drafted for: 5'7" and I read through all the blogs and noticed the jacket looks fine on tall people and very disproportionate on short people.  It really needs to maintain its proportion to be cute.  So I accepted the challenge to crop it 3" at the shorten lines since I am 5'4" and short waisted.  The actual shortening was fine, there is a line.  However, that line is along the front curve and changes the front curve dramatically - there is a huge misalignment to reset.  If you don't plan ahead and reset that curve then the pockets won't fit.  In fact, I have some advice here.  Do shorten the jacket.  Do use a French Curve to fix the curve, and then sew the lining to the lining pockets *BEFORE* doing the outside, because if those don't line up you will know in time to fix the problem.  It's a lot easier to cut four more pockets than to cut 4 big monster S curve shapes that take a metre of fabric each. 

I didn't do that, I just eased it all together and then did some hidden sewing inside the pockets to fix weird gaps that formed.  You can see whiskers along the front of the jacket where it attaches to the facing and that is all from me easing the front together like a boss to make it work despite a very dubious cutting of my new shortened curved front.  That was when things started to get dramatic.  Prior to that I did the back pleats which were a pleasure, because this holographic fabric actually presses very well and I was able to chalk all the pleats and iron them to position them.  Of course, the fabric does not take pins, so I was holding everything together with clips and some double sided tape.  I underlined the back of the jacket before I pleated, and then I lined the sleeves instead of underlining, so the sleeve seam is hidden.  

The pattern instructions are very nice.  They are well drawn, clear, and not excessive.  I generally followed them exactly.  

My dramas were not regarding the pattern, for once.  My fabric was fine when I was sewing a single piece.  Once I had a larger item in front of me, it was heavier and burlier than my sewing machine, and so I got in big fights with the feed dogs that basically were not moving fabric along at all.  I went through many needles, which is fine, because they were all pretty old needles.  I got in fights with every single other thing on my sewing table because this jacket basically required a free space of 1m around the sewing machine in every direction.  Sewing the sleeves on was the final move and that's good because it was almost my final move.  I definitely did not bias bind that seam (but I ran out of bias tape before then.  Buy extra, I had 5m and didn't use it on the sleeves.)

The jacket is very trippy.  It is stiff and I can wear any number of layers under it.  The pockets are roomy and satisfying.  Others have commented the sleeves are short - this is true - I like the length for this type of rain jacket because I think if they were longer the shape would be compromised, and water will run off them out of the way.  I will most likely wear this walking around and biking because it's too much like trying to maneuver a tent to get into the car wearing it, it's very firm.  But perfect for biking, and isn't that when you want to be extra reflective? 


With the camera flash!  Apparently more extreme than when light shines on it irl


I wore this around Auckland and got heaps of compliments from people who sew.  People who don't sew were possibly just too bedazzled to comment.  In the photos the colour looks quite drab but apparently with movement it randomly catches the light here and there and is pretty exciting to look at.  I had been on the fence about this jacket prior to the Auckland trip, likely due to the suffering of making it, but now I quite like it.  I would even sew this pattern again in a very different fabric if I for some reason didn't want to make the other 12 jackets in my queue first. 

Monday, 28 August 2023

Persephone, dear, it's been awhile

 Gosh how has it been this long? I last made some Persephone pants in 2019!  

I made three separate versions of these, somehow struggling to commit to an actual heavyweight fabric, and playing around with the rise and the size.  I started with size 4, then I removed the pockets and some of the rise, and then I finally tried out a size 0 (which was a bit of a leap).  The first pair were fun for awhile, the second pair shredded, and the third pair were way too tight.  

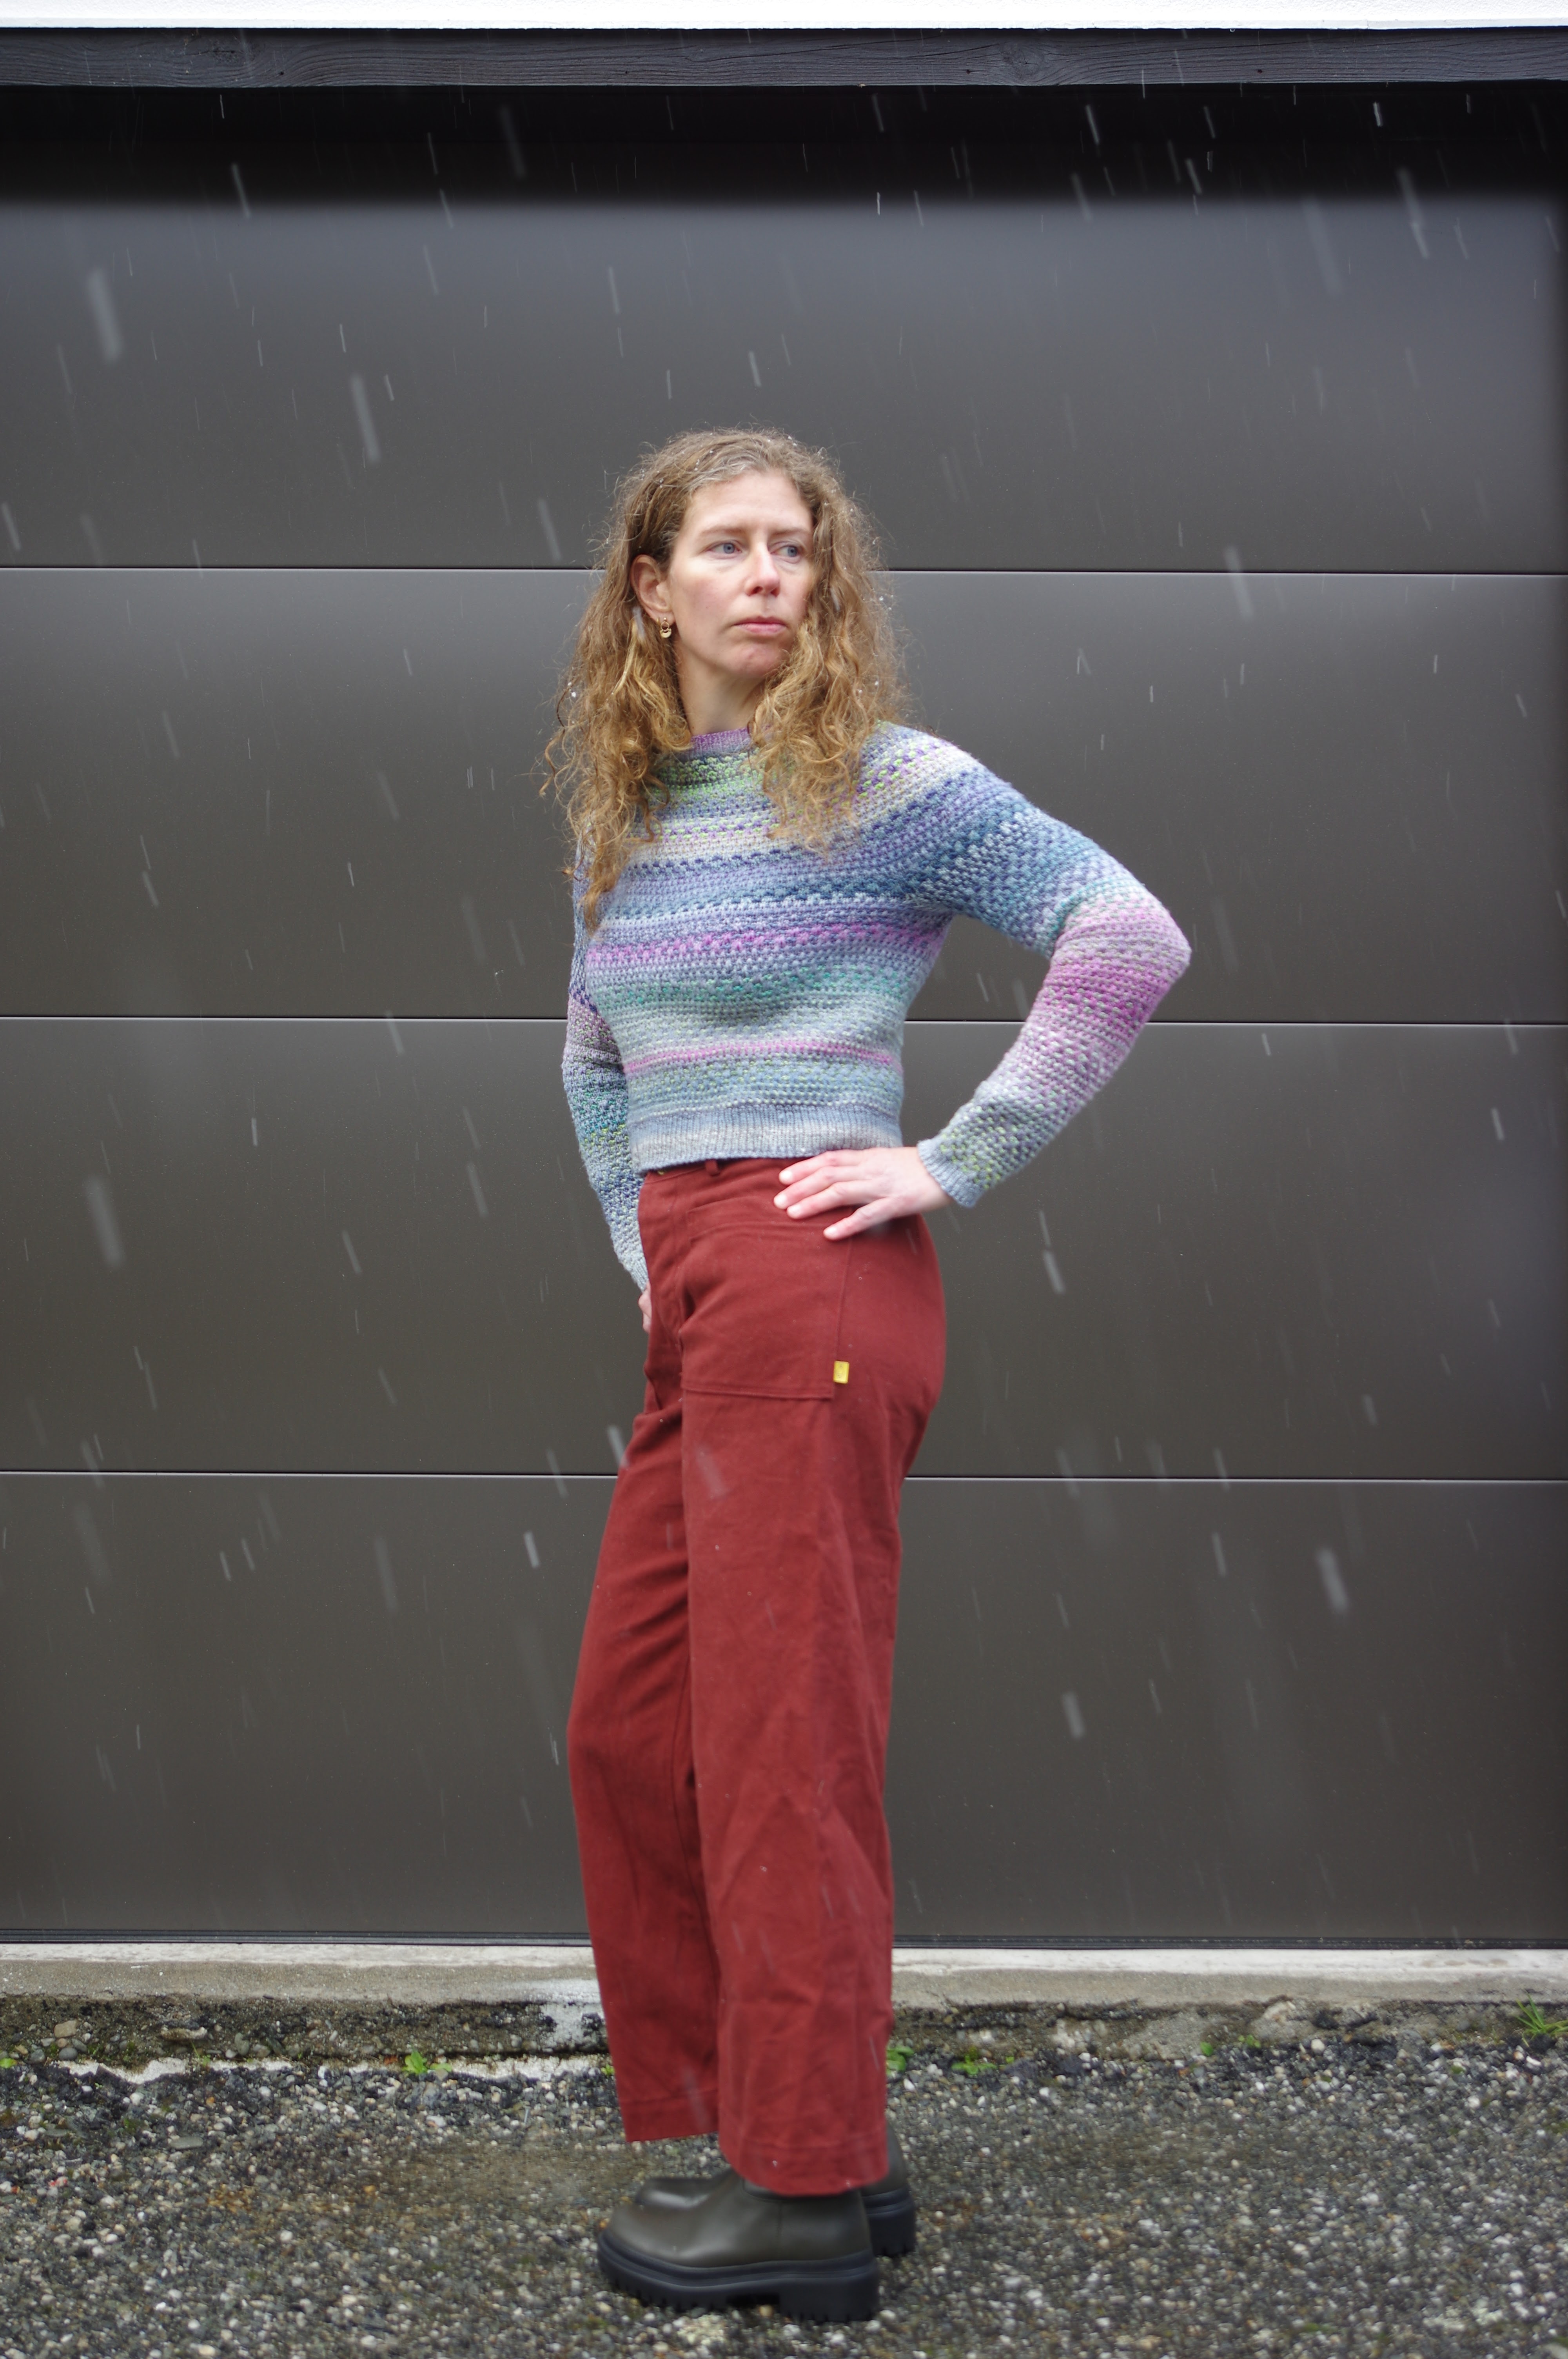
So I pulled out these pattern pieces and this heavyweight brick twill (finally!)  All the work has been done fitting and I have made these a few times there are no surprises to the process.  They are a size 4.  There is 1" removed from the rise plus I cut off the top at the size 0 line. I lengthened the darts since previously they were a bit fat after all that cropping.  I cut the waistband much longer than the pattern piece so I wouldn't have to worry about easing it (some flashbacks to terrible Philippa pant experience here, I don't think the Persephones needed to be eased.)  I also narrowed them to size 0 at the hem to see if that would keep my bike from chewing on the cuffs.  I used Pomona patch pockets on them. 

These came together relatively quickly, without any harm to the maker, and with minimal screaming at my sewing machine.  I did the fly buttonholes easily on my normal machine, and after a single attempt at the main button I switched to the Bernina right away because I have learned it is not worth expecting my Pfaff to do a serious buttonhole.  


Hooray new pants!  They are too airy for winter and I got cold the first day I wore them. The patch pockets still don't really solve the problem that I can't get things into them.  One solution would be pockets with darts at the bottom and kind of bellows shape so they stick out and are ready for me to put things in, but as I wore these I realised the other solution would be to put the pockets much lower down where there is space for me to get my hands into them - I'm not sure how this would look.  But none of that belies how great they are!  I think they are safe for my bicycle too which is excellent.  Overall it took me years, but I finally have a perfect pair of Persephones in my closet. 


Monday, 5 June 2023

Back to the Free Range Slacks

I was looking for the blog posts of the four versions that I made.  And I guess they fell into the window of time when I didn't post all my makes on Insta, but I also didn't blog them.  It is too bad as my changes were substantial and included the narrow leg version, and I really thought I had taken photos of them!  

So, I have been known to put these down in comparison to the Pomona Pants, but the truth is that they are two different pants, and you probably need both. 

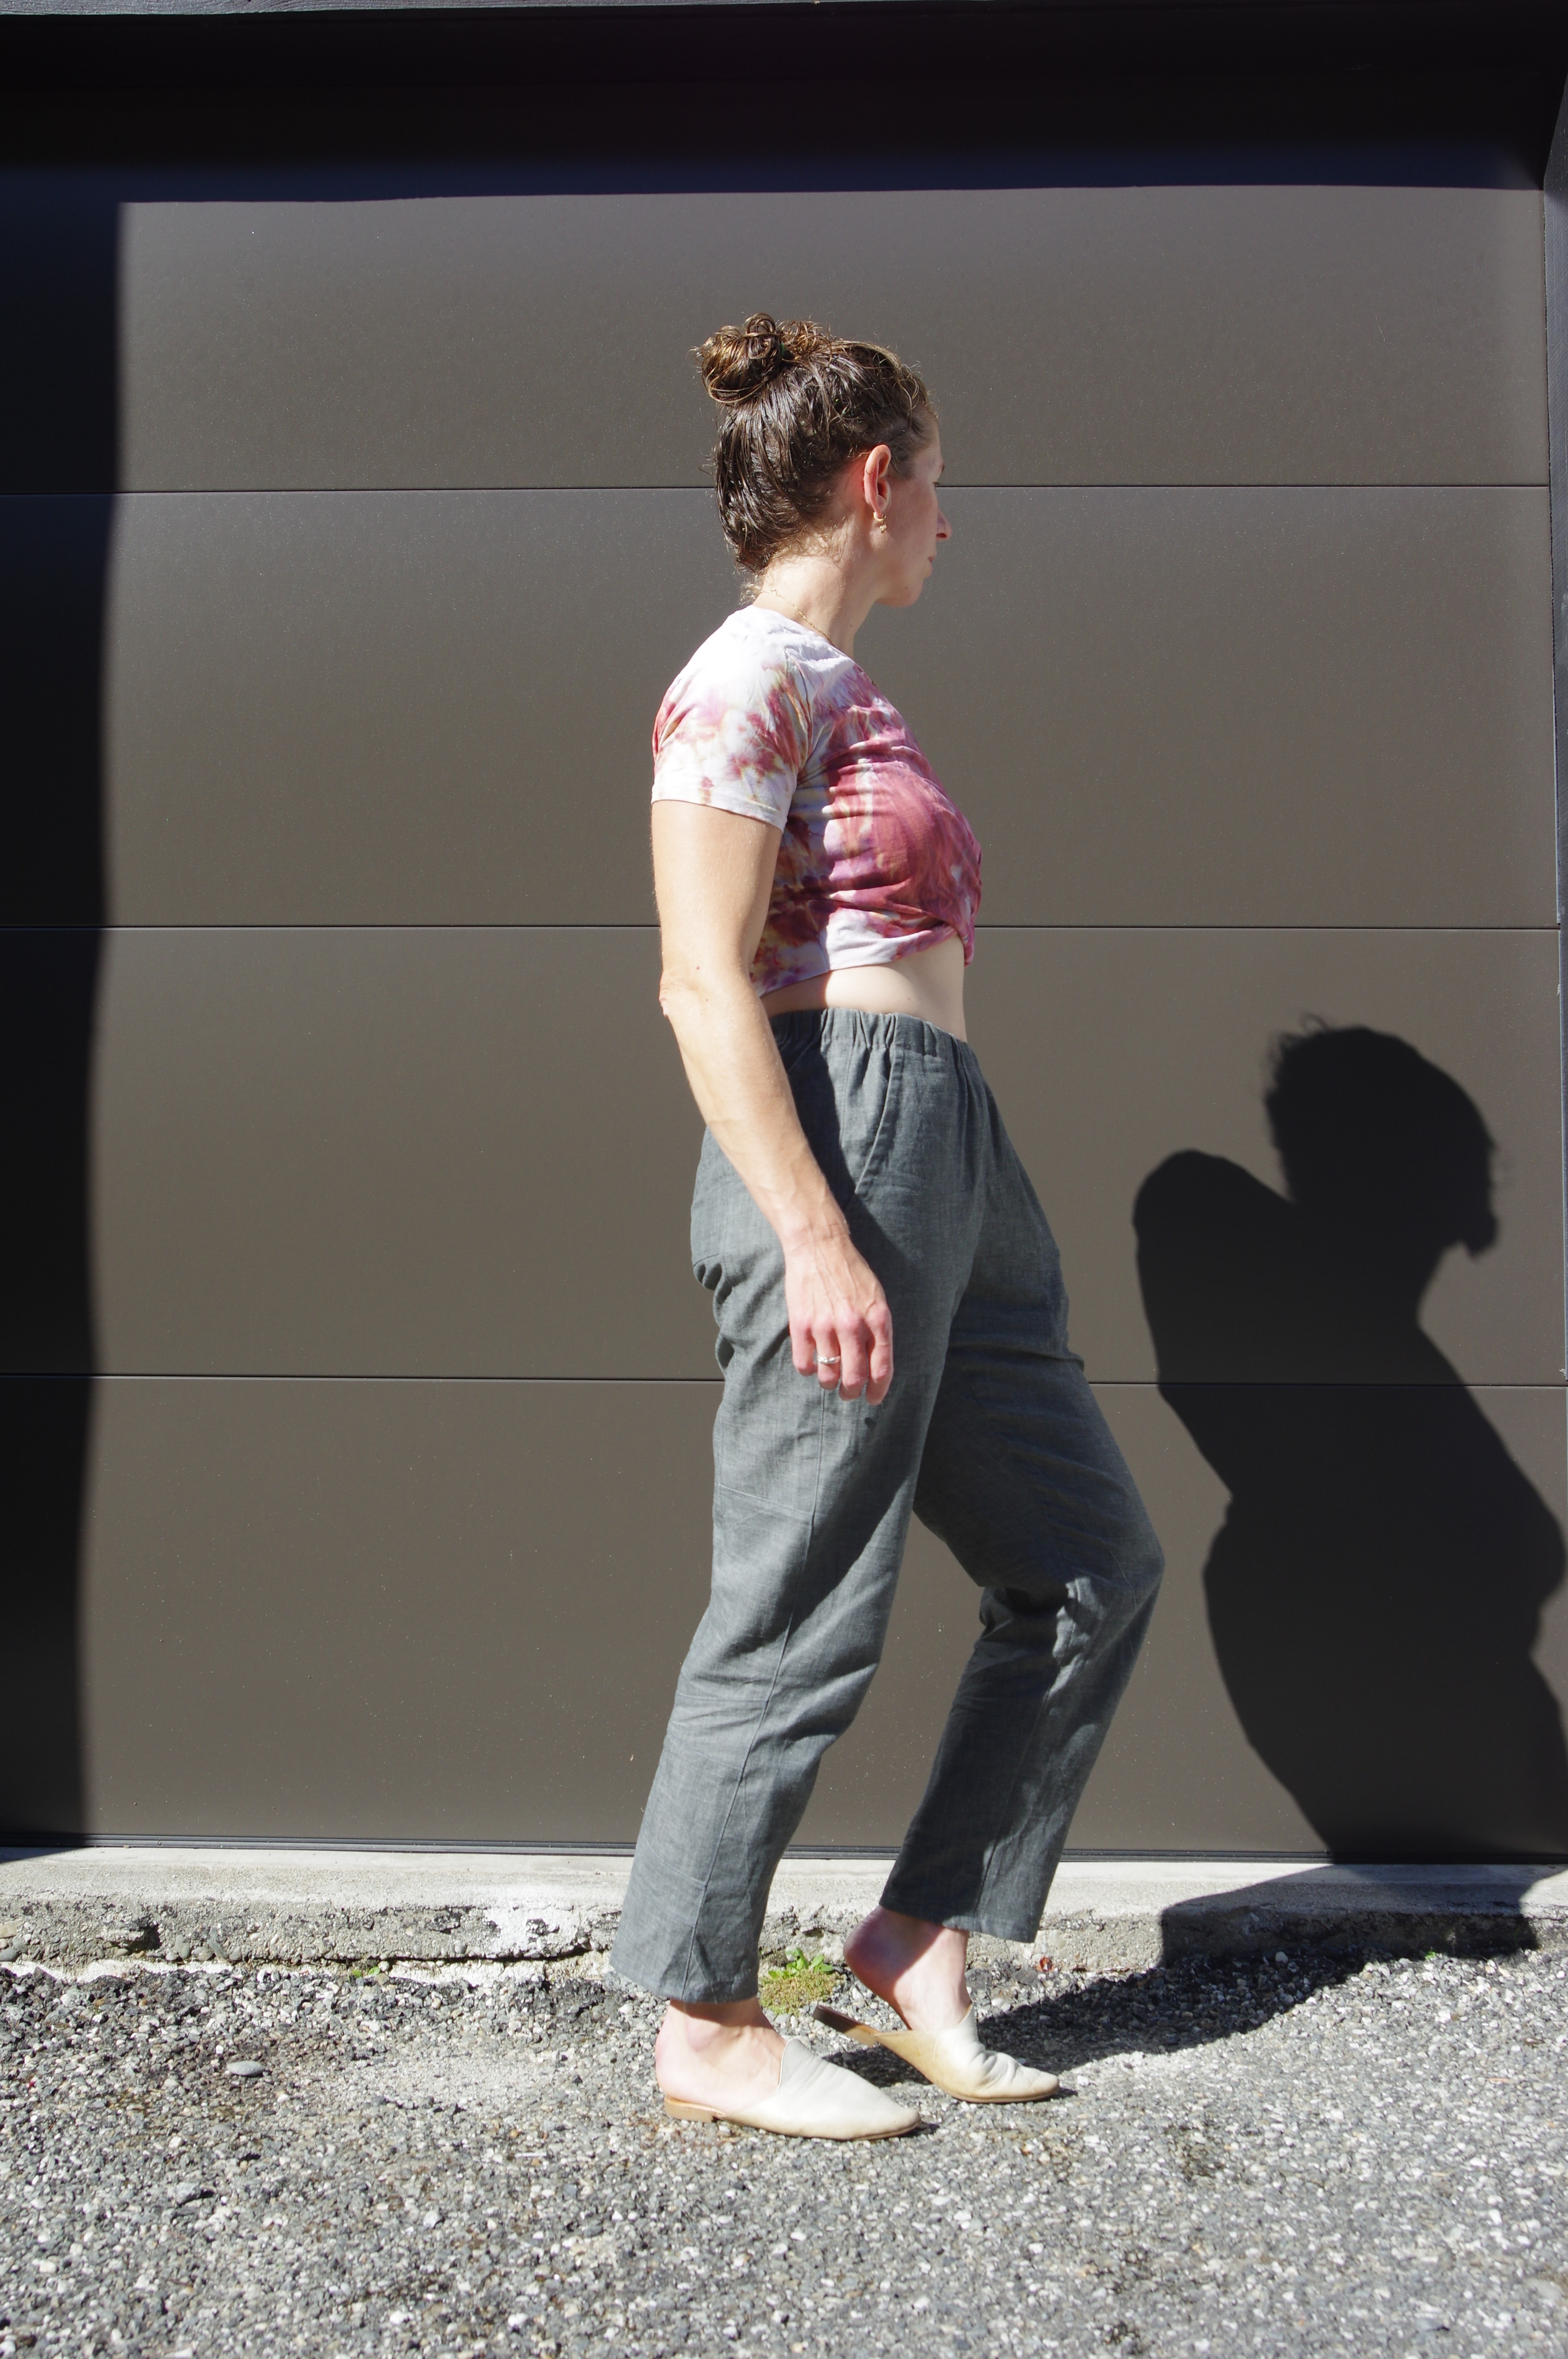
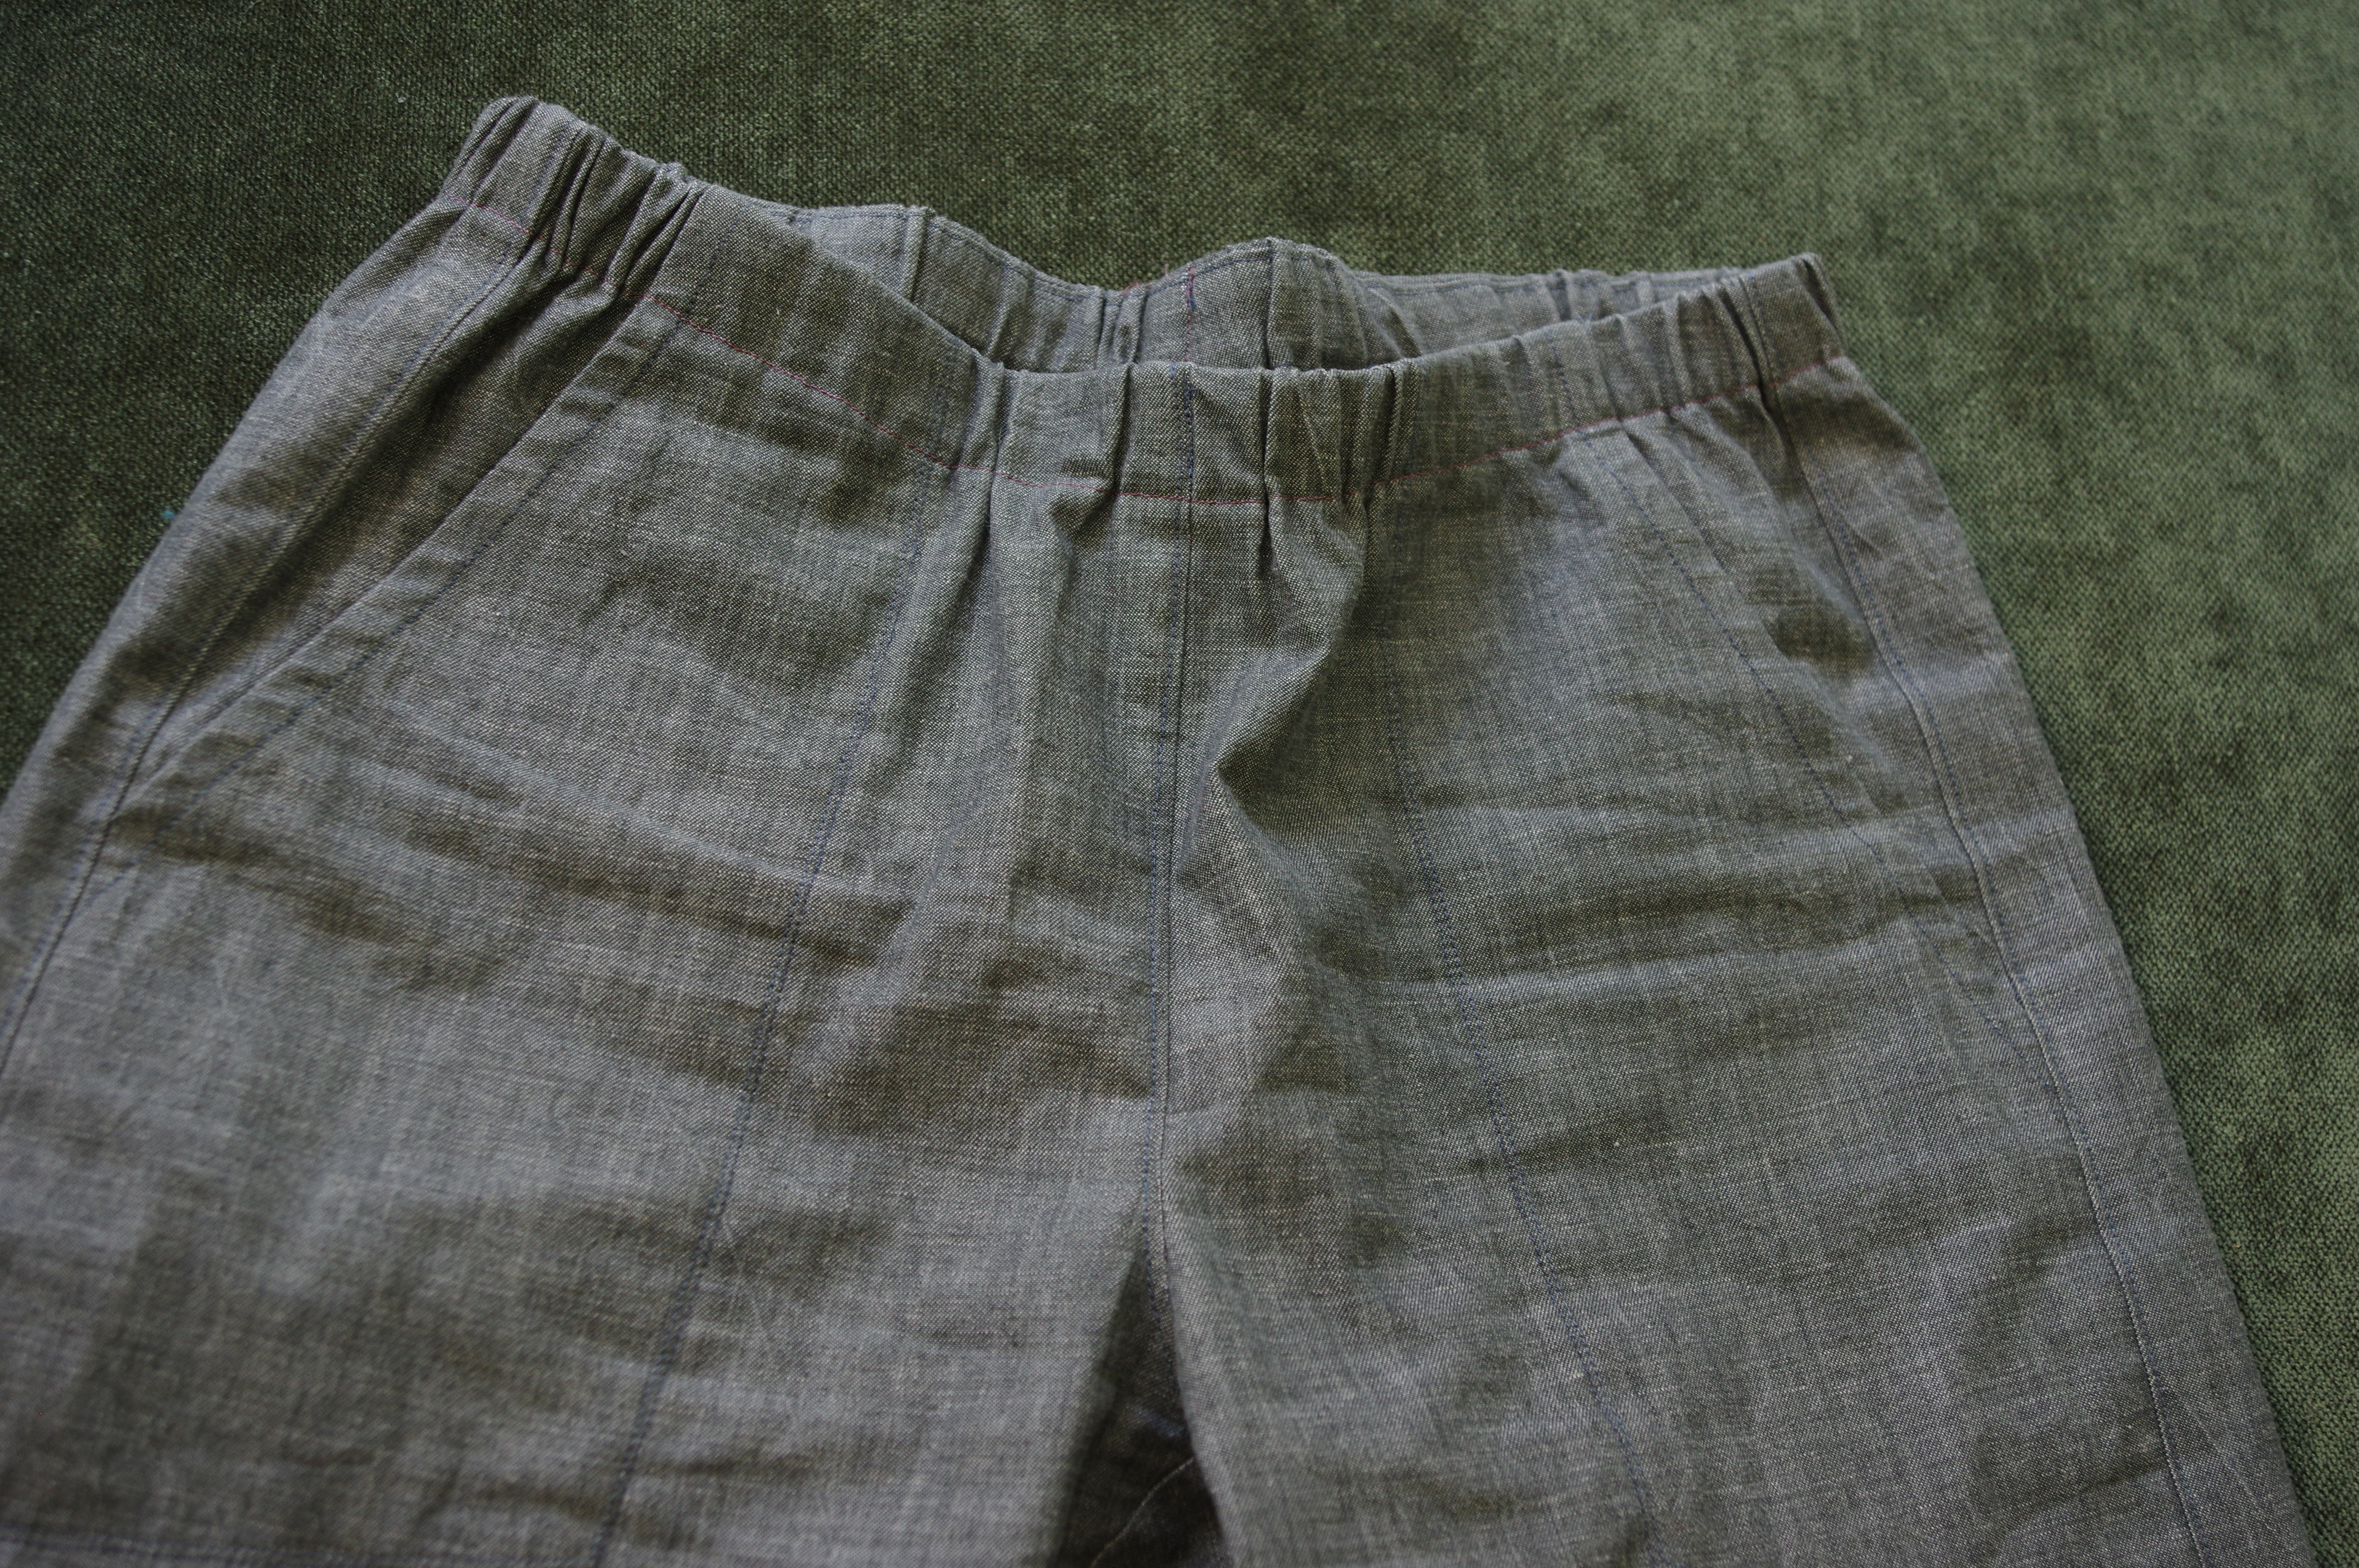
My size is 6 - could have made 4 but I never bothered to reprint the pattern from my first makes.  My very first was wide leg, in heavy weight linen. I still have these and like them, but don't want more of this wider leg shape.  (See my post here). I then moved on to the narrow leg version.  I shortened the rise by about 1" and I shortened the waistband height to create a 1" waistband - a bit tricky as you have to fold down the waistband facing which is angled, but doable.  I find this is just less commitment to the waistband and I quite like that, especially when I remember to leave the elastic relatively loose (it tightens up with washing, and many of my pants have ended up really snug because of this.) 

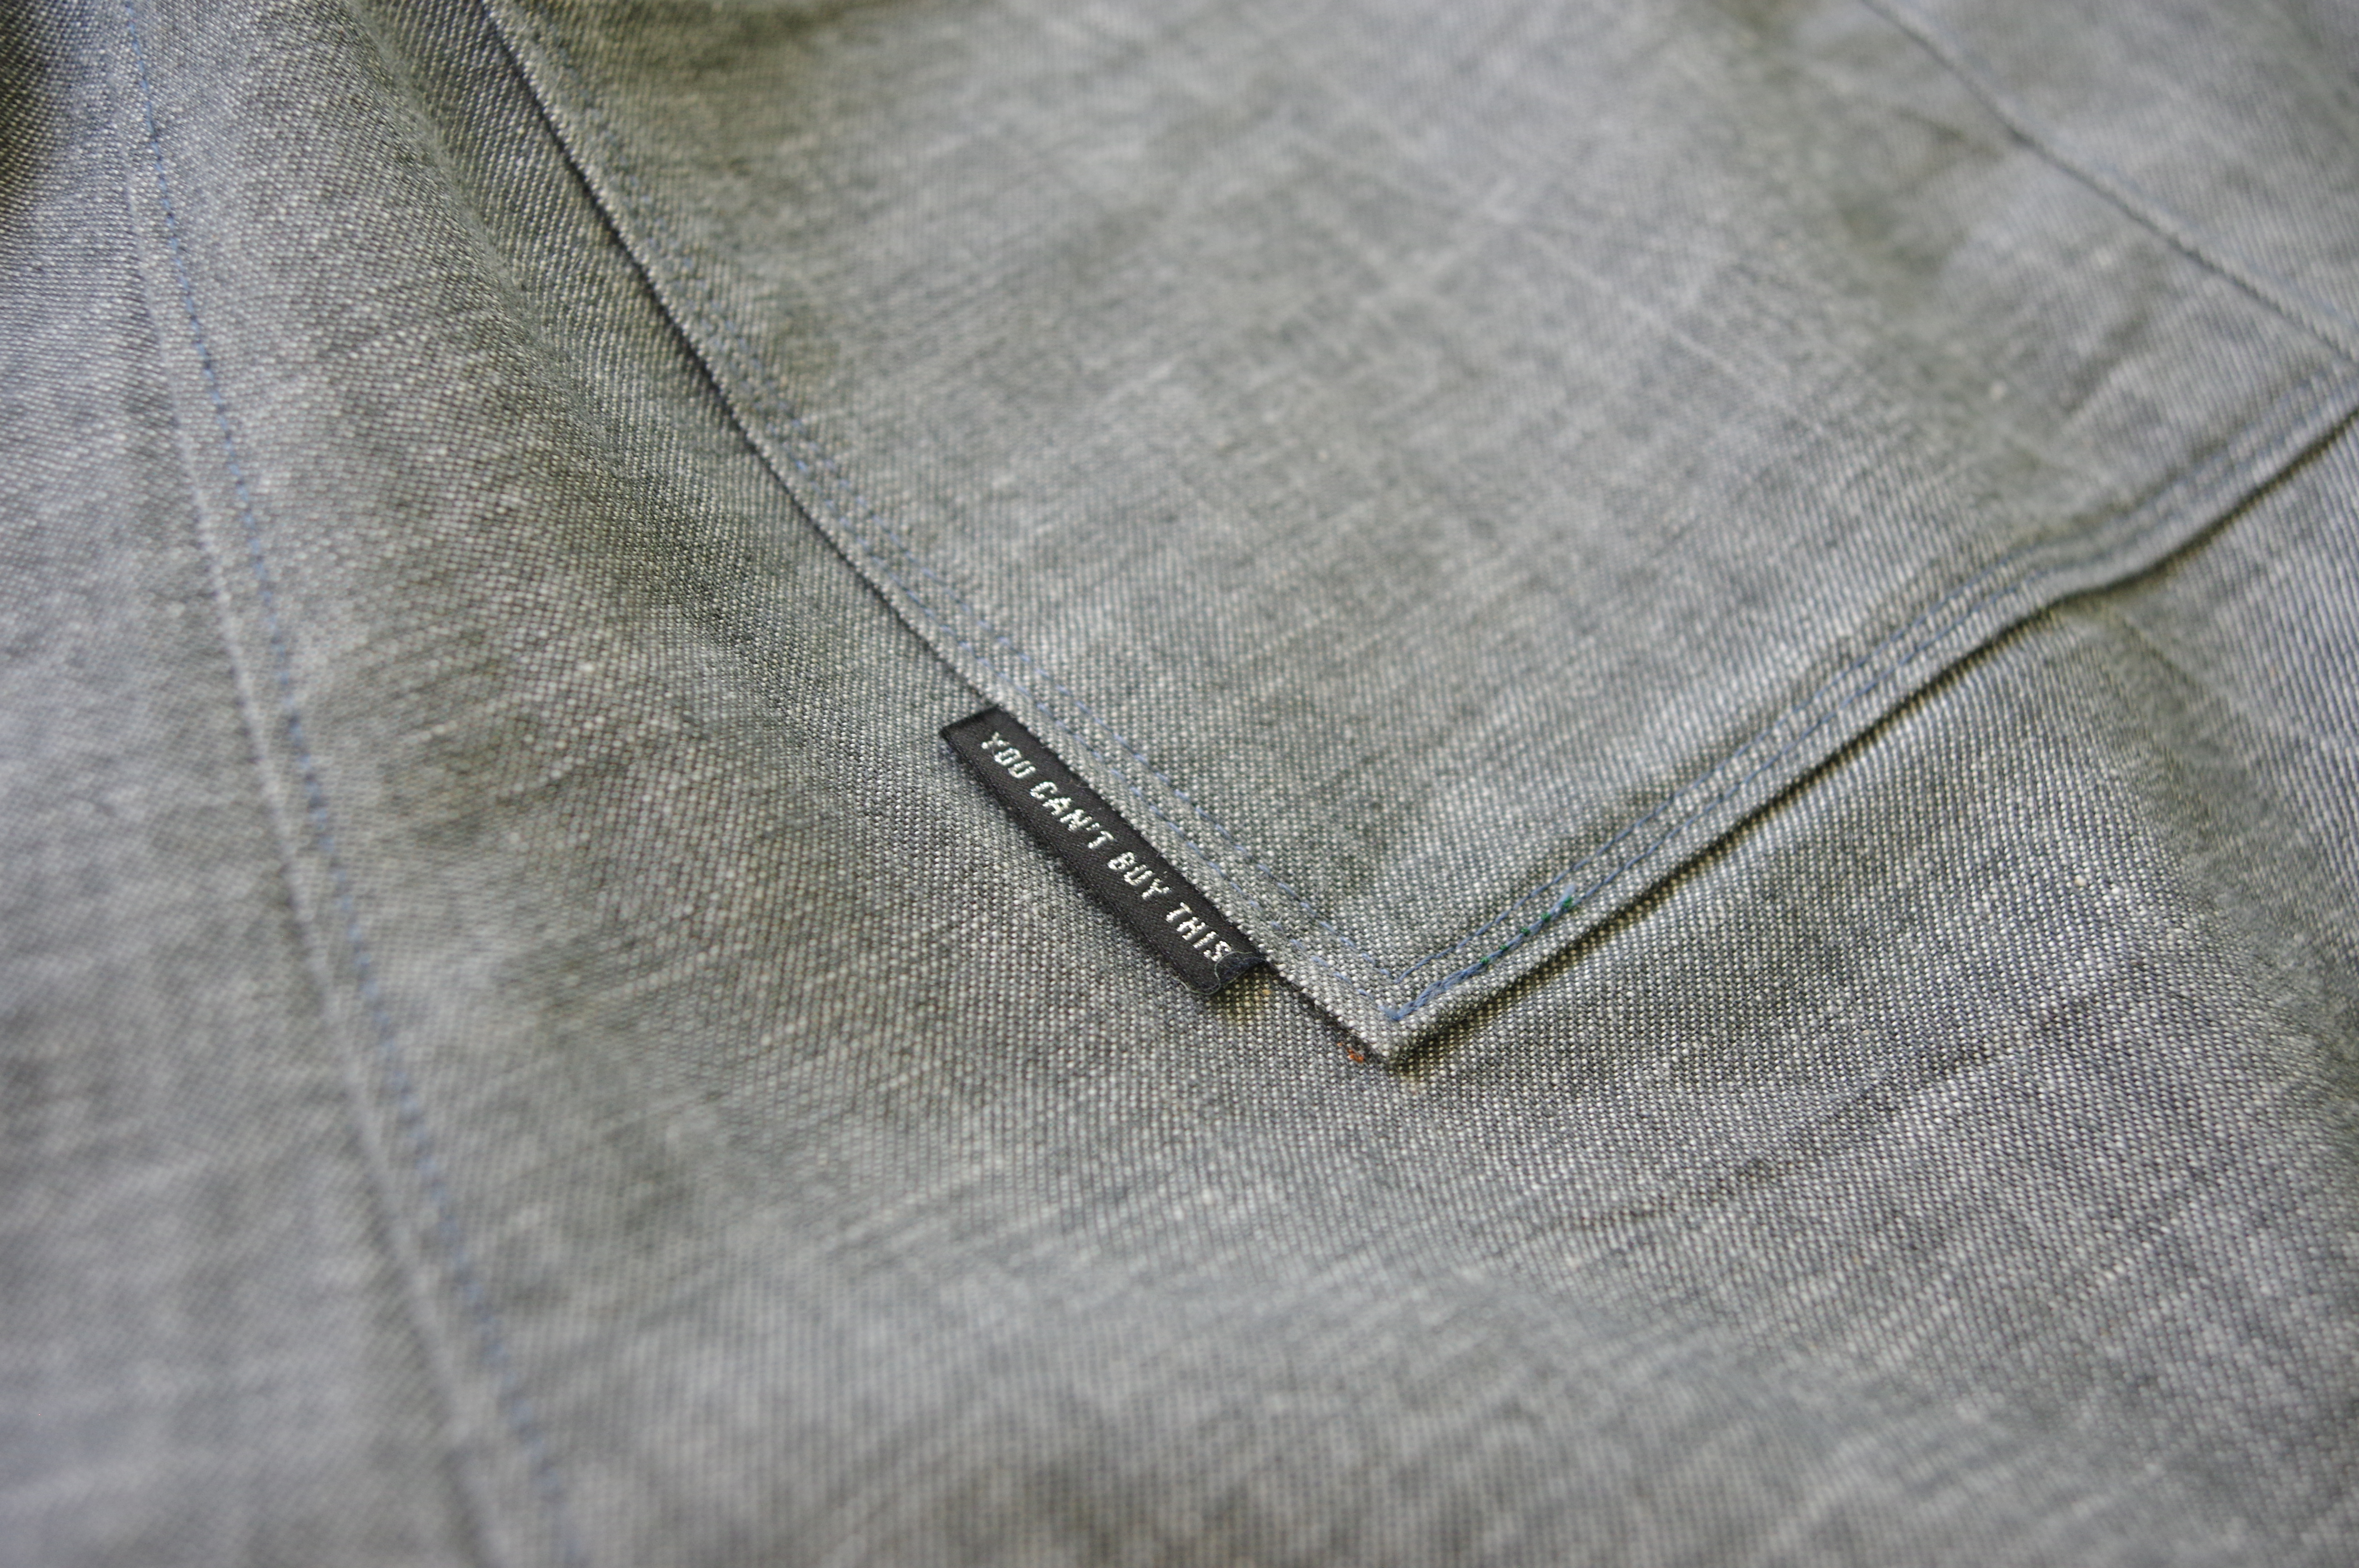
I wanted to use the leftover chambray from my absurdly massive Bisque trousers (they have found a happy home, do not fret.)  That fabric was just so nice in trousers - it's lightweight, holds a press nicely, and a perfect colour. 

I didn't have enough, specifically, for the side pieces.  Two months passed while I sadly had no time to sew, due to bad life choices.  I was so ready to make these and be done with thinking about it.  I had set out some silk to use for the size pieces.  But then it came time to actually do the job, and I realised what I wanted to do was tetris tiny pieces of the self fabric to create those side stripes.  So that's what I did.  It took an extra 2 hours!  And it's kind of funny that the extra work is really invisible.  


 My new photo location is in direct sun, I am still looking around for better spots.


I am happy with these, but they are never going to beat out my ridiculous plaid flannel pair.  I wear those crazy pants SO OFTEN.  Maybe I should make another pair in something that looks like pajama fabric?  Also, I note in my photos that the butt isn't entirely shapeless all the time.  

Since I didn't document these adequately (regarding those previous makes) there is no blog post specifically ABOUT the plaid free range slacks.  But I dare you to find 5 blog post instances when I'm wearing them to model other garments...

Thursday, 1 June 2023

Merchant and Mills Box box dress, a review

I decided to make this as the final make before moving house.  It meant I didn't have a lot of bandwidth for anything complicated!  I assumed...it would be easy.  Well, mostly it is as long as you choose a fabric that doesn't shift around too much.  Also of course just before moving I found the absolute best spot for taking photos.  Of course!

Started out with the size hunt.  Sadly no blog reviews of this up anywhere so I turned to Instagram where indeed lots of advice was to hand. Seems this tends to be big, and the drop shoulder made me immediately think about future sleeveless versions.  Because of the reviews suggesting it was pretty roomy, I went with size 8.  It was not a good choice.  Being snug on the shoulders "worked" in that my shoulder is within the drop shoulder, but it's not the designed fit and it felt uncomfortable.  But I'm getting ahead of myself.  I think you are fine to go with the size chart (I would have made 10) rather than sizing down, unless you are narrow through the shoulders. 

Fabric is a beautiful piece of plaid...Mind the Maker...tencel.  It has the best drape and dry cool feel.  It is shifty.  It has vertical stripes!  Did I mention above how I wanted something easy? 

Also, this has a facing.  I really hate facings.  It's a small facing, and you can attach it down in a lot of places, but it is still rife with potential for flipping out.  

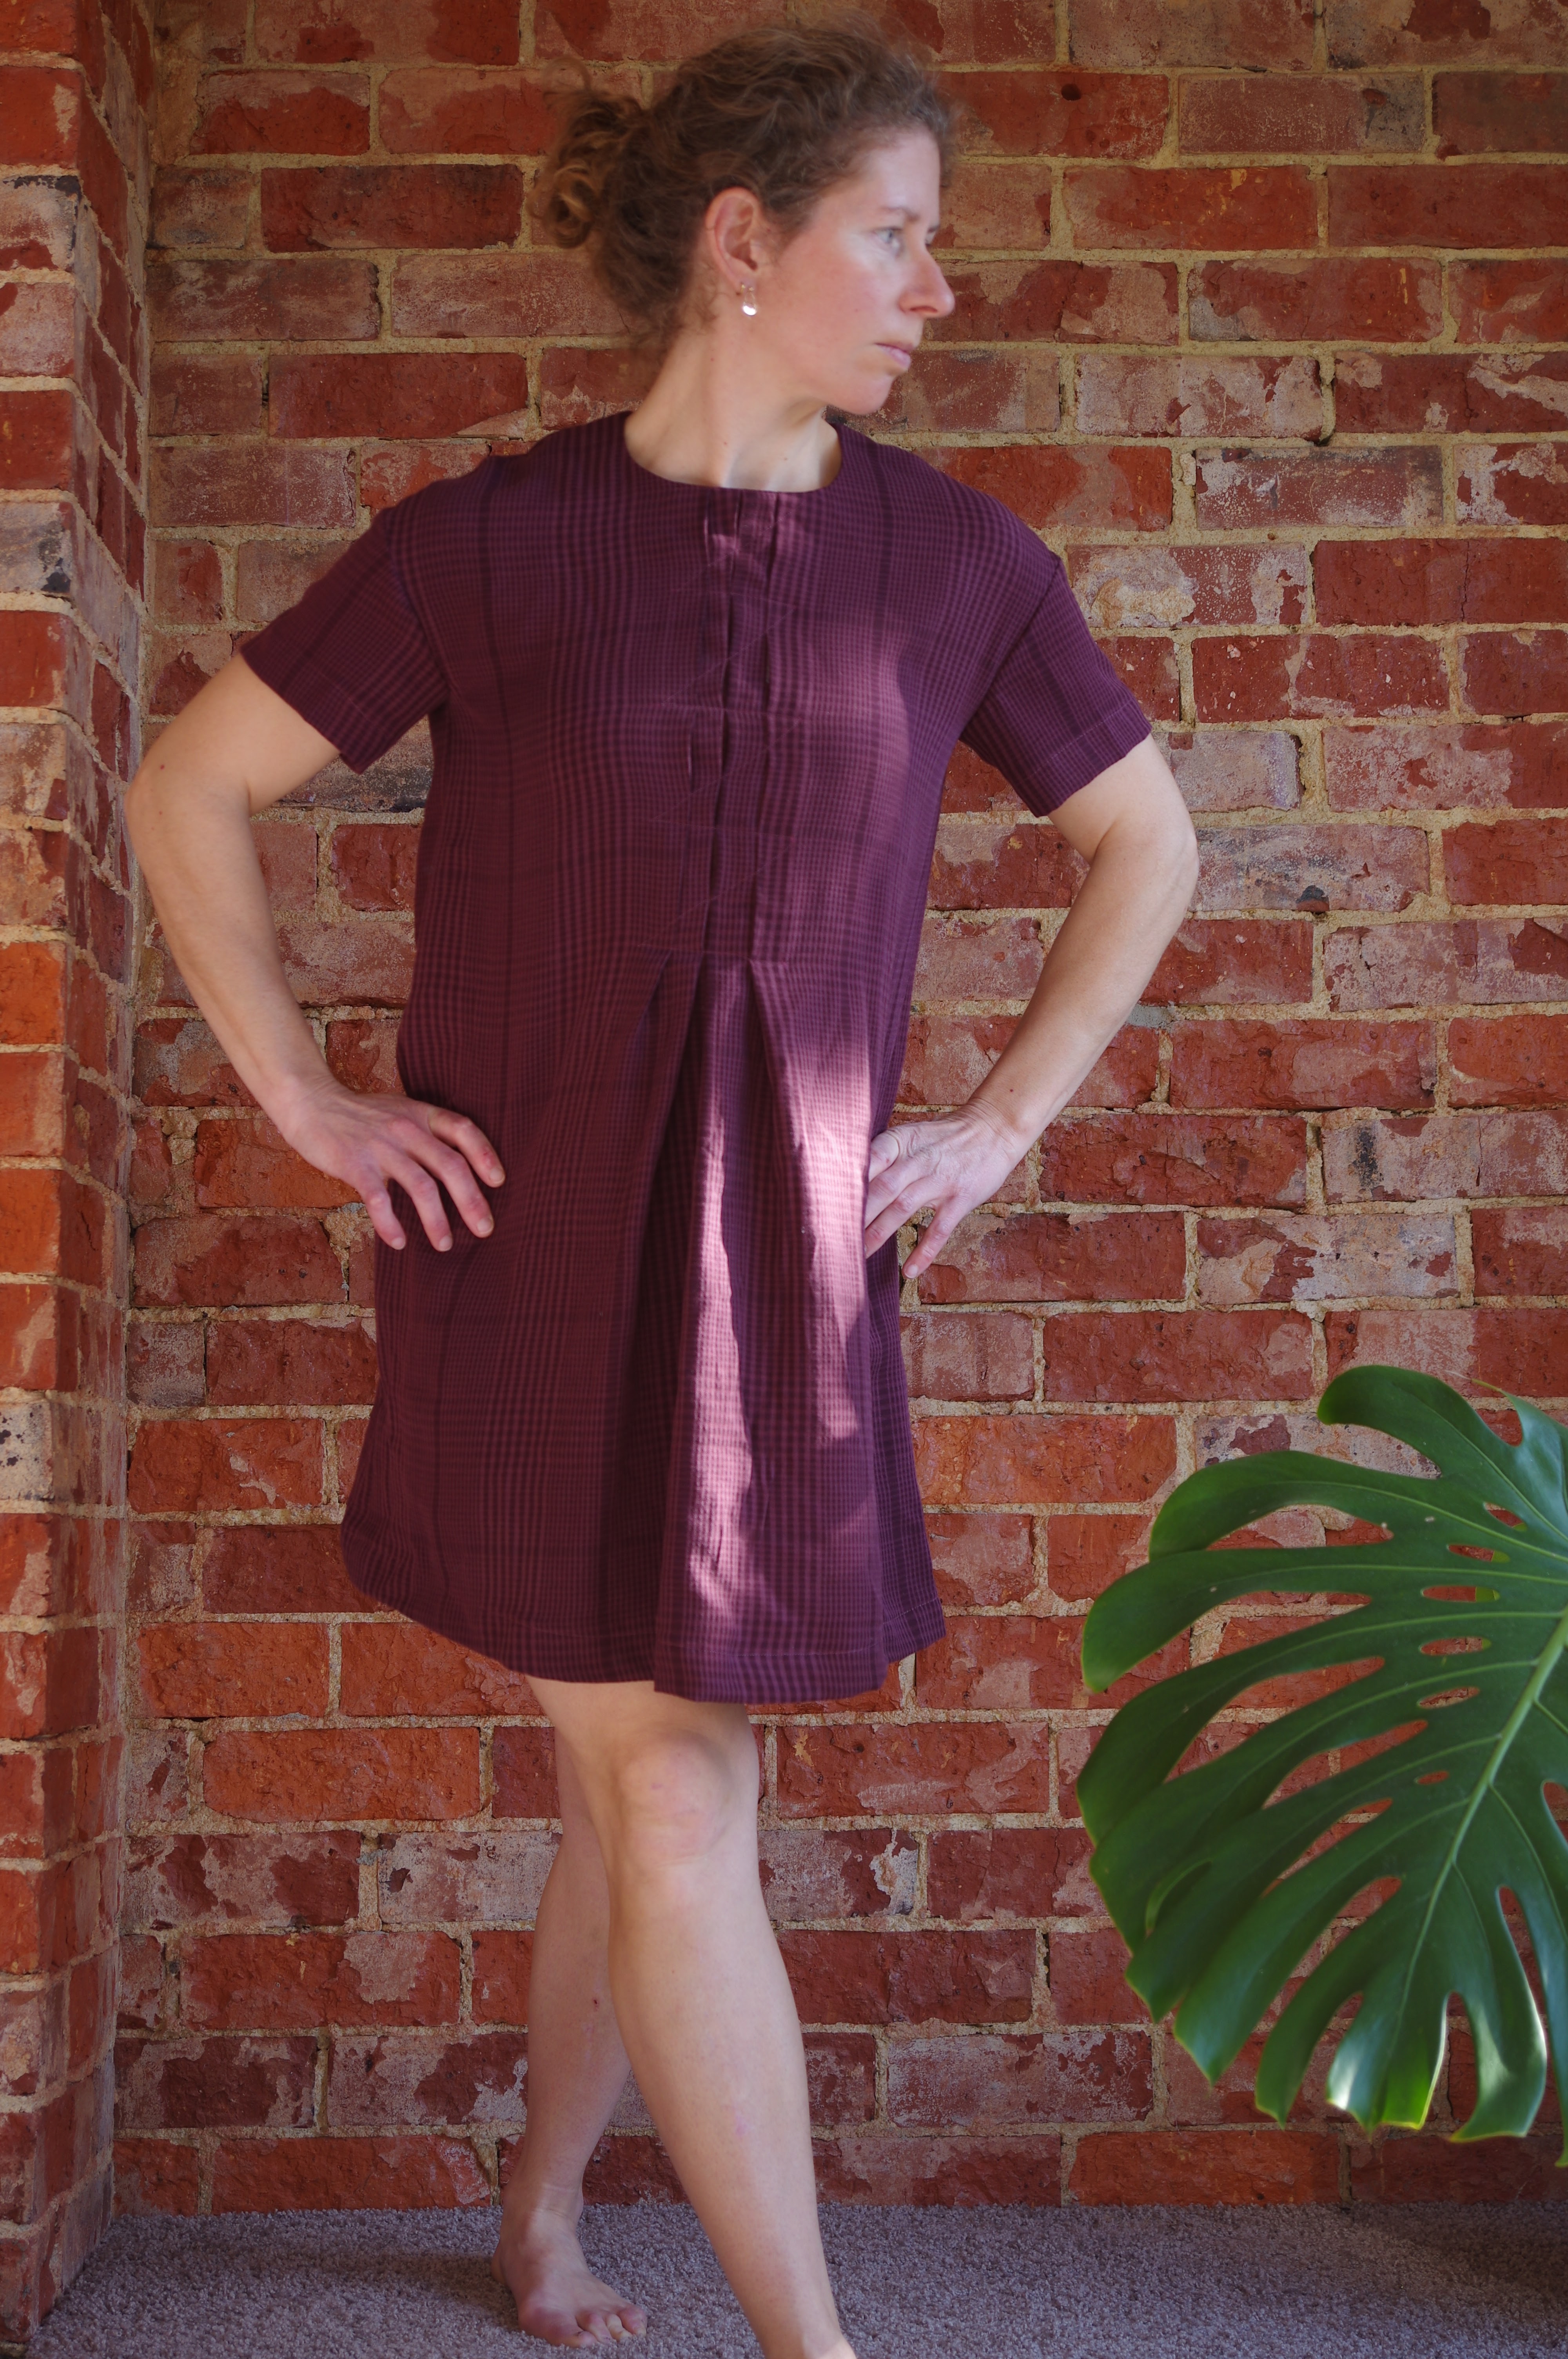
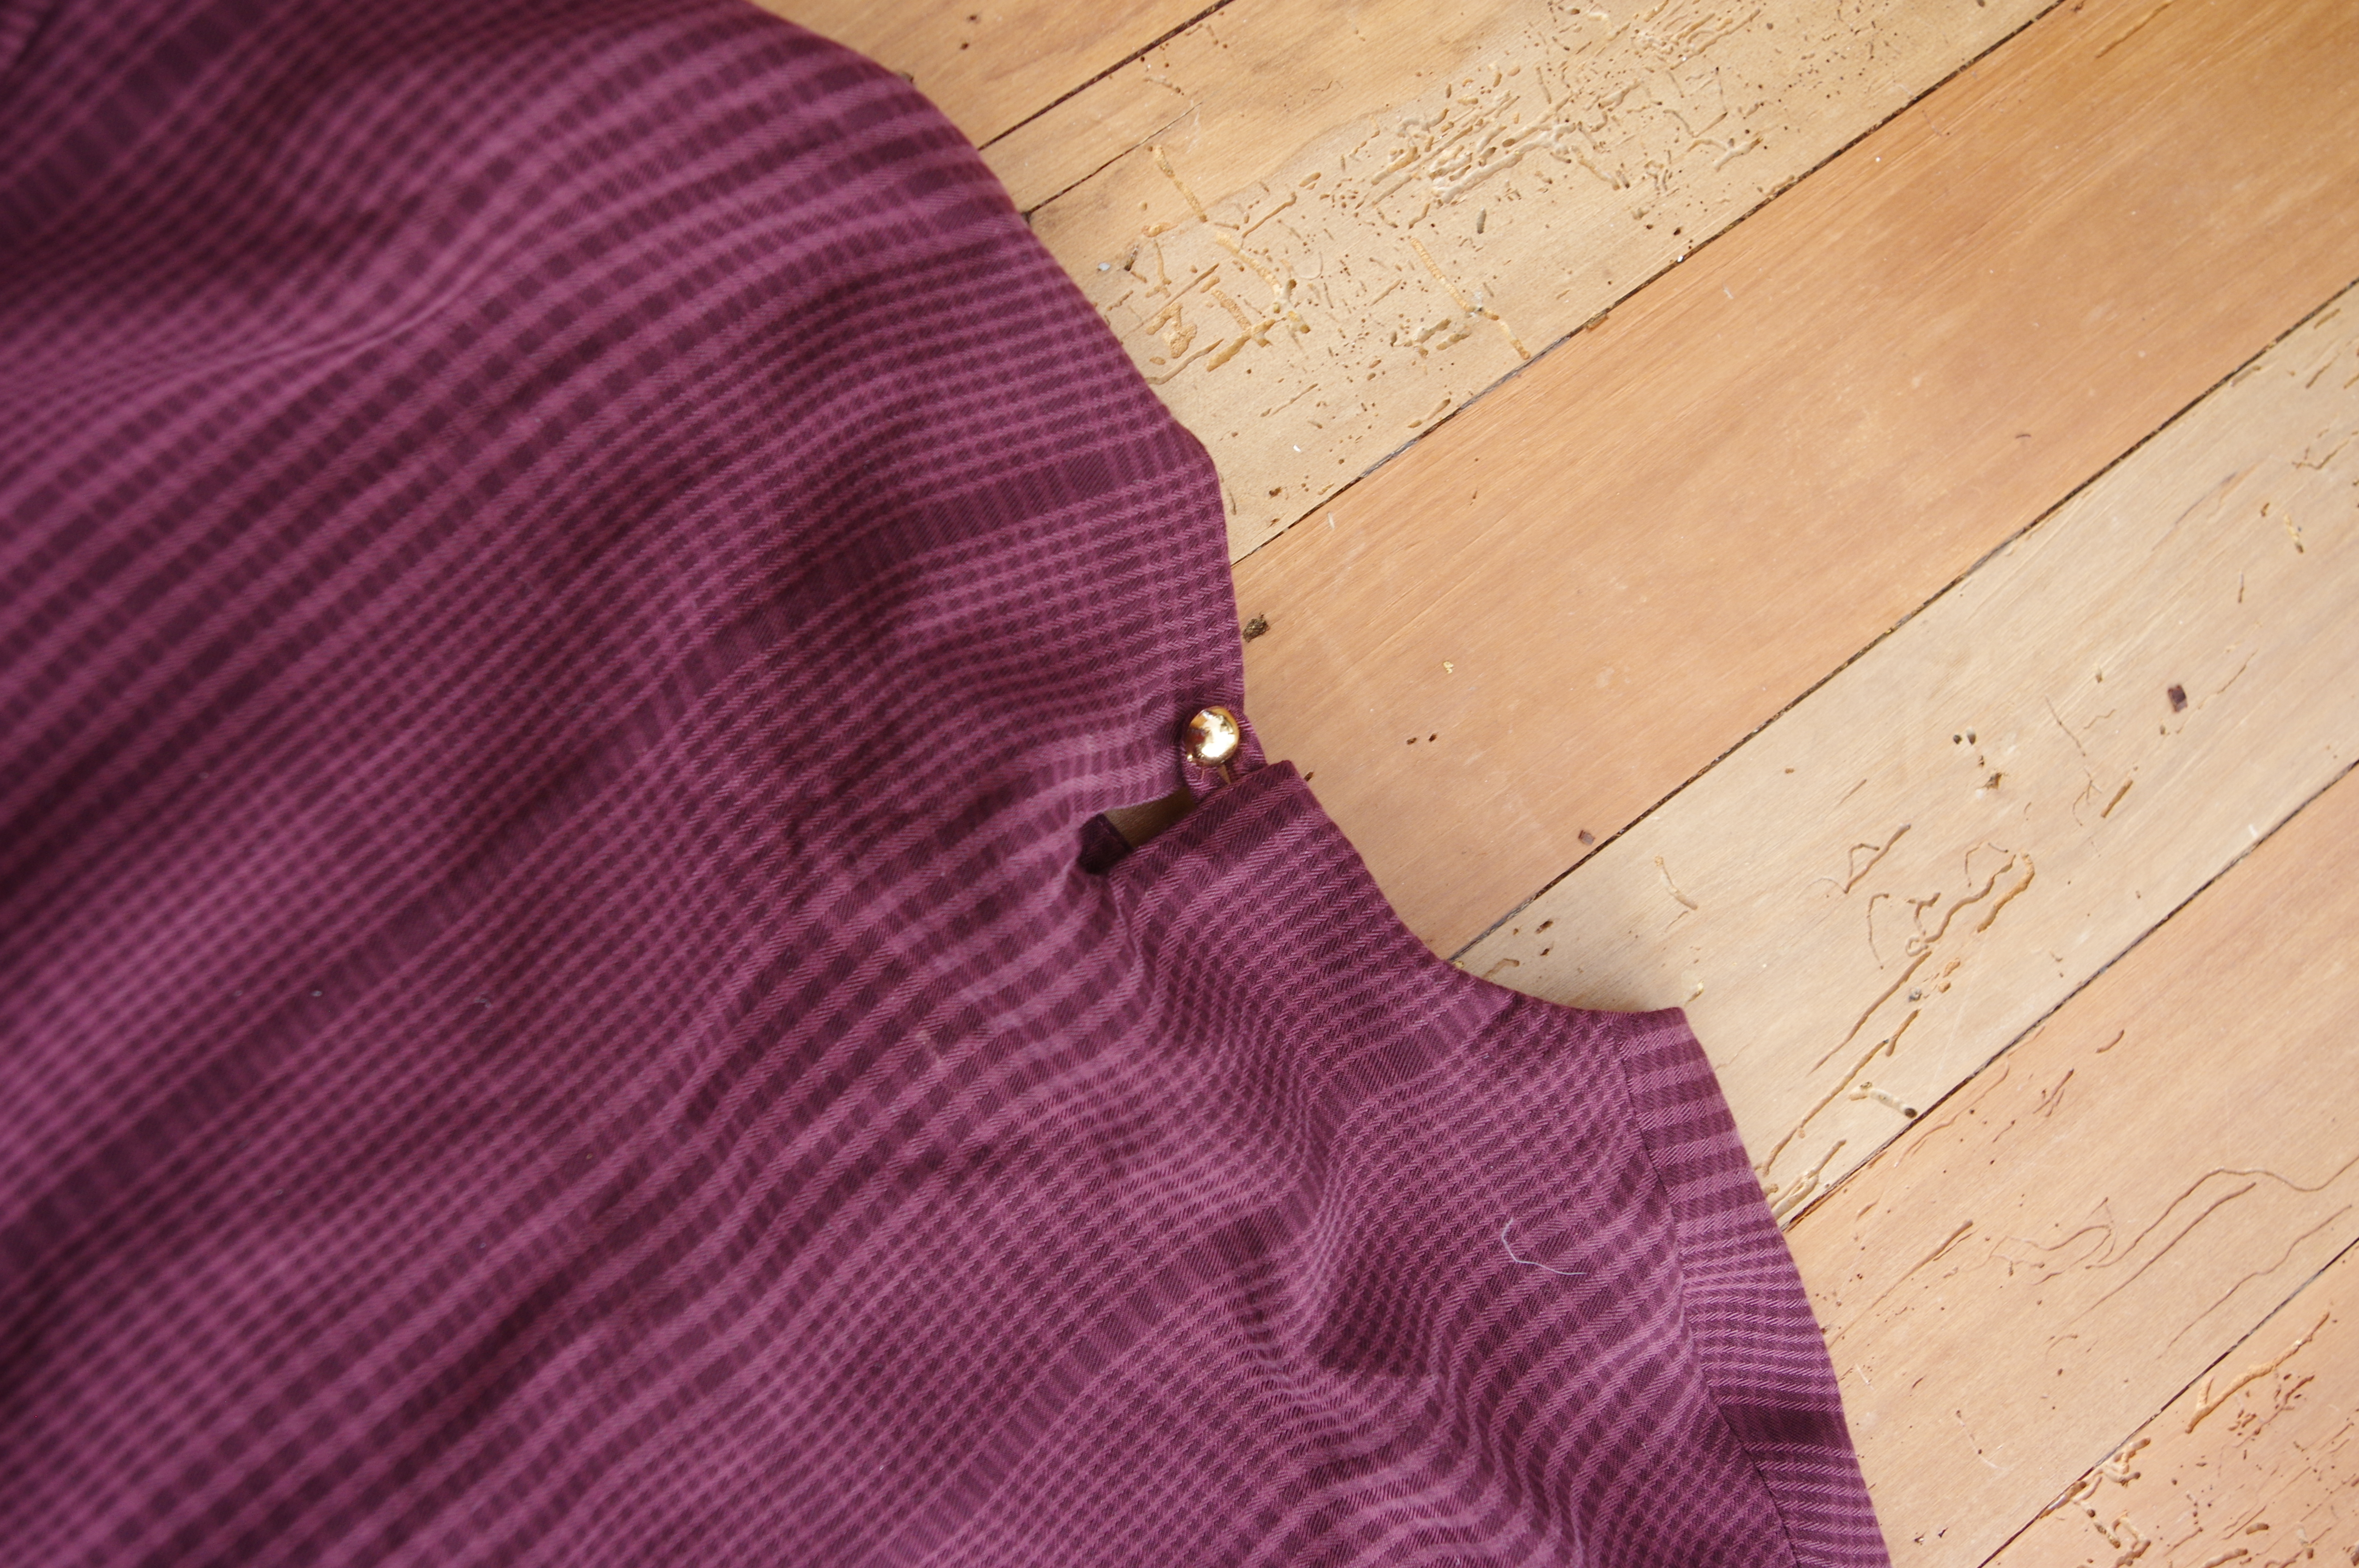
So I cut out the dress with a rather lazy grain, and pleated my pleats which just would not line up, and then corralled them down, still not straight.  (I really like the z-lines that you sew, this bit is very fun and feels like wild cowboy sewing!)  The dress was a simple sew after that and I was pleased with my choice of button.  The fit is not terrible but it is too tight across the shoulders.  To salvage the pattern I would do best at this point to turn it into a tank top dress and cut out some roomy armholes.  


Of course with all those mismatched front lines no way could I keep this, it went to a friend who suits that colour more and isn't nearly as picky as I.  

I think it's worth making again.  The facing is not avoidable, you need the back button to get the dress on or the neckline is too tight, and a facing is the best way of dealing with the front pleats.  But it's not too substantial and I was happy enough with it staying in place.  The way the pleats open out into the skirt is really lovely.  It feels like there's a lot of volume in the skirt but it's flattering.  I will probably skip the sleeve, and then make the dress or top and cut down the armhole til I am happy with the coverage.  No immediate plans to go there, but some food for thought. 

Wednesday, 31 May 2023

La Maison Victor Lize tshirt dress (3/2019) in Pucci

Gah!  Where has the time gone?  I have been sewing a tiny bit but somehow not enough to finish a blog post?  For 6 months?  That's never happened before unless I was literally unable to get to a sewing machine. 

Anyway, I borrowed a few different editions of LMV a long time ago and traced a few patterns.  Here is this one.  Unfortunately the only way to access it is by finding a copy of that magazine. I was kind enough to my future self to add the seam allowances too, so basically the traced patterns were ready to go.  I've already made the Charlene sweatshirt which I thought was quite cool, though I sort of hate voluminous sleeves in real life.

This is a long tshirt dress with no remarkable features.  I had traced size 34, which I presume is my size, and I could see by the lines on the pattern pieces that I'd given myself a good 1 cm seam allowance.  I cropped the pattern as long as the length of my blue fabric.

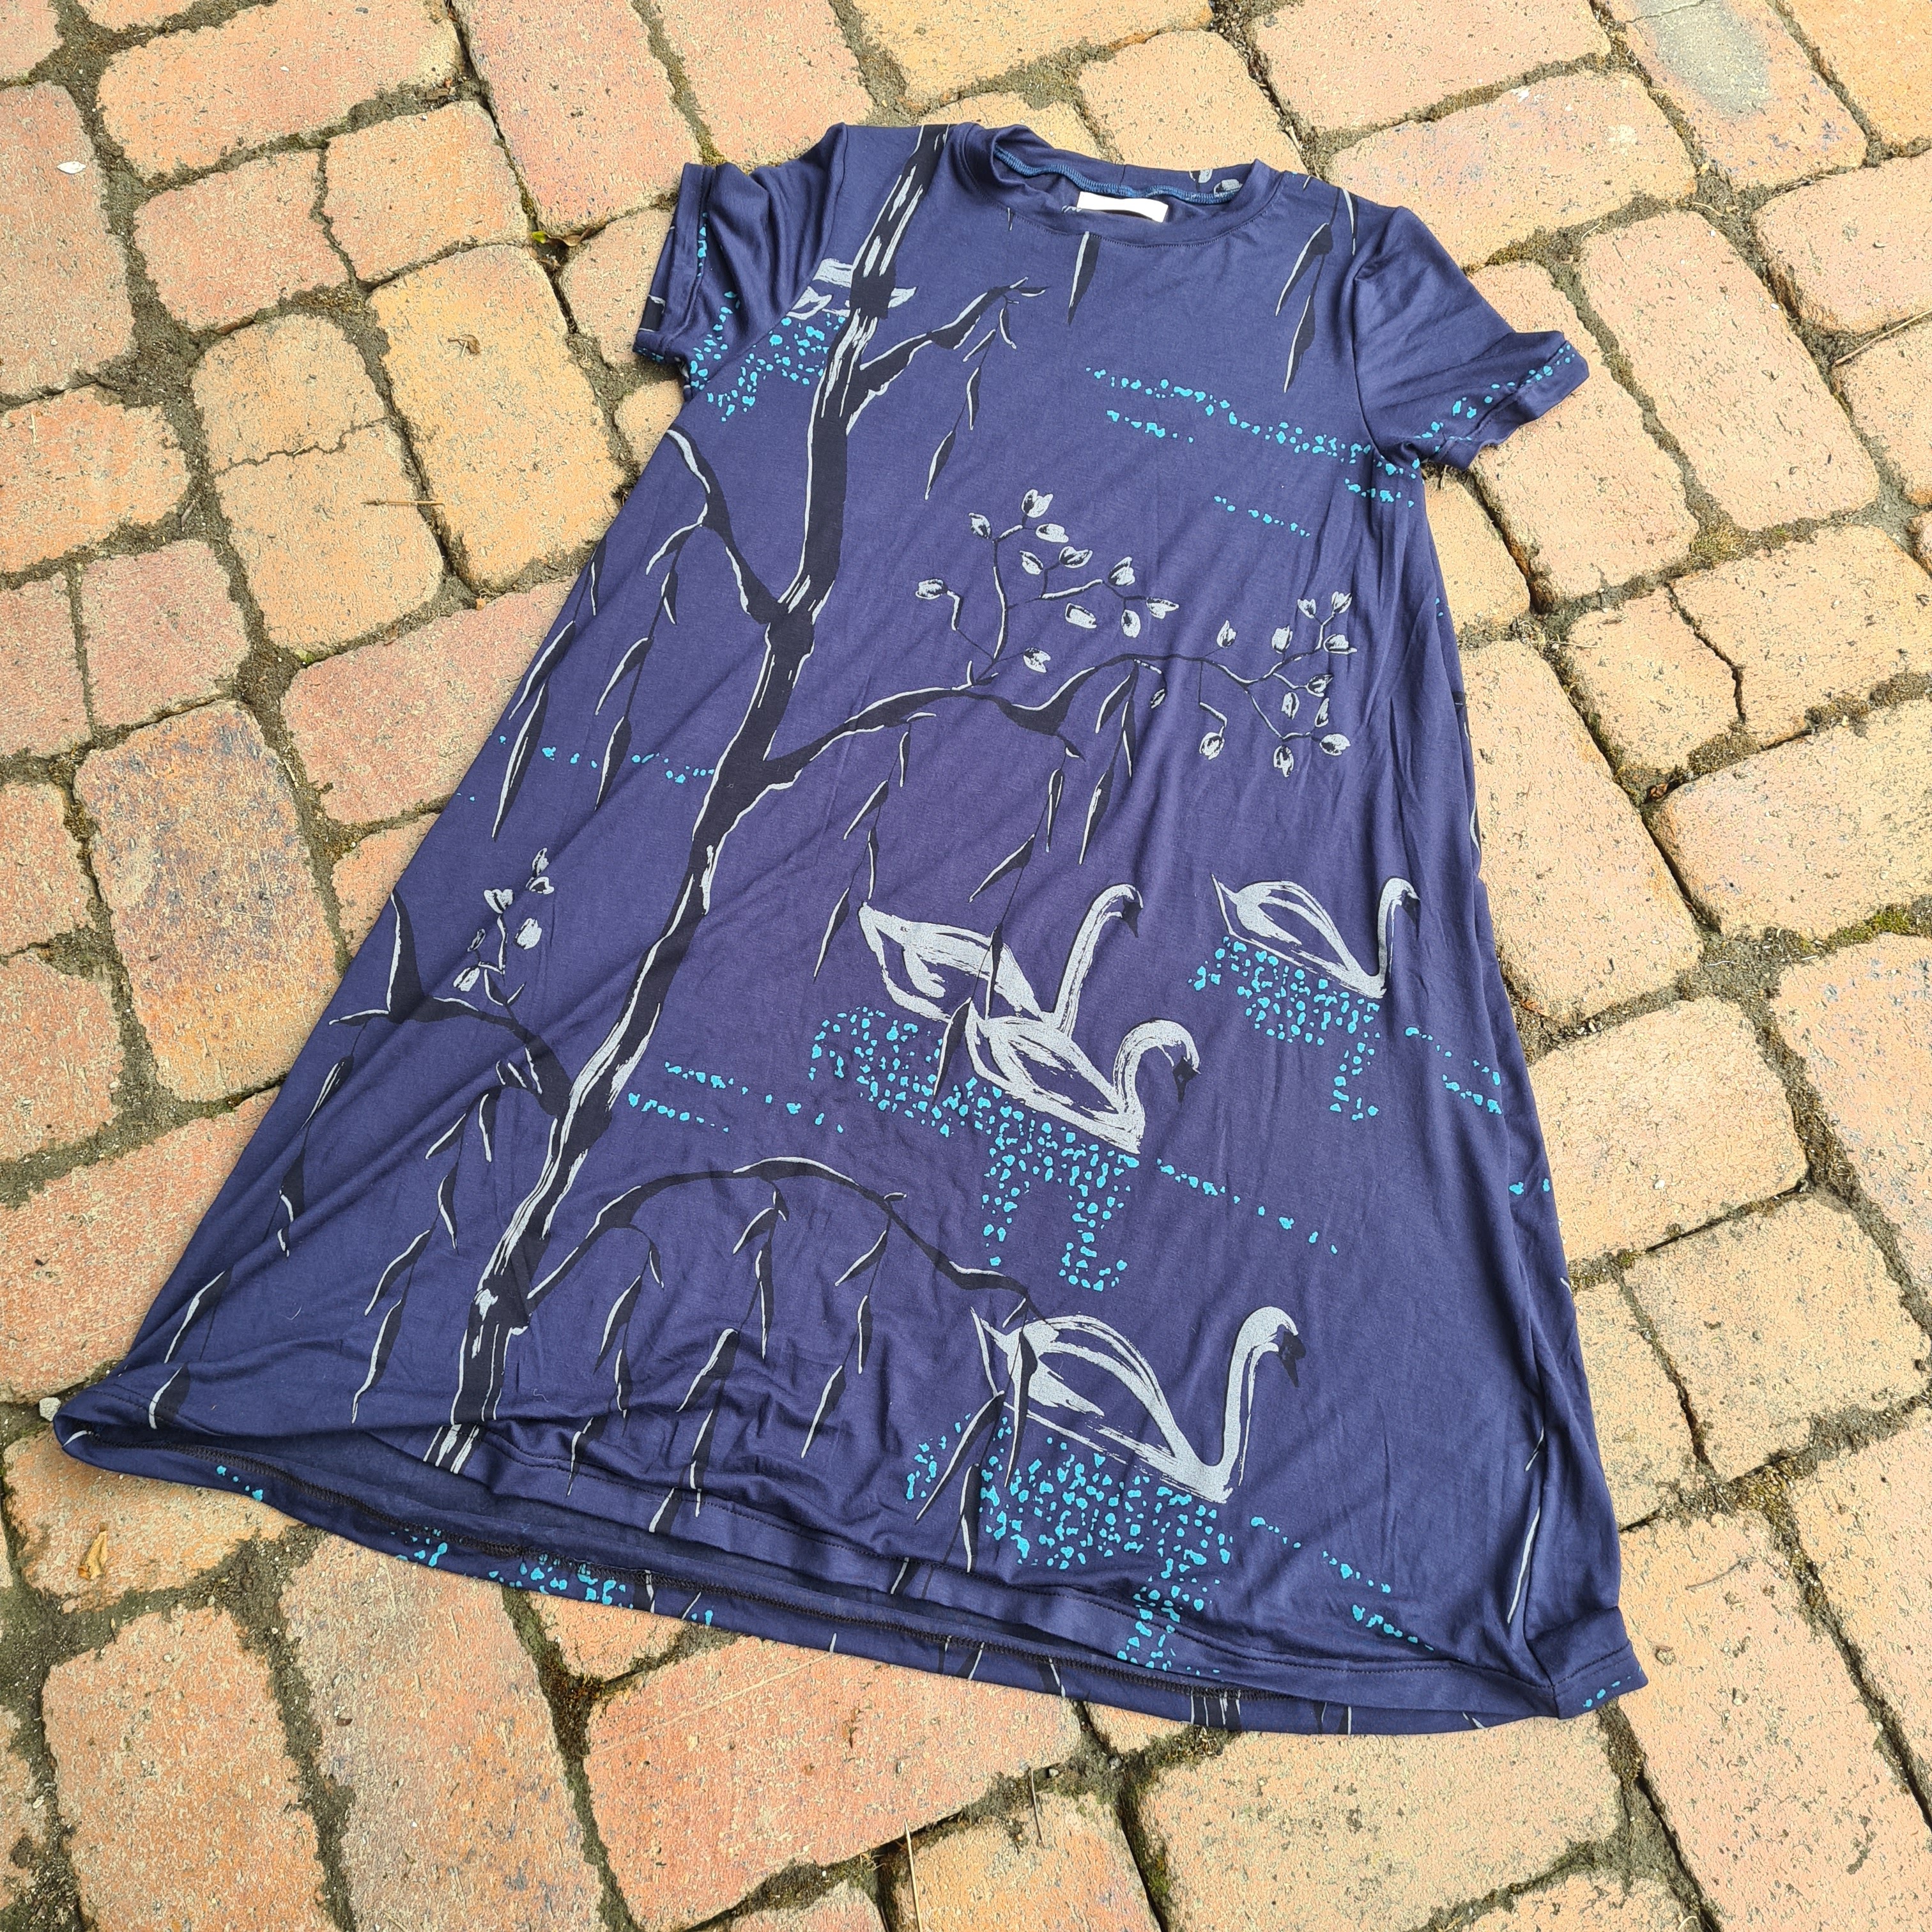
I had schemed to use an amazing little tiny metre of Pucci fabric...so first I followed the pattern and made this nice swan dress for a friend.  I was too lazy to add pockets.  The swan fabric is rayon and it's from one of my European binge shops about 18 months ago, I don't love it, so I was happy to offload it onto someone else.  I liked the fit of the dress, but it's SO A-line.  Too much for a tshirt dress. If you made it full length that would be a lot of fabric.  Maybe nice to swish around, but anyway.  Because of the higher neckline it does not Show All, unlike the Closet Core Ebony dress, but I would say it's only a bit less voluminous.  I didn't choose that pattern because I thought it would be harder to balance the pattern across the raglan shoulders, and because the wide shape is the point of the pattern so removing all that volume seemed like a bad idea. 


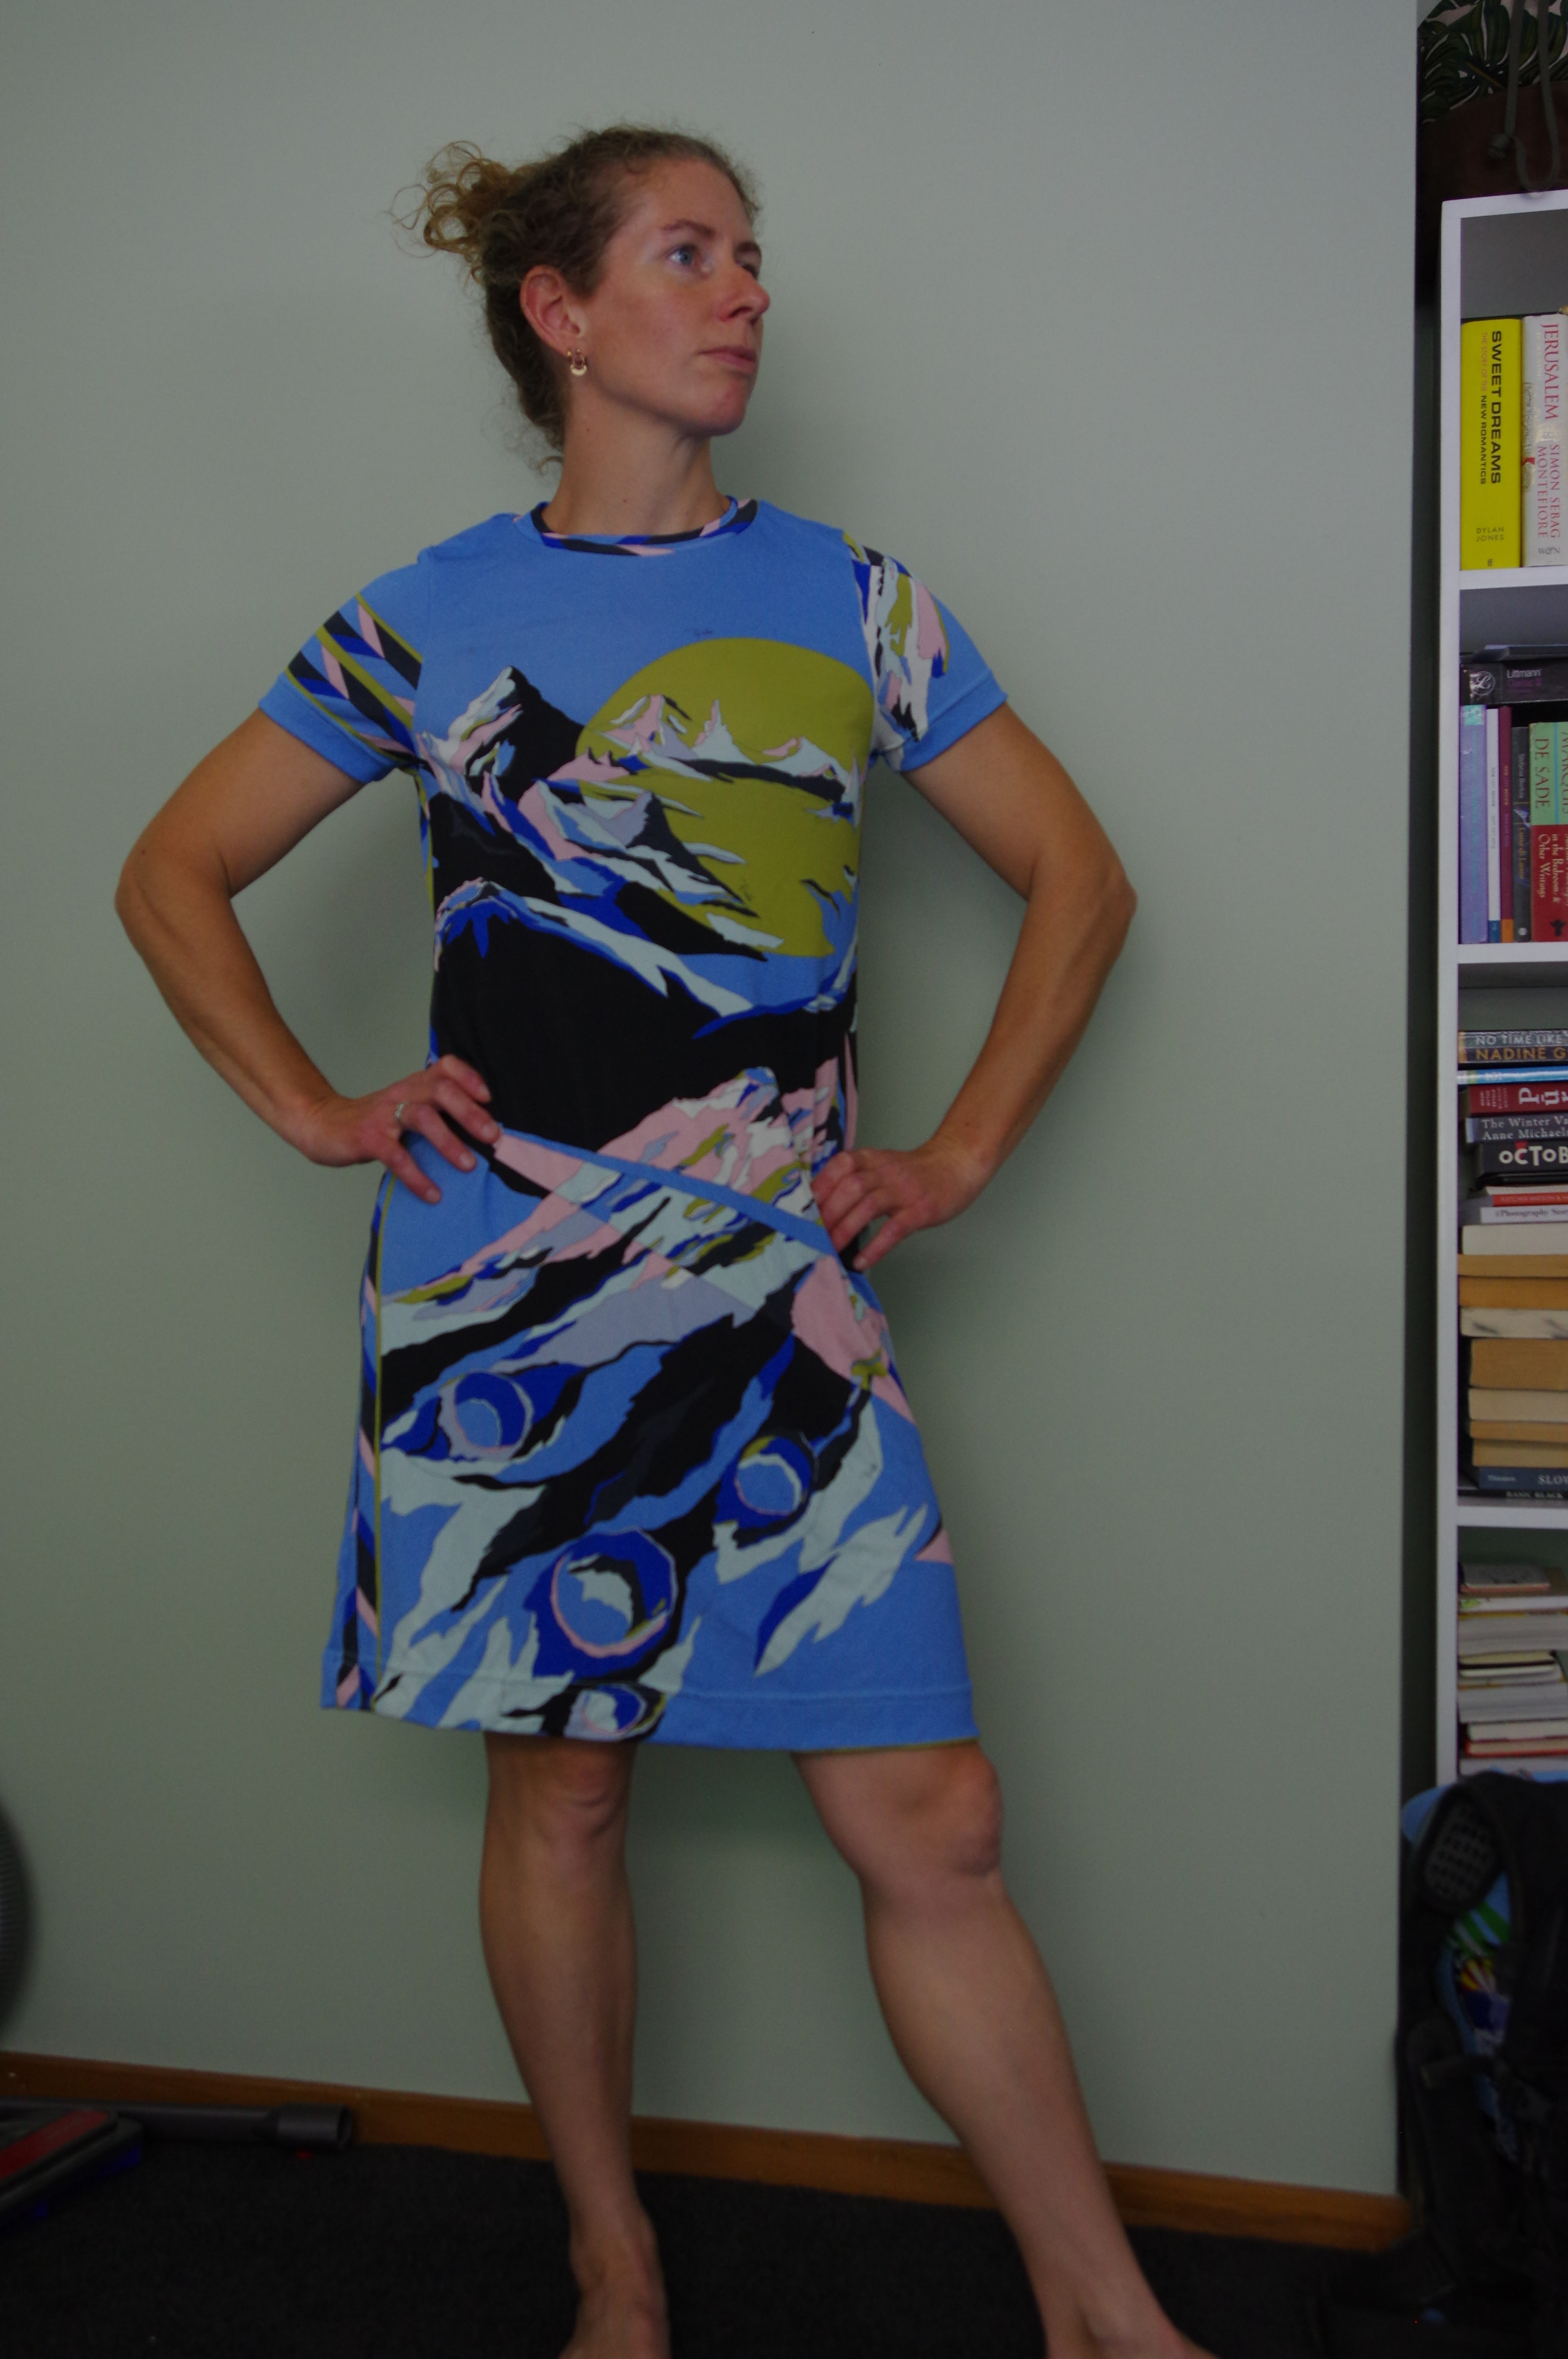
So I retraced the pattern flat instead of on the fold. I laid out my tiny metre of fabric on the floor (my kitchen floor isn't a great cutting space but unfortunately the carpets aren't crappy enough to rip up yet) and laid out my new pattern pieces onto it.  Then I proceeded to basically crop off the A line until it fit the fabric.  I cropped off a lot!  EEEK!  I played around with the fabric layout as much as I could but had to give in and use the geometric border, which I would have liked to avoid. 


I was overjoyed by the results.  I again didn't add pockets, this time because I didn't want to mess up the line of the dress.  I have stashed this insanely cool fabric for about 18 months and it's been on my mind the whole time.  I don't think another garment would have suited the heavy rayon drape and stretch as well as a tshirt dress, and it's obviously the best canvas for a print of this nature.  I also managed to keep things like mountain tips off my nipples, which is a grand success.  The geometric bits are all on the same side, and the other side matches up harmoniously.  Overall, a win for a special stash fabric.