Showing posts with label tank top. Show all posts

Monday, 3 August 2026

Kila love

You guys I'm just kind of drowning in amazing clothes lately.  I don't know if I hit my groove, if I usually make things for other people, or what.  Or maybe it's simple: the KILA TOP happened.  

First version is in heavy rib knit.  The kind of knit I struggle to use for anything.  The original sweatshirting is long gone, it's too heavy to really make anything with, but I have a lot.  So I made a tester version of this top.  Size 4, no changes to the pattern.  

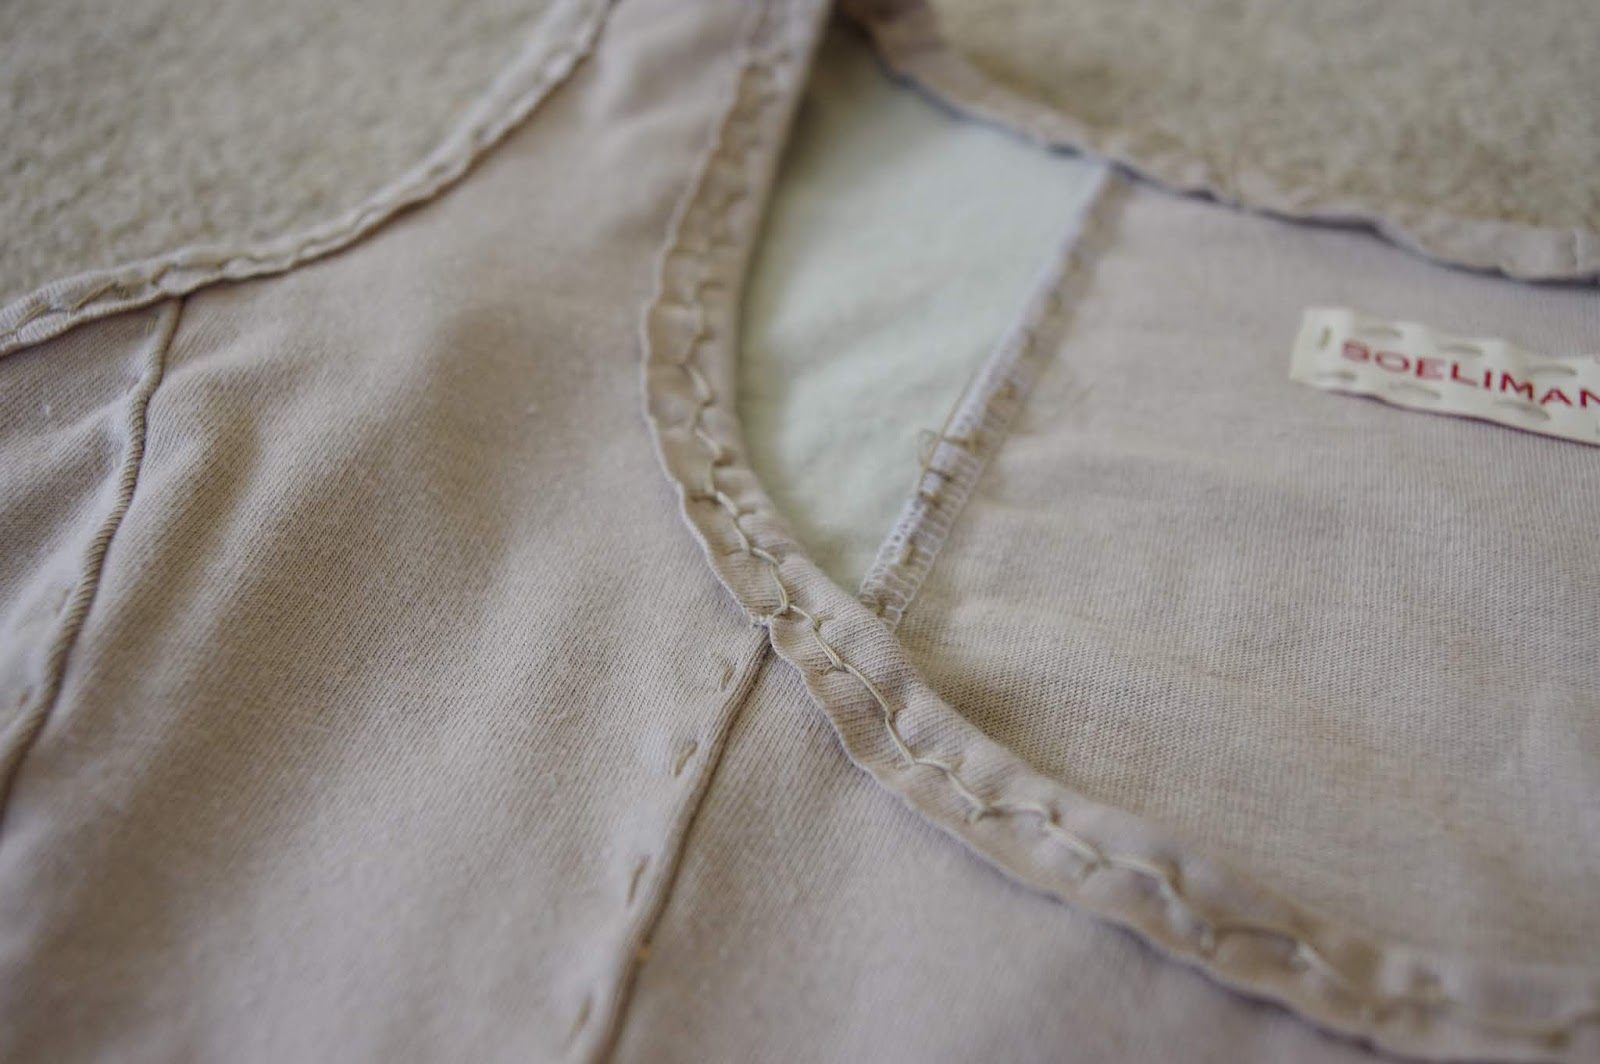
The finish for the bindings is similar to the Mission Maxi top, I quite like this way of doing things.  The big difference is that now I'm trying to coverstitch to finish the bindings and I don't quite know where to put the coverstitch seams.  I have so many options - I can do 3 or 2 stitch, I can centre it on the rib, over the ditch, or below the rib.  What is the right way to do things?  

On v 1, I did two rows of stitching next to each other on the body.  It's not visible on the rib, and sort of seems like it should be on the rib rather than the body.  Also, this does not actually keep things straight, the fabric is not quite so friendly and so you can see all the places where it slipped around.  As expected, there is a bit too much length in the straps, but the armscye is good and the length isn't too long.  This is going off to a friend of course. 


Moved on to v2.  I removed about 1 cm from the front straps on the pattern pieces, which is a usual fix for me.  I didn't adjust the pattern in any other ways.  

This is a very stretchy pink knit with some flecks of brown in it.  I don't recall what blend it is, but probably viscose or rayon.  It is transparent.  I wanted to use it for knit Arthur pants, but I didn't have enough.  So I made this top two layers, and just treated them as 1 throughout.  This time for the bindings I switched to centring 3 lines of stitching with the middle line in the ditch to keep things straight.  This does not actually keep things straight, the fabric is not quite so friendly and so you can see all the places where it slipped around.  It looks a bit messy, also because the top stitching is brown and it is visible.  This shirt is very snug, the fabric obviously has less give being two layers and not ribbed, but none of that is bad.  I don't know if I'll end up giving it away but I am happy with it.  


Finally I was inspired to make v3.  This fabric is a beautiful light rib, with irregular ribbing, and of course the pattern is spectacular.  It's very stretchy but retains it's shape nicely.  This time around I did the two outer coverstitch rows but not the middle one (this is my preferred coverstitch), and did 1 on the rib band, and 1 over the edge on the body to catch the underside of the binding.  It looks terrible.  As before no matter how much control you think you have, when the coverstitch machine sandwiches things together it pulls them to one side so a straight line is not always easy to achieve.  Despite this I put this shirt on immediately and haven't taken it off since, so it took awhile to actually get photos because I was busy having fun in my amazing top. 


No I'm lying, I eventually took it off to wash, but I basically sewed 6 items prior to my Europe trip and wore them all the time on the trip, they were so fantastic.  I'm just feeling overwhelmed by having so many cool new options!  

Tuesday, 11 November 2025

Elbe Textiles Weiland tank in rainbows

 I saw this tank top on enough people to know that I wanted to make it.  The graceful low back, the V.  It's a beautiful design.  Despite that I really didn't want the process of making it.  No idea why, but this was not a project I reached for with excitement, more like dread.  I tried to spice it up by allocating a beautiful scrap of rainbow fabric, but I still didn't love the process.  I made size B - as always high bust is a useless measure for me, but my bust at 33 is accurate.  I didn't make any modifications. It's quick and easy and the gentle V neck is really lovely looking.  I didn't pay a lot of attention to the pattern instructions for finishing the sleeve holes as I am quite confident with burrito methods.  I didn't have any issues except that I put the shelf bra elastic on backwards so it shows the ugly side towards my skin.  (I am always puzzled which way is the correct way.  It does look good like this.  Maybe it's correct.)


The fit is fine, but rather snug.  I tried it on with a bra and it looks too tight.  Without a bra it is much better, and I think that's kind of the expected fit.  Nonetheless I think I need to make this from a rib fabric (or size up.)  I have lots of rib fabrics that need to get used so yet again, that should be a win, but I will have to overcome the inertia of not really being in love with the process.  This particular top is going to someone just a bit smaller than I am.  I also struggle with crop tops because I have no torso length, so they can kind of overcompress my chest and then balloon out below. 

Thus, I don't entirely know what I think of the length, but in summer some tops with this crop length are great to wear with linen pants, so it should go well enough with a number of things in my wardrobe as long as I choose the right colours and a more forgiving rib.  I'm thinking a bit more lately about sewing specifically to fit gaps in my wardrobe, and I do think a few more attempts at this would be worthwhile. 


Tuesday, 24 June 2025

True Bias Zoey tank x 2

I have known for awhile that I need to get some well fitting tank top patterns into my collection.  I got suckered into this one by Guthrie & Ghani, who had the perfect fabrics in stock, Lauren modelling the final result, and I even bought the double sized iron on sticky tape that she recommended for the bindings.  I did two of these, one of them for a pregnant friend of mine.  Size according to the size chart: size 2, though it's narrower than my hips I thought that wouldn't matter. 

The fabric is the Meet Milk derby ribbed Tencel. 

The tape stuff I am referring to is called Stretch Fix T30. It comes in strips or sheets.  I bought two strip units of it and I have lots more for other projects.  It is basically a dream for fixing curvy hems prior to topstitching them, as it stabilises while holding in place. 

I bought all this stuff from G&G, my friend paid half the shipping as well as paying for her fabric, so it offset some of the costs.  (I will say it's a bit offensive to hear a friend say $100 for a tank top is steep!  Sewist friends should know better!)

For my friend I lengthened the pattern the same as Lauren mentioned doing for her own pregnancy- I think it was 30 cm but might have been more.


Good thing I bought the sticky tape!  The fabric is relatively well behaved and it's so amazing when worn.  But getting those bindings on, and getting them on neatly, was a process that took some learning and was pretty frustrating the first time around.  Without the double sided iron on sticky tape I would have thrown things out the window.  The first version, for my friend, is less neat where the front and the arm bands meet up, but I was smarter the second time around. 

My friend, by the way, said this top was one of the only things that fit her near the end of her pregnancy.  The fabric is excellently stretchy. 

I like the fit of this and wear it reasonably often, but I won't be in a huge rush to make another one until I've tried a few other recommended tank tops.  Still planning on trying the Sommar cami and the Lola racer back tank.  Around these parts summer is only a hazy memory so not sure when that will be.

Friday, 8 May 2020

Adventures with Alabama Chanin, part 1.

This took a long time for me to commit to.
When I first saw Carolyn's Alabama Chanin projects, I was kind of like ew, why would you spend so much time on one or two things??  Then at some point I got two Alabama Studio books, one for me and one for my mother.  I'm not sure which came first, but I bought the book for myself when I realised the base patterns that come with the book are really simple.  I wasn't convinced about hand sewing, but I certainly could use the patterns!

More recently I realised one reason hand sewing felt out of reach is because I have no faith in my ability to do it, so I also got the Alabama Chanin hand sewing manual. I thought that having it lying around increased my chances of actually learning to hand stitch and the book does have more detail than the design books. 

Recently, in a totally random burst of enthusiasm, I got a few of the patterns printed out. I have the Alabama Studio Sewing Patterns book.  The printing was quite a bit of effort. The patterns are on a CD.  They are unstandard paper sizes.  My local print shop is very friendly with me due to my frequent A0 service, but for this one I had to stand around the computer while they pulled up the patterns on CAD and fitted them to printable sheets.  So if I have one beef, it's that the patterns should be available for A0 and A4 printing.  The A line dress was so wide that we ended up turning it sideways and printing it across three sheets or something crazy like that.

Unfortunately I was sort of guessing which patterns I wanted, so I ended up with the skirt, the corset, and the A line dress, though I wasn't interested in the dress particularly.

During my recent and amazingly timed trip to the States, I bought a bunch of supplies from Alabama Chanin itself!  I got three colours of organic cotton and the button craft thread that is so highly touted.  Plus I got to do all the prewashing and drying at my parents house, such a luxury!

Now I wish I had bought more thread - I've sourced one place in Australia that sells it too, but they are sold out and seem to depend on infrequent restocking. Also New Zealand is many months behind on receipt of international parcels...

My first project was the A line dress.  I don't really like the green fabric I ended up with, but I thought if I liked the top I'd wear it, and if not I can always give it away.  I wanted to see whether the size chart fit was good for me.  I also wanted a no stress chance to try out the hand sewing.  I cut it in an M, which matches me on the size chart pretty exactly.  I did all the seams on my overlocker.  I top stitched and did the bands by hand, learning as I went along, and I'm happy with the result and getting better at the Cretan stitch.


But: I really don't like this trapeze fit.

Putting the top on for the photos I can see that it fits nicely in the back.  I could certainly play around with this pattern - removing a lot of the trapeze from the front to see if I like it more that way - but I'm planning to make the less flared dress next and so I'll probably leave this one for now.

I moved onto the corset.
I was really excited by the corset!  So excited that I made three in one day!
First, size M, 2 layers.  The problems were - generally too big, gaping in the front, needs the shoulder adjustment, and about 1" too long in the waist.


Because the pieces are so small, and overlocking is so easy, I went straight into version 2: single layer, size S, with the shoulder adjustment and 1/2" removed at the waist.  There are no lengthen shorten lines, so basically I removed length right above the narrowest part of the waist.


My enthusiastic shoulder shortening brought the armhole up a bit too close, and there's still a lot of pooling in the back, but I thought there's also still pooling in the front, so I went onto version 3: Size S, 2 layers, with the shoulder shortened only on the front, and with 1" from the waist.  I'm happy with this version!  Enough that I'm committed to the hand sewing.


Still had to think about how to finish the first two corsets, which, while modelling, I realised aren't that bad after all and do deserve lives as clothing.  I decided to just add normal bindings and I topstitched the seam allowances down.  It was absolute luck that I had an abundance of rib jersey in the exact matching shade.  

Number 1, with green lining, size M:


Number 2, single layer, size S:


This has totally whetted my appetite for more Alabama Chanin. As I get better at hand sewing, and watching my corset come together, it's interesting to see how the item becomes emotional because you have invested more into it!  I'm debating ways of using 2-layer jersey that don't involve an airbrush gun or flower designs. More adventures to follow...