Showing posts with label quilting. Show all posts

Wednesday, 10 November 2021

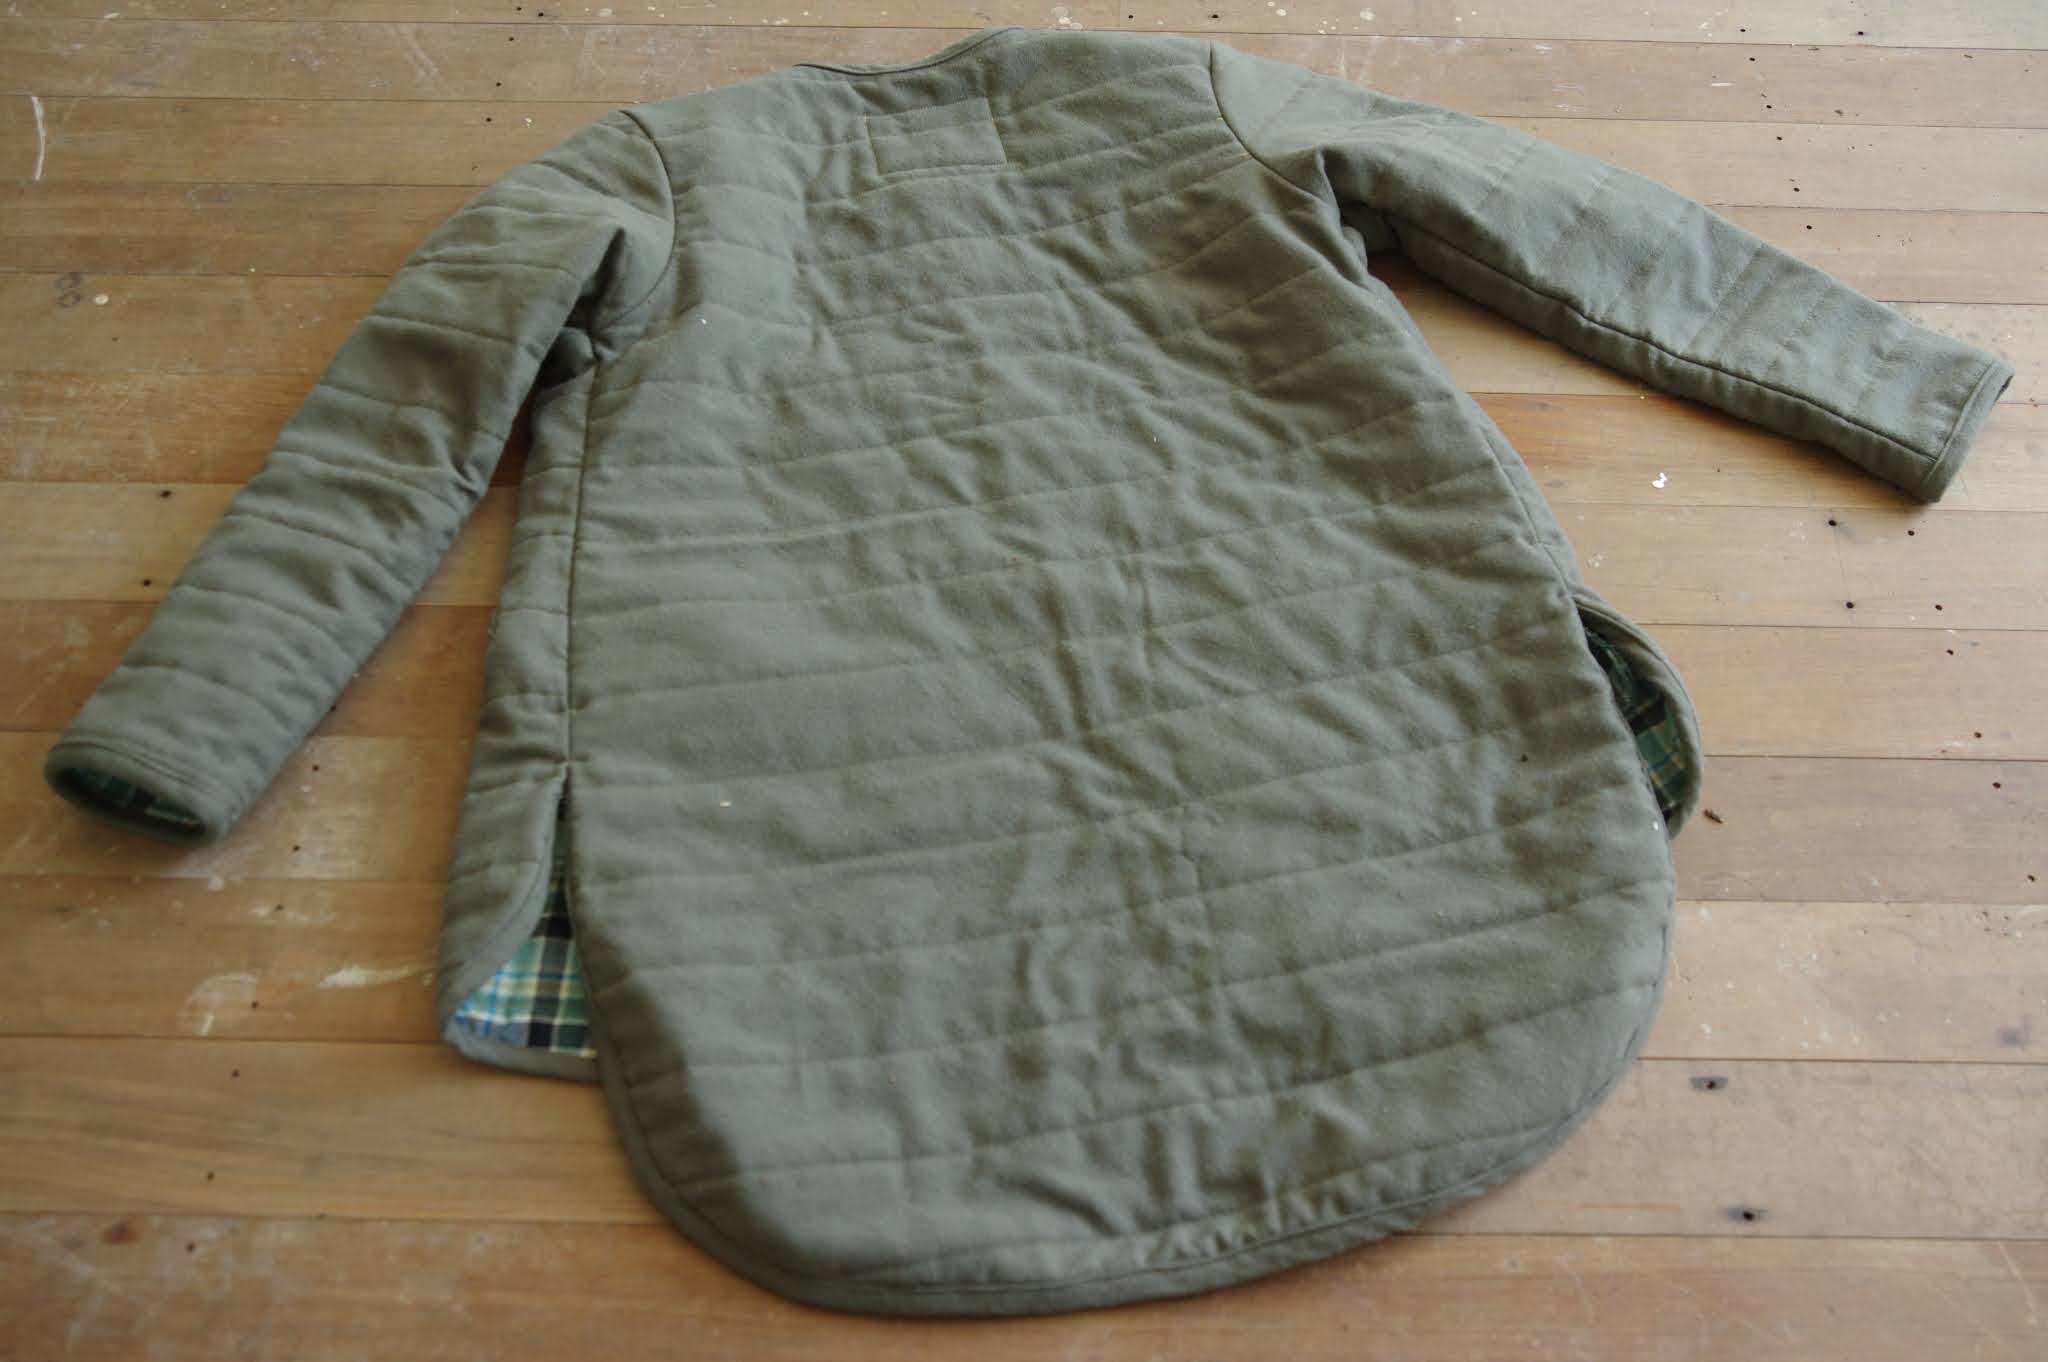
My extra long Grainline Tamarack

I have made two previous attempts at the Tamarack jacket.  Maybe I should have just followed through on my first one so many years ago, which I wasn't going to quilt, but anyway, I really wanted to do it properly and after my second one, which was of prequilted fabric and with patch pockets, I wanted the experience of doing it all.  Having made a quilt took the fear out of a lot of things, and quilting is one of them.  

I will say: making a quilt was horrible but it has paid such dividends in new skill learning!  So worth it!  

When I finally got on the road to making this particular Tamarack, it was due to inspiration from a RTW jacket with plaid lining, maybe a year ago.  I made the black quilted Tamarack which seemed to fit ok, (I made size 4) and which I gave to a friend, and then had the confidence to trust I should quilt one for myself.  I had this fuzzy wool blend from Mood from a few years ago, and after investigating plaid linings I got this wool woven from Emma One sock last year, but then I had to wait - because I was going to use the same batting from my quilt, so I had to make it first. Hah.  (The batting wasn't enough and I still had to buy more...)

My big vision was that I needed to shorten the front and back separately so they would still meet quite high up.  I lengthened the front 2" and the back 6".  Once I had done that it was straightforward to cut everything out and quilt it and then trim everything down to shape - but it did take time!  That upleveled the feel of the jacket because quite a bit of effort goes into it.  I used a bias binding on the side seam edges and the shoulders.  It doesn't look particularly good, I'm not sure how other people kept it from being lumpy.  I overlocked most of the other seams because I didn't have enough pretty matching bias tape and it seemed kind of like a wasted effort anyway.  

My major drama was with the welt pockets.  After quilting, you've already done a lot of work and you want it to go well.  I found the instructions bad, of the vague variety, and they didn't lead to very successful welts because I didn't cut the sides down properly.  For this reason I recommend with these instructions to do a practice welt on scrap fabric so you can understand what they are saying.  It's hard to know what edges to finish, and in the end I had to hand tack the top of the pocket in place - both the top of the pocket inside the jacket, and the sides of the welt outside the pocket, where there were sad huge gaps.  The insides look ok because they hide the messier bits, but it's not a satisfying aesthetic for me.  I've now done a bunch of welt pockets this year and I think I'm starting to itch to FIGURE OUT the welt pocket so I can just do them my way and know they will satisfy me. 


Also, the fit of the body is comfortable, but the sleeves of this jacket are slim cut.  On me, it suits as a spring jacket with a tee underneath.  I would not be able to wear any more layers. The prequilted version felt very very light, and was much looser, so this is an effect of quilting.  Of course I knew that quilting would make it smaller...but it's different to actually experience that fact.  Quilting also makes it feel heavier and more substantial especially with this heavier outer fabric.

For the snaps, I considered using my prym snap kit but I'm very suspicious of the quality.  Maybe unnecessarily - I recently used it on my Landgate and the snaps were perfectly fine.  Anyway in this case I hand sewed snaps in place, and I'm really pleased with the secure feel of them.  


I'm really glad I made this.  Too bad I took so many attempts to get there!  It's not a pattern I found particularly fun, and the fit of it is only ok.  Now, in the meantime quilted jackets have gotten popular and I think there are other patterns that suit me more.  I will most likely try the Hovea pattern next year. 

Saturday, 7 August 2021

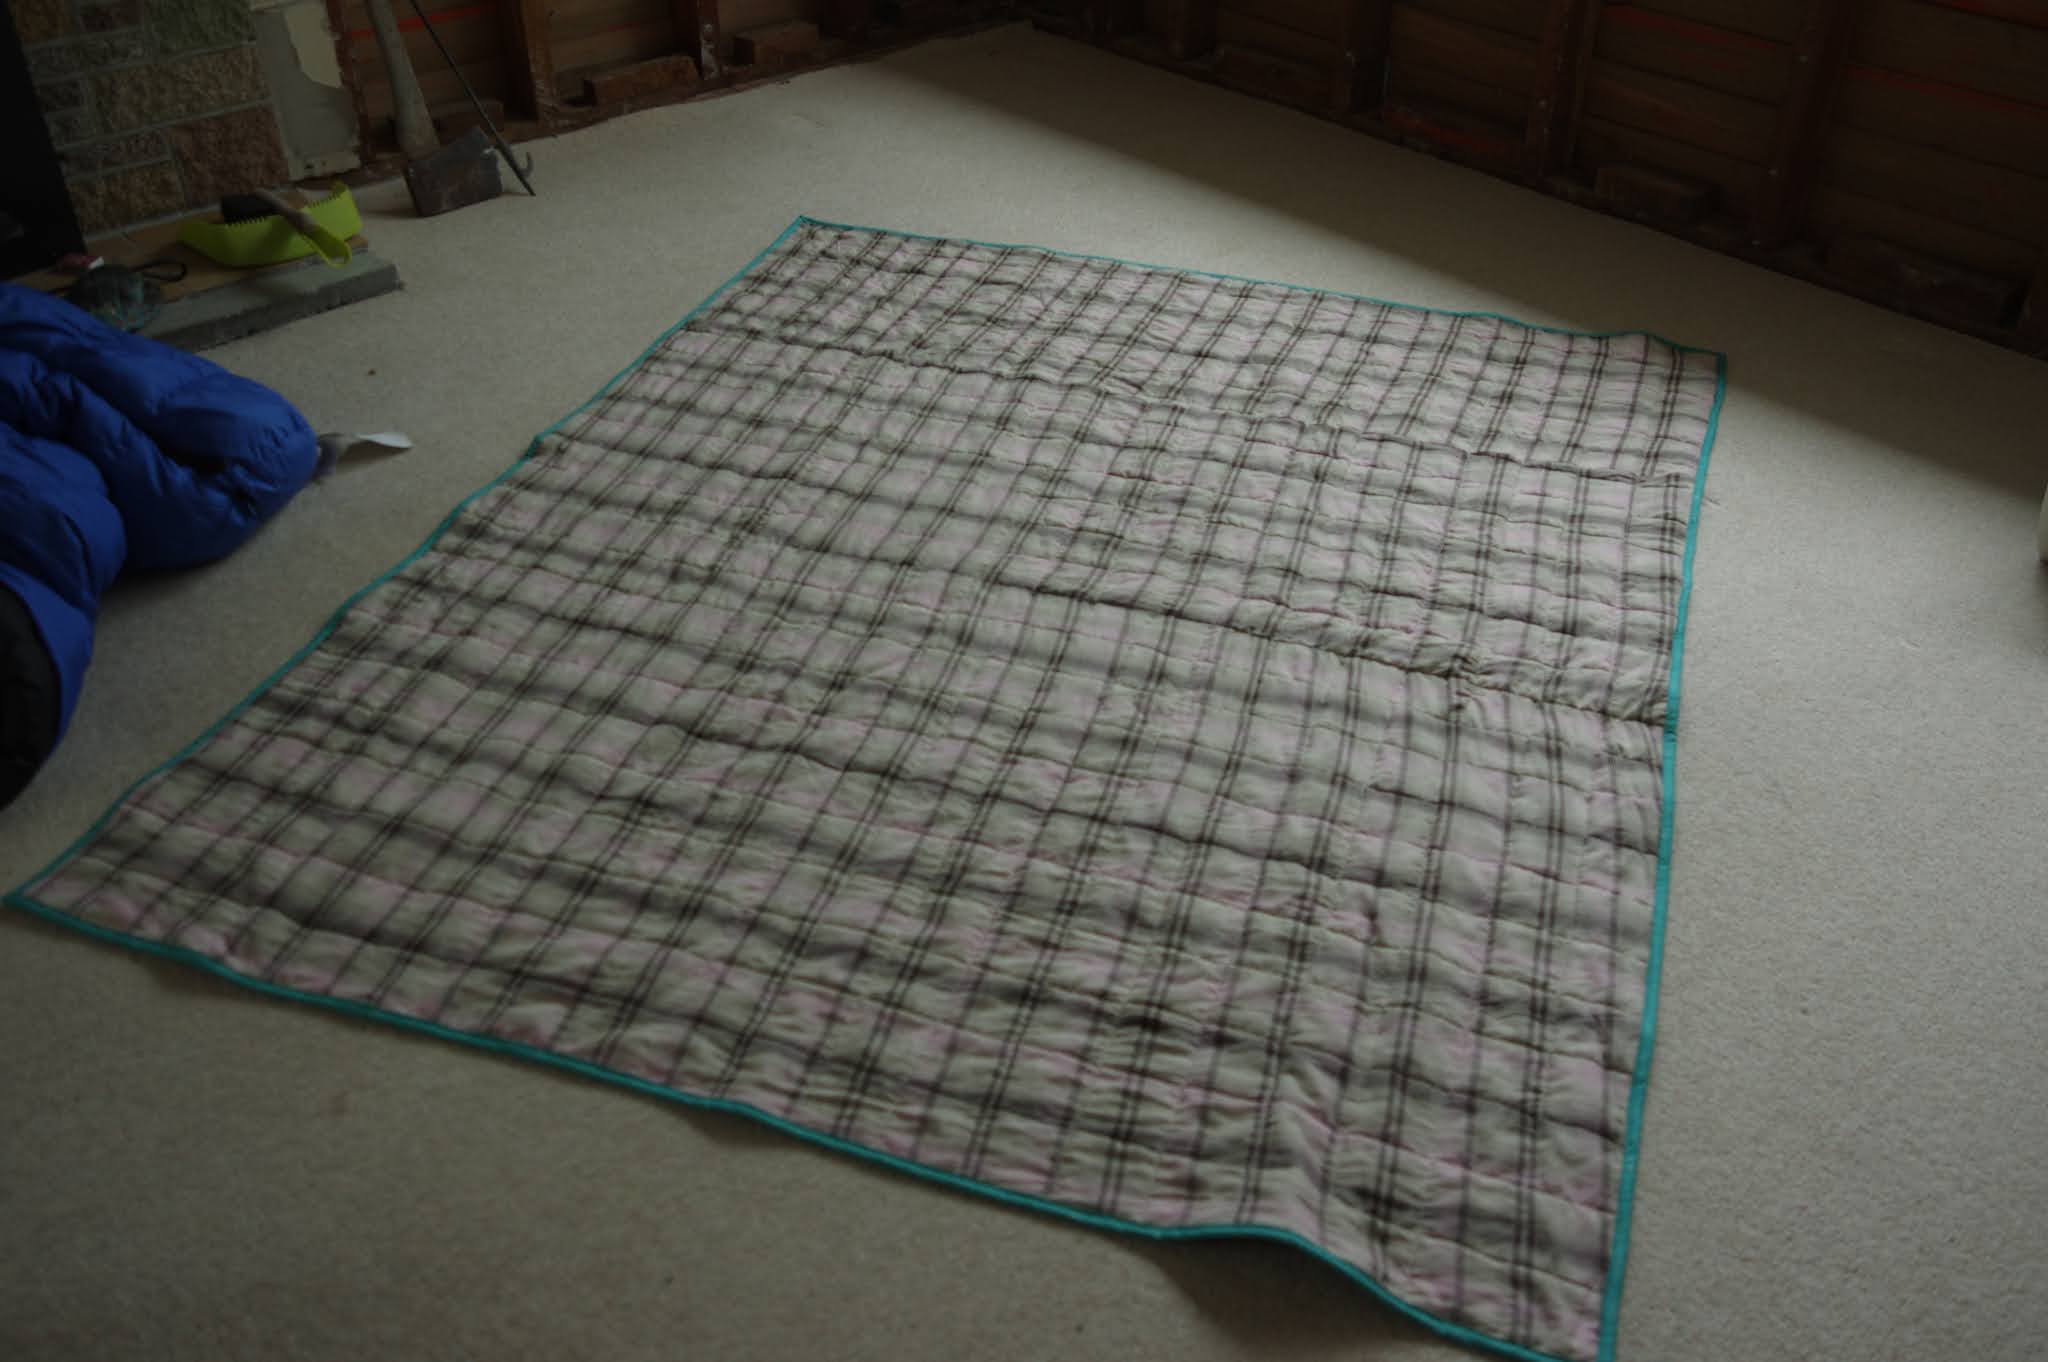
Snowflake quilt, otherwise known as I Am A Masochist

I have heard that there are people out there (like unicorns?) who love both quilting and sewing clothes.  I even know one such person.  Maybe the only one.  And in fact it's her fault that I had to make this quilt, because she made it first and I fell in love, and I felt that sinking dread that only the idea of cutting out 495 3.5" squares could birth. Oh that and sewing them all together with a 1/4" seam allowance.  THAT dread.  


It took about 18 months for me to finally cave in.  I bought the supplies last year: rotating cutting blade, cutting mat, washable pen, 1/4" seam allowance foot (with guide) and a huge pile of batting.  The reason I finally made the quilt is actually because I got sick of that batting taking up my closet space - that and the pile of scraps.  I like a clean sewing space, which is totally ridiculous as my sewing space is a vomit of fabric scraps, and anyway getting this done seemed like a step closer to the unachievable goal of Empty Floor. Also my brother's wife was kind enough to lie and tell me it takes a week for her to make a quilt.  So, bolstered by the idea that suffering is impermanent, I forged onward.  

Discovered that I'd used my white silk to make a dress and then got rid of it and so I had to use velvet scraps to supplement the white.  So now add in: sewing shifty velvet with a 1/4" SA to the list of torture.  It took 3 squares for me to realise this was time for wonder tape to save the day. One roll of wonder tape was enough for every single velvet square to be taped to all its neighbors.  Unfortunately that did leave sticky edges on the front which I suppose will eventually be washed off.  (Neglected to do so before quilting.)

I honestly, truly, did not think that making a quilt would be horrible.  I was so wrong. Cutting out a million little pieces with no room for error was boring and made my hands hurt.  Making the half-squares was terrifying since I didn't have any extra white if I messed up.  Laying it out on my floor was the first bit of satisfaction...then I realised I now had to sew the entire thing together.  It was the most boring sewing I have ever done, and I even started listening to music and podcasts to make the time pass.  I literally woke up with dread for days in a row, pining for a simple sweatshirt project.  But like many things that are TOTALLY TYPE 3 FUN the only thing to do is do it all without hesitation, otherwise it would surely be crumpled into a corner for the next 7 years. 


It took me about 3 weeks, maybe 4 to make the quilt top.  That included a lot of knitting time and surfing time instead of sewing time.  I took a short break then pinned all the layers together with all the pins in my house and left it folded into a little porcupine hiding in the corner. After that, I took a few (3) days months off...mentally thinking of everything that might go wrong with the quilting.  I mainly anticipated stress from things bunching up.

I had also decided to wash all the wonder tape off, but forgot before I pinned all my layers together, so I thought that might make my machine foot sticky.  (It didn't).  I procrastinated.  I sewed all my wips and then waited til I was woozy from night shifts.  That's when quilting 99 straight lines started to sound like fun sewing.  I quilted from the centre out, following the lines of the squares.  I don't know how you're supposed to do it but what I rapidly learned is that you should always quilt in parallel, do not do a perpendicular line to "hold things in place".  That perpendicular line caused heaps of trauma as the quilt bunched up right before it on each row, and I ended up ripping most of it out but rather after it had caused the damage. 

The single best advice I read about doing the quilting was to not worry about it puffing up, that the puffiness is what makes a quilt "quilty."  That really took the stress off.  There are lots of spots which aren't precise, or where it did bunch up, or I didn't catch a tiny fold in the fabric, and I felt ok leaving some of those if they weren't easy to undo.  I would have finished in two sessions (the first being that post night shift one) but I was called in to work extra and it took 3 days.  After that I cut all the edges flush and prepped my non-bias tape.  Yup, it is just strips, no bias!  The cutting (cutting!  What if it turns into a parallelogram?!) and the binding were also kind of alarming and I both googled and asked Tessa how to do it before I bound the edges. She recommended not even trying to hand sew or stitch in the ditch on the back of the quilt, but just to topstitch the back binding down and expect that line of stitching to show in the front.  I did it in lime green.  Honestly as it got to the end it was weirdly anticlimactic.  The hard part was done, the stress had subsided and now...I have a quilt! 


Finished before going on my birthday hiking trip/week away.  This was planned...I will return to a space actually not full of longstanding wips, which I thought is the best birthday present I can give myself.


Monday, 10 February 2020

Tamarack Time at last!

I've been about to make a Tamarack Jacket for about 4 years!  Seriously!  I bought the pattern as soon as a snap front option was available.  I cut it out once.  And then I just didn't believe it would fit.  I couldn't find good binding.  I left it behind and never came back to it.  Then I cut it out again another time.  I decided that fabric was a terrible idea and I ditched the plan. (true, it was neoprene, it would have been horrible.)

I think it is actually too bad I didn't make this back the first time I was prepping it, because I struggled for ages with jackets due to trouble fitting my shoulders. The drop shoulder in this pattern is a lot more forgiving than other patterns coming out a few years ago, and it might have inspired me in different ways at the time.  Anyway now we have so many drop shoulder options, it's no longer an issue!

Third time was the charm.
Fabric is pre-quilted Nani Iro from Miss Matabi.
Size 4.
Binding is linen from The Fabric Store.
I added patch pockets because I still did not TRUST this pattern to fit me, for some reason. I wasn't willing to commit to welts.


To my surprise it was so easy to make.  I sewed the bias tape to the inside first and then to the outside, because I have zero faith in doing it the other way.  I was annoyed by the instructions, hoping there was going to be some really cool method for mitring the bias tape, but in fact the way it has you sew the bias down is pretty cool and definitely effective.


I have a wild idea for a dramatic modification and I've been thinking about it and collecting the bits for months, so there's an underlying plan going on here.  I'm already thinking of another (third) Tamarack, with the welts, maybe even in quilted silk (I have some really precious bits of silk around and it's annoying that I haven't found a use for them yet.)  But my Prym snap kit is not up for the task so then I start thinking about how I need a proper snap setter.  Hm...

Anyway, I'm really happy I finally did it and made a Tamarack!