Showing posts with label knit tops. Show all posts

Friday, 17 December 2021

Friday pattern Co. Adrienne blouse review


I became interested in this top via instagram.  (Specifically when @s.is.for.sew posted a ribbed version, that's it, I was lost.)  I have been kind of put off by the Friday Pattern Co because they are pretty heavily advertised by paid instagrammers, and though I have eventually been curious about a few of the patterns, I like a lot of things.  So it took awhile for me to warm enough to decide to test one of their patterns for myself.  My enthusiasm peaked when I realised people were taking volume out of the sleeves, and that it didn't necessarily go off the shoulders (I can't stand off the shoulder tops.) 

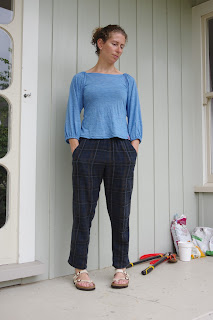
So this top is a knit, relatively fitted and short waisted tee with a boat neck, elastic over the tops of the sleeves, which are billowy and bracelet length, also with elastic.  The recommended elastic is bra strapping, which is genius.  The sleeve pattern piece comes with a line to decrease sleeve volume.  

Fabric: The Fabric store Merino/viscose blend

Size S (It's very fitted so I didn't size down) 

I didn't lengthen or shorten it.  Shortwaisted for the win here! 

I removed 4"  YES 4" from the sleeve volume.  No other mods.  

The way this top comes together is unique.  It is a breath of fresh air.  You get a knit top without realising you've just finished because you are doing different things than the standard tshirt.  Initially I thought the angle where the front and back come together with the sleeve would irritate me (it's a bit bulky.  And it's hard to get even) but once the top is on, you can't tell.  Also, the top is symmetrical front to back so my technique was to try it on and go with the front as the side that looked better as a front.  I um made 3 

First one was a win


Second one is for a friend.  No mods though I experimented with the shoulder elastic being a few mm shorter.  This is the end of the some grey cotton blend from Mood.  Enjoy the weird light as I wandered around my house testing every angle for good enough shade.  


Third one is a tshirt.  I cropped the sleeves at 3".  As you can see they kind of poke out.  For a tshirt, I'm not sure this will be a summer win, it's the combination of quite tight which is too tight for summer and with sleeves that take up space, which doesn't fit under a cardi - but we will see.  I had a catastrophe moment when I cut my beautiful label in half which was going to Make the Top and I had to turn it into a Design Feature.


I considered making a fourth but I thought I should really stop here.  Thus I can say my first experience with the Friday Pattern Co was shockingly positive. The pattern took up very little space, best to print on A4 because it's not even a whole A0 page.  The instructions were great.  The drafting is fab.  No complaints (for once!)  


Friday, 7 May 2021

Cool stitches Eva top review

I saw this top on Instagram and was intrigued.  I've never done an exposed stitching top, and on the designer it looked pretty neat.  So I went for it! 

You do actually pay money for this top, and there are ACTUALLY no instructions.  In fact, I had to text the designer to find out if there are seam allowances and then stalk her instagram to find out they are 3/8".

Good news is that the pattern layout in A0 is really neat and clean. No wasted paper here.

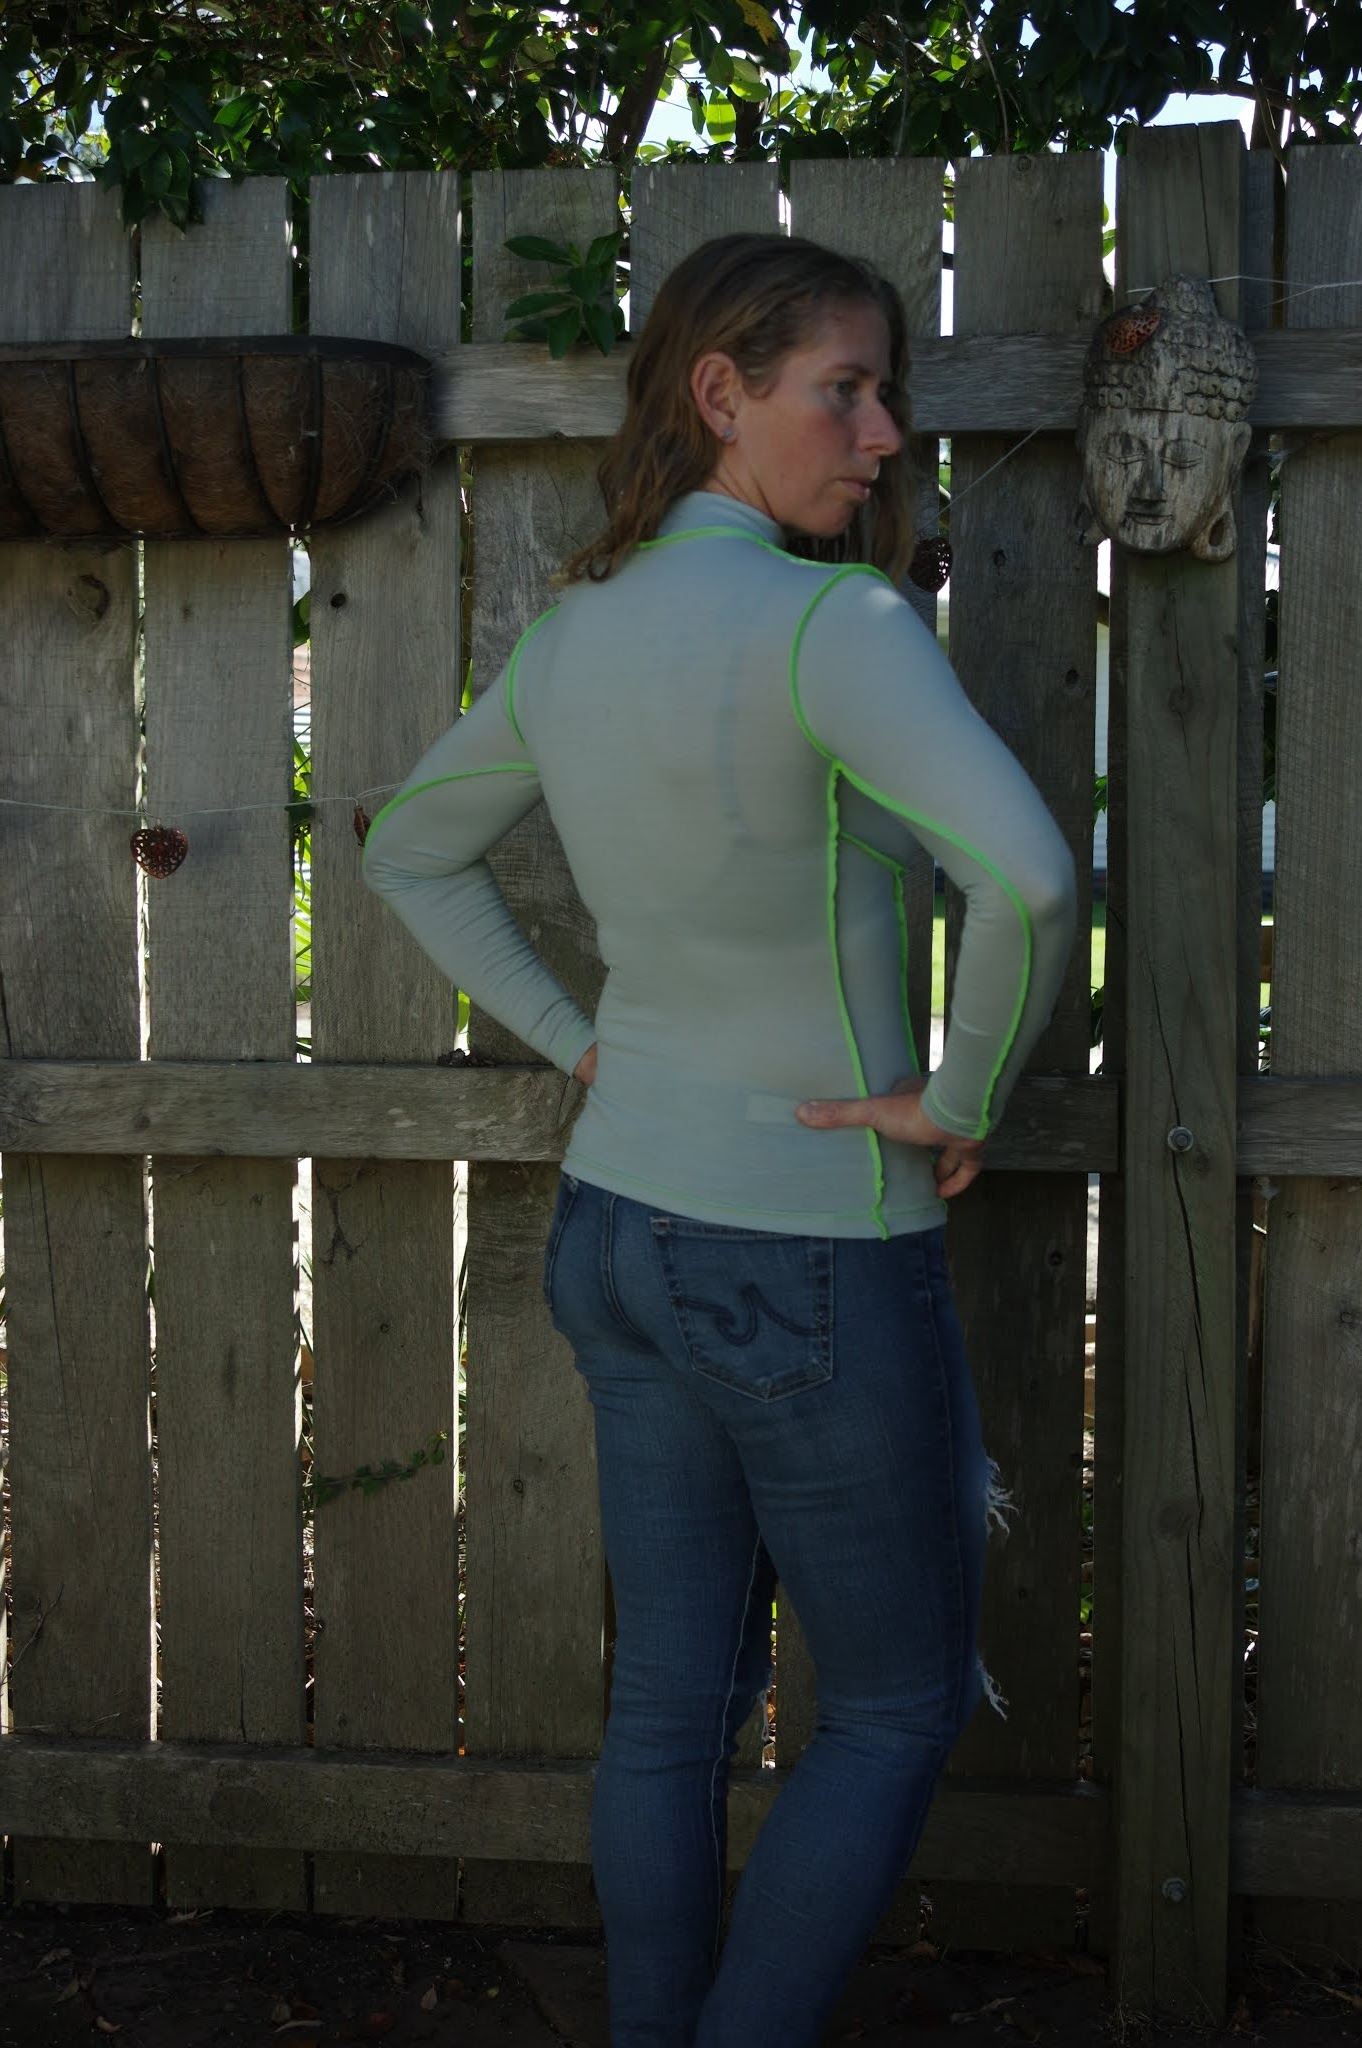
I had to go through a few iterations to get this to fit at all, and it remains pretty unflattering.  I think I did not realise that you should make this top out of a ribbing knit, not out of standard knits.  I do plan to do another one - maybe a tank or tee version with a normal neck, because really I don't like turtlenecks.  

Version one, size XS which is my size on the chart (which is on the pattern print out.) Pretty horrible! 


Sized up to S, and gosh, it's too big and still horrible. I know the stripes are bad - this was 100% a muslin.  I realised that what I needed to do was lengthen the top rather than make it bigger. 


Version 3 is XS and is my final iteration in merino.  I would wear this for outdoor activities when I plan to be cold - maybe as a snowboarding baselayer.  I don't think I would wear it as a fashion item.  


So maybe another version as lately I'm swimming in rib knits. But the initial enthusiasm has really faded. I don't think the booby outline thing suits my shape since I have so many ab muscles my torso is quite thick, and I think overall a pattern that isn't free should come with at least basic instructions.  On the other hand, I wonder if a very stretchy fabric would make this pattern shine - and I am totally delaying trying to flat overlap the pattern pieces and coverstitch them instead of overlocking, but I feel like that needs to be attempted.  So we shall see. 


Thursday, 9 July 2020

Nikko top by True Bias

I have known about the True Bias Nikko top/dress without wanting to make it for a long time.  Winter did it to me, I wanted a high neck!!! 

This simple appearing pattern actually has a different draft for the top and the dress.  It ends up being a HUGE pattern and I'm really glad for A0.  People comment that the dress is looser in comparison with the top.

I started out making size 2 in the sleeveless top.  That matches my measurements except at the hip where it's narrower than I am.  I noted from a few blogs that it is pretty fitted but I was curious just how fitted.  The answer: very.  I won't make size 2 again, but this will be a fine baselayer.  I didn't really like the way the armholes were done so I just put on normal bindings and they were good.  However, I was hunting for a better solution. 


Moved onto the sleeveless size 4.  I liked normal bindings ok but I didn't feel like they were great, but to avoid the issue altogether I made this in two layers of what I thought was see through merino.  The two layers make it a formidable weight though and when I wore it on the south island despite freezing temps I was really warm.  Unfortunately, two layers ends up gaping at the front armscye after a few hours of wear.  It needs something on the armhole to really help maintain shape.  I gave up thinking about this and moved on to....


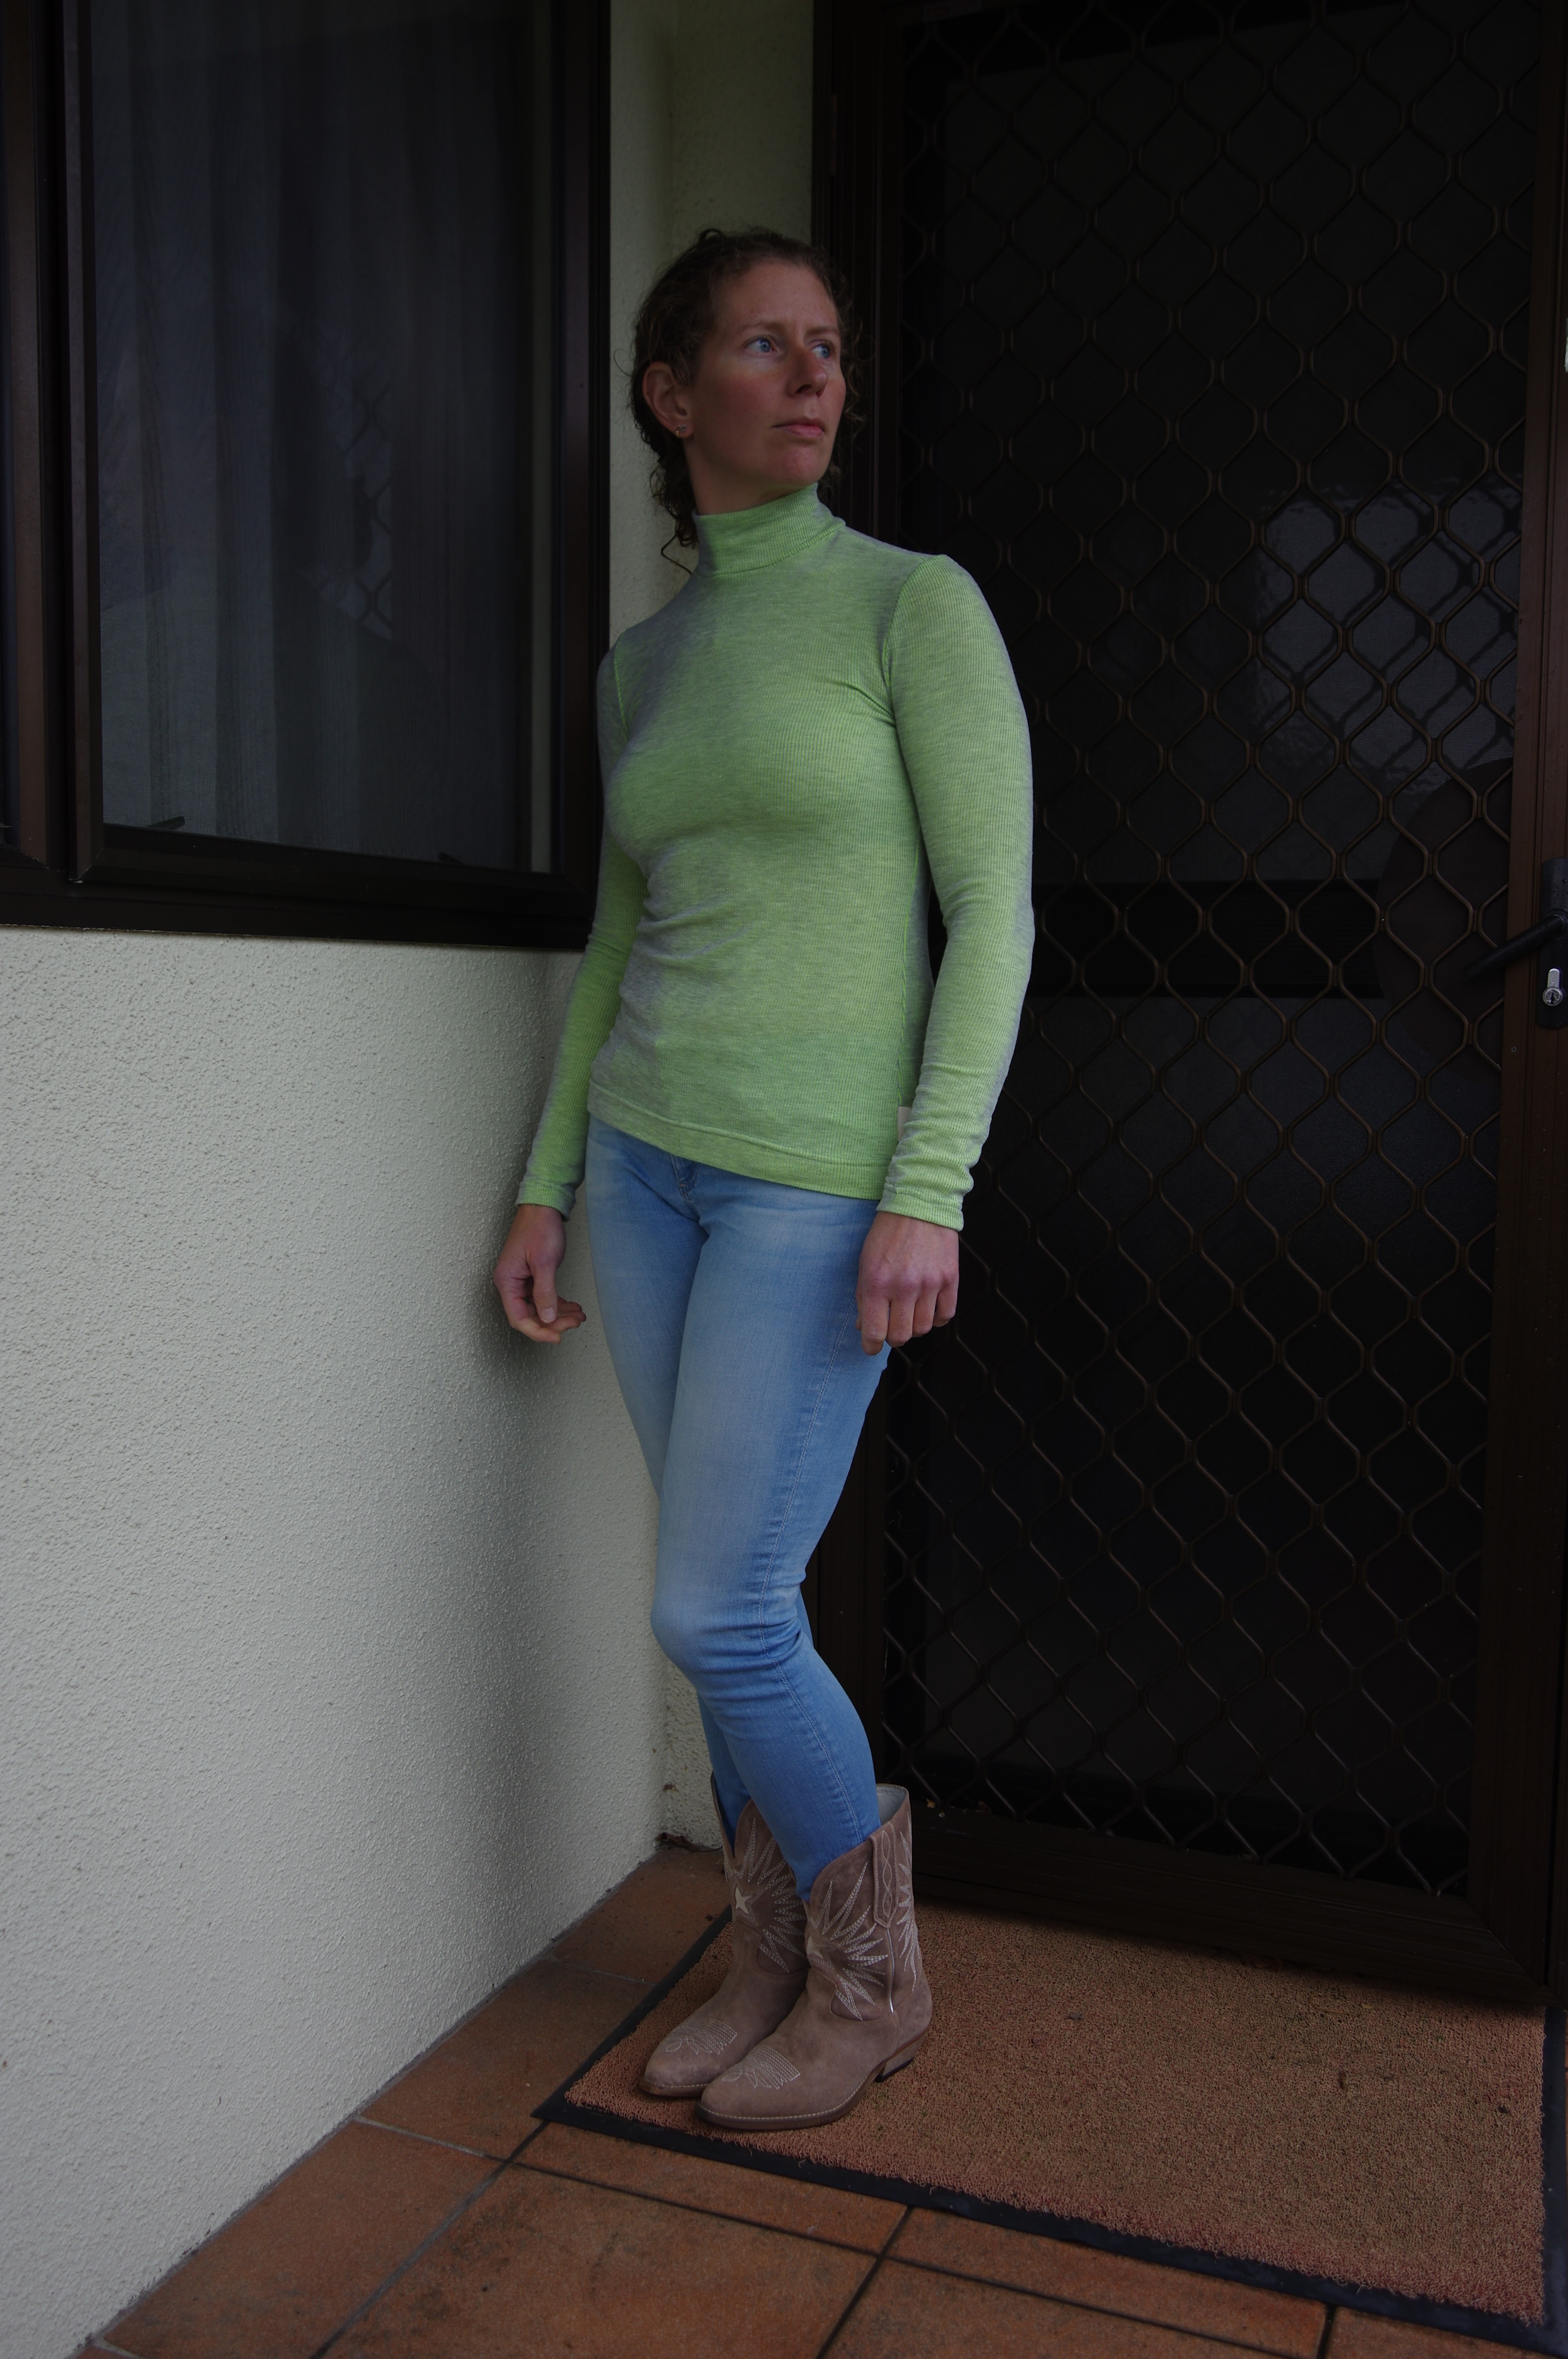
...a sleeved size 4. This fabric is greenish on one side and grey green rib on the other.  I liked the green but ended up with grey out because I thought it almost created a holographic effect I couldn't resist.  This rib, however, is not stretchy as real rib knits are.  This is a super fitted top!  I finally, after literally 5 months of procrastination, plugged in the brand new coverstitch machine and did the hems on this properly.  Sort of properly.  Learning curve in action.


The Nikko instructions do note you should use a *very* stretchy knit.  My size 2, oatmeal coloured fabric is the stretchiest I used and the fit is almost the same as the size 4 in merino.  I think overall the 4 fits better.  

I lost momentum at this point and didn't make the dress.  I think that as long as it really does have more ease, and I'm using very stretchy knits, the size 4 dress is ok but I would debate cutting the back a size 6 from the waist to hips.  Since it's very cold outside this dress has no appeal at all and I will save the plans for spring.  I have some fabric I'm keen to use so I do think I'll come back to it - also after making another relatively narrow skirted dress I am teasing with the idea.  The weird logic of life means I am making all these dresses in the middle of winter and I guess by midsummer I will know if I like them. 

Friday, 8 May 2020

Adventures with Alabama Chanin, part 1.

This took a long time for me to commit to.
When I first saw Carolyn's Alabama Chanin projects, I was kind of like ew, why would you spend so much time on one or two things??  Then at some point I got two Alabama Studio books, one for me and one for my mother.  I'm not sure which came first, but I bought the book for myself when I realised the base patterns that come with the book are really simple.  I wasn't convinced about hand sewing, but I certainly could use the patterns!

More recently I realised one reason hand sewing felt out of reach is because I have no faith in my ability to do it, so I also got the Alabama Chanin hand sewing manual. I thought that having it lying around increased my chances of actually learning to hand stitch and the book does have more detail than the design books. 

Recently, in a totally random burst of enthusiasm, I got a few of the patterns printed out. I have the Alabama Studio Sewing Patterns book.  The printing was quite a bit of effort. The patterns are on a CD.  They are unstandard paper sizes.  My local print shop is very friendly with me due to my frequent A0 service, but for this one I had to stand around the computer while they pulled up the patterns on CAD and fitted them to printable sheets.  So if I have one beef, it's that the patterns should be available for A0 and A4 printing.  The A line dress was so wide that we ended up turning it sideways and printing it across three sheets or something crazy like that.

Unfortunately I was sort of guessing which patterns I wanted, so I ended up with the skirt, the corset, and the A line dress, though I wasn't interested in the dress particularly.

During my recent and amazingly timed trip to the States, I bought a bunch of supplies from Alabama Chanin itself!  I got three colours of organic cotton and the button craft thread that is so highly touted.  Plus I got to do all the prewashing and drying at my parents house, such a luxury!

Now I wish I had bought more thread - I've sourced one place in Australia that sells it too, but they are sold out and seem to depend on infrequent restocking. Also New Zealand is many months behind on receipt of international parcels...

My first project was the A line dress.  I don't really like the green fabric I ended up with, but I thought if I liked the top I'd wear it, and if not I can always give it away.  I wanted to see whether the size chart fit was good for me.  I also wanted a no stress chance to try out the hand sewing.  I cut it in an M, which matches me on the size chart pretty exactly.  I did all the seams on my overlocker.  I top stitched and did the bands by hand, learning as I went along, and I'm happy with the result and getting better at the Cretan stitch.


But: I really don't like this trapeze fit.

Putting the top on for the photos I can see that it fits nicely in the back.  I could certainly play around with this pattern - removing a lot of the trapeze from the front to see if I like it more that way - but I'm planning to make the less flared dress next and so I'll probably leave this one for now.

I moved onto the corset.
I was really excited by the corset!  So excited that I made three in one day!
First, size M, 2 layers.  The problems were - generally too big, gaping in the front, needs the shoulder adjustment, and about 1" too long in the waist.


Because the pieces are so small, and overlocking is so easy, I went straight into version 2: single layer, size S, with the shoulder adjustment and 1/2" removed at the waist.  There are no lengthen shorten lines, so basically I removed length right above the narrowest part of the waist.


My enthusiastic shoulder shortening brought the armhole up a bit too close, and there's still a lot of pooling in the back, but I thought there's also still pooling in the front, so I went onto version 3: Size S, 2 layers, with the shoulder shortened only on the front, and with 1" from the waist.  I'm happy with this version!  Enough that I'm committed to the hand sewing.


Still had to think about how to finish the first two corsets, which, while modelling, I realised aren't that bad after all and do deserve lives as clothing.  I decided to just add normal bindings and I topstitched the seam allowances down.  It was absolute luck that I had an abundance of rib jersey in the exact matching shade.  

Number 1, with green lining, size M:


Number 2, single layer, size S:


This has totally whetted my appetite for more Alabama Chanin. As I get better at hand sewing, and watching my corset come together, it's interesting to see how the item becomes emotional because you have invested more into it!  I'm debating ways of using 2-layer jersey that don't involve an airbrush gun or flower designs. More adventures to follow...