Showing posts with label easy!. Show all posts

Sunday, 4 March 2018

Sew House Seven Toaster sweater in double faced merino

This is one of the final projects that I made last winter before going off to Nepal.  It hasn't been worn much yet but it was an easy make and I really like it, so I expect it will eventually gets lots of wear.

The fabric is double faced merino from the outlet fabric shops in Auckland.  It's dark olive on the outside and a more subtle dusty aqua on the inside.  I went with version 1, and size S.  I loved the inside colour but I couldn't think of any nice way to use it as accents, as the olive is very clearly an exterior sort of fabric - it won't catch on anything, but it's also not as nice against the skin, whereas the texture of the aqua inner is more like usual merino.


A raglan sleeved sweatshirt is pretty simple as sews go.  The fit is good, and I'm glad I didn't bow to temptation to make an XS.  I wouldn't make any changes to this pattern for fit. 

Saturday, 19 November 2016

Grainline shibori Scout & Hemlock tee

In my endless, slow progress toward a well-fitting Scout, this version is for my cousin who is basically the same size as me. (Previous Scouts here, here, here, here)  It's a size 4 at the top, going to a size 2 below the armscye.  No other changes.  It's interesting to see all my trial Scouts in different fabrics, but the main lesson (other than ugh, silk-velvet) was that a shoulder widening didn't improve the fit across my back.  This version is much better.  I will add in a sloping shoulder adjustment to my next Scout...but I'm hopeful that I'm finally nearly arrived at my goal!  

Making a Scout is pretty easy.  I french seamed the shoulders and sides, and therefore forgot what the seam allowance was to set in the sleeves, which I refuse to french seam, but it didn't influence the fit (I sort of went from 5/8 to 4/8 on one sleeve.)  The fabric is a very densely knit cotton that I dyed about 2 summers ago, using shibori techniques. 


And I've been looking for some kind of ideal, exciting knit top.  So finally I got on the Grainline Hemlock bandwagon.  Because it's free, and the dropped shoulder started to appeal to me.  But I think this top needs a fabric with less body.  My version is just...ok.  I did what I could to make it wearable, aka I added cuffs to the sleeves and shortened the body by 2 inches.  I might make another one in a lighter weight jersey and take 2" out of the center front and center back to narrow it a bit.  Not sure yet. 


The fabric for this, as boring as it may appear, is actually interlock weight organic cotton from siebenblau in Berlin.  I love their website but they don't ship abroad, so during a recent trip I allowed myself to buy a few pieces of fabric there.  It was overwhelming!  There's still so much I wish I could have from their website!! 

Tuesday, 21 July 2015

Tilly & the Buttons Miette skirt, a stripe-matching fail

The Miette skirt by Tilly and the Buttons became interesting when I saw Winnie's version.  I am not a bow kind of girl.  I do love an A-line skirt, and I was willing to give Tilly a second try although I still think the Delphine skirt is just weird around the waistline.

I also thought this would be a great chance to make some chevrons, even though I VERY RECENTLY, in the great scheme of things, suffered through and failed on plaid matching on my Waffle jacket.  The fabric is poplin from By Hand London's fabric printing startup, printed with a tiled and reversed sunset taken off the west cost of New Zealand's south island, at Hokitika.  The fabric is very stiff but the picture came out super well.  It seemed to go well with a stable and non-transparent skirt.

I spent ages cutting this out.  I used chalk.  It took days.  And it was a total fail.
Inspect my side seams and cry.  Why are they so amazing when the only place where it mattered is a complete fail?

After hiding this under the table for a week I sucked it up and finished it.  Maybe someone clueless at the op-shop will like it?  Are there people clueless enough to like unmatched chevrons?  It made me consider headless photos.

Here they are, head included.

Meditate on that.

You can't even SEE the seam!

So WHAT HAPPENED HERE???


The pattern again has a sharp angle at the top of the skirt and then an absurd, non-curved waistband.  I still find it irritating but it is not as high as the waistband from the Delphine.  I cut a size 3 and didn't cut the waist ties, just finished the waist bits at the end.  I was going to apply snaps but just went with some velcro instead.  I think this makes a cute skirt actually!  It is very easy to finish and the poplin pressed crisply, which helped.  I am considering using a scrap of raw silk to make another one.  However, this skirt is super long.  I cut off a 5 cm piece at the bottom, hemmed it badly at about 4 cm and I would probably optimally just shorten it when cutting by 20cm so that it doesn't hit below the knee. I am 5'4'', was this drafted for someone 15cm taller than me??

Wednesday, 22 April 2015

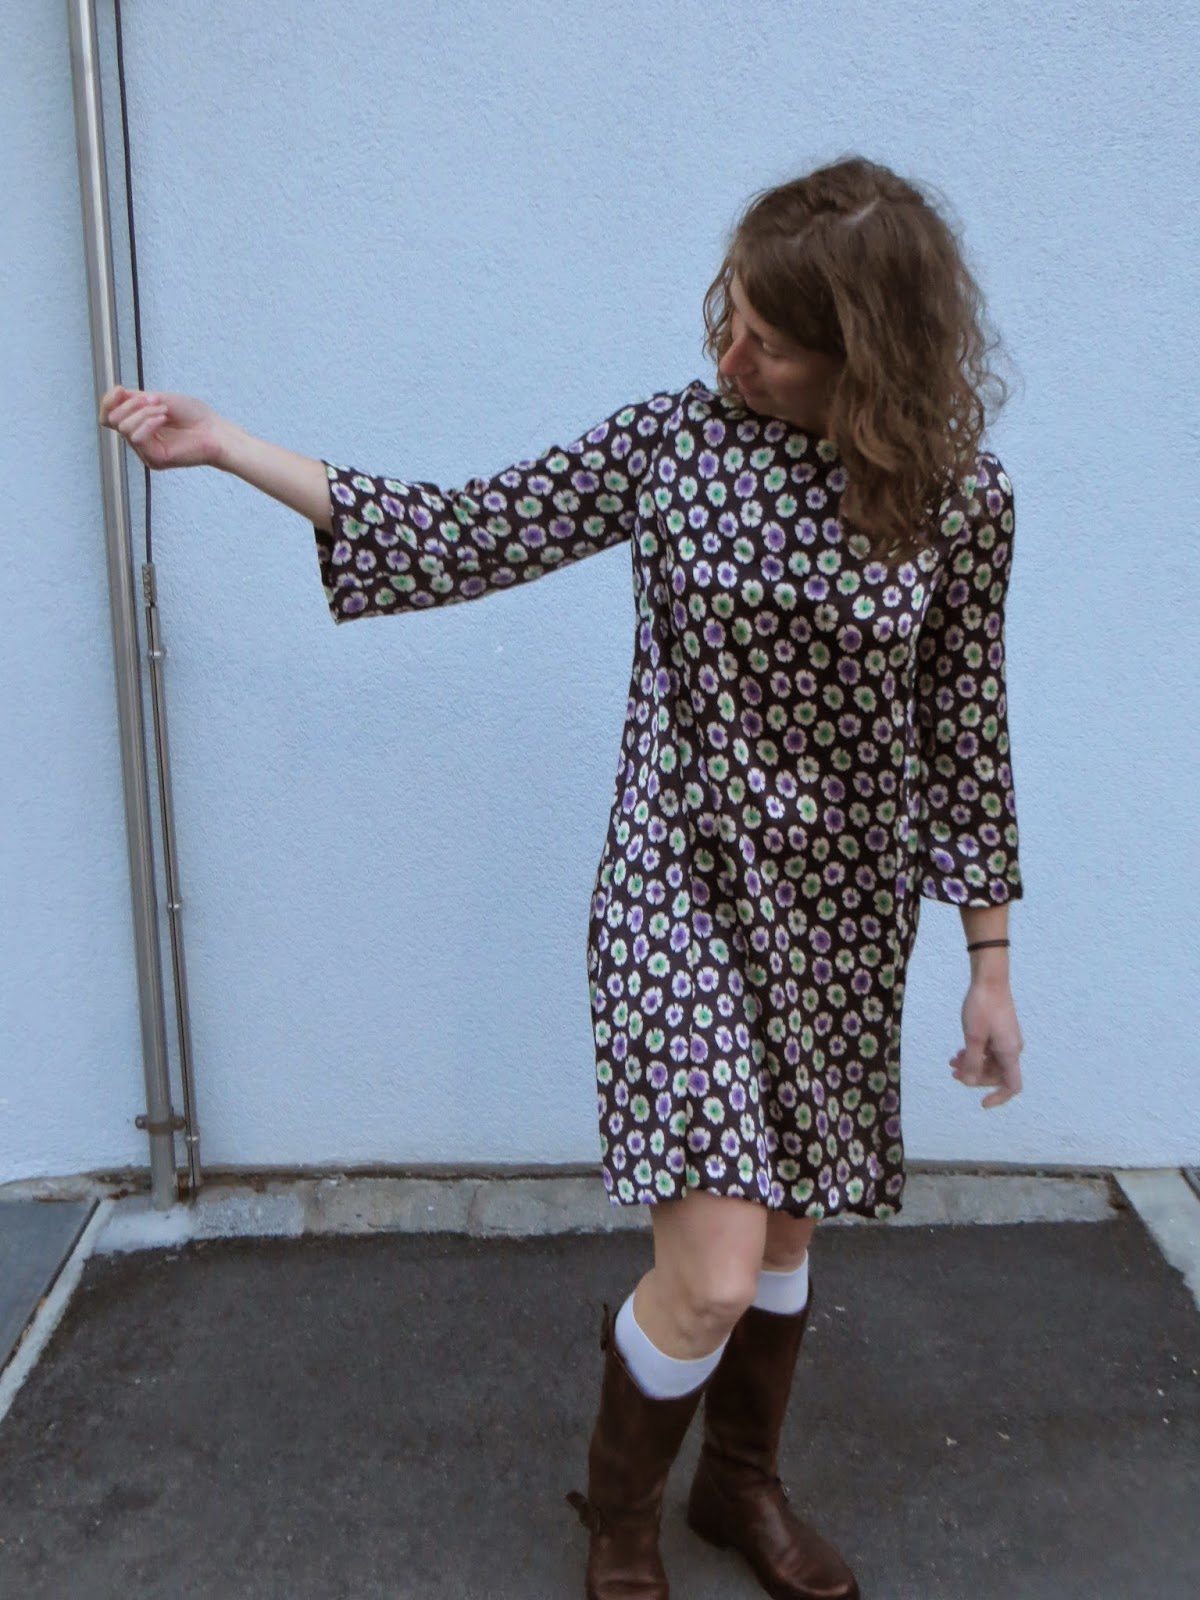
Merchant and Mills Trapeze dress

Some ironies with this project. I compared it to the Camber set *at length*, (it is quite different!), made a muslin of the top, did a shoulder widening adjustment, and then realised my amazing fabric had so much stretch that I would be better off with the narrower shoulder.  Then I applied the pattern to my fabric and determined that even shortening the dress 6'' there was no way it fit on 1.5 meters of fabric...

So I ended up, after these labors, cutting the normal pattern, size 10, with no changes, from some Marc Jacobs charmeuse that I had lying around and was tired of looking at.  The charmeuse created most of the challenges here.  I french seamed the sides and shoulders, applied the facing, which then of course refused to lie flat, and then the sleeves, with really little trouble (I stopped french seaming by then, too much trouble for the sleeves.)  There is a funny little sleeve insert which required a bit of effort (and is my favourite part!)  Overall this is such a shapeless, floppy kind of dress that I doubt the relevance of any small irregularities caused by my charmeuse slipping away from me. Or maybe the IDT was doing its job.

Hemmed the rest of about 7'' off the length. I don't love hemming so my technique is to spend as little time on it as possible.  This time it worked out.  The wide hem and the wide sleeve hems match, and although on certain spots my stitching is not totally straight that was me, not my machine.


This was fun.  It could be done in one evening. I think the facings suck because they always do and I would never use them again.  This one could easily accept a bias tape finish.  The result is...sort of cool in a hippie way.  Maybe I'll find somewhere to wear it and then feel like it's totally me, but I am not used to having so much fabric between the bust and hem.  I think it can be quite flattering, and the silk because it keeps sticking to me, then flowing away, creates very nice movement, but just a bit of me wonders if it's too middle aged lady? Pregnant lady?  Trying to hide something lady?  Not sure yet. I wore it to dinner with my friends (hence change of scenery photos!) and they reckoned it looked very sophisticated so it can't be too bad but I'm on the fence as to whether it goes in my 'keep' pile or my 'friends' pile.

Sunday, 13 July 2014

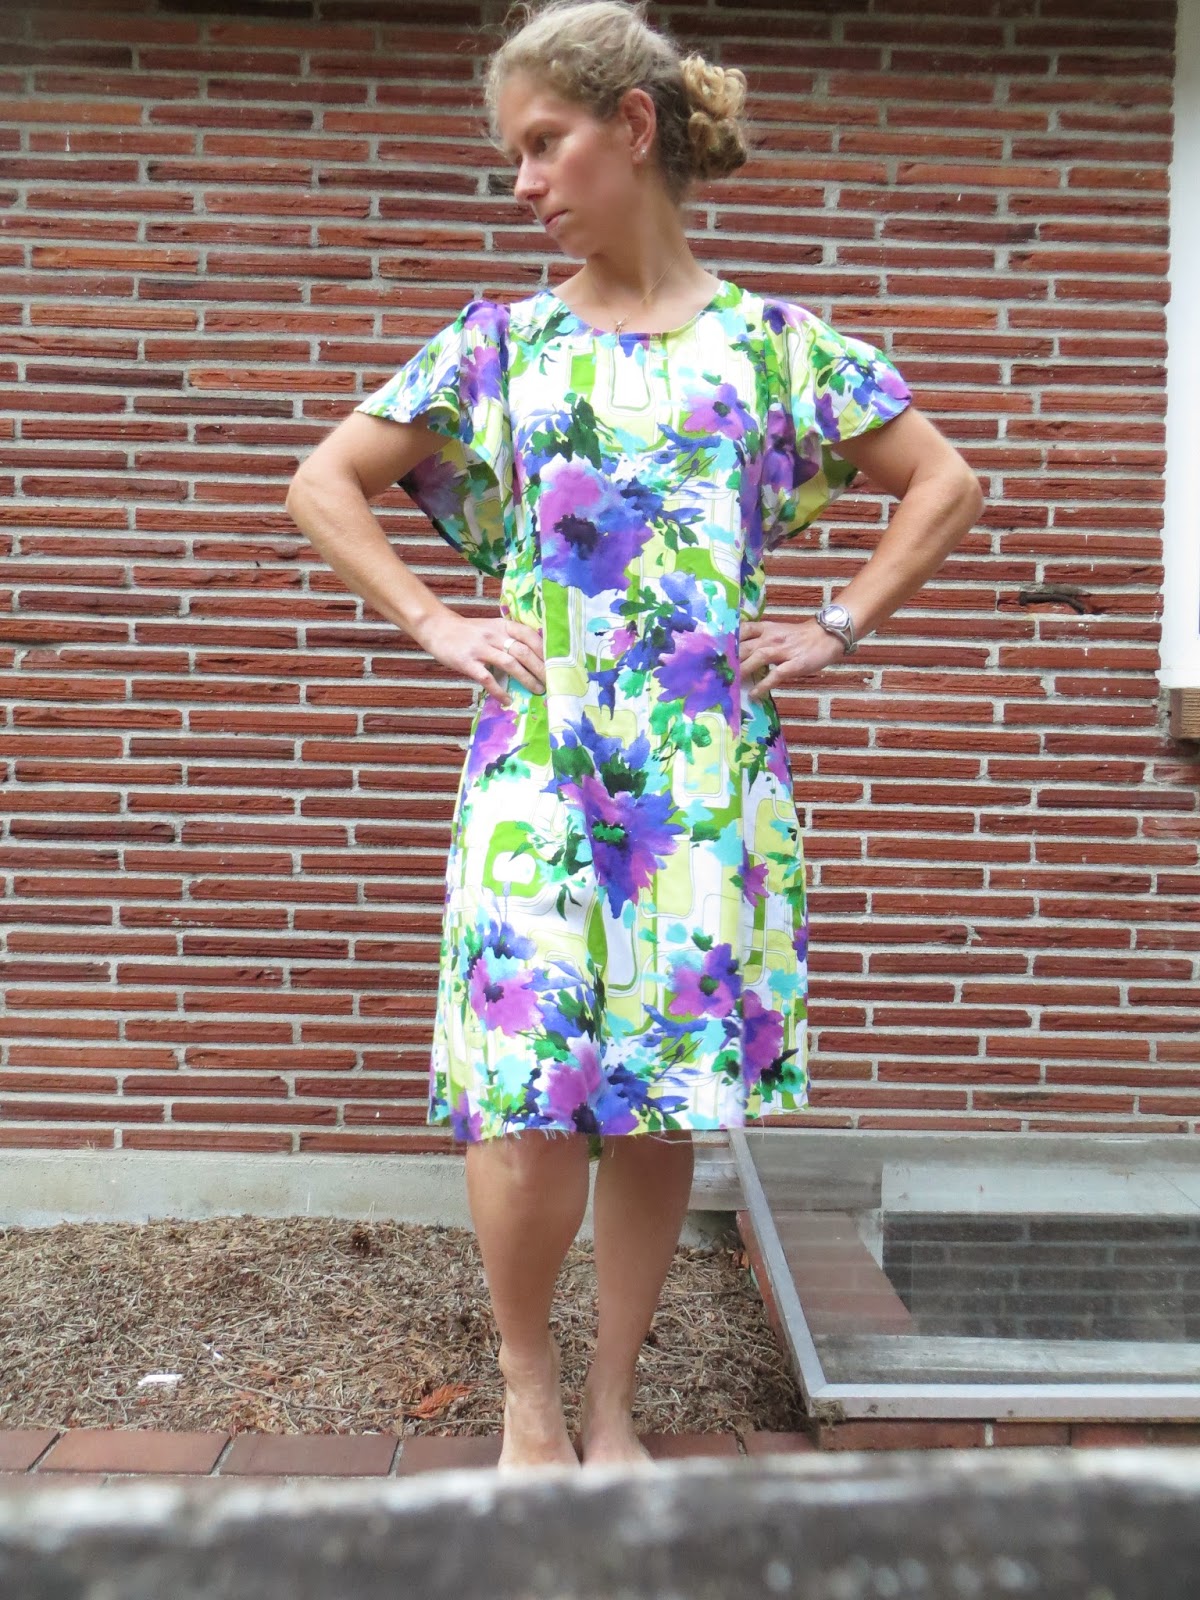
April Rhodes Date Night Dress (aka muumuu)

I planned to ease myself back into sewing when I returned from Arizona.  I thought this dress would be the way to do it.  It's listed as easy, for beginners, and only has three pieces (front, back, sleeve) and no darts.  Initially I bought the pattern together with this amazing 1970's flowered rayon at Pacific Fabrics, intending to use the fabric to make the slip that comes with the pattern.  I had eyed the dress online, and read through some of the reviews. 

When I realised the slip is extremely basic, I changed my mind and thought I'd just make the dress itself.  I didn't recall anything particular from the reviews, although if I had I might have shortened the dress a bit - most people rave about it! 

The rayon is a wonderful, no-stretch woven with a great drape, and was actually a bit difficult to cut - my floor is sometimes quite slippery and it makes cutting slippery fabrics twice as hard as it would be on a table.  (And yes, I am cutting everything on the floor these days...love the impromptu setup...not...but at least I get loads of natural light that way.)  Since I had planned to make the slip, I had just barely enough fabric for the dress, which obviously uses quite a lot more with its huge, long shapeless skirt.  I cut a S based on my bust measurement and should have cut an XS. I had measured the length and double checked the pattern, which says finished length is 27", but I didn't realise that was a front measure instead of a back measure.  I could have saved some fabric if I had noticed that as the pattern piece itself was really long, and in fact the finished dress came halfway down my calves prior to hemming. 

The pattern was hard to get used to.  As a "super-beginner" pattern, it has color pictures denoting what to do and walks you through every step of a french seam...on each seam.  And that didn't help me at all, too much information?  I still did one sleeve inside out, and the side seams inside out, and didn't notice!  I will blame being sick - recovered from a feverish laryngitis and clearly still pretty dizzy, which is why it took nearly a week to get this baby put together. 

So seams notwithstanding, when I finally tried it on I realised my worry about the pattern (it seemed huge) was spot on - it was a huge shapeless muumuu.  I don't wear belts so I had zero interest in belting it.  I love the fabric and didn't want to waste all those french seams...I knew I had seen a shirt version somewhere - here it is: Jenna's shirt version, and I knew right away that was the way to salvage this.  So I went ahead and redid my entire sleeve the right way, and then experimented with narrowing the sleeves, but that didn't work and I took it out.  I ended up cutting the dress to make a shirt, just guessing about where I wanted it, and then I took a pie shaped piece out of each side seam (total 2" out at the bottom, I'd guess.)


I know everyone has liked this pattern.  Most people also seem to agree that it truly is beginner friendly.  My issues, other than the drawn-out detail on french seams, was that every hem is rolled.  The sleeves have a rolled hem.  The hem itself should be rolled.  And the technique for doing this is one that has consistently failed me - to fold at 1/2" and iron, then fold that in again and iron the smaller fold, then tuck them together, before you pin and sew.  I might just be bad at rolling hems of all types, but it seemed like a crappy technique to call "beginner."

This dress is a bit out of my comfort range, because of the flowy sleeves and the generally flowy dress.  I can see on other people that it is not inherently totally shapeless like it was on me, but my first try with it doesn't convince me to make it again.  I do, however, quite like the top that I ended up with.

Monday, 7 July 2014

Papercut Anima lounge pants

I made it about 4 weeks in Arizona without sewing.  I planned endlessly.  But I did not sew.  Then I caved in, of course.  I wanted something that would reliably arrive on time and so I settled on the Anima pants since they were a pdf and I knew any knit would work.  I was curious about them.  And Mood even ships to the middle of nowhere in about 48 hours (amazing!  But the hospital hid my package from me for a further four days...)  However when I was buying supplies in Flagstaff I was "not in the mood" to buy the elastic.  I can't harp too much on how stupid of a decision this was.  Everything would have gone smoothly if I had taken the extra 15 seconds to walk that box of elastic over to the checkout counter...

My fabric from Mood is a boring-appearing double faced cotton jersey.  One side is almost terry cloth like (I put that on the outside) and the other layer is ultra soft cotton.  The ultra soft side is prettier but I was going for ultimate lounge-potential.  (As you can see in my pictures, I will not win any style awards if I walk around in public in these.)

I cut a size XS, which is my usual in Papercut.  In this pattern your waist measurement can be modified when you cut the elastic, and I cut it a bit longer than the recommended 27.5 inches because it was so stiff.  I remembered what Sonja had written in her review and I shortened these by about 3 inches (the height of one of those advertising postcards in magazines...I didn't have a measuring tape.)  I am 5'4" and the fabric was too thick for me to desire a bunch of folds at the ankles.  In fact I think an XXS would have been reasonable because they are pretty roomy, and the extra fabric created by the pockets adds a lot of bulk in my thicker fabric.

I sewed these up on a friend's Kenmore sewing machine.  It was amazing.  The machine looked similar to my Janome but with lots more options.  If I had time to read the manual I might have been tempted to try some of the faux-overlocking stitches.  I cut these pants out at lunchtime, and I sewed them before dinner.  Total time was about 2.5 hours.  That was up to the point of installing the elastic, of course.  I was very sad not to get to finish them (I wanted to take exotic pictures on the mesa...) but I had to wait til I got back to Seattle and got some elastic.

I'm not sure if it's the only kind of 2" elastic but the stuff I have always found is disgusting.  It's very rough, hard to stretch, and I would never want it against my skin.  It is better in the Minoru but not very pleasant in a pair of lounge pants.  I have seen softer elastic in other sizes.  Is elastic best sourced online?

Anyway so I finally settled in to do the waistband and it seemed very very wrong to me that the elastic is supposed to be sewn to the edge of the band - when it's flipped that will be a rough edge on the bottom inside of the waistband.  I distrustfully left a 1cm band of fabric at the edge.  When I flipped the elastic over I thought I could tuck that underneath.  I was quickly disabused of this notion.  The work of pulling that monster elastic straight, while keeping my poor 20$ Necchi sewing, was itself too much.  Not to mention that it was no longer topstitching or stitching in the ditch at all.   I left the extra fabric loose and followed the instructions.  (Maybe I should have done this from the beginning?)  Now my waistband was a little narrower and I was topstitching straight on the elastic.  I added the two decorative layers as well.  The instructions say to make sure you dont stitch on the elastic in this step, but for me it didn't matter since I did not want the drawstring or the buttonholes and had skipped them.


In fact, these are rather high waisted on me.  So when I flip over the waistband it is very comfortable and has this nice frill...

These are so ugly on me that I'm not immediately convinced to make more, but in a slightly lighter weight fabric, and with an XXS they might be less bulky and unflattering.  Also that waistband really doesn't match the fabric - it's almost painfully stiff, and the fabric is sooo soft.  It would be a lot of work to take out, but I may consider doing that anyway and putting in a 1.5 inch soft elastic instead, which would also lower the waistband a bit (it's too high for lounge pants.)   Despite the gripes, they are comfortable.  


Thursday, 29 May 2014

Drape Drape 2, no 4 in stripey rayon

I bought a bunch of lovely fabrics to make into these tops - I was really surprised to find a variety of interesting rayon blends at Joann Fabrics, and they were all cheap.  But I thought I could eke out 1 meter of fabric...for a one piece pattern that calls for 1.4 m?  Oops.  That didn't work.  So this is the only fabric I had enough of.  It's a nice drapey rayon, with quite a bit less stretch than the cotton that I used for the first version.  It's a bit heavier as well.

I was going to raise the front neckline, but totally forgot.  Also, I had the fabric face down on the floor, meaning that the drape moved to the other side.  I forgot that a non-symmetrical pattern can't be flipped over at will...luckily I didn't care about the drape side.

I was going to do a nice Renfrew style neck binding...but I again forgot my sides and I sewed it to the inside.  Sigh.  I folded it over and sewed the edge down just to have a clean binding but it still looks rather nicer on the inside than the outside.  On this version I made an effort to clean up all my seams, because my first version feels very flimsy.  I still didn't sew the bottom at all since it is snug.


It ended up a bit tighter.  I might loosen the opening for the drape side armhole next time so that it doesn't cling to my arm.  It's still amazing!