Showing posts with label sewing. Show all posts

Monday, 10 November 2025

Les Lubies de Cadia Cosmique Jacket


What a pattern company name!  I discovered this company thanks to Me Made May.  I immediately fell in love with 3 jacket patterns and couldn't decide where to start.  So many exciting pockets!  I don't have a hankering after any of this designer's other patterns but oh, these jackets...

I finally chose Cosmique and only bought one to start so I wouldn't get overwhelmed.  

Then I had to decide on the fabric, I had a number of contenders, some pink twill...grey denim long hoarded...corduroy...but I recently bought a number of exciting denim blends from Miss Maude, and the most precious of the lot was 2m of linen denim.  It is clearly unique - has a cool and crispy feel like linen, and is shifty as well.  Drapes very differently to a normal cotton denim.  When I unfurled it after washing I knew this fabric had to be a jacket.  I also knew if I waited too long it would turn into one of those stash fabrics I'm afraid to touch.  So I u-turned away from the corduroy and went with denim.  

Sized down to 34 

No pattern mods 

But suddenly I'm making a denim jacket, replete with topstitching I had not bargained for. This turned into a full week project.  I used Guterman Mara topstitching thread in off white. It is a lighter topstitching thread than standard and is easier to work with - my machine will backstitch with it.

I found that the pieces came together very nicely but that the instructions didn't provide details that could improve the final garment.  I used a lot of instincts from jeansmaking.  The first big hitch was when the instructions say to double topstitch the horizontal line created by the pocket piece.  This is impossible if you are genuinely stitching down the seam (since you aren't going to sew the pocket shut). A decorative double topstitch could be done by flipping the pocket out of the way, but then the point of the stitching (to strengthen a seam) would be lost.  I mulled this over for a day then decided to stitch up to the pockets and put rivets at that spot for support and to cover the end of the stitching.  I was sad how much of the pocket depth is lost by the hem.  I would preferentially shorten the jacket an inch above the pockets and put that inch at the bottom, so the pockets would be deeper.  They also are a bit far back - they are only the back half of the bottom piece.  It's not too bad when wearing the jacket but my instincts would like them a bit further forward. 


The funny cut out notch at the top of the placket was puzzling when I was reading the instructions, but easy to do and made it much easier to put on the collar.  I LOVED the tower placket for the sleeves.  But I sewed on the sleeve cuffs and the placket as though I were doing jeans - I folded the back side under and topstitched.  I did this on the collar as well, accepting that there would be stitching in the ditch that shows on the back of the neck when the collar is up - it is faint as my thread is a good match, and also thread sinks into this fabric.  Even the top stitching is relatively subtle.  I also cut the undercollar a tiny bit smaller, and I sewed the collars together from the middle out, which helps it to sit better.

I mulled over my closure plan, but truthfully there was no choice.  I have a great snap setter and horrible buttonhole makers.  I had no problems setting all my snaps - youtube provides amazing straightforward videos for each option the Kam snap press has.  I also have new adorable mini rivets and I used those for the pocket support.  Once I finished them and put the jacket on I realised that I had done the snaps backwards...but actually I don't mind for once.  

I spent a lot of time on each step of this project (days!) thinking through the instructions and my goals, and it shows.  I LOVE this jacket.  I think the instructions are threadbare, but I was very happy with the drafting itself.  I look forward to my second jacket pattern by this company (and I already know which deep stashed fabric I'm using...exciting!) 


While making the Cosmique I realised I absolutely must have a pair of high waisted summer shorts out of this fabric, as I have a heap of cropped tops and nothing to wear them with - luckily my leftovers were easily enough for shorts, and my machines were already threaded with all the right threads...so I had no excuse but to move onto that right away.   

Friday, 24 October 2025

She wears the pants: draped cardi take 2

 The first version of this cardi was oddly bewitching. See it here. 

I wasn't sure whether short sleeves made any sense. The pockets were low, the cardi was ridiculous.  But something about the flow was very interesting.  A classic Japanese pattern result.  I thought at some point it would be interesting to come back to it with the recommended fabric.  I traced the pattern in size M and didn't, at the time, think that a smaller size would be better if I made it again. 

That moment arrived not too long ago when a friend made a comment and suddenly all I wanted to do was revisit the Japanese pattern books.  I dug through my knits and realised I had a beautiful coral linen knit that would be just the thing for this cardigan.  I thought I could improve on it by shortening the length horizontally above the pockets - this is easy enough to do by cutting and overlapping the pattern.  I also thought it could have something more in the way of sleeves with larger cuffs.  

Sewing it together was no problem.  It's an easy sew once you've done all the tracing work. 


But to my dismay the adjustments I made to the pattern were really unnecessary.  I don't think the extra sleeves are useful, they are loose and just hang in the way.  The linen is quite heavy, even if it's not heavier than the rayon blend I used the first time, and I think the change in length is superfluous - I do see it's shorter in my photos, but it didn't really feel shorter while wearing it.  My lesson here is that the Japanese pattern designers know best!  It's really hard to actually improve on their designs.  And I should probably try the smaller size if I make this again.  I wonder how it would be in a more lightweight knit that doesn't pull it down as much.  

Friday, 27 December 2024

Louis Antoinette Janis jacket

 It's funny how sometimes I have to actually settle in and sew a lot of variations on a theme, and then I come out of that space and look at those items and how they FEEL on me and I say OH!  I really *don't* suit this style!  All the dreaming about pattern and fabric combos doesn't prepare me, at least (maybe you are different) for the reality of the item.  And despite it being my 11th year sewing, I'm still constantly surprised by what I really could just skip making (if my goal is to curate a wardrobe for myself, which of course is not always the point.)

Hehe 

So I got this pattern in 2015 when I lived in Switzerland.  I was really super keen.  So much that I did a wild, unheard of thing: I made a muslin.  I made notes on the pattern about the crappy fit, didn't blog it, and moved on.  I just did NOT know how to deal with my shoulders.  

Now this fabric.  While I was sewing I realised it would have been great pants, oooops but in the past few months I had mentally attached it to the Silvia Coatigan.  And despite having the pattern printed out and ready, I hesitated.  Something was not right.  While riffling through my patterns I saw this and thought it was a much better fit for the fabric than the Silvia, so that has been folded up and put away.  

I was left with my cut out pattern pieces - size 38, still what I would choose now, and these vague instructions to remove 1cm at the bottom of the armscye.  I figured it must be my sloping shoulders, and the instructions I gave myself are consistent with a sloping shoulder adjustment. Luckily all these adjustments can be done to the cut out fabric - so I removed 1 cm from the front shoulders at the sleeve edge - just cut off a triangle tapering towards normal at the shoulder seam, and I recut the front armscye  1 cm deeper following my old, mysterious instructions.  

This was a really fun pattern to sew together - it's simple, the fabric was well behaved.  I took the time to topstitch a lot of things down (the pattern didn't instruct on finishing) and I added a little hook for a button since I hate things that can't be shut.  I was very surprised by the great fit.  My shoulder adjustments worked!  I even learned how to catch stitch the hem up.


It's winter and this is a light jacket.  The sleeves are slender.  I can fit one layer under it.  Thus, this is a jacket for a very different season, and I suspect it will go into my collection of cool jackets I like, keep and never wear.  (Like my jean jacket, my Deer and Doe Nenuphar, and the adorable Waffle Dropje vest that I keep thinking of adding sleeves to....)  I think I need to actually just step away from all the blazers.  I have bought blazers and then sold them.  I have made blazery type things and then gotten rid of them.  Non-structured, woven layers just don't seem to make much sense to me if I can't zip them up.  But anyway, this was fun to make. 

Tuesday, 18 June 2024

Sew Liberated Chanterelle pants review

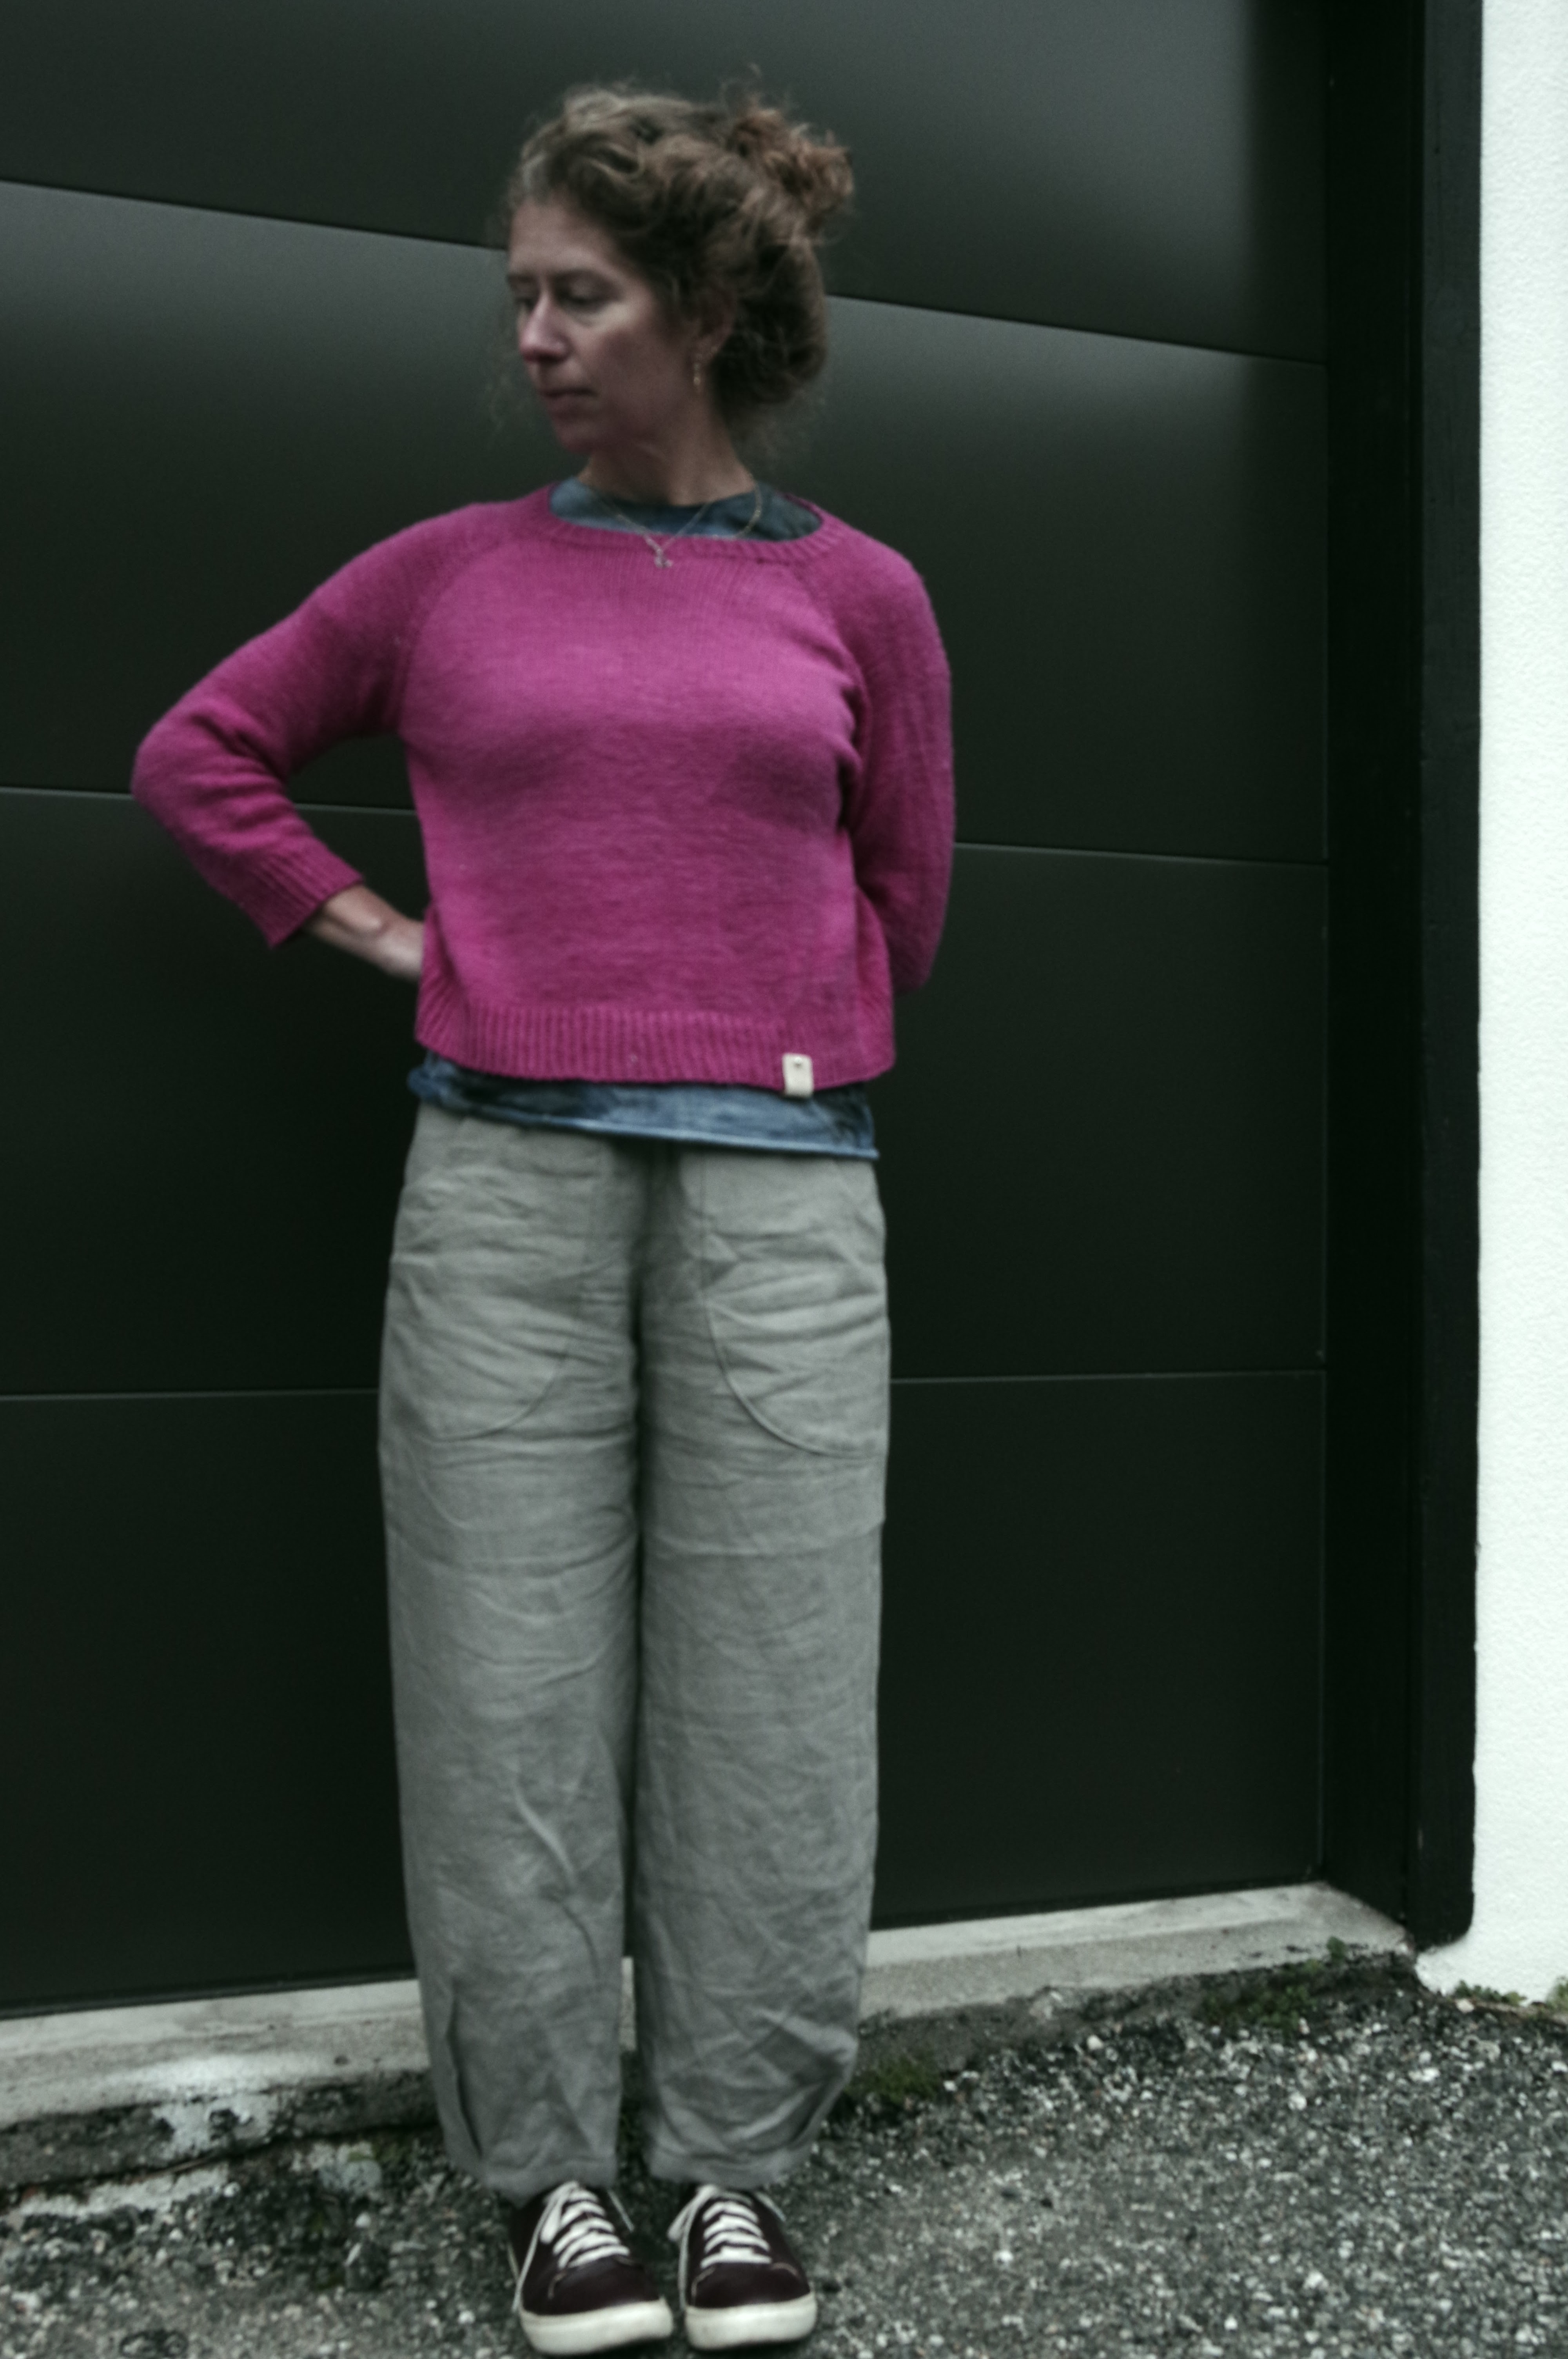
 These were, in a way, the final of a binge of loose linen pants, and the hunt for the perfect pattern to make a pair of shorts out of (I think I'm resisting how I'm going to absolutely make linen lounger shorts, because my pattern pieces are a catastrophe and will need to be reprinted.)  But they were also kind of their own idea, as a friend of mine recommended them to me as climbing pants.  I had a really perfect piece of grey linen that I bought from The Fabric Store awhile ago, and thought it was a nice match.  

I cut out size 6, though I could have gone with 4 or 6, and shortened the legs 1" but didn't change the crotch.  Ends up I could have shortened it just a bit if I wanted.  I do feel like the smaller size would have been fine too, as overall these are quite roomy.  I was making these right before leaving on a trip, but for once not taking them on the trip, and for once they were the only project I was working on, so I actually took the effort to make the cardboard pocket jigs and I can now report they definitely make curved pockets look better than the usual steam and swearing.  

No mishaps or confusion in the instructions.  The hem action, with the pleats etc, was fun.  Sadly I got to the final two steps (sewing on the hem bindings, and inserting the waistband) and had to leave these while I went on my trip without even trying them on, though it meant I was really happy to sidle straight back into a project when I returned.  


Verdict: winter has happened and these are out of season and I will see them in the spring. Sorry for the strange lighting etc but it was freeeeezing outside.  I wasn't going to tarry. 

I like these, though I might have preferred them a size tighter, it's hard to say.  I'm not sure whether I need to shorten the crotch just a tiny.  The linen will probably shrink a bit more in the next few washes, but we will see. The pockets are fantastic and big and lovely.  The shape is pretty good, but I'll wear them around to see if I should make a second pair in some lightweight softshell and actually use them as a climbing and outdoor adventure pants.  The softshell is only 1m and it has been around for awhile so it would be nice to use it for something - it's my last piece from Seattle Fabrics, and they have become so weird (no in-store sales, and a very small selection compared to the past, at least online)  that even an upcoming trip to Seattle isn't enough to entice me to buy from them, sadly.
Onward to some season-appropriate sewing! 

Saturday, 30 December 2023

Bodycon dresses: Givre & Prescott

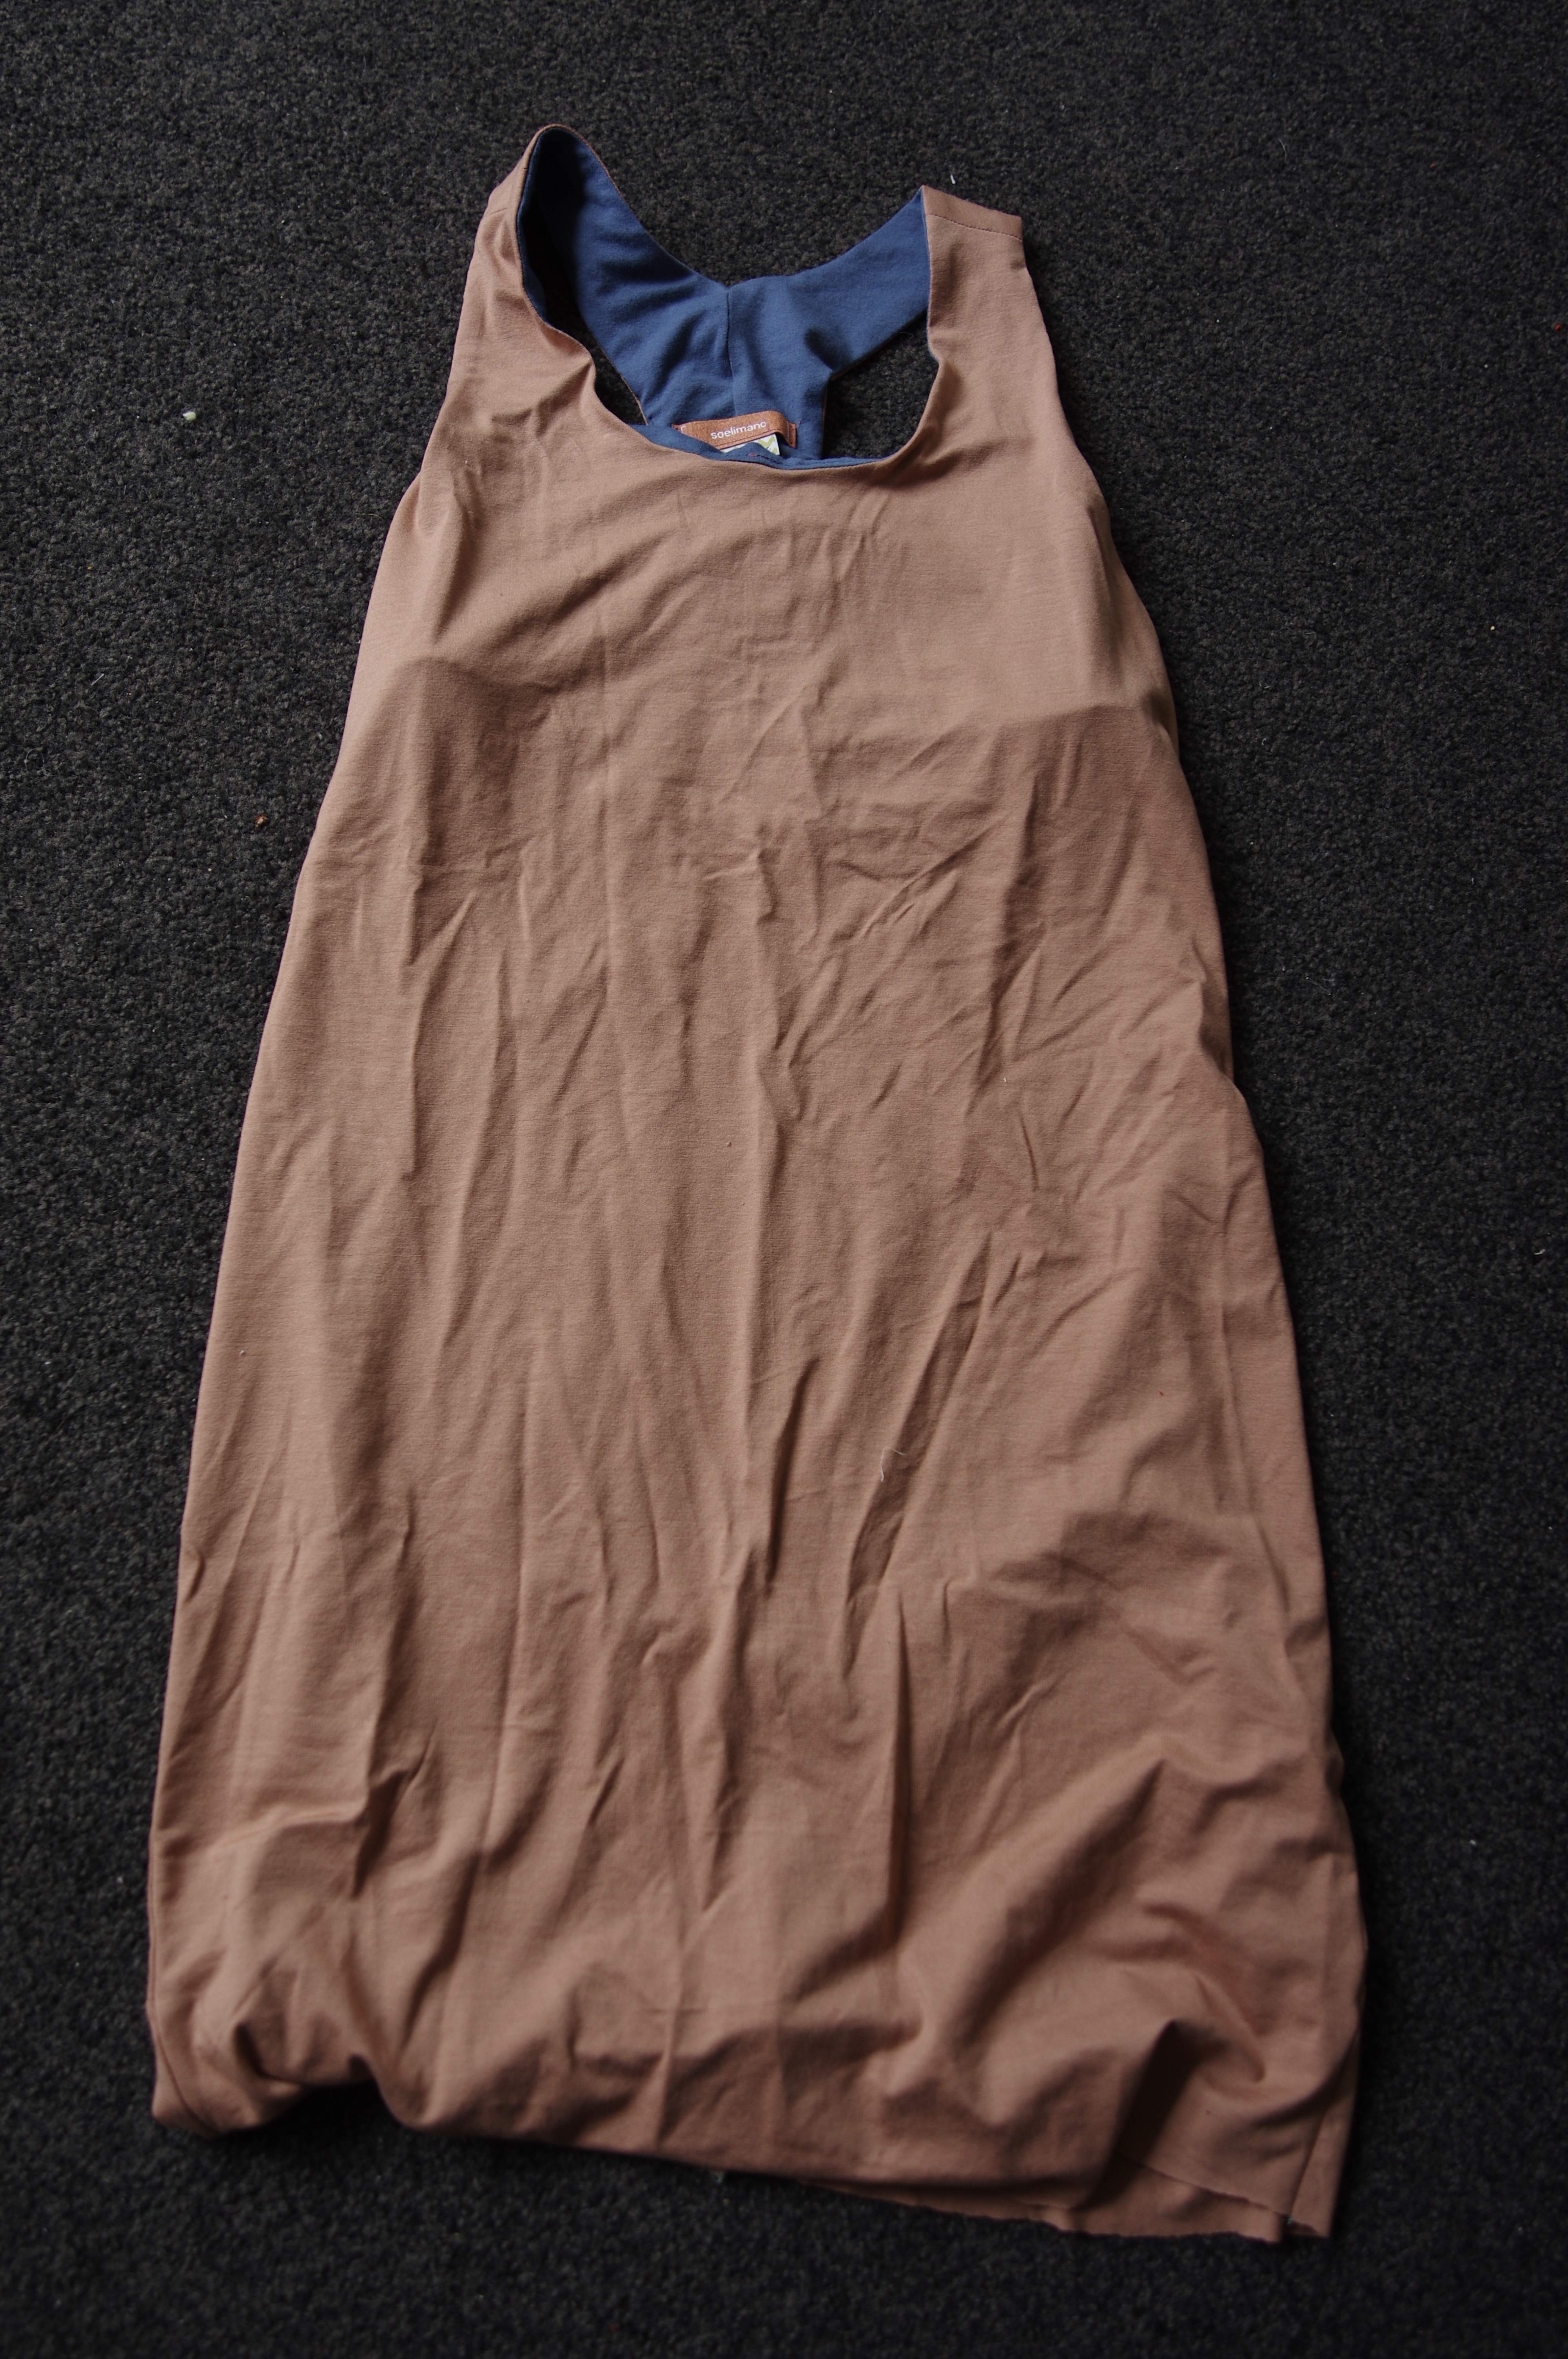
Suddenly I needed a flaming yellow bodycon dress in my wardrobe.  I also really wanted a skin-coloured dress.  I knew that these probably wouldn't be very flattering, but I wasn't sure whether I would care. 

I've had the Prescott and Givre patterns in my stash and have made Givre as a tank top a few times.  I hadn't bothered making the dress yet but I have a see-through designer dress I stupidly bought recently and in hopes of wearing it often enough to be worth it, I wanted a merino bodycon dress to wear underneath for winter (it came with a slip.)

I started out with the Prescott tank dress, as I was very curious how the bra works. I mean, I mostly could sort of imagine the process, but I've never put in a shelf bra before.  I elected to use my very precious piece of Milk viscose in a body-colour for this, for better or worse...I didn't have much.  I had to line it with something else. 

I made a size 4.  As usual the question of which bust measurement to go by. The high bust matches my bust, and the waist and hip measures are spot on.

I didn't have enough for the back hem so I added on a piece. 

I had to follow the instructions as the construction was a little bit fiddly. It was helpful to be told when to use the sewing machine instead of the overlocker - often because it's not the direction of stretch and will decrease bulk.  Unfortunately the instructions for elastic application were confusing - they say to put it on the right side, but from my way of thinking that's the wrong side.  

I see that there are pull lines on the model and I can see those on me too.  The way it shapes below the bust is kind of loose.  Overall I think I like the shape to the level of the hips, but I don't really like the way the underneath bra and the overlayer interact.  It might be that using super strong elastic wasn't a good idea - I didn't realise as much of the support comes from the fabric of that bra layer, rather than just from the elastic.  

I have the feeling that I might turn this into a tank top to salvage the fabric, which I love.  I'm not actually finding that I want to wear it much.  I left the hem raw because I don't have coverstitch thread in a close match, and because my machine isn't behaving very well lately. If I'm going to turn it into something else, no need to suffer extra...


2. Givre, dress version

This is green merino from Otara in Auckland.  The cheapest place to get merino!  I had a really exact colour in mind and this is exactly what I wanted.  

I did the same as making the tank top: 36 at the bust, 38 everywhere else.  The fit is spot on - perfect amount of room.  Flattering?  I would say absolutely not.  But I might not care.  Maybe I should have fallen into my bodycon lust right after coming back from life in Nepal, when I was anorexic thin for a few months.  I love the feel of this but I'll have to be in the right mood to wear it without something over the middle section.  To wear under other dresses it's perfect.  It was easy to make - really not any different than making a tshirt.


I have some plans towards the Lola tank and dress and maybe making another Mission dress (it's been awhile since I had one in my closet) but other summer sewing is taking over so we will see what happens later in the summer! I'm still holding onto the neon green rib fabric so I'm sure it will show up eventually.