Showing posts with label Mood Fabrics. Show all posts

Tuesday, 29 August 2023

Hove, cardboard but shiny, throwing the sewing machine out the window?

 It is a real pleasure that I've made time to get into the sewing room in the past month.  I am bombing through projects I've wanted to sew for over a year.  Including the endless queue of jackets!  Hove has been top of the list, and this fabric from Mood has been earmarked for it.  Because the inside is white, I bought black jacket nylon to line the body with.  I assumed one of my zipper collection would fit, which was not entirely accurate.  The zip I chose was too long (pity I shortened the jacket...) and so I decided cleverly to just let it go further up the front of the hood than it's supposed to.  This worked out fine but when wearing the jacket it's really hard to zip up those extra 3 cm.  I obviously just don't.  If you had a too-short zip it would be better, because you can just start it higher up the hem, but I don't really recommend letting the zip go higher than it's meant to on the front. 

At some point in the planning stages, I got serious and bought bias tape and matching thread specifically to use for this pattern - a rare event which pretty much catapulted this to the top of the list.

I have not used a pattern by In the Folds before, except for the free ones by Peppermint Magazine. I made size C going by the size chart, that matches my measurements pretty well and this fabric is quite heavy so I thought it is good for it to stand away from my body a bit (could have chosen B).  I did pay attention to the comments in the pattern about drape and I do think you should go with a fabric that will drape better than mine does unless you also want a bell over your bottom (but I'm resigned to this situation.) 

I also took note of the height this pattern is drafted for: 5'7" and I read through all the blogs and noticed the jacket looks fine on tall people and very disproportionate on short people.  It really needs to maintain its proportion to be cute.  So I accepted the challenge to crop it 3" at the shorten lines since I am 5'4" and short waisted.  The actual shortening was fine, there is a line.  However, that line is along the front curve and changes the front curve dramatically - there is a huge misalignment to reset.  If you don't plan ahead and reset that curve then the pockets won't fit.  In fact, I have some advice here.  Do shorten the jacket.  Do use a French Curve to fix the curve, and then sew the lining to the lining pockets *BEFORE* doing the outside, because if those don't line up you will know in time to fix the problem.  It's a lot easier to cut four more pockets than to cut 4 big monster S curve shapes that take a metre of fabric each. 

I didn't do that, I just eased it all together and then did some hidden sewing inside the pockets to fix weird gaps that formed.  You can see whiskers along the front of the jacket where it attaches to the facing and that is all from me easing the front together like a boss to make it work despite a very dubious cutting of my new shortened curved front.  That was when things started to get dramatic.  Prior to that I did the back pleats which were a pleasure, because this holographic fabric actually presses very well and I was able to chalk all the pleats and iron them to position them.  Of course, the fabric does not take pins, so I was holding everything together with clips and some double sided tape.  I underlined the back of the jacket before I pleated, and then I lined the sleeves instead of underlining, so the sleeve seam is hidden.  

The pattern instructions are very nice.  They are well drawn, clear, and not excessive.  I generally followed them exactly.  

My dramas were not regarding the pattern, for once.  My fabric was fine when I was sewing a single piece.  Once I had a larger item in front of me, it was heavier and burlier than my sewing machine, and so I got in big fights with the feed dogs that basically were not moving fabric along at all.  I went through many needles, which is fine, because they were all pretty old needles.  I got in fights with every single other thing on my sewing table because this jacket basically required a free space of 1m around the sewing machine in every direction.  Sewing the sleeves on was the final move and that's good because it was almost my final move.  I definitely did not bias bind that seam (but I ran out of bias tape before then.  Buy extra, I had 5m and didn't use it on the sleeves.)

The jacket is very trippy.  It is stiff and I can wear any number of layers under it.  The pockets are roomy and satisfying.  Others have commented the sleeves are short - this is true - I like the length for this type of rain jacket because I think if they were longer the shape would be compromised, and water will run off them out of the way.  I will most likely wear this walking around and biking because it's too much like trying to maneuver a tent to get into the car wearing it, it's very firm.  But perfect for biking, and isn't that when you want to be extra reflective? 


With the camera flash!  Apparently more extreme than when light shines on it irl


I wore this around Auckland and got heaps of compliments from people who sew.  People who don't sew were possibly just too bedazzled to comment.  In the photos the colour looks quite drab but apparently with movement it randomly catches the light here and there and is pretty exciting to look at.  I had been on the fence about this jacket prior to the Auckland trip, likely due to the suffering of making it, but now I quite like it.  I would even sew this pattern again in a very different fabric if I for some reason didn't want to make the other 12 jackets in my queue first. 

Wednesday, 10 November 2021

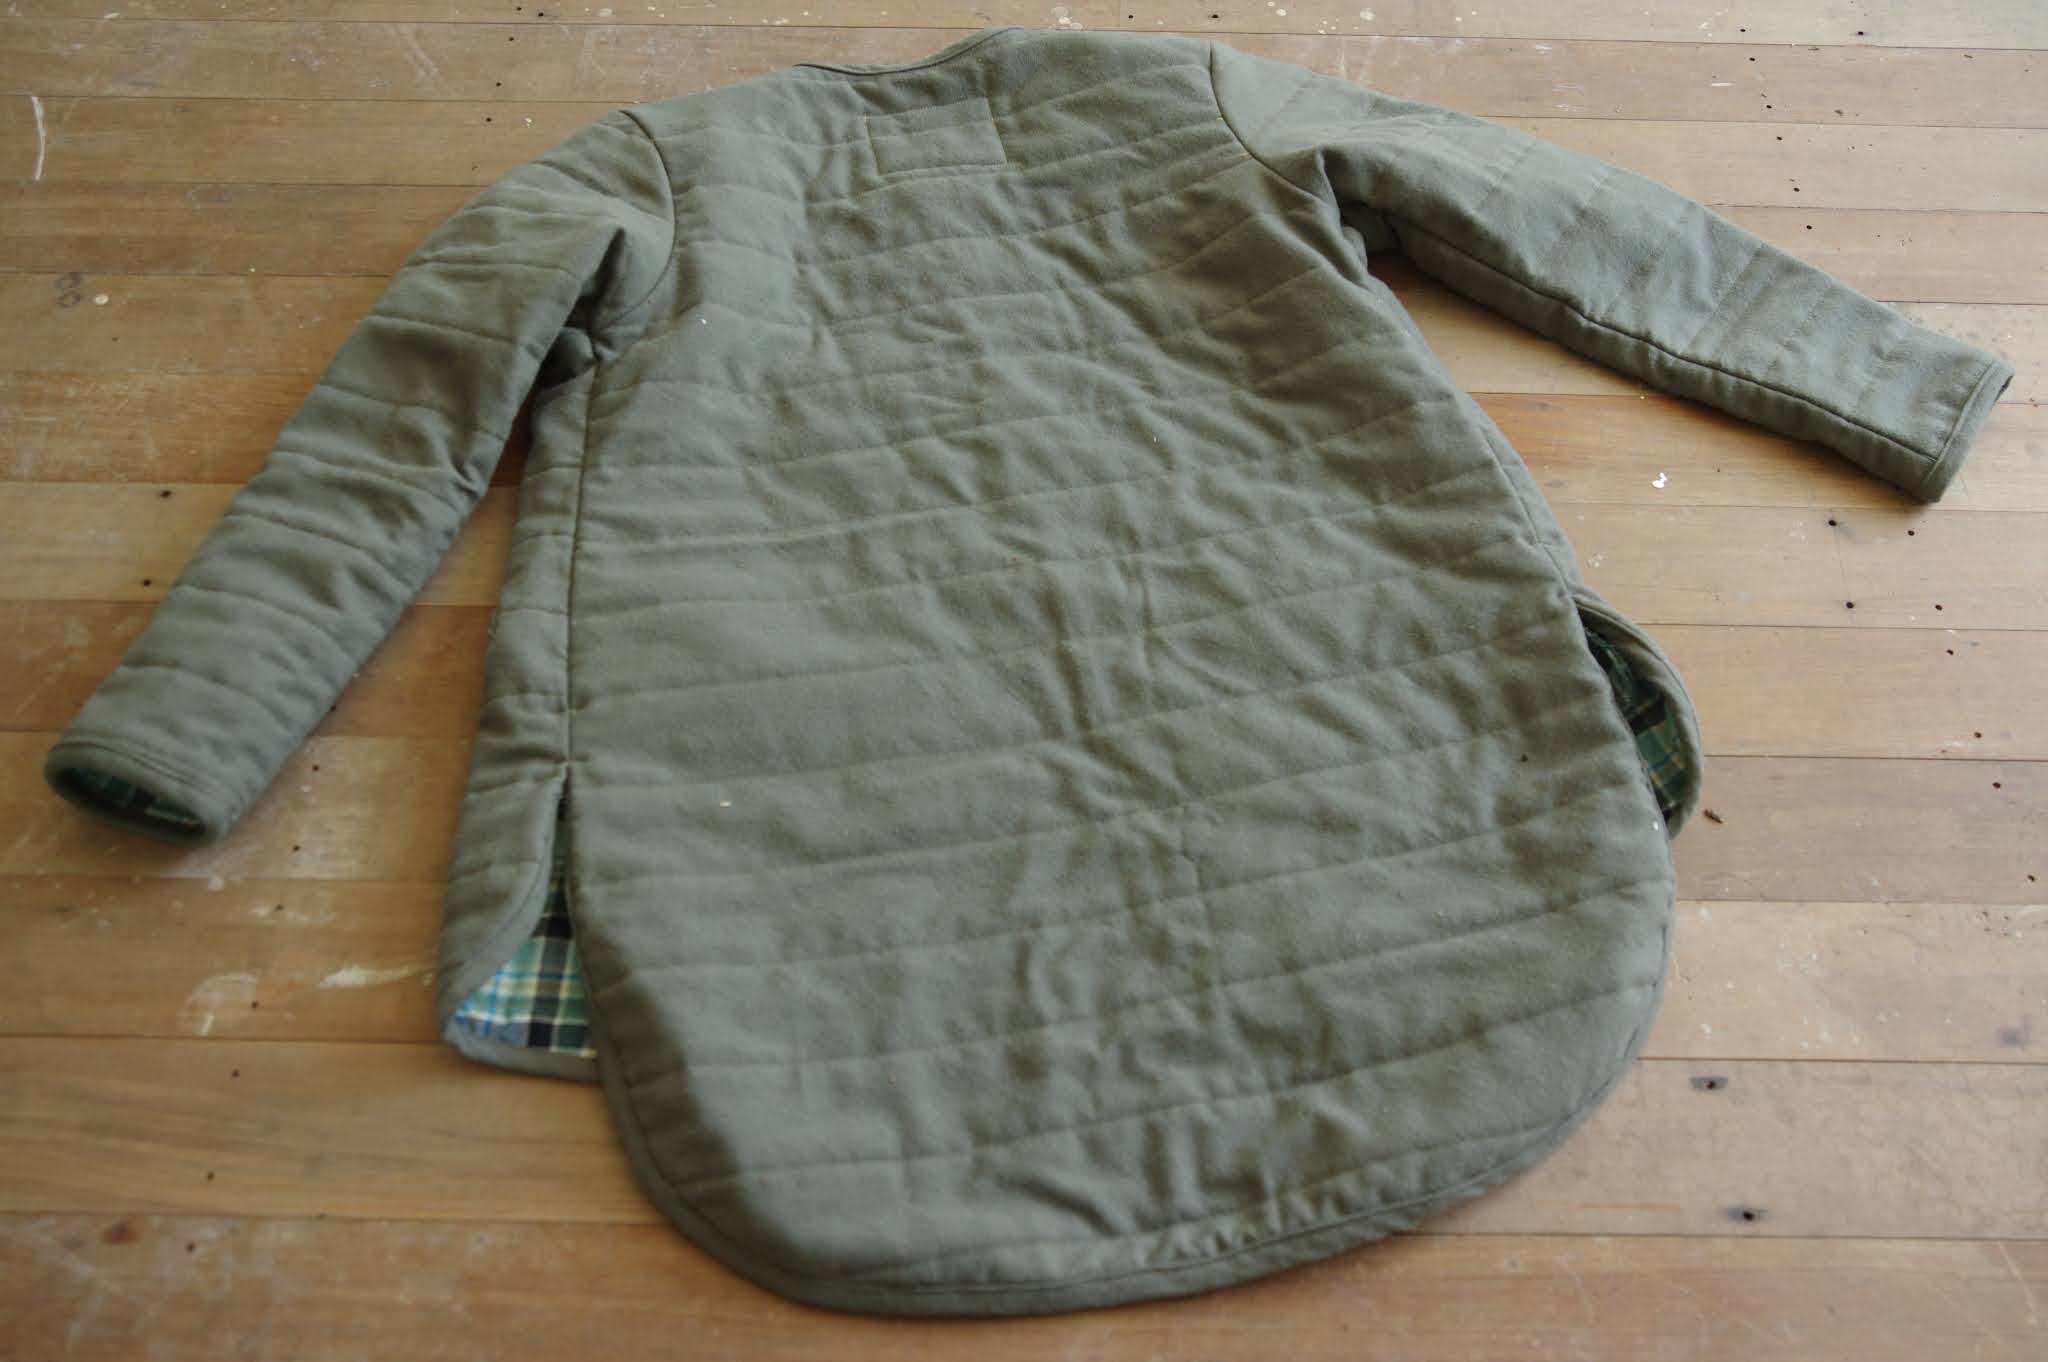
My extra long Grainline Tamarack

I have made two previous attempts at the Tamarack jacket.  Maybe I should have just followed through on my first one so many years ago, which I wasn't going to quilt, but anyway, I really wanted to do it properly and after my second one, which was of prequilted fabric and with patch pockets, I wanted the experience of doing it all.  Having made a quilt took the fear out of a lot of things, and quilting is one of them.  

I will say: making a quilt was horrible but it has paid such dividends in new skill learning!  So worth it!  

When I finally got on the road to making this particular Tamarack, it was due to inspiration from a RTW jacket with plaid lining, maybe a year ago.  I made the black quilted Tamarack which seemed to fit ok, (I made size 4) and which I gave to a friend, and then had the confidence to trust I should quilt one for myself.  I had this fuzzy wool blend from Mood from a few years ago, and after investigating plaid linings I got this wool woven from Emma One sock last year, but then I had to wait - because I was going to use the same batting from my quilt, so I had to make it first. Hah.  (The batting wasn't enough and I still had to buy more...)

My big vision was that I needed to shorten the front and back separately so they would still meet quite high up.  I lengthened the front 2" and the back 6".  Once I had done that it was straightforward to cut everything out and quilt it and then trim everything down to shape - but it did take time!  That upleveled the feel of the jacket because quite a bit of effort goes into it.  I used a bias binding on the side seam edges and the shoulders.  It doesn't look particularly good, I'm not sure how other people kept it from being lumpy.  I overlocked most of the other seams because I didn't have enough pretty matching bias tape and it seemed kind of like a wasted effort anyway.  

My major drama was with the welt pockets.  After quilting, you've already done a lot of work and you want it to go well.  I found the instructions bad, of the vague variety, and they didn't lead to very successful welts because I didn't cut the sides down properly.  For this reason I recommend with these instructions to do a practice welt on scrap fabric so you can understand what they are saying.  It's hard to know what edges to finish, and in the end I had to hand tack the top of the pocket in place - both the top of the pocket inside the jacket, and the sides of the welt outside the pocket, where there were sad huge gaps.  The insides look ok because they hide the messier bits, but it's not a satisfying aesthetic for me.  I've now done a bunch of welt pockets this year and I think I'm starting to itch to FIGURE OUT the welt pocket so I can just do them my way and know they will satisfy me. 


Also, the fit of the body is comfortable, but the sleeves of this jacket are slim cut.  On me, it suits as a spring jacket with a tee underneath.  I would not be able to wear any more layers. The prequilted version felt very very light, and was much looser, so this is an effect of quilting.  Of course I knew that quilting would make it smaller...but it's different to actually experience that fact.  Quilting also makes it feel heavier and more substantial especially with this heavier outer fabric.

For the snaps, I considered using my prym snap kit but I'm very suspicious of the quality.  Maybe unnecessarily - I recently used it on my Landgate and the snaps were perfectly fine.  Anyway in this case I hand sewed snaps in place, and I'm really pleased with the secure feel of them.  


I'm really glad I made this.  Too bad I took so many attempts to get there!  It's not a pattern I found particularly fun, and the fit of it is only ok.  Now, in the meantime quilted jackets have gotten popular and I think there are other patterns that suit me more.  I will most likely try the Hovea pattern next year. 

Wednesday, 6 May 2020

Thread Theory Jedediah pants

My cousin saw my velvet persephone pants last year and was inspired. He wanted me to make him some pants.

I bought various fabrics at Mood and chose the best contender.  I don't recall what they were, but this is a soft cotton twill that is brushed on one side and has a slight twill weave on the other.  The soft side is nice but it attracts all the dust, so I opted for that side in.

I cut this out in January before I moved and would have loved to have time to complete the pants, but of course once I moved I didn't sew and then once I sewed I had so many UFOs and it wasn't til Jason saw my jeans in September that he started to whinge a bit and I thought I better get on with it.

Here they are:


Making stuff for men is pretty easy. They tell you a waist measurement, and eventually an inseam, and you cut the size belonging to that waist measurement and then you cut that inseam.  I added some moderately subtle detailing on the pockets and lots of labels on the inside.

Here is proof of a happy owner:


In terms of the instructions, I recall them not being very good, but my memory is now fuzzy.  I have made pants a few times and so any confusion that I had was allayed by experience even if the instructions themselves were not easy to follow.  My cousin likes the pants but he thought there was too much shaping at the hips and wants them a bit straighter, so I will probably make them again sometime in the next few months.

Friday, 6 September 2019

Persephone by Anna Allen, version no. 3

My beautiful green Persephone pants shredded in the wash. It turns out that the velvet wasn't so strong and the stitching at the waist couldn't hold it together.  It wasn't going to be easy to repair so in the meantime I have them in a corner awaiting some upcycling-brainstorm.  (A delicate jacket, methinks.)  So I had to make more.

Also because yet again I just don't seem to understand the concept of heavyweight duck fabric, I made some Persephone pants out of a wool woven.  It is somewhat heavier than all my previous Persephones, so I'm getting there!  Also this time I made the big leap and sized down from a 4 to a 0.  Spoiler: I think a 2 would have been a better choice.  Live and learn.

I'm pretty good at making these by now.  I made them on a Sewing Day with my friend Tessa when I was over in Hamilton visiting the nice places I used to live.  I used my size 4 pattern to adjust the crotch height, the total decrease was about 1", above the level of the hips.  I could use even more of a decrease.  In fact, when I make these again at some far away point in the future, I should do the size 2 and I should remove another cm off the top of the pants. Then the waist would be a bit bigger, and that would be nice.  I'm 5'4" and seem to be about 27" waist and 37" hips.  I'm somehow very short everywhere.  My torso is short and my pelvis is short.  I'm beginning to think I need to shorten all pants patterns below the waist, the way I'd usually shorten a tshirt above the waist. 

As it is, the effect is sort of that I have been poured into these.


Sadly even though I'm reunited with my beloved Pfaff, I am not doing good buttonholes.  I had a lot of trouble on the main buttonhole, though the small ones went ok, and I think from now on I'm going to just do them manually.  That is in the instructions in the Dawn Jeans (which I'm currently making) and it would save me a lot of drama. 

There is a huge tummy tuck happening in the front, it's like all my guts are sucked in by the tight pants, but it is rather too much.  I am giving these to a friend because they are too tight for comfort!