Showing posts with label Miss Maude NZ. Show all posts

Wednesday, 17 December 2025

Anna Allen Helene: the Shrimp Shorts

 I think I actually said at some point that I would never sew jean shorts. 

First because there are so many in the secondhand shops, and I already have a few pairs that fulfill all my shorts desires.  And also because why make shorts when you can make jeans??  But that all was before I moved to Auckland and its sad sad lack of seasons.  It's shorts here from October to April and you know, fashion changes. So while making my amazing jacket from linen denim a few weeks ago I knew right away that I absolutely needed shorts in the same fabric, and they needed to be high waisted because of all my cropped tops that have accrued to go with high waisted pants.  The falling-off-my-hips shorts are good for some looks, but I'm no fan of showing my belly in public. 

Helene jeans it was!  My star jeans were a size 6 and that's the fit I wanted, I thought I would be randomly cropping them but while unfurling the pattern pieces I discovered with delight that there's another cut to this pattern - a relaxed wide-leg, and I had not used it yet - and that's the version with cut lines for shorts.  Perfect!  

I also had a realisation that I have INDEED identified the perfect crotch fit for myself - and used it on my Dawn jeans.  So I pulled those out and I readjusted the front crotch to match the Dawn crotch.  Wow it was a bit adjustment, basically went from a convex C to a flat J.  The rise adjustment was as usual: 1.5" out.  No other changes.  

So I welcome to you: the Shrimp jeans!  I know I could call them Flamingo jeans but nope, they are Shrimp jeans.  I topstitched the back pocket in pink in honour of my theme, though I regret that a bit, I think I prefer the topstitching to be kind of no colour or in my head they don't match some clothing.  


Topstitching was the same Mara 70 used for the jacket.  Used my mini rivets that I've gotten recently for my Kam press. 

Could complain about the zipper situation.  Anna Allen doesn't like zip flies, but the instructions for the Persephone (which I think you have to buy separately) are totally fine.  These instructions really irritated me, because after following them closely I had about 2 cm at the bottom of the fly facing and could have placed the zip much lower, which would have made it FIT and I wouldn't have had to remove zip teeth.  I also noticed while taking the photos how the top of the zip pulls outward, a situation that was particularly dire with my first Helenes when the zip was short.  I don't know if that's because of how I install the waistband or if it's something to do with the pattern, or with the zip instructions.  I didn't really notice it while wearing these. 

Aside from the zip situation, they were an uneventful make.  I removed a few zipper teeth with pliers and I did bend a few needles but anyway it's probably good to clear out a few old needles every now and then.  I never think to throw them away til they either break or destroy my fabric.  

I have been wearing them and they are awesome!  I was surprised to see that they are indeed a very relaxed fit, the bum is pretty loose in comparison to the 2 other Helene variations.  While I think it's really good for shorts, it was a suprise as you kind of lose the epic butt fit of the other Helenes.  On the other hand smart - because loose trousers are absolutely back in style.  I'm planning to make some Just my Luck jeans and have sourced - get this - Pale Denim for them! (such a score in New Zealand, a rare find) but not sure when I'll get around to it.  

Monday, 10 November 2025

Les Lubies de Cadia Cosmique Jacket


What a pattern company name!  I discovered this company thanks to Me Made May.  I immediately fell in love with 3 jacket patterns and couldn't decide where to start.  So many exciting pockets!  I don't have a hankering after any of this designer's other patterns but oh, these jackets...

I finally chose Cosmique and only bought one to start so I wouldn't get overwhelmed.  

Then I had to decide on the fabric, I had a number of contenders, some pink twill...grey denim long hoarded...corduroy...but I recently bought a number of exciting denim blends from Miss Maude, and the most precious of the lot was 2m of linen denim.  It is clearly unique - has a cool and crispy feel like linen, and is shifty as well.  Drapes very differently to a normal cotton denim.  When I unfurled it after washing I knew this fabric had to be a jacket.  I also knew if I waited too long it would turn into one of those stash fabrics I'm afraid to touch.  So I u-turned away from the corduroy and went with denim.  

Sized down to 34 

No pattern mods 

But suddenly I'm making a denim jacket, replete with topstitching I had not bargained for. This turned into a full week project.  I used Guterman Mara topstitching thread in off white. It is a lighter topstitching thread than standard and is easier to work with - my machine will backstitch with it.

I found that the pieces came together very nicely but that the instructions didn't provide details that could improve the final garment.  I used a lot of instincts from jeansmaking.  The first big hitch was when the instructions say to double topstitch the horizontal line created by the pocket piece.  This is impossible if you are genuinely stitching down the seam (since you aren't going to sew the pocket shut). A decorative double topstitch could be done by flipping the pocket out of the way, but then the point of the stitching (to strengthen a seam) would be lost.  I mulled this over for a day then decided to stitch up to the pockets and put rivets at that spot for support and to cover the end of the stitching.  I was sad how much of the pocket depth is lost by the hem.  I would preferentially shorten the jacket an inch above the pockets and put that inch at the bottom, so the pockets would be deeper.  They also are a bit far back - they are only the back half of the bottom piece.  It's not too bad when wearing the jacket but my instincts would like them a bit further forward. 


The funny cut out notch at the top of the placket was puzzling when I was reading the instructions, but easy to do and made it much easier to put on the collar.  I LOVED the tower placket for the sleeves.  But I sewed on the sleeve cuffs and the placket as though I were doing jeans - I folded the back side under and topstitched.  I did this on the collar as well, accepting that there would be stitching in the ditch that shows on the back of the neck when the collar is up - it is faint as my thread is a good match, and also thread sinks into this fabric.  Even the top stitching is relatively subtle.  I also cut the undercollar a tiny bit smaller, and I sewed the collars together from the middle out, which helps it to sit better.

I mulled over my closure plan, but truthfully there was no choice.  I have a great snap setter and horrible buttonhole makers.  I had no problems setting all my snaps - youtube provides amazing straightforward videos for each option the Kam snap press has.  I also have new adorable mini rivets and I used those for the pocket support.  Once I finished them and put the jacket on I realised that I had done the snaps backwards...but actually I don't mind for once.  

I spent a lot of time on each step of this project (days!) thinking through the instructions and my goals, and it shows.  I LOVE this jacket.  I think the instructions are threadbare, but I was very happy with the drafting itself.  I look forward to my second jacket pattern by this company (and I already know which deep stashed fabric I'm using...exciting!) 


While making the Cosmique I realised I absolutely must have a pair of high waisted summer shorts out of this fabric, as I have a heap of cropped tops and nothing to wear them with - luckily my leftovers were easily enough for shorts, and my machines were already threaded with all the right threads...so I had no excuse but to move onto that right away.   

Friday, 27 December 2024

i am Artemis jacket pattern review

 I planned this quite awhile ago. It was something like, I saw the fabric in the shop (Draper's in Auckland), I knew that a large scale plaid would be a terrible pain in my arse, I still for some reason couldn't resist, and I thought of this pattern which I have considered for other difficult fabrics a few times.  It doesn't use too much yardage (though the width is important for the attached sleeve).  Also, it's unlined.  That has made it tempting for a number of challenging fabrics, but anyway I bought the plaid.  And it's a huge thick fluffy pile, which is annoying as it takes up a lot of my sewing fabric shelves.  That meant the project stayed near the top of the list.  I got a lot of sewing done this winter because we were moving and I wanted to clear out some projects!  

Many details: buying the pattern. Buying tracing paper for the pattern.  Tracing paper doesn't exist in New Zealand and sadly, the sewing tracing paper sold by Miss Maude is terrible - it's not actually transparent at all but I bought it together with the pattern.  I am patterns all need to be traced.  I made size 38 per the pattern chart.

 Once I committed, I really put pattern matching as the priority. Sewing this is extremely easy. Pattern matching, meh. Not so easy.  B for effort.


So it was done pretty quickly and here we are.


It's very soft and cozy. The pockets droop a bit more than I would like, and the sleeves are relatively narrow compared to the rest of the fit, though I think that's good as otherwise it would look sloppy.  I think the grown on sleeve is a bad fit for me due to the width of my back.  I need to size up but then it's not proportional.  There is overall nothing really wrong with this but honestly, this is one of those projects I make not because it will suit me at all, but because I am just sort of artistically curious how the fabric and pattern will go together.  There's no chance of me ever wearing this, even though it's cute and cozy.   

Though honestly I might come back to the pattern with a cozy and boring fabric and make a sweatshirty jacket thing.  That might be more my style.

Sunday, 26 June 2022

Partner overalls, by Ready to Sew, a review


So there are patterns that take a project which feels really complex and they baby sit you through every stage of it so you have these warm fuzzy feelings of security.  Nothing could go wrong!  

This pattern isn't like that.  It provides you enough info to make the overalls but the real nugget of truth is that overalls are easy.  They just look hard.  There is missing information (by missing information what I mean is that the Dawn Jeans instructions had it, and they are the Gold Standard for best instructions ever) about how you need to tie topstitching thread by hand on the back of your work rather than trying to backstitch to secure it.  Small details like that which just raise the quality of your result.

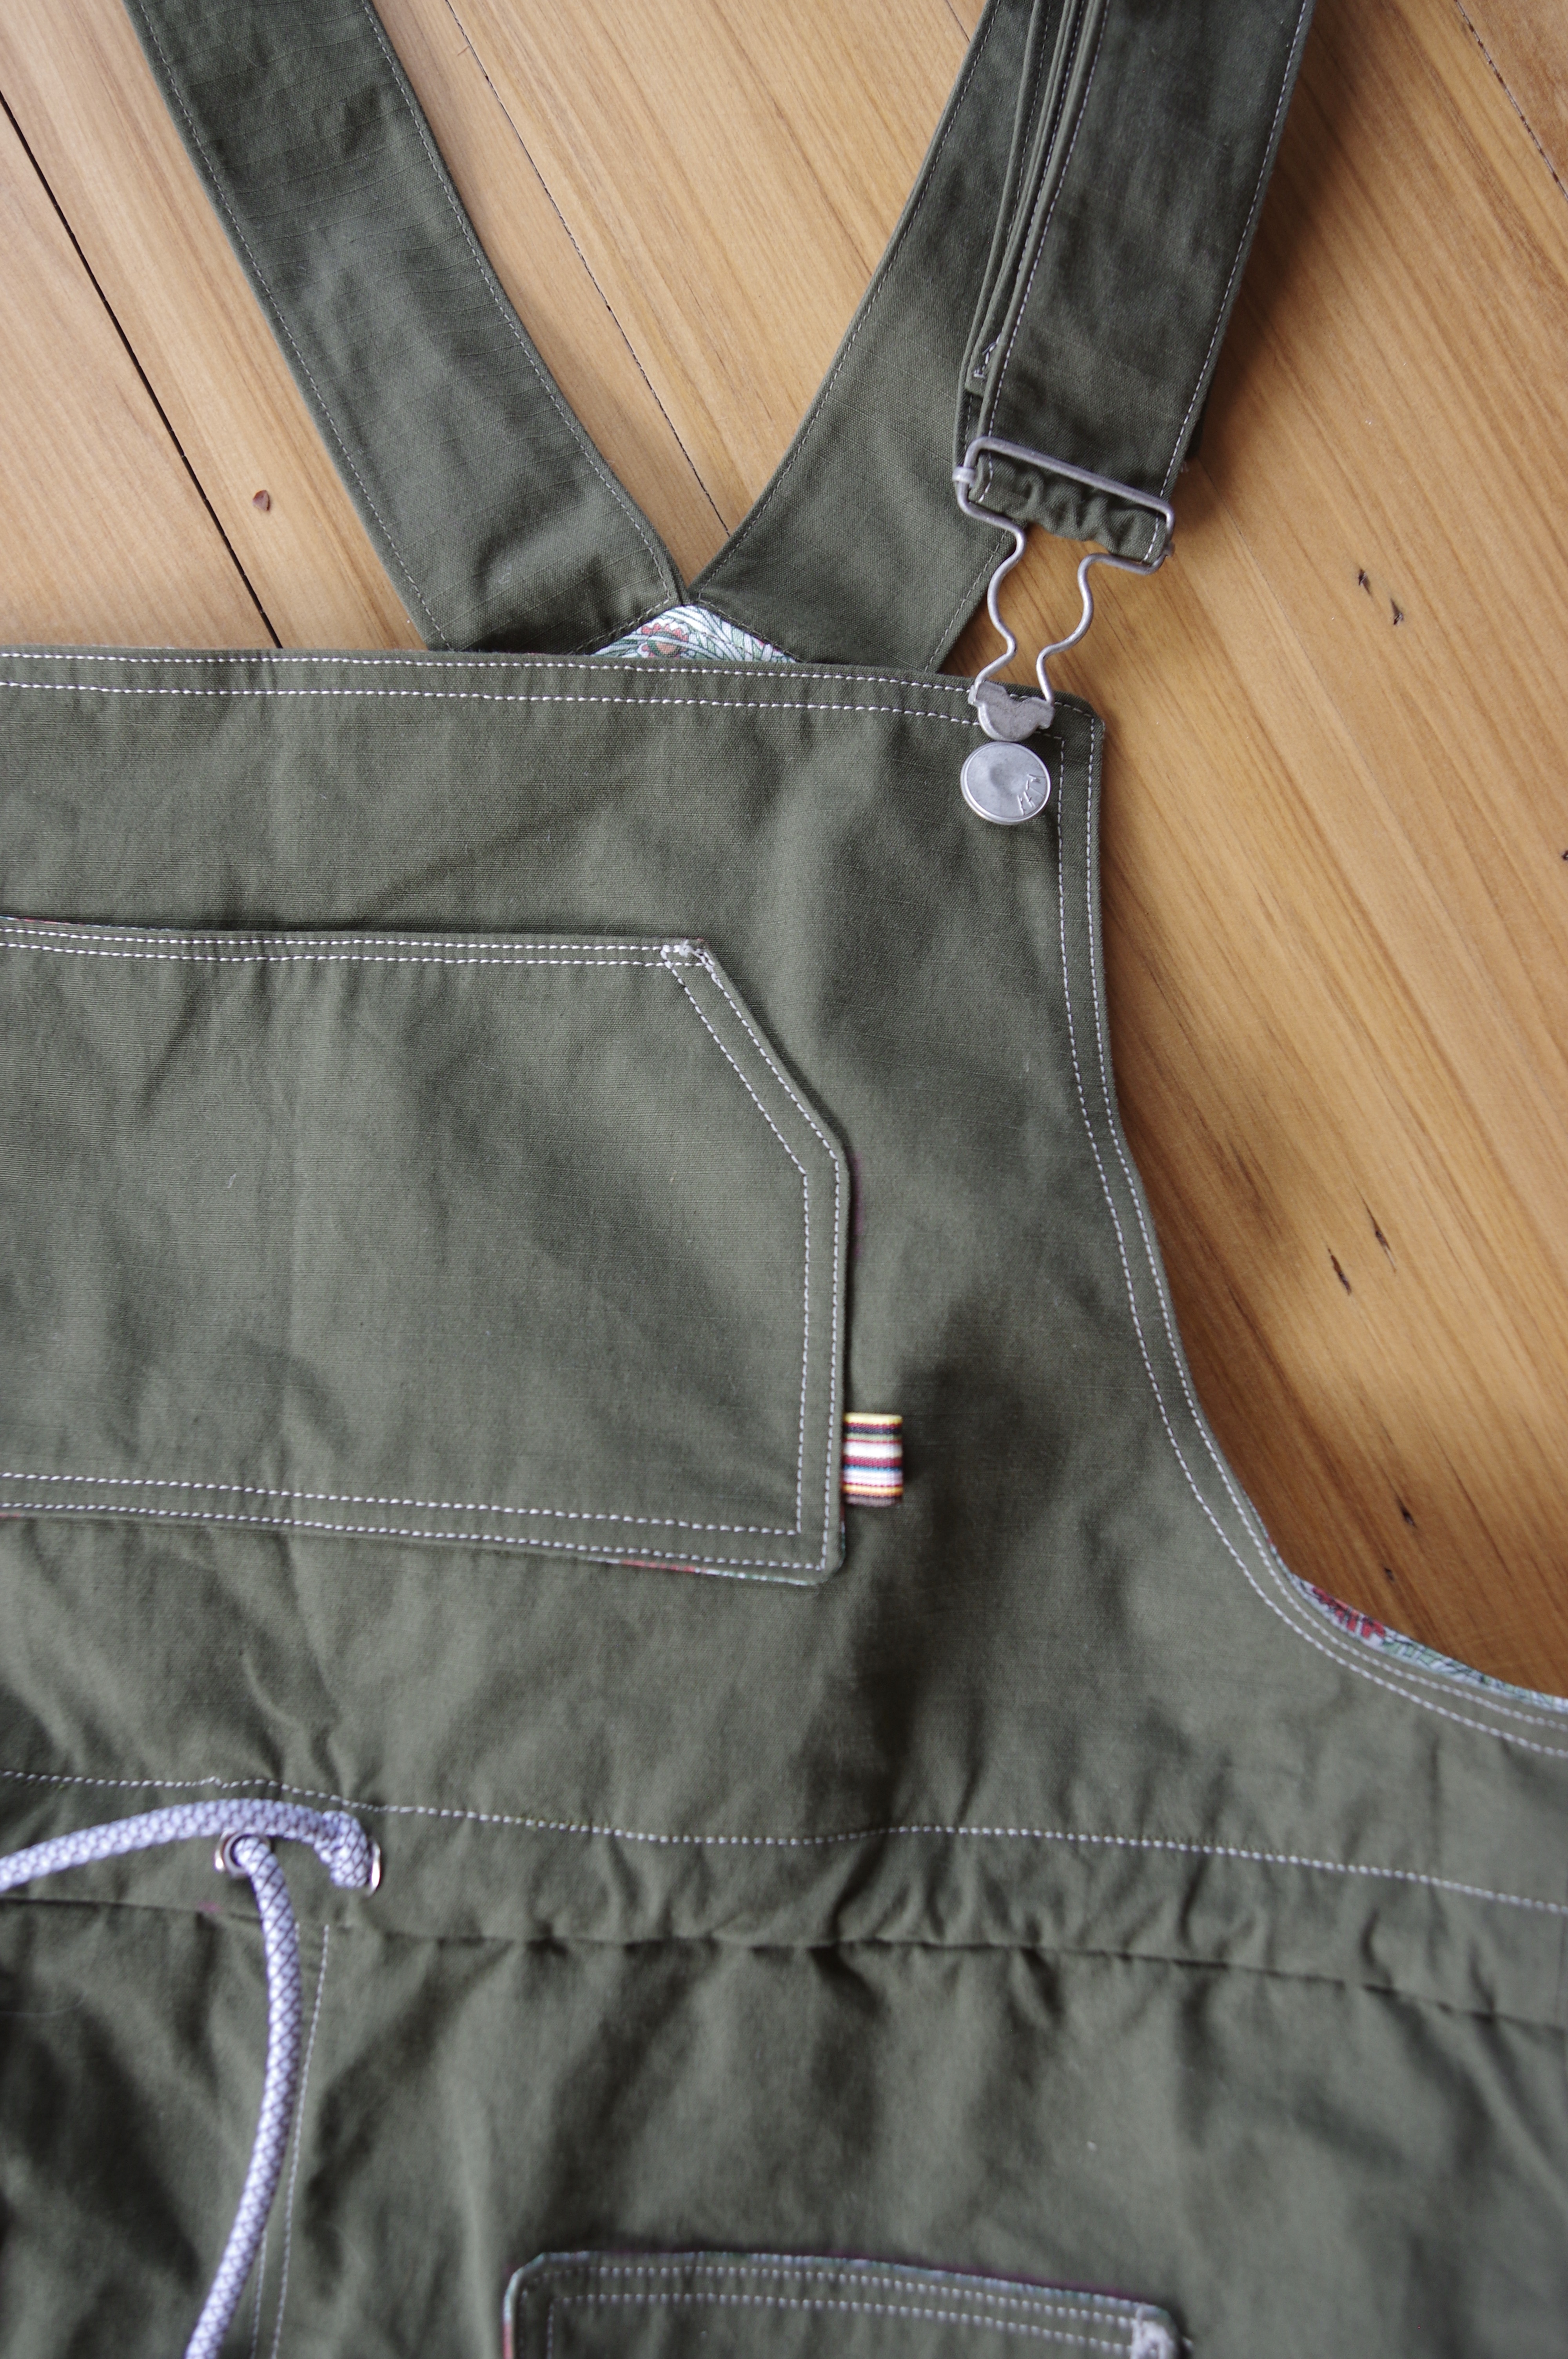
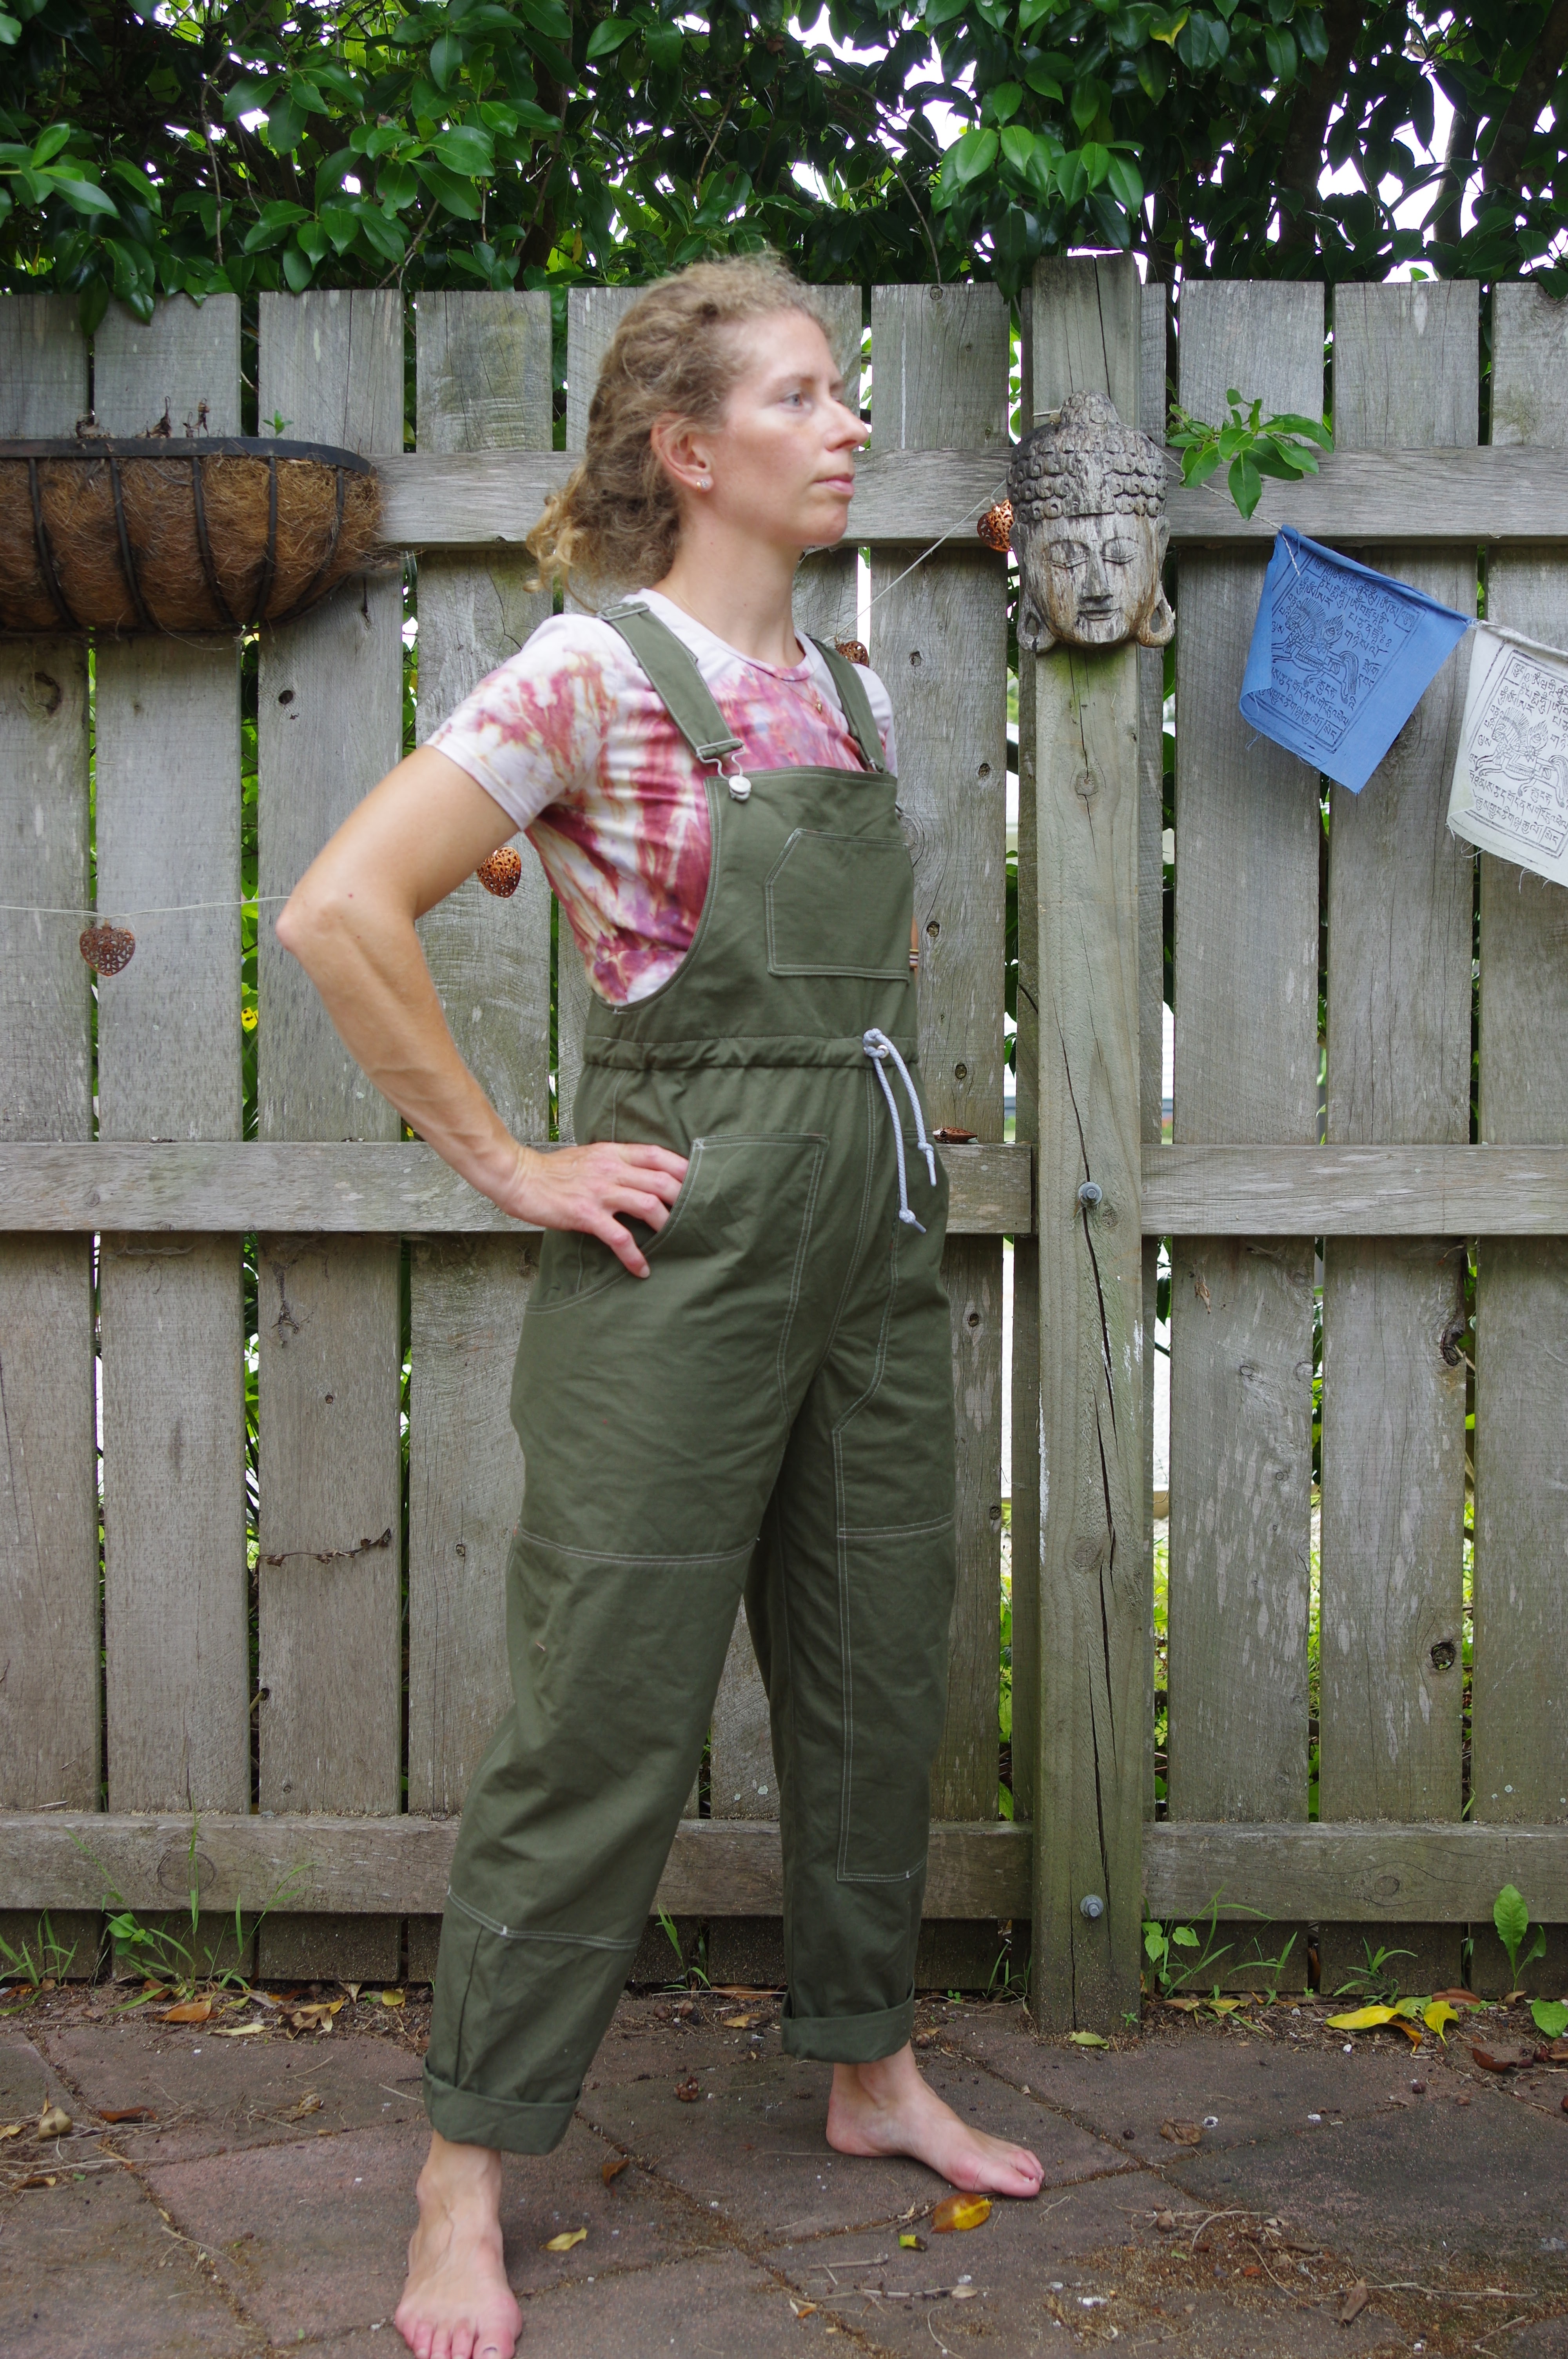
There are so many size choices that it's overwhelming to choose.  I think I could have gone bigger to get a baggier look, as it is they are in between baggy and fitted, kind of an uncomfortable lukewarm option.  I went with size 38. My hips are 37".  My fabric is a kind of windowpane poplin and I lined the bib with some liberty that I wanted to use up - same thing inside the pockets.  Ok so really you should use self fabric on the pockets because otherwise it peeks around the edges.  And I have no idea why the instructions have you do a partial bib lining instead of a full one - but I guess that's if you use self fabric and it is heavy...still I avoid partial facings whenever possible and it was simple enough to do a full one here.  I did the same thing lining my pocket then turning it right side out to topstitch it down.  

There were some kind of weird instructions about the pockets too.  A lot of the topstitching literally defines the space so it's kind of scary to start because you pick a spot and go!  I was using Mara 70 topstitching thread which is lighter than usual topstitching thread, allowing me to treat it as normal thread.  My metal bits are a KATM kit from Miss Maude NZ.  (These kits are excellent quality.  Do not hesitate!) 

I spontaneously shortened these by removing an inch off the waist.  The bodice is a bit short actually as a result, but I can fix this somewhat by lengthening the straps.  I would advise against shortening them because it's better for overalls to be baggy and have some extra lengthwise room.  That might be part of why I feel confined in them when I wear them.  I have a really short torso and I would say this pattern fit me pretty precisely.  Because of that if you are in doubt, size up on the very ridiculously precise size chart.  If you are long waisted consider lengthening the bodice.  The result of this though, is that now I have the sense that Ready to Sew is a block that fits me really well which might entice me to actually sew up other patterns of theirs I have loitering around somewhere.


I did these in a day because it was my last sewing day with my friend Tessa before moving far away and I was Going To Finish.  And I did!  Aided by how, as I have mentioned, overalls are actually easy.  There are no buttons, no buttonholes, no zips, no flies!  In this case also nearly no distractions, though poor Tessa didn't finish her project because she was under great stress to Entertain Children and their Friends, Fetch Stray Husbands, Buy Emergency Bias Tape etc while I just binge sewed (though in my defense I did supervise the children decorating cupcakes in her absence and I took the requisite number of photographs of the event).  And yes that means this was already six months ago, sorry, moving took all my attention!  It is now cold here and I am not going outside barefoot.

In the end I find these to be really kind of ok.  I feel weird in them like they are a trouser straitjacket.  I have been peer pressured to keep them and try harder to like them and they do look quite nice over my knitted cropped sweaters so I suppose they will have a place in my closet. 

Friday, 4 March 2022

Taylor Tailor Desmond Backpack, a masterpiece after much planning!

 After years planning this backpack it was December and my make 12 for the year was down to 2 things: a backpack and a Kalle top.  Add to that selling my house and an upcoming move...I knew I needed to buckle down for a last few important makes before my head scattered and my stuff was packed away (and turned into a total catastrophic mess, but that was later...)

I had accrued a total of 8 types of webbing.  8! types of webbing!  Because I needed the Just Right match, webbing, you will agree, makes this backpack.  Nothing was ever just right, until finally the vision had coalesced and the right option was there.  I had bought green and cream cotton webbing, cotton magenta webbing with silver in it, grey nylon webbing, I forget the others now...and then at David's one day when visiting Hamilton I saw this webbing, a dark maroon nylon webbing with a subtle pattern in it. YES!

The silver bits are from MacPherson's in Seattle which is always a fun little bike ride.  However it's proof of how long ago I bought them...I don't have a bicycle in Seattle anymore (parents complained about it taking up space) so it must have been when I was visiting circa 2017.  That means these bits which are quite heavy have travelled a lot ways with me!  I've moved about 6 times since 2017...

The fabric is maroon cotton oilskin, I think it's Merchant and Mills, and I bought it from Miss Maude.  Only about 2 years ago!  

Then I was totally stumped regarding linings.  I was stumped about linings basically all year this year.  It was only as the year came to a close that I felt a certain pressure to just Do the Thing!  I went to Spotlight and bought a fabric to match.  It is, yet again, perfect, showing that sometimes waiting for a project to come together is worth it. 

During my many years of thinking, plus the actual reflecting on the pattern over the two weeks before I made it, I focused on 2 major changes.  Front pocket needed to be bigger, and the side pockets for the waterbottles needed to be bigger.  I had this very complicated vision for the side pockets including accordioning the bottom with a pleat, adding a front grommet and a pull so that you could snug the top of the pocket shut...

Then I watched this video.  

I figured out that I could increase the size of the main pocket by only increasing the outsides along the dart edges - so the pocket pieces were unchanged on top in terms of how the pocket would sit on the pack, but all the edges would be longer.  

And finally I had some waterproof oilskin liner left over after using it for my Merchant and Mills Field belt.  This was just randomly lying around but when I realised I had enough, it was genius! 

I sallied forth and underlined the entire pack in the oilskin liner, and used the lining separately which I block fused.  The front pocket and waterbottle pockets also are underlined.  It means the inside of the pack and the inside of the pocket are impervious to rain (which has been the case.)  This did make it harder to sew.  Oh, and it was like 28 degrees in the sewing room, which means actually the oilskin itself was melting.  

In order to make this project happen I proclaimed to some of my work colleagues that I would be making it the next day so they would hold me to task.  I cut it out that night and sewed for an intense chunk of time the following day, getting the backpack to the point of starting the lining, then I went to a work party and was able to show evidence that I had made some pretty good inroads into the thing.

Everything including the lining and finishing was the following day.  So basically this was about 2 days of pretty intense sewing.  


I used the youtube tutorial for my side pockets, realising it was a WAY better idea that messing around with grommets or extra bits.  My pockets were wide enough and high enough to fit a Swell bottle, which I used for measuring.  I pleated the bottoms of the pockets to fit in the allocated space.  My elastic is a super heavy stuff, was a bit tricky when folding over on the edges, but I managed.  When my sewing machine just couldn't deal I switched over to the Bernina and that was really amazing.  Most of the project was managed by the little Pfaff, but it just hates anything heavy duty so it was perfect to have a back up machine that didn't baulk at those parts.  I did also wield the hammer to flatten my seams since I wasn't ironing the oilskin.

Extra details on the main pocket are for bicycle safety - a hook for a light and a reflective strip.  I wanted to add some details but not too many.  The patch is from Klum House and it was random luck how well it matched!  

I ditched all the inner pockets, just putting one zipper inner pocket and not against the back, where its contents are very irritating, but on the other side.  YAY win for DIY.  The only thing I knew I would miss (and I do) is a panel against the back to add structure.  You could simply add a full height pocket then put a piece of foam or a notebook in there and voila, it would be much less crumply.  I'm tolerating it ok but that would have been the one thing I added if I made this again.  I just couldn't quite figure out how, and it was one thing too many to think about.  This pack really did take my full bandwidth of figuring out and thinking how I would use the pack to make it a genuine replacement for my previous, totally waterproof pack. 

Out in rain: doesn't soak through.  If you don't towel it off it does soak through over time, but the contents don't get wet, the bag exterior just feels damp.  I have worn it in heavy rain with this effect.  I do have a backpack cover that I will most likely use in heavy rain because I don't see any reason to challenge the oilskin, but it's great to feel secure when rain is not heavy or changes suddenly that I don't need to stop and put the cover on my pack halfway to work. 

This pack is pretty spacious in a way I don't always like.  I'm a structured bag kind of girl.  However, it is working fine for going to work where I take a notebook, various bottles of water and tea, a lunchbox, maybe my climbing clothes, and have space to buy a few groceries on my way home.  If it is not full at all, the straps fail to hold down the roll top, because you can't cinch them tightly enough, so it's a bag better at medium capacity.  It has certainly given me the confidence to make a few other little bags in my queue (once my sewing stuff is up and running) and to try out the Klum House backpack pattern which I have also now acquired in a kit with all sorts of backpack making goodies!  Sewing feels far away right now as I am just dealing with moving in, but I'm sure eventually I'll be back.