Showing posts with label lingerie. Show all posts

Friday, 27 April 2018

Evie La Luve Esme Panties

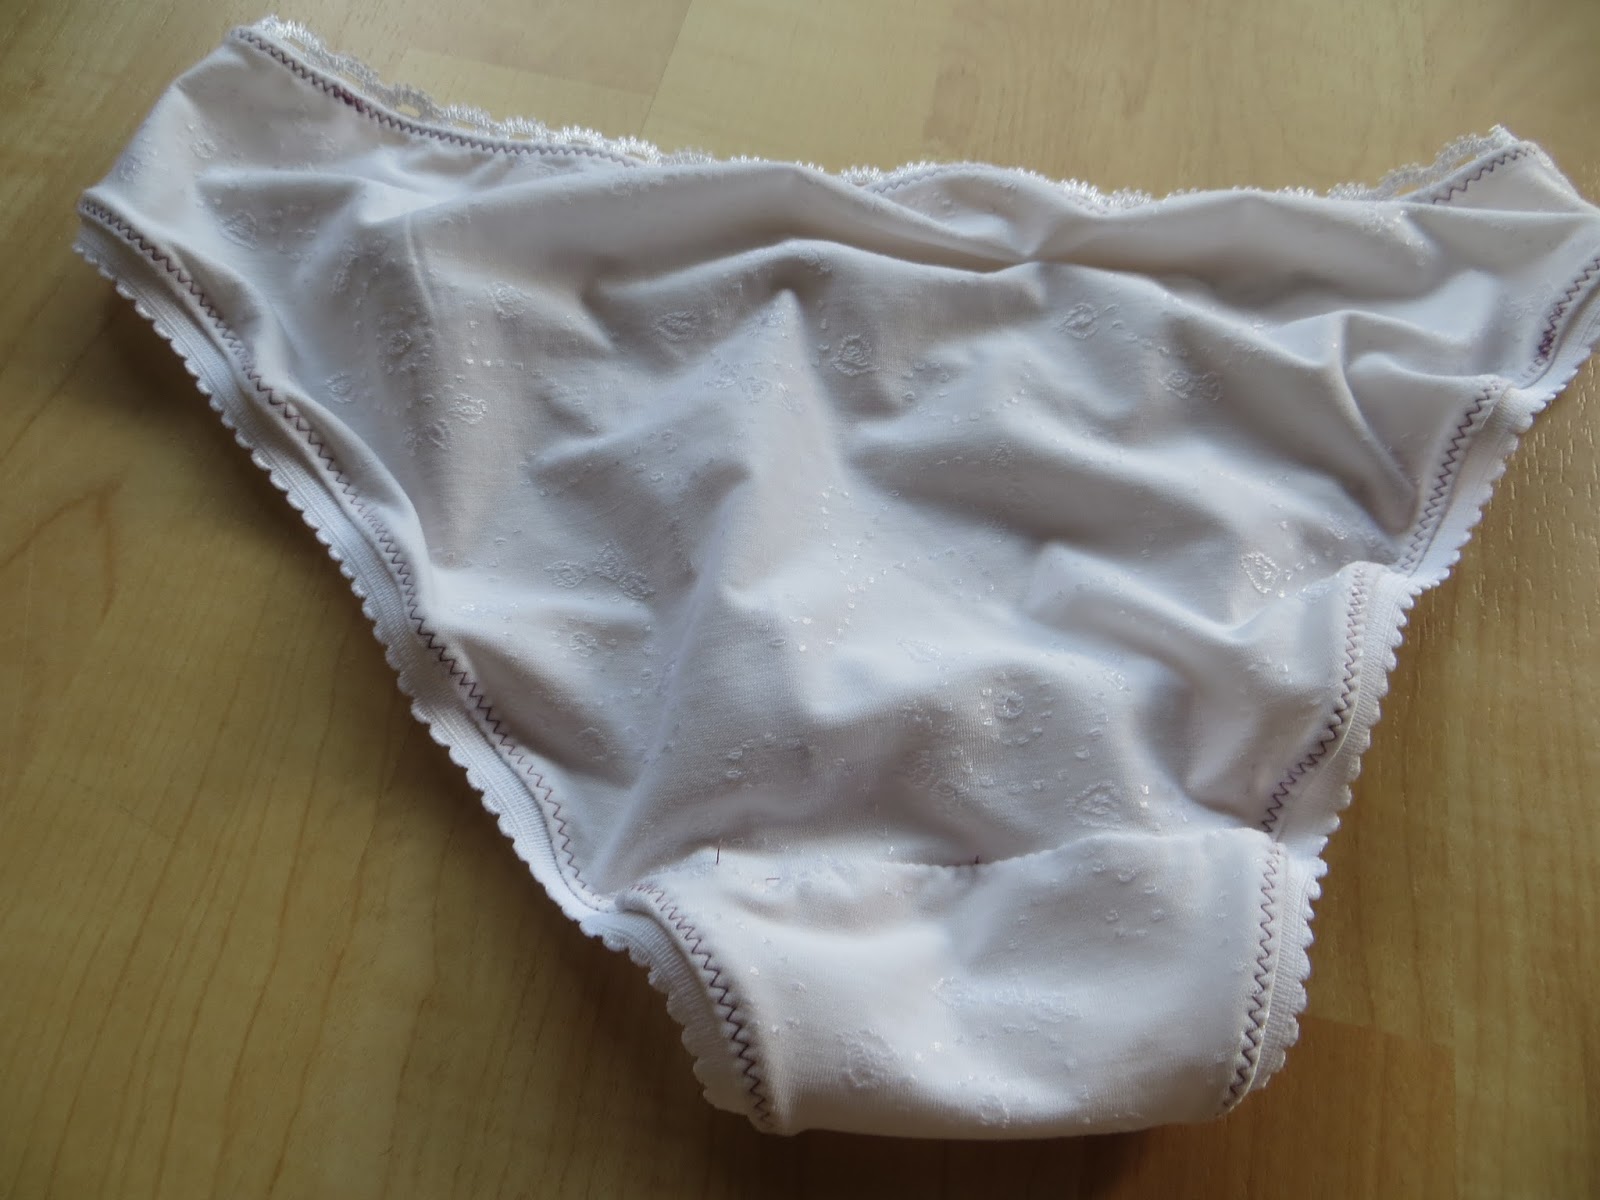
Well well, I have been looking for awhile for a knicker pattern that could be done in a satisfactory fashion without an overlocker.

The Watson bikini, the So Zo knicker, and the Kitschy coo Barrie bottom (here is an overview of all of them that I sewed recently) ...are all lovely and fit just fine.  However they all shred or fall apart because of using a normal sewing machine, and they all give me horrendous panty lines.  So there was still room for improvement.

I saw this pattern on etsy first, but then got even more keen when I saw Elle Joan's had a kit with all the right lace in it.  I've been really enjoying service from her shop lately since she is local in NZ and the shipping is so fast!  Tailor made shop was my go to prior to this, and most of the time I was happy with what I got from her - the kits are certainly beautiful, but I did find once that the various elements didn't match very well, and when I ordered Madalynne lace kits, the lace was non-stretch.  It didn't stop me from ordering from her again.

I thought this pattern would give no panty lines, since the back is lace AND that simplifies a lot of the sewing. I was less sure how the FOE at the waist would go.  It doesn't feel very substantial.


My one kit had enough of everything for 2 pairs of knickers in a size S.  The second one needed FOE from elsewhere, hence teal.  On that second pair, in order to tighten the waist, I pulled the sides around to the XS mark instead of just the S mark, which is an improvement.  I think I could use the size XS instead of S.  My hips are 37". 

These took honestly like 12 minutes to make.  I was initially wary of just folding over the leg openings and zig zagging down, but it seems to hold up ok.  On the second pair I took out extra steps like finishing the front of the crotch piece, and doing an extra layer of stitching on those leg holes before you fold over.  I didn't plan quite far enough ahead to do a sandwich for the crotch piece to enclose it - you have to do that very early on before attaching all the pieces - so it is still unfinished but the lace is good at camouflaging my layers of zig zags.

These are comfortable on.  They are low lying over the hipbones in the front, so the elastic behaves ok.  I will see how they handle being washed before I comment on their longevity - so far no pair of panties with picot elastic has lasted very long (at least looking good) because the elastic all shredded in the wash. 

Monday, 17 July 2017

Mallori Lane by Madalynne

I found this while browsing on Madalynne's website when I realised the Noelle was a free pattern.  I thought this bralette might also suit me so I downloaded it right away and made both bras on the same day.  I cut this in an XS.  I really didn't expect it to work, and I was just going crazy with my leftover lace.  I glued the lace to some power mesh (my glue is terrible but slightly better than nothing.)  Then I tried to catch the loose bits of lace in as I sewed, since on the bust it wasn't quite long enough.


This was a fun make, probably the most fun I've ever had making a bra.  I was also totally blown away when I realised that it fit!  After the Noelle bralette, I expected another long line bra to be equally badly fitting.  It still feels substantial - it covers most of me, really, but it's comfortable and supportive.

This is waist length on me!

This is hard to get on and off.  Also, it's hard to get the straps lined up properly.  I have a muscular back and the straps mean all sorts of fat seems to stick out everywhere.  And it's itchy.

All this said I will definitely experiment with this pattern some more, prioritising softer fabric and maybe playing with the straps.  One way to make things more stable would be to use boning on the sides, which I might try.

Sunday, 16 July 2017

Noelle bralette by Madalynne

Madalynne has made it impossible, via Instagram, to avoid the Noelle bralette.  I had not realised that it was also a free pattern, and when I realised this, I had to make it immediately.  (I also discovered that I liked the Mallori Lane and so that followed, also immediately.)

I used size S.
The fabric is a leftover from a german bra kit, I think it's from www.sewy.de The trickiest bit is sourcing a single round thing for the back.  I didn't have one so I just tried to make my straps arrive at the right angle.

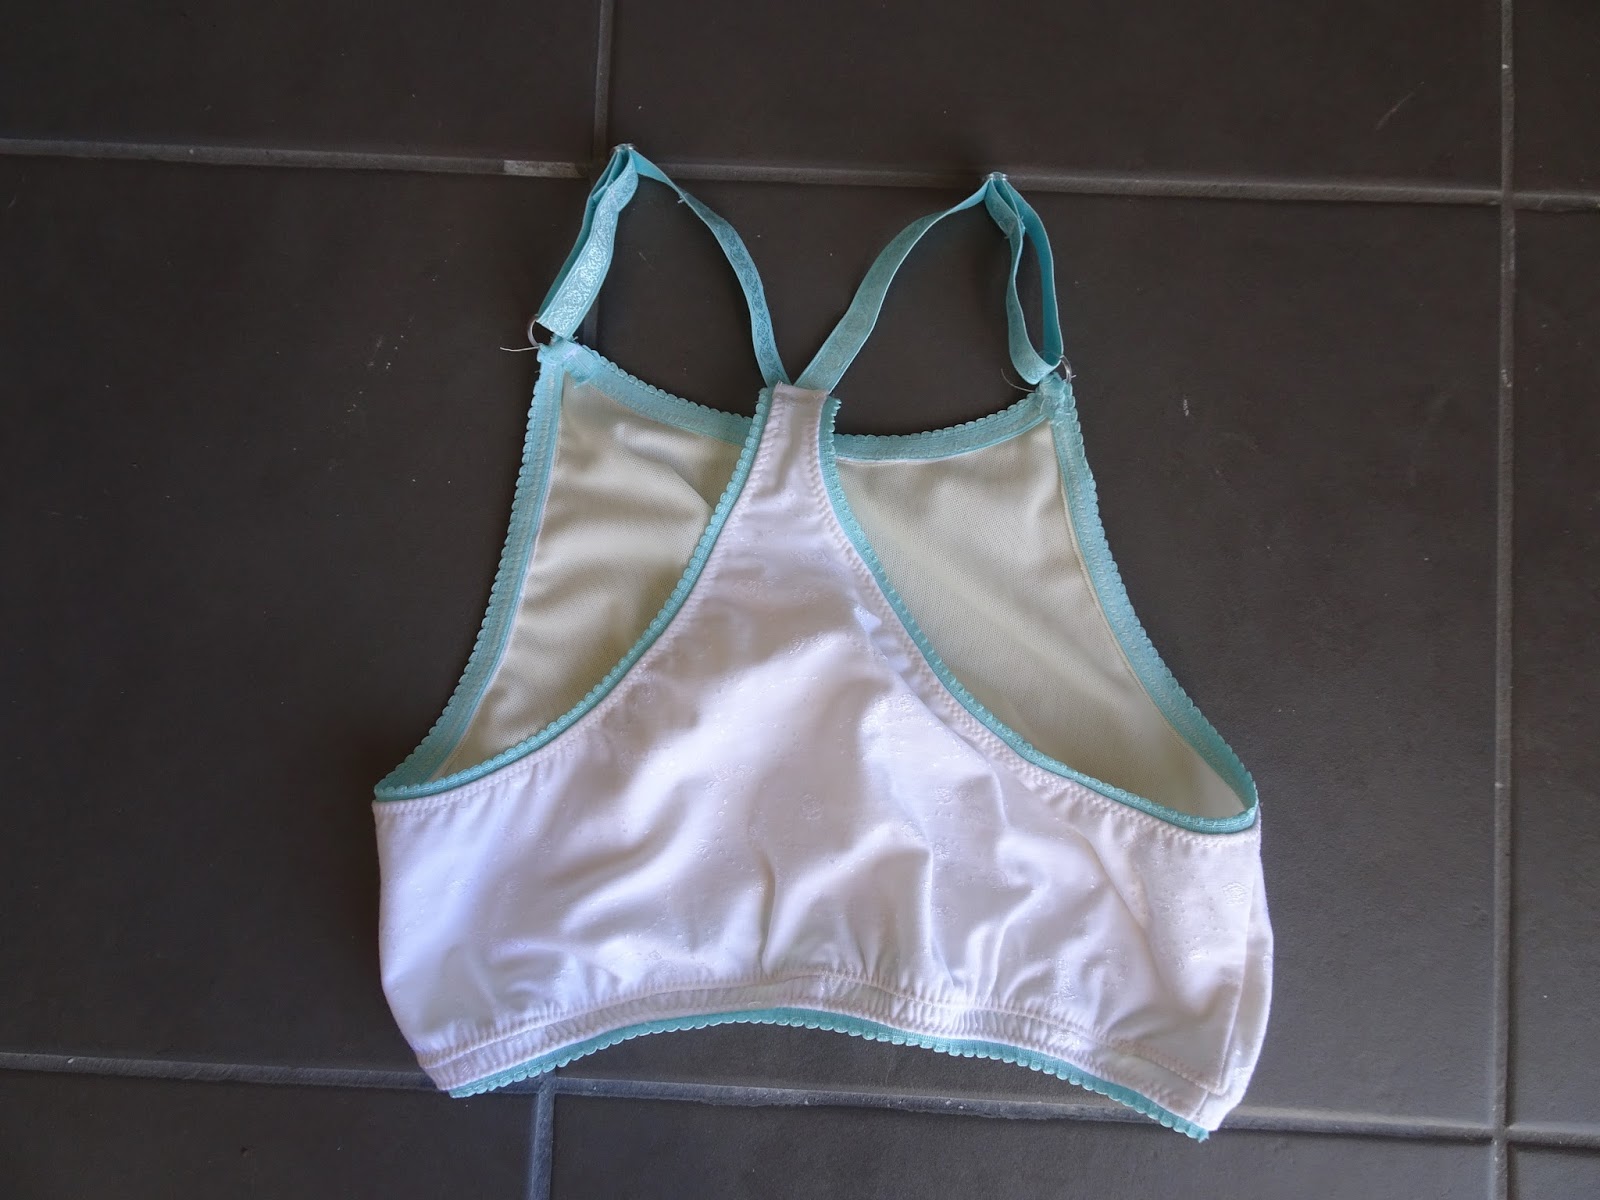
Once I got it all together (very easy) I determined that the long-line part of the bra was totally ridiculous on me.  I am short waisted.  It means I have like no rib length and no space between the end of my ribs and my waist, so this thing came down to my waist.  I took off the entire bottom panel except a bit to attach the elastic to. 


After that it's totally wearable.  I think there is still somehow too much fabric in the back so I am thinking about how to change that, and I also don't like that the strap adjusters hit right on my collarbones.  I am probably going to try again and make some changes, including just skipping the long line and using some heavy elastic below the bustline, and then maybe cutting out some of the back. 

Friday, 10 February 2017

Orange Lingerie Marlborough bra in brown


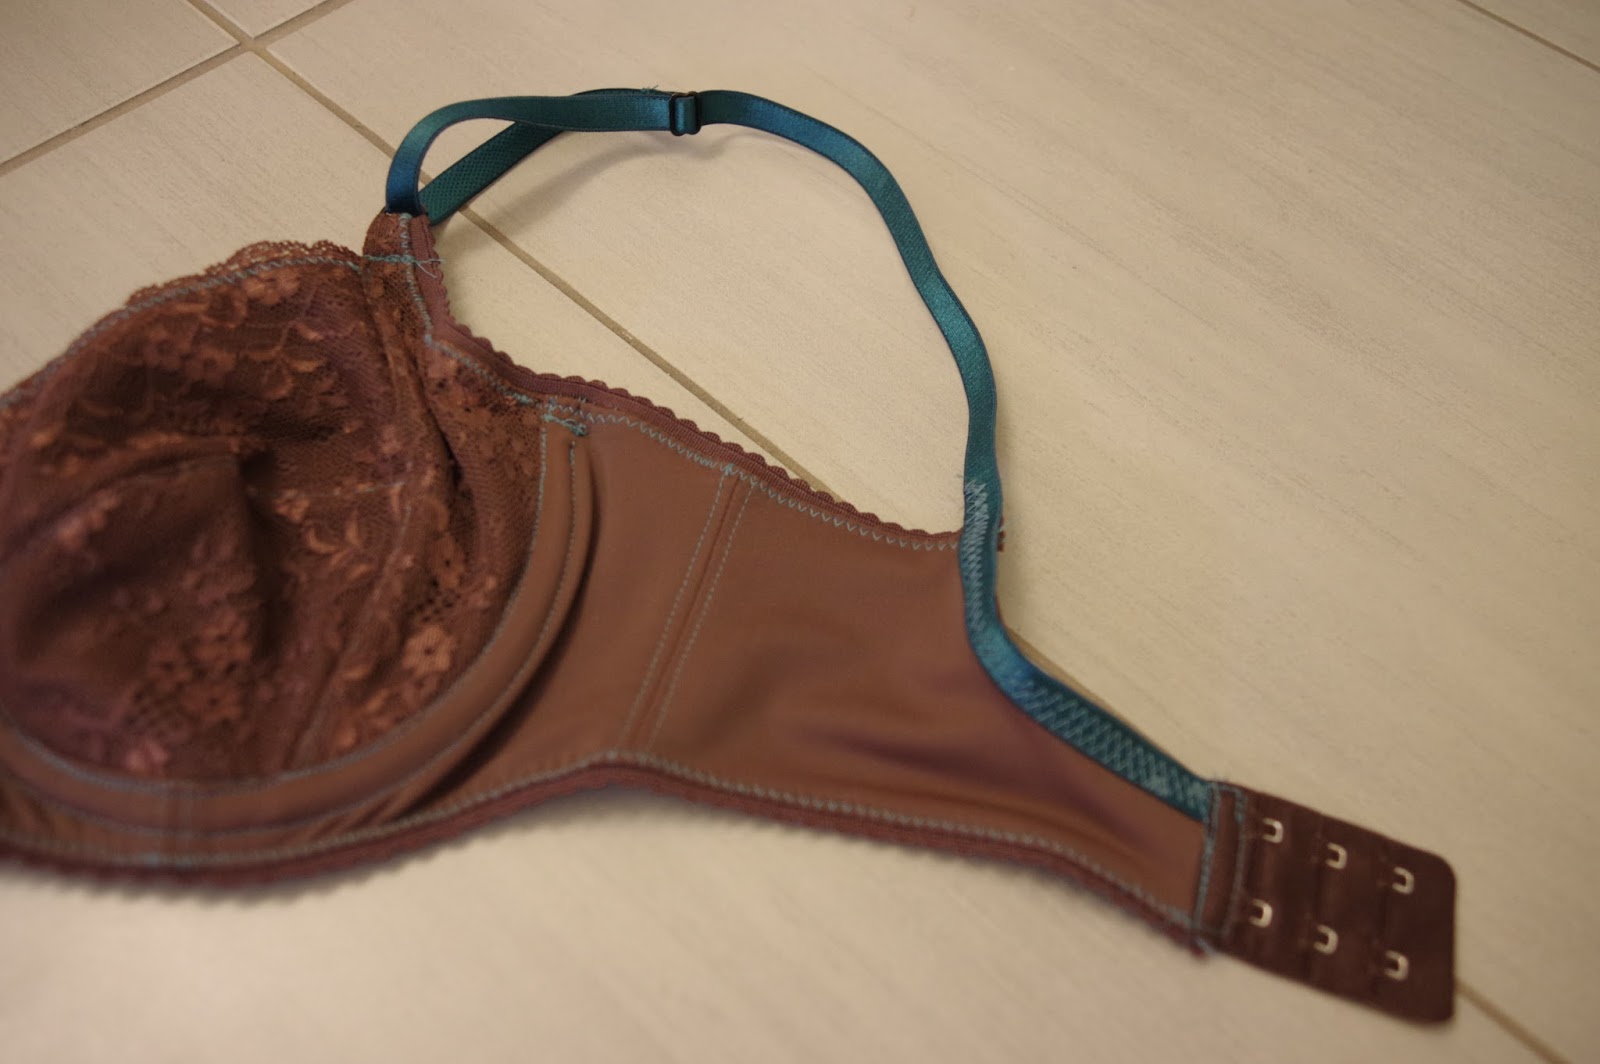
Once upon a time, I proclaimed that I had no UFOs.  Well, this is like, the ultimate in UFO-action: I cut it out in Switzerland and then carried it around for 1.5 years and now here we are.  So, I'm guessing by this bra that I made a 32C, and I hope that I made these changes which I have documented as necessary:

-tighten underarm elastic (I remembered, and did this)
-lower height of center bridge (it looks a tiny bit lower, maybe)
-sew the bottom elastic on a bit higher (done)

I thought I had wanted to remove a bit of fabric off the outer side of the powerbar, to make it not come up so high in the front of the armpit, but I guess I left that, in the hopes that tighter elastic would fit better.

However in all the excitement I lost my brown bra strapping, so in order to make it less muddy I went ahead and ordered teal- all my recent bra supplies have been from tailormadeshop, who I am in love with for their cute supplies and quick shipping.  I used teal thread too, which I knew was risky because when you can see everything, you can see the messes...

The bra came together pretty fast, and unlike in my first bra experience here, I underlined the lace cups with powernet.  This makes it feel like a real bra, it's substantial!  I didn't have any issues putting it together.


However, I made my own bridge (as previously) following the book Demystifying Bra Making, by Norma Loehr.  My bridge is narrow compared to average, and so I discovered that the wires overlapped.  I'm debating whether I could shorten the height of the bridge to use shorter wires, or whether I need that medial support.  I don't have much tissue on the top half of my breasts, so mainly I need the lateral support, and some of my RTW bras don't have high cups in the middle - something to consider for next time.
There is a lot of wrinkling in the upper cup - I could pinch out a centimeter of fabric - best seen in this view.


The sad end of this story is that a bra prepared two years ago doesn't fit today... It's comfortable but the cups are a little bit too big and I think the lace is scratchy.  I've probably lost just a bit of weight since then and of course my boobs are the first thing to shrink. I'm not totally sad, I know I'll fluctuate and fit this bra again, but I'll measure myself again before making my next attempt. 

Tuesday, 25 August 2015

Panty party part 2: Rose crossover panties & Watson bikini

Made another Watson bikini:
Recycled fabric from an old ibex tshirt that had holes.  Panty lining is from the arm of a tshirt I cut off. I made the XS this time, keeping in mind my old stretchy wool fabric.  What can I say, this pattern really works!  It's cute and fits and feels just like something store bought.  I made this before breakfast...


...and a second Rose crossover bikini:
Made this after breakfast : )  I cut the XS. Followed the instructions (the elastic looks really good!) And then I tried it on.  And this is a total fail - I didn't bother putting on the waist elastic.  It would fit me around the waist this time, barely, but the butt feels like wearing a diaper - there is a huge amount of pooling of fabric in the butt.  Because overall the woven doesn't stretch, getting the waist fit right means I can barely pull the panty on. That is when I understood why the pattern model is sewn with a fully lace back.  I think this pattern needs to be done with something either knit, or stretchy.  For now I have had enough of trying it.  According to the size chart, I am an M, but it looks like an XS is the right fit.  I might revisit this when I want some really sexy lingerie and I am willing to work with stretch silk or lace.  Maybe folding an inch out of the butt would help too. 


The other issue with this is that the instructions say to pull a bit of tension as you are sewing the leg hole elastic on.  I would adjust this to say: pull a f*-load of tension on it because you need it to really gather the fabric.  Nothing wrong with this pattern (the rebel in me always wants to point out the bad in patterns to counteract the blogosphere's freaky perky happiness with all indie patterns...) but I would definitely need to spend more time to make it fit my bottom...

Thursday, 16 July 2015

A trio of panties

So I have been introduced to the addictive qualities of making underwear.  At first you think that this is just not gonna fit.  No way.  Especially on my first pair, which were the:

1. Grace Hipster panty, by Ohhh Lulu.

Interesting features: pieces of bias cut woven scraps, mixed with some knits at the sides.
The little crotch bit is only sewn down to the back.
Wonder of wonders, although it looked MASSIVE, it fits.
I cut a size M, managing not to cut a small out of vanity, for my 37'' hips.
You don't sew anything along the legholes, just fold over and finish, and that is good for minimising panty lines on the butt.  


2. Rose cross over bikini by Ohhh Lulu

This was my third pair.  I again used size M and again tried to ignore how massive they looked.  This requires a bit more attention because you have to sew the fold over elastic twice.  It's also good to baste the overlap very thoroughly.  I learned all this by not doing either of those things.  I just folded the elastic and kind of pulled tension on it while trying to shove the fabric into it and sew at the same time...I missed a spot on the front.

Good thing here: the crotch liner is fully enclosed.

Fit: can't tell you.  These were MASSIVE.  Like I thought the others would be.  Seriously huge.  I am not sure whether to sew a small or XS next, but because this requires big scraps on the bias, I am waiting til I have some scraps for the second pair.  (Or I might just make a silk pair.  I have a lot of silk scraps.) 


3. Watson bikini by Cloth Habit
This was my second pair.  I made a size small. I again thought they would be huge and I made them out of some white stretchy stuff that came in a bra kit from Spitzenparadies.  In fact I think all the materials came from that kit.  I basically dug around and pulled out whatever looked useful.  I don't usually wear underwear made of non-natural fibers, but to my shock, these fit like normal bikini underwear.  No way!!  (I might wear them.) Because this is a fully knit pattern, I will probably use some holey woolen shirts to make more pairs.  I like wool underwear : )  I'm also proud of my random decision to use purple thread.  These look special, what with all that crazy underwear elastic at the top!!


Summary: 2 out of three successes isn't bad at all!  Now it's time to put these to the test...and they are so fast to make that I am already planning more.