Showing posts with label Hey June Handmade. Show all posts

Monday, 19 February 2024

Linen knit Seaforth lounge pants: for maximal lounging

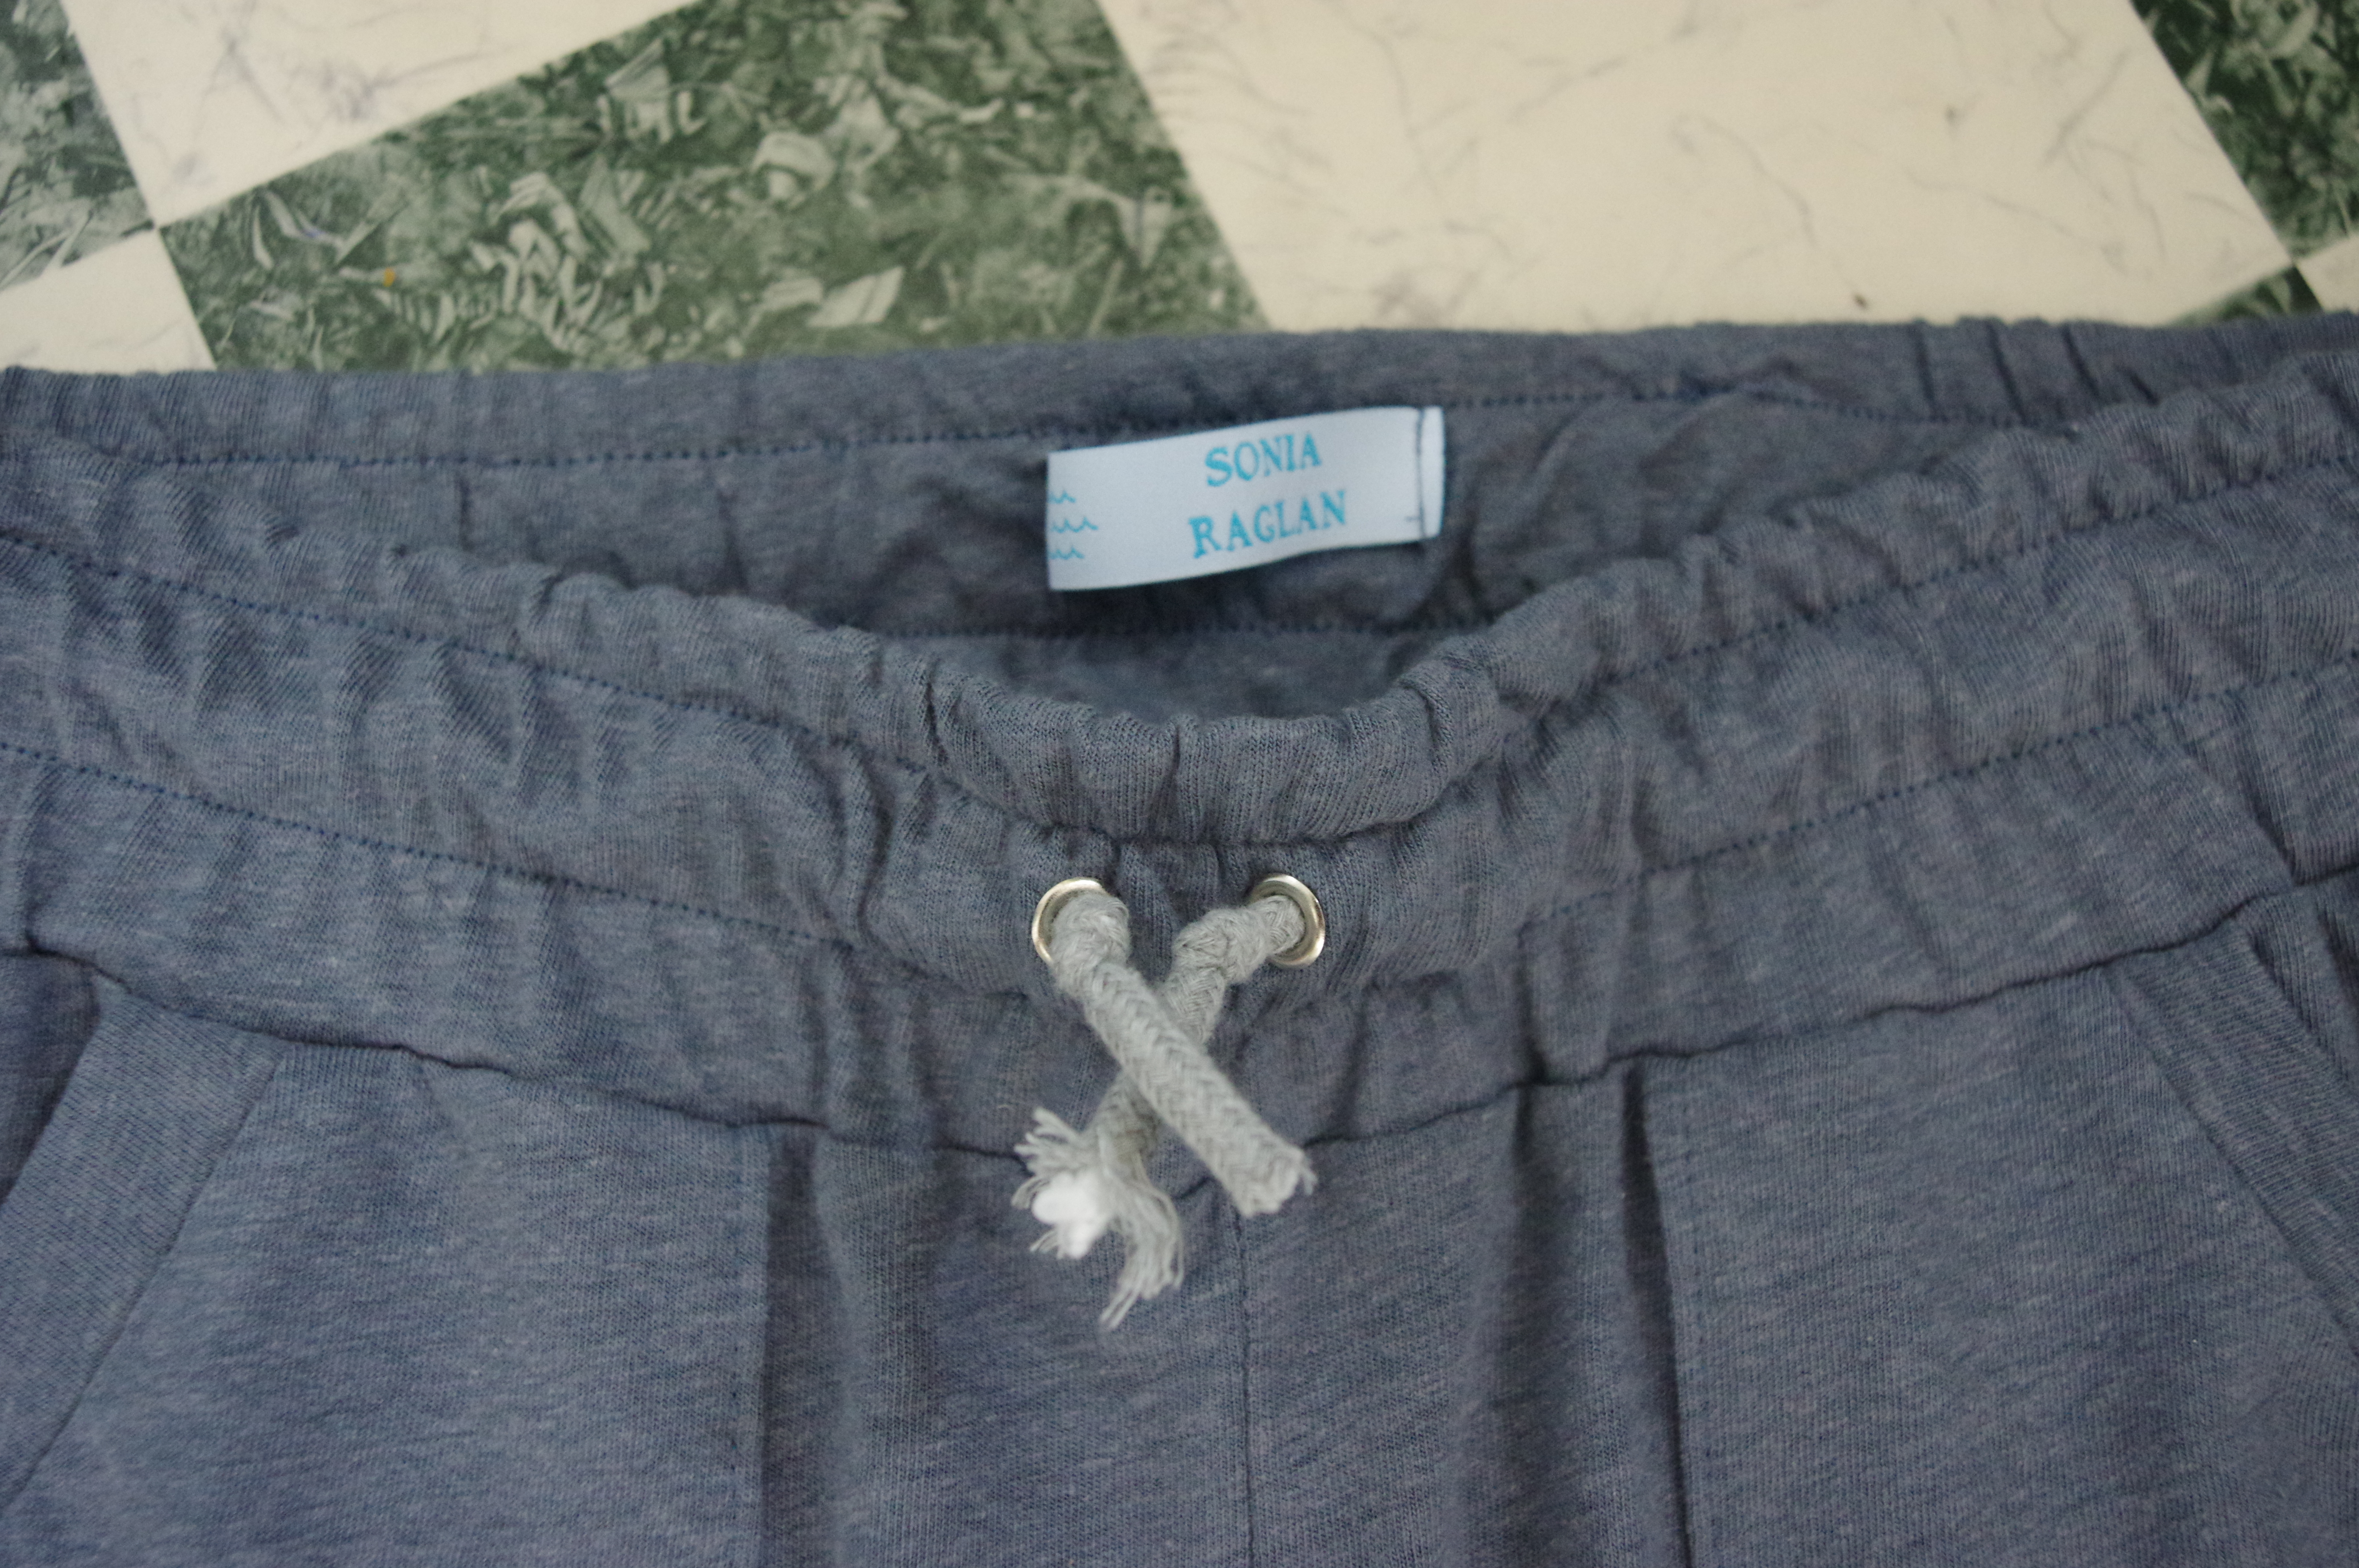
 I have two pairs of my favourite drop-crotch linen knit loungepants.  The pattern was made using the Anima pants and a drop-crotch online tutorial.  One pair is from 2020 and the other was made a few months ago...and they both already have holes.  (Linen knit is not the most durable, or possibly due to my crappy clothespins.) Clearly I need *more* linen loungepants!  I was envisioning a double layer of coziness, and mentally riffled through my patterns trying to figure out which would be loungy enough (the Hudsons are too snug and low waisted.)  I thought this pattern would be perfect and since it's meant for wovens I was guaranteed a good oversized fit - I used the same size (4) and pattern pieces as for my previous go at the Seaforth.  The pockets though, don't come with a non-zip option.  Also, the double layer business had to go, as this pattern takes...a meter of fabric...so I didn't have any to spare.  


For a quick pocket fix I used the pattern piece from the Linen Loungers. I overlapped the two pockets and created a pocket opening to replace the zip, and added a binding.  Otherwise, no changes to the original pattern.  I did all the darts and back pockets as per the woven instructions.  Very easy to make!  So pleased to wear!  And they match my new cropped linen Blomma top!  (This Blomma top has been the summer win, so perfectly cropped and very fashionable.) 


Saturday, 30 December 2023

Bodycon dresses: Givre & Prescott

Suddenly I needed a flaming yellow bodycon dress in my wardrobe.  I also really wanted a skin-coloured dress.  I knew that these probably wouldn't be very flattering, but I wasn't sure whether I would care. 

I've had the Prescott and Givre patterns in my stash and have made Givre as a tank top a few times.  I hadn't bothered making the dress yet but I have a see-through designer dress I stupidly bought recently and in hopes of wearing it often enough to be worth it, I wanted a merino bodycon dress to wear underneath for winter (it came with a slip.)

I started out with the Prescott tank dress, as I was very curious how the bra works. I mean, I mostly could sort of imagine the process, but I've never put in a shelf bra before.  I elected to use my very precious piece of Milk viscose in a body-colour for this, for better or worse...I didn't have much.  I had to line it with something else. 

I made a size 4.  As usual the question of which bust measurement to go by. The high bust matches my bust, and the waist and hip measures are spot on.

I didn't have enough for the back hem so I added on a piece. 

I had to follow the instructions as the construction was a little bit fiddly. It was helpful to be told when to use the sewing machine instead of the overlocker - often because it's not the direction of stretch and will decrease bulk.  Unfortunately the instructions for elastic application were confusing - they say to put it on the right side, but from my way of thinking that's the wrong side.  

I see that there are pull lines on the model and I can see those on me too.  The way it shapes below the bust is kind of loose.  Overall I think I like the shape to the level of the hips, but I don't really like the way the underneath bra and the overlayer interact.  It might be that using super strong elastic wasn't a good idea - I didn't realise as much of the support comes from the fabric of that bra layer, rather than just from the elastic.  

I have the feeling that I might turn this into a tank top to salvage the fabric, which I love.  I'm not actually finding that I want to wear it much.  I left the hem raw because I don't have coverstitch thread in a close match, and because my machine isn't behaving very well lately. If I'm going to turn it into something else, no need to suffer extra...


2. Givre, dress version

This is green merino from Otara in Auckland.  The cheapest place to get merino!  I had a really exact colour in mind and this is exactly what I wanted.  

I did the same as making the tank top: 36 at the bust, 38 everywhere else.  The fit is spot on - perfect amount of room.  Flattering?  I would say absolutely not.  But I might not care.  Maybe I should have fallen into my bodycon lust right after coming back from life in Nepal, when I was anorexic thin for a few months.  I love the feel of this but I'll have to be in the right mood to wear it without something over the middle section.  To wear under other dresses it's perfect.  It was easy to make - really not any different than making a tshirt.


I have some plans towards the Lola tank and dress and maybe making another Mission dress (it's been awhile since I had one in my closet) but other summer sewing is taking over so we will see what happens later in the summer! I'm still holding onto the neon green rib fabric so I'm sure it will show up eventually.


Monday, 7 August 2023

Hey June Handmade: Seaforth Pants review


I planned to make these last November, when I actually really needed them for a work trip.  I bought the fabric...and made a Demeter dress instead (and fell down a Demeter rabbit hole, have not yet escaped.)  I was really curious about the pockets on these, and whether these are more epically rad than all the other elastic waist pants...

I finally made them a priority on a trip to Dunedin, which was quite neat as it gave me a chance to try out the Stitch Kitchen.  It is a sewing and crafting repository of supplies, and you can rent time at a sewing machine.  They have a fabulously equipped studio with things like cutting tables (not the kitchen floor, for once.)  I made these over 3 days in 2-3 hour chunks.  They were easy and fun to make.  

I made size 4 which matches my measurements (27-37) exactly. I didn't shorten or adjust them at all. 

The fabric is a kind of rayon which I've bought before, it's from The Fabric Shop in Otara in Auckland.  It's easy to work with, drapey, and pretty much opaque.  

The instructions were fine, I had no disagreements with anything and followed them pretty much exactly.  The fabric was easy to work with.  Pants like this are quite satisfying to see come together and there were no major surprises.  I haven't stitched down through the elastic, but I probably should as it's already trying to twist in the casing, especially at the ankles.  


 Initially I thought the butt was kind of flat but I think it looks fine and works with this drapey style.

Sadly despite the great fit of these, they are totally unseasonable in the middle of winter.  It's too cold for these so they are waiting in the closet for warmer times.  I am inspired to make more, I had thought a pair in some coating fabric would be oddly amazing, and I do have a habit of trying to make pants out of coating so it's likely to happen plus then I can wear them right away and try out the zipper pockets.  I'm not sure about the zipper pockets actually, they are secure and cute as a design feature, but maybe kind of annoying?  Need to wear them more and see what I think.

Friday, 16 December 2022

The Wheaton Windbreaker: worth the effort?

I've been planning to make this ever since it came out.  I have a large queue of jackets, you see, and each time I make one I need to recover afterwards.  A nice jacket has a lot of small details, and all that sums up into a Big Project.  For some reason it also seems like it's really hard to produce a jacket pattern that is both a good jacket, and that has good, genuinely helpful instructions.  Thus, the queue just stays the same length no matter what I do!

There was the Glide jacket, by Made it Patterns.  No comment. (I think I have said enough.)

And there was the Arare jacket: beautiful, success, really a bit too small considering my claustrophobia putting things over my head, but definitely a keeper.  Pocket instructions a bit bad for Waffle patterns, but everything else was great.  

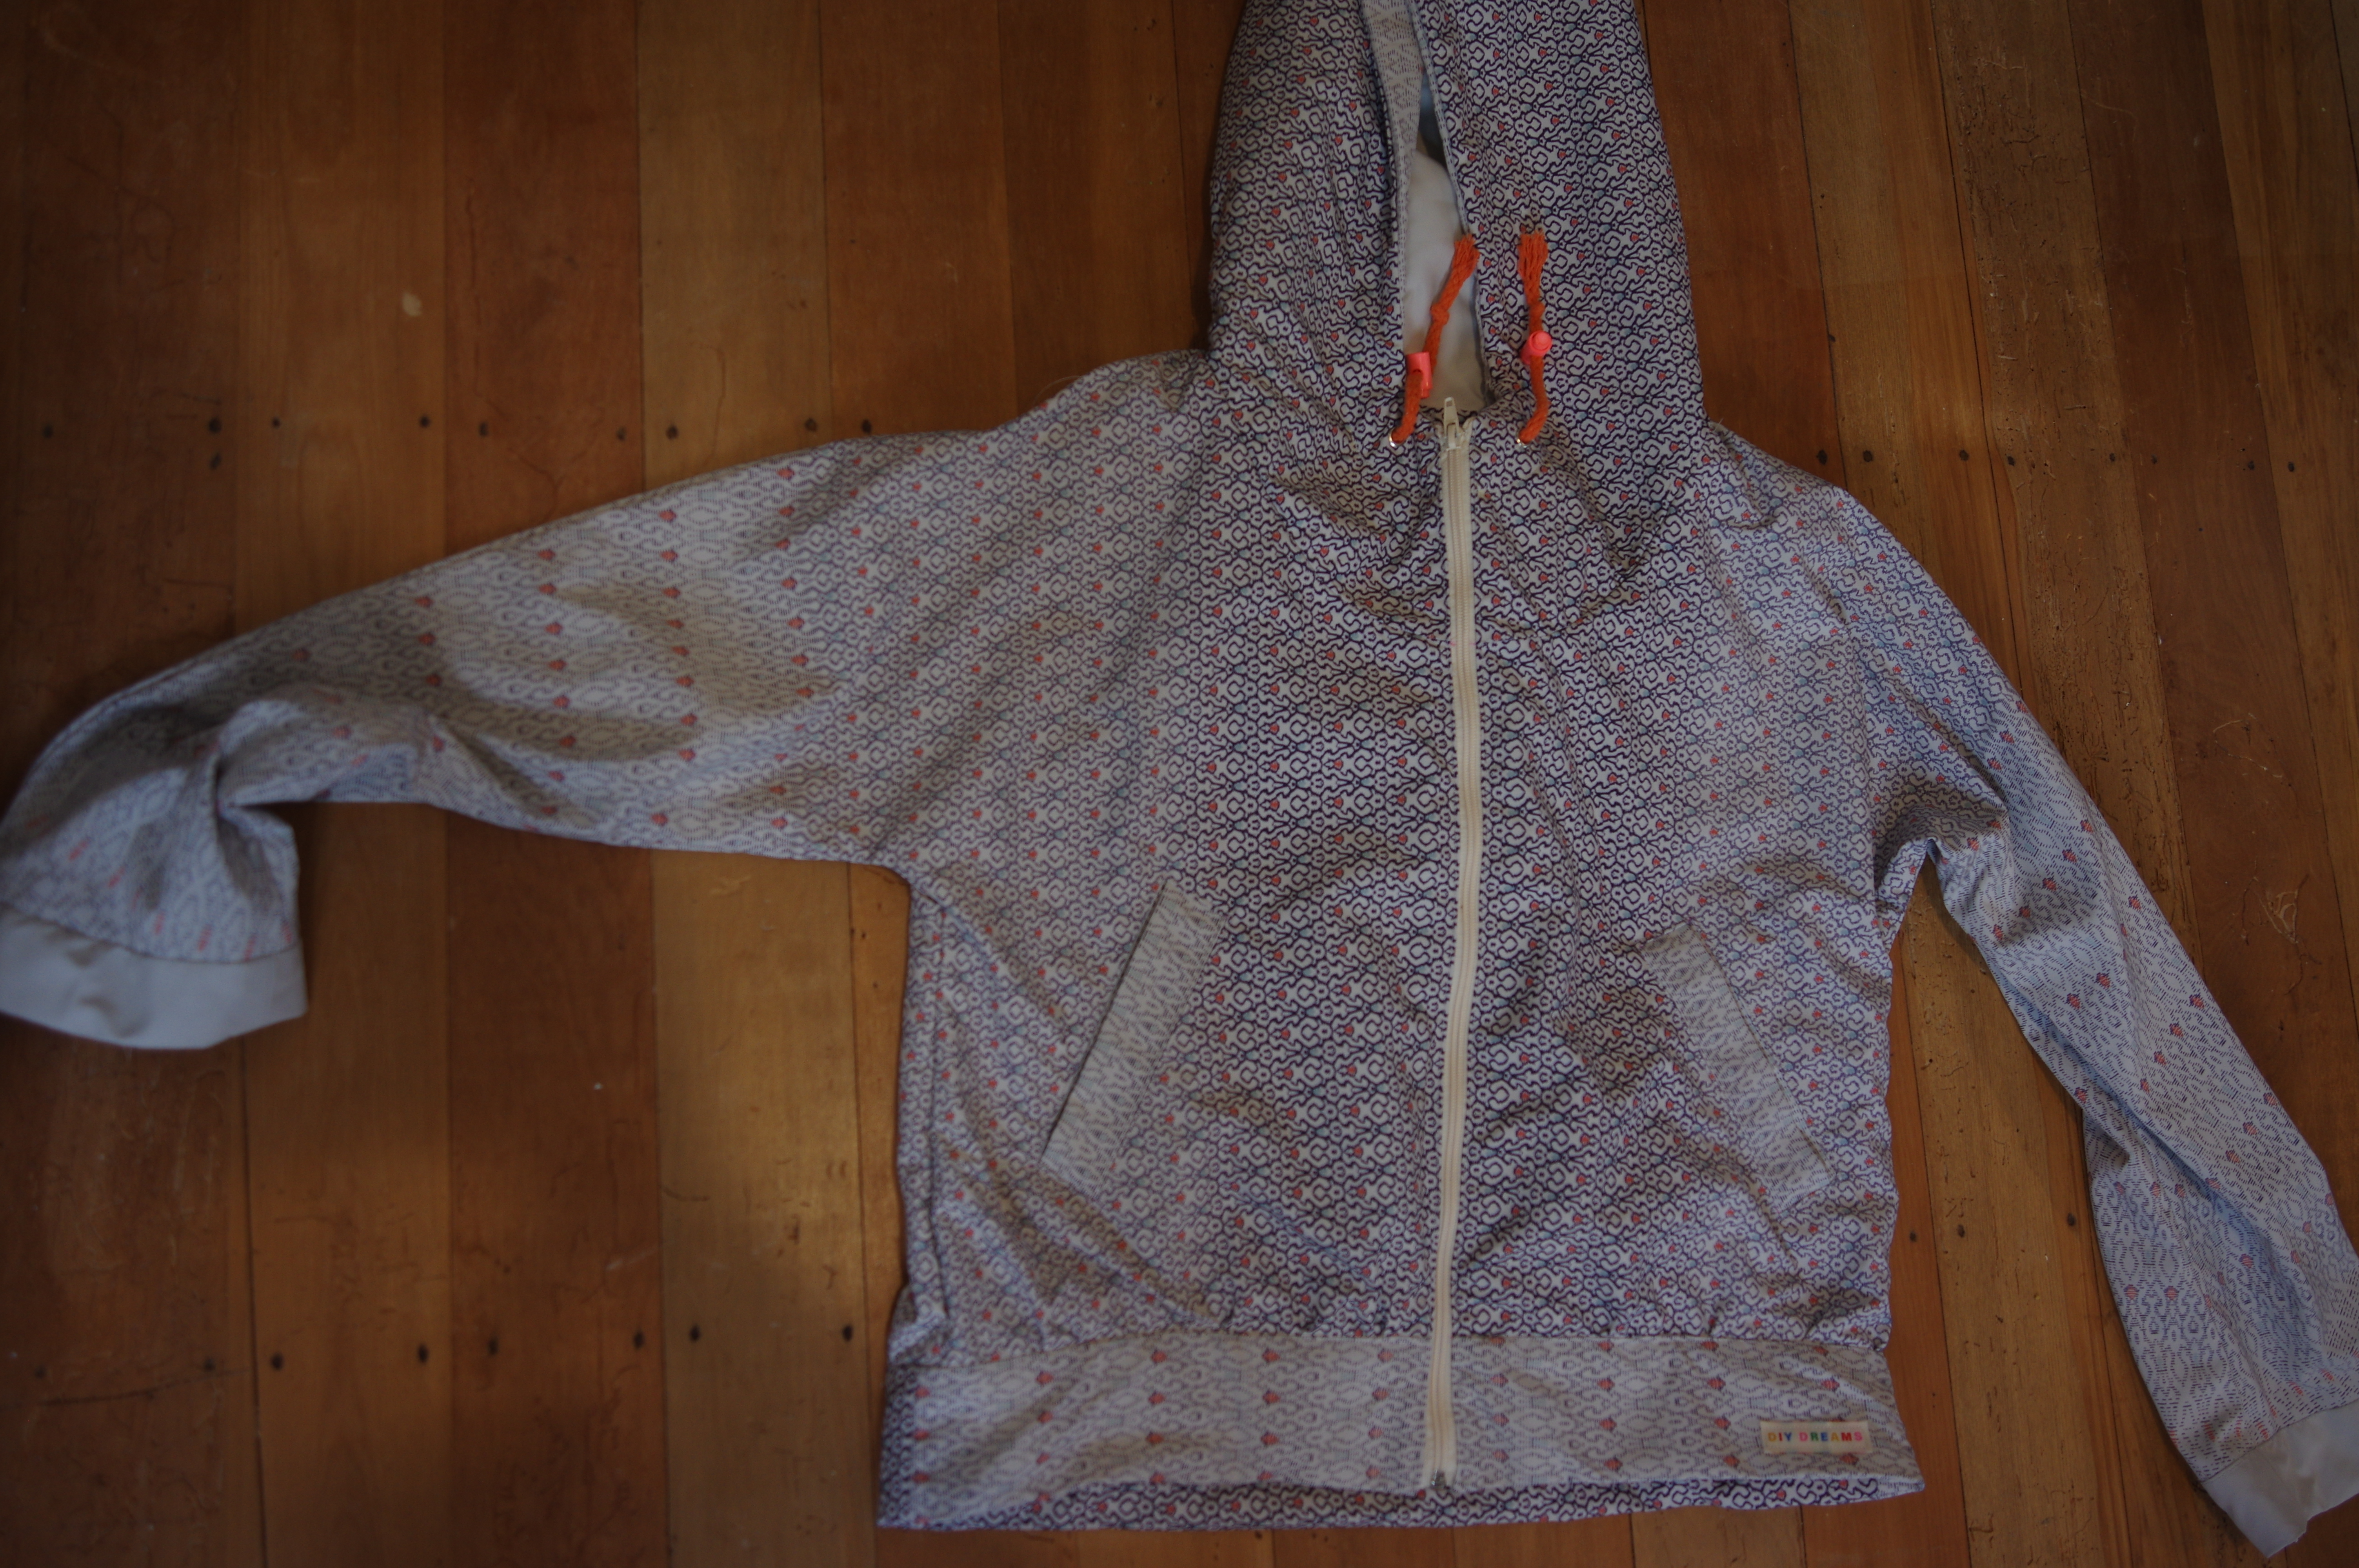
I tried Very Hard to make the Wheaton pattern fit on a piece of waxed cotton at some point last year.  A meter piece.  It didn't fit, but left me the legacy of my pieces cut out in a size 0 when I'm a 4 on the size chart.  Right. So then Tessa and I went to buy fabric in Auckland and got matching nylon to make matching Wheaton windbreakers.  We got 3m each.  And even better - when I had a reason to come up to Hamilton for sewing day, we decided to make them together.  

Tessa made size 12, as she was between 10 and 12 on the chart. She reported a size 10 would have been fine. If you are following the size chart, the ease is generous.  The size 0 fits me though I would have liked it a bit bigger, the size 4 would have indeed been optimal.

I prepped ahead of time because I couldn't bring scissors etc with me on the airplane. I cut out my size 0 pattern (sigh) and though I had wanted to use the gradient of the fabric on the cross grain I couldn't make it fit so I had to use it with the gradient going across.  I had enough fabric to be a tiny bit picky, but barely.  I interfaced everything per the instructions.  Tessa really struggled with 3m of fabric but just barely got the entire thing cut out except the pockets.  

Tessa started her jacket the morning of sewing day. She only interfaced as she went along and was less finicky with details.  She quickly passed me and had finished the jacket by the end of the day, while I still had the cuffs to put on, the hem to sew, and the facings to tack down.  This is the summary of the day: the more you follow these instructions, the worse things will go for you.  We agreed that this was the worst sewing day we had ever had together because we were collectively miserable at every single step of the process. (Usually we are at least sewing different things and can cheerlead each other on.)

First: welts.  As every pattern designer seems to think they have to reinvent the welt-wheel, these welt marks are very confusing. They are inside out arrows, instead of a box.  Save yourself, and draw the box around the arrowhead ends.  Then you line up the welts with the sides of your box, per usual.  Also, don't fold the welt lip ahead of time, because then you're constrained to use it without adjusting it to cover the space. Wait til later when you can adjust it to fit - a better pocket results. 

Next issue: interfacing.  Don't interface *anything* that has go to around a curve.  This pattern is drafted so tightly that it just won't go.  Don't interface the hem, don't interface the neck part of the facing. If you have fabric that requires interfacing, it's worth cutting the interfacing down so it is not on the seam allowance.  Tessa beat me here by only interfacing as she went along, and didn't interface things that didn't need it.  She was able to ease in her hood and the hem without catastrophic amounts of seam ripping, whereas I lost a few hours undoing and getting frustrated.  

Tessa:


(In these photos I still hadn't done the facings although the exterior was put together.)


Subsequent drama: the cuffs.  WTF?  You cut out 4 little pieces but as best we could understand, you need 8, 4 for each side.  A LONG TIME after finishing the jacket I suddenly wondered if you are supposed to actually do the cuffs as a facing inside the sleeve, but that doesn't make sense because the sleeves are already super short.  So, if you are doing normal cuffs you need 8 of those little pieces.  Also I forget now what the instructions said but best to ignore them and do normal cuffs - attach to jacket and thread the elastic through the casing.  It will save you some stress.  Consider measuring the length of sleeves and lengthening if not happy - they are pretty short.

Finally if you actually sew the facing and hem facing down to hold the pocket in, you lose half the pocket.  If you want full sized pockets, they have to be outside all those facings and flappy around.  A peeve I have.  


In summary, we both finished our jackets, although I took another month to recover from the very memory and finish mine. After taking these photos I did add elastic into the cuffs. Tessa says that she has been wearing her jacket to work every day and gets so many compliments on it, which gives her the opportunity to tell everyone how awful it was to make.  I don't know if I can get over the experience and I will probably give mine to my cousin, who has asked for it.  (I did, and she loves it.)

If you love the shape of the Wheaton this is the advice I can offer: 

It creates a very high quality jacket though with some flappy but nice and deep pockets.  

It might not be fun along the way.  Do a practice welt pocket, interface only as you go and as really needed, and lengthen the sleeves ahead of time if you arms are anything longer than average or if you want to try a sleeve facing instead of a cuff.  Don't plan to do it in a day or your creative vocabulary will come out!  Plan bribes to get yourself through it.