Friday, 6 December 2013

Kitschy Coo Lady Skater in Merino

This is the Lady Skater pattern by Kitschy Coo.  It's such a nice, simple design and all the reviews have been pretty spectacular.

Once I got through the boring pdf cutting/pasting, I cut out a size 3 based on my high-bust measure of 34.  I was using a very stretchy thick brown merino wool to start, and I have a second skater planned in a tighter knit.  I wasn't sure if I'd need to go up a size, but in fact I'm wondering if I should have gone down a size!  I used a stretch needle as recommended (I didn't notice any difference from the ball-point needle I usually use for knits.)


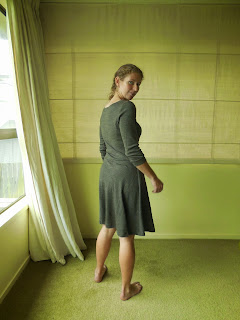

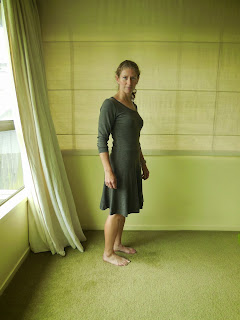


The construction of the skater is very fast and the instructions are available in a long or a short version, as you prefer.  I went by the short version, which means I didn't finish most of my seams...I had a lot of trouble getting the clear elastic to actually sew onto the dress.  I'm wondering if using a straight stitch instead of a zig zag would help, or if it would then not be stretchy any more  My elastic kept zig zagging straight off the wool!

Otherwise, this was super fast and easy.  I cut it in the morning and sewed it in the afternoon!
For my next version I will definitely be making it shorter both in length and in the bodice, but I think that with my less-stretchy knit, I will not go down a size. 

Thursday, 5 December 2013

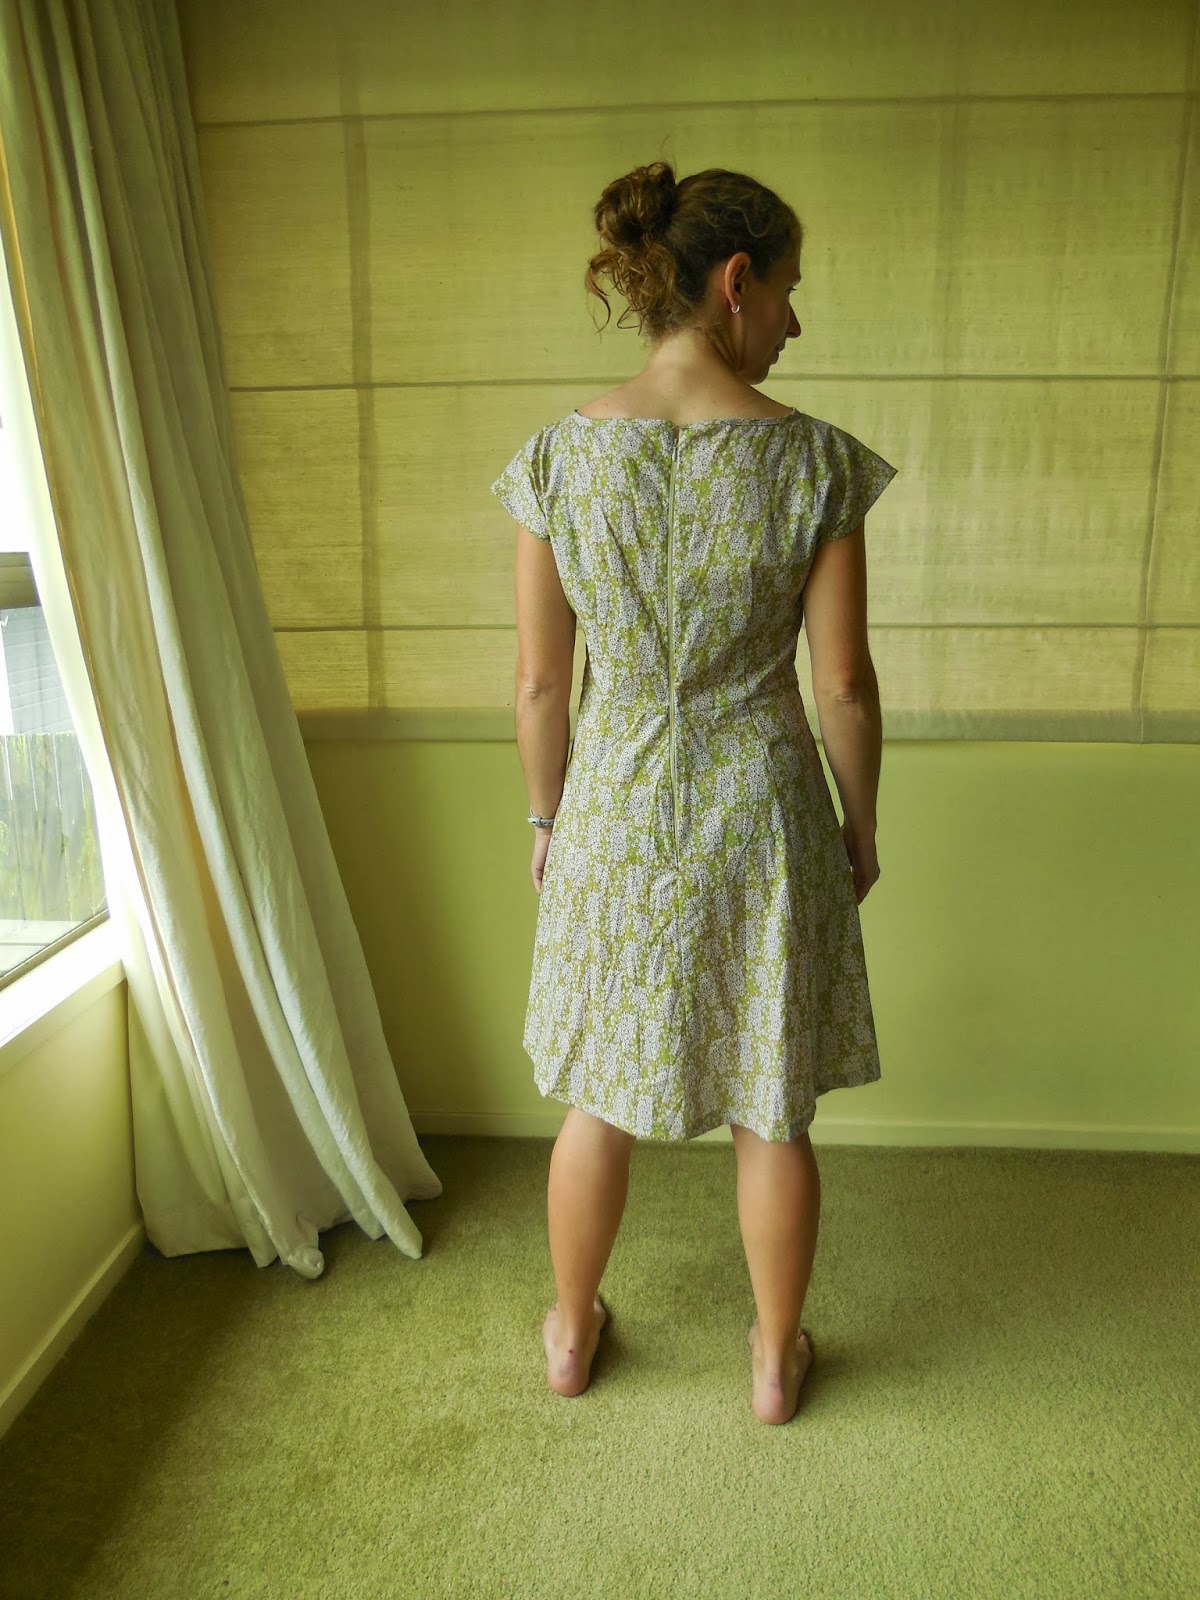
By Hand London flowered Anna

Time for another Anna. Size 8/12 this time.  I luckily only had to trace/guess at one piece because I had mostly traced out my size 6/10.  Construction pretty straightforward.  I lowered the front neck slightly, and skipped the facings to try out self-bias tape instead. I waited to put that on until after the zipper, since I was anticipating some gapping at the back.  There wasn't!  I guess that in this rather loose variant of the Anna, when there is no pull inward below the bust, it doesn't pull outward on the back??


My size 8 Anna is pretty loose, and the pleats are the only thing that give it shape.  I'm feeling rather frumpy lately with my loose Belladone, and now my loose Anna.  But I do love breathing...

This was my first attempt with the invisible zipper foot.  Which is apparently not a Janome specific foot, or my needle is not centred in my machine.  I could only use the left side tunnel.  Then I realised I hadn't matched the waist so I had to redo it.  I used the normal zipper foot on the second side.  The invisible zip foot also isn't creating a very invisible zip.  I wonder if I'm doing something wrong...anyway it's still been a much nicer zip installation than usual.  I was very tempted to take out an inch at the centre back but finally restrained myself. 

I actually love this dress!  It may be loose and frumpy but it has no facings, no loose threads, no sticking out funny bits...it's about the best construction ever, and makes me love Anna all the more!  I have one Anna left to do...my long, sleek, v-necked black Liberty Anna. So...is this size too big and frumpy for that??

Tuesday, 3 December 2013

Sewaholic Thurlow Jeans

It just happened that my first Thurlows would be jeans.  The awesome dark Theory jean fabric (with some stretch) was on sale during my visit to the States...and I'm actually quite glad because I think that I'm much more exacting with jeans compared to other pants.  My Vogue pants, for instance, are a miracle because I can wear them.  The idea of getting them to fit precisely was so far beyond me when I made them! 

Jeans aren't like that!  They have to fit just-so.  Quite awhile ago I read up on making trousers, measured my crotch depth and length, and measured the crotch depth and length of all my favourite trousers.  Interestingly, the variation was less than an inch!  I also tried to spy ahead of time what sort of changes I should expect to make.  I read some of Katherine Fasanella's diatribes about camel toe and I can even admit to spying on butts in the city identifying flat-butt-jeans (made that way because it uses less fabric).

With all that behind me, when I cut out my Thurlows I felt (rather mistakenly...) like I already knew something, and added in all these changes.  I deepened the J of the crotch for what I diagnosed as a low-slung butt (no perky cheeks for me, sadly) by going from the size 4 line down to 0, then from there I extended the crotch depth by continuing out to the size 8 line, and then smoothed that back to a size 4 about 3 inches down.  Haha, so see what happens next...were my changes good or stupid??  It was almost torture to go through the sewing piece by piece!


Those butt wrinkles are nothing compared to what I started with.


WTF that stupid fly is going to fly away it's so far to the right!  ARG!!!


I prepped by reading lladybird's sewalong two or three times, so that I had a better feel for what each piece would be doing, and it was a very very helpful crutch along the way.  As a few have mentioned, the explanations in the instructions are sparse.  About 12 steps are listed in each numbered "step" and if you haven't done trousers before it can be rather puzzling.  With the sewalong providing pictures along the way it was easy not to get confused. Tasia never tells you whether the lining fabric should be face up or down!  Nobody really gives advice on finishing stuff - like when/how do you actually sew the back butt/waistband together without crazy mismatching?  Should I just know this?

I had heard that the Thurlows run big, but in the end...my changes were so very irrelevant.  Big was not quite the word.  Once I had sewn everything together and got my mind around the architecture of a crotch seam, I started taking in fabric.  I took in about 2 inches at the inseam extending to about 5 inches below the knee.  Then I took in as much as I could from the bottom of the zip to the end of the butt along the crotch seam.  Then I took 1 cm off each side seam (I wanted to keep my pockets!) starting just below the pocket and extending that to 2 cm below the knees.  After all this I still took about 2 more inches out of the final centre-butt tab.  I almost overdid it once I got the waistband on - tried to taper the waistband and got a weird poofy bit.  In order to straighten that I had to take another small chunk out of the middle butt...and in the end it's crazy!  They fit!!  Oh yeah - this is why you do a muslin...I should have cut a straight size 0 and gone from there.  If my fabric had zero stretch a size 2 might have been good.  I would have a really hard time putting all my changes to paper though.

The main thing that drives me crazy is that the fly is on the wrong side, so when I look down the jeans look lopsided with the right hand fly.  Also the 4-way butt intersection where the waistband meets is still puffy due to my last minute ridiculous tapering idea.  I couldn't fix it quite enough, apparently.  But they are comfortable to wear, so I will chalk them up as a success.  I think a non-stretch, non-jean version of Thurlows would get a very different result!


Friday, 29 November 2013

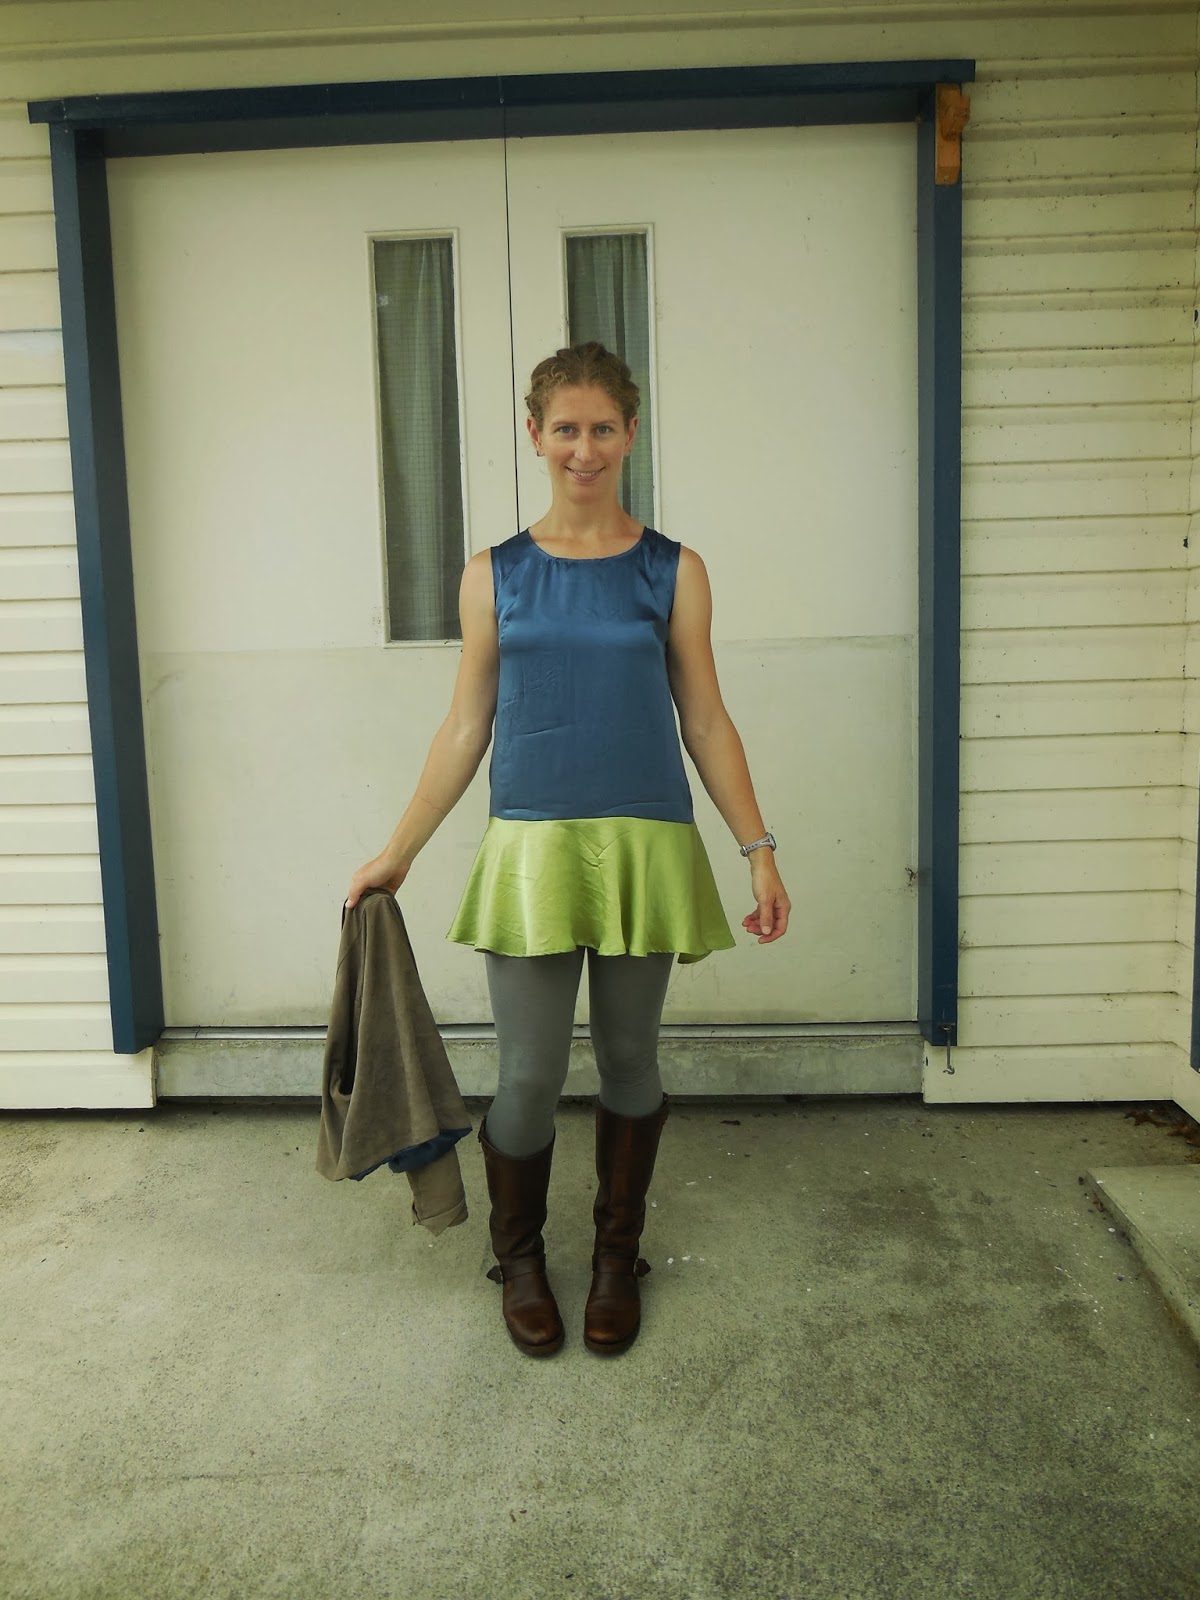
My super sexy silk Papercut Saiph

Oh I was soooo excited to do this!  And whoooa I went out on a limb with creativity.  Seems to have come out ok despite that.

It was the perfect pattern to use for some silk - charmeuse I think?  It's dull on one side and shiny on the other, quite heavy, and it was the lining for my Victoria blazer, soooo at the end of it all I have a matching jacket!  I did have a few stray thoughts about using the dull side to make a nice contrast but I just stuck with shiny this time around.

Thanks Jennifer for an awesome lunchtime photo shoot!  We went urban chic: 


Yeah that's right...photo shoot at work and the rabble is getting restless!

Matches so well with my suede Victoria blazer

This was a size XXS.  I made some changes for summer -- omitted the facings and the sleeves.  Also although I adored working with this silk when I had been sewing suede, the truth is that it is shifty and it is shedding everywhere so I aimed for simple.  I wanted a dress with a nice finish and I still don't have a good idea how to make a good finish.  I just pinked the back seam and the skirt seam, and used french seams on the sides and shoulders.  My french seams got a bit big as they had to contain a bunch of shedded fibers.  I was worried that would make it smaller than I wanted but it is just barely perfect.  The hem length could be 2" longer so it would be more "dress" and less "shift" and I was rather sad to finish them hem as that made it even shorter...but it looks and feels awesome as it is so I don't mind in the end!

I considered bias binding the neck and sleeves but again the shedding silk made me reconsider, and I just rolled the edges in as I did for the back keyhole.  This came replete with some trials.  Maybe bias binding is better, because it's cut on the bias...right...the first armhole I folded-ironed-folded-ironed, and then pinned it down.  That was difficult and messy.  The second one I folded, ironed, and then did the second fold at the sewing machine.  The silk was easier to manipulate that way and I got a better result.  Still had to go back at some of the tight corners to fix them.  And it wasn't until I got to the neck that I remembered to grade my seams. Nonetheless, I naturally have a bunch of funky looking gathers at the front of the neck, hissss.  I will probably try to go back and loosen them up.  How to sew a rolled hem/neckline without making it look bad??

Finding a matching button was mainly luck.  I don't have a stash, since I'm transient, so my button stash consists of buttons from purchased items (all those spares.)  Luckily I had a nice green one, thanks Anthropologie!

At the end I went back and shortened the darts by about an inch.  No 1950s bullets for me (I don't think my boobs have ever sat that high!)  I'm considering shortening them some more.  I usually seem to have a slightly lower bust compared to darts in dresses, so that might be me.  And they are very pointy still...sigh.  

Wednesday, 27 November 2013

Papercut La Sylphide shirt

Oh, I wasn't sure about this.  But I had just discovered Papercut and wanted to support a local company.  I got the fabric as a remnant, and buttons came for free with another purchase.  I wanted to check that the fabric was enough, so I cut it out while I was sick in between other things (in August!!!) and then let it sit for awhile...and longer...and longer.  Just no true inspiration to learn how to buttonhole quite yet.

Then I got buttonholes figured out and I got tired of seeing something sit around, so it seemed time to get on with it!  Also after making a few undercover hoods, I am more used to the Papercut method of explaining, and now having seen it elsewhere I'm not so puzzled by sewing the underarm/side seams all in one go (which rather mystified me back in August, really!)  The sewalong also kicked me into gear!  I have a dress version planned, but wasn't sure I would like the style enough to also make a dress of it.

Sorry for my washed out and headless photos...the self timer and I are still not friends.  This was about as good as it gets.


Even up to the last minute I wasn't that excited, must say.  It's a style of shirt (ie button-up) that never fits me well, and frilly bits like bows irritate the hell out of me.  But it's looked good, and not irritating, on other people.  And it was my first Papercut pattern, to which I'm growing an undying loyalty.  Also I already have the fabric ready for my upcoming Saiph tunic so it was a sort of bribe to get this one done with.

I cut an XS.  As always going from Lauren at lladybird, I sized up one size from her to fit my square 34.5-27 measurements.  The instructions were super clear, my cotton-with-lycra was so easy to sew, and this came together almost magically in 2 stints at the sewing machine.  The curious bits were - figuring out how to sew the sleeves on, but after just doing what the instructions said, it was obvious - and the same with the neck tie.  It seemed totally weird, but once I just did what the instructions said, it was completely obvious.  I didn't finish the inside much since it wasn't shedding, and I continued to feel like this was a sort of complete muslin.  As lladybird also mentions, the use of interfacing to make the sleeves and the placket is really nice and easily lends itself to a clean finish.  The only place I couldn't finish cleanly was the annoying crotch between the top of the placket and the bottom of the neck tie.  There is a tiny no-man's-land that I didn't get sewn into anything. It's invisible when worn, but I guess a very very close attention to detail when sewing the neck tie might get rid of it - you have to sew absolutely up to the placket but without sewing over it.

In the end I adore the fit -it's great on my wide shoulders and skims comfortably down from there without any gapping at the bust.  The darts are perfectly placed.  I still quite hate the ties and feel really stupid when I'm wearing it because of them.  I'm not sure what to think of the peplum but it does seem to look good.  The sleeves hit awkwardly at my elbow - I'd prefer either 3" longer or 3" shorter!  I will definitely do my dress, but I also have visions of a longer shirt style without the peplum, and maybe just ending the neckline and not having long ties...I can see a lot of pattern modifications in this pattern's future.  And it was super fun to make!


Monday, 25 November 2013

Papercut Undercover Hoody marathon

Yes, I've already made two.
So now I made three more!


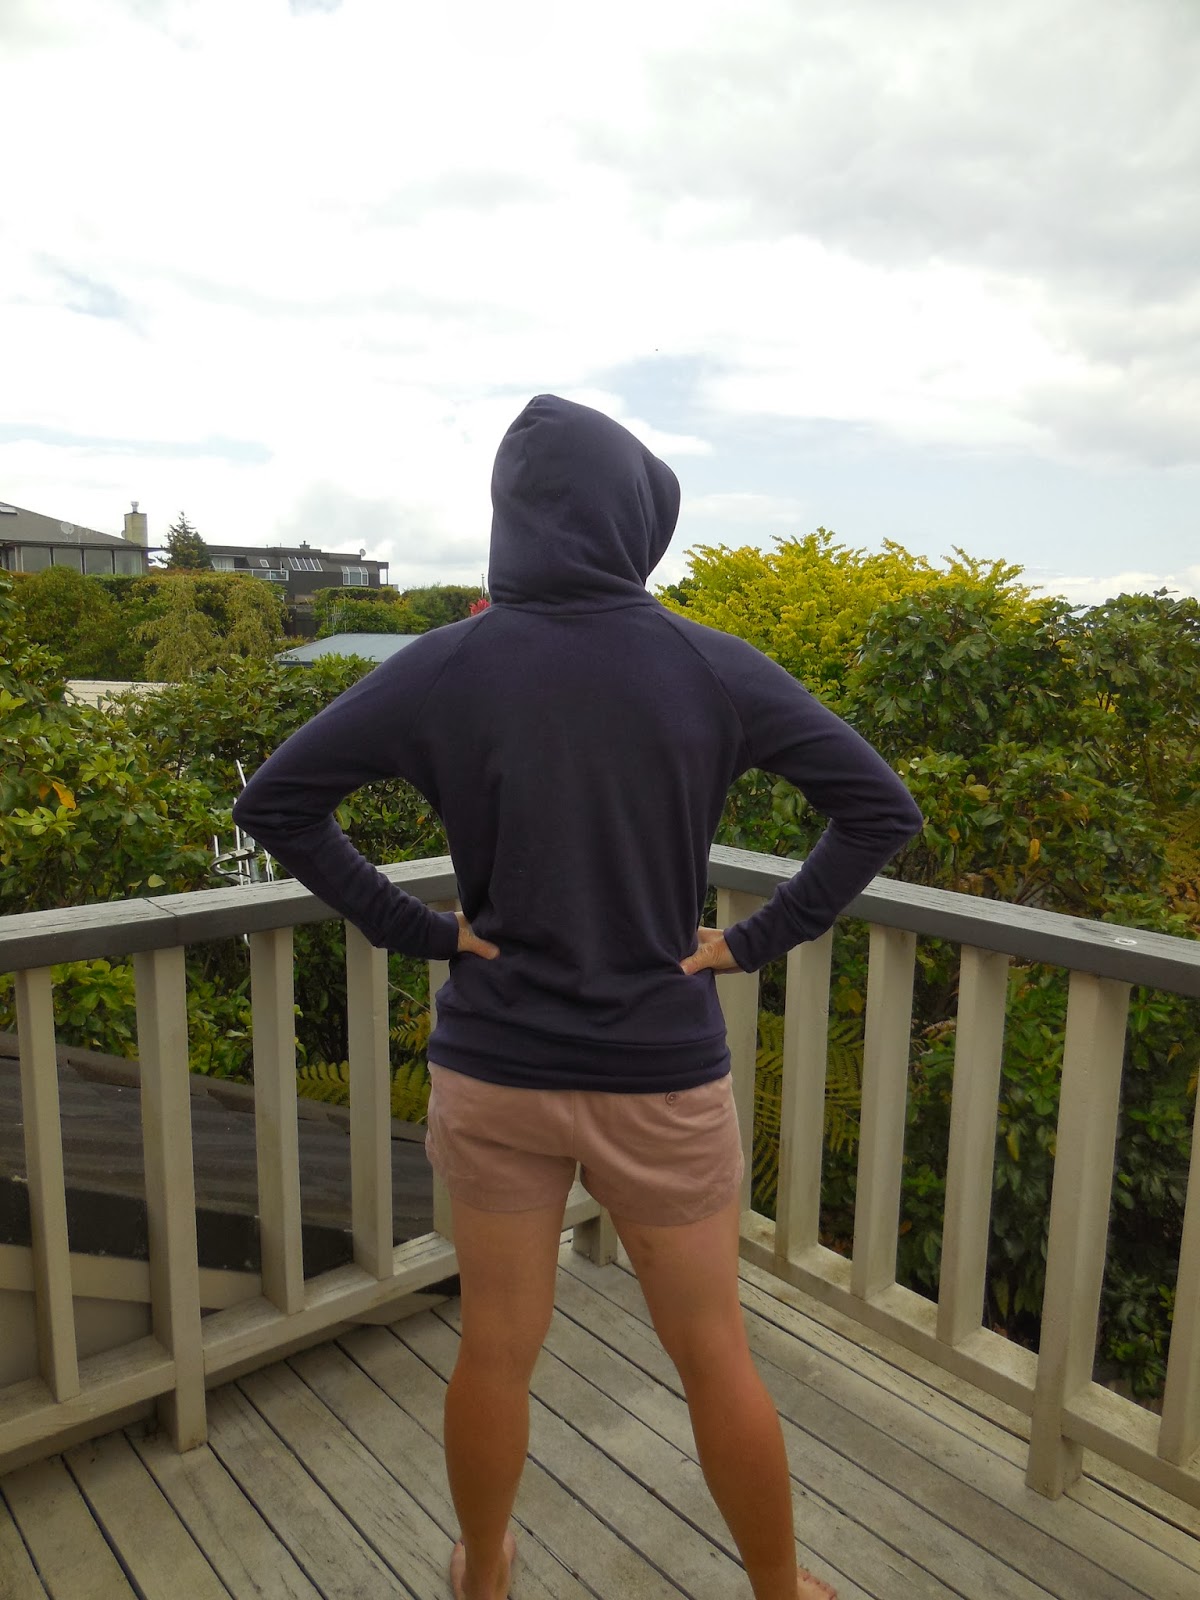
I did some minor fit changes to each one - they weren't all for me : )  Although I was perfectly happy to model them in the interests of a complete blog.  The cut is the size XS.  For me, in pink, I took out 1" of the centre front.  For my friend Sarah, in cotton purple knit with a terry inner finish, I took the same 1" out of the back.  I also left hers at the normal length, because she likes things long.  For Ellie, in ocean blue merino, I kept the size XS without any changes from the pattern. Except that I took about 2" out of the sleeves on all of them.  The sleeves on the pattern are looooong!

It was cool to see these small changes and the impact they had on the overall fit.  But I think the most important thing to see was how different fabric changed the design completely.  This hoody, in my opinion, is best in a heavyweight jersey or knit.  Both the blue and purple hoodies are heavier than the pink, and also much heavier than the lightweight green merino I used for the first two versions.  I like that a lot more.


It's me with the self timer again...we still aren't friends


On Sarah's, because the inside was a nubbly stuff that was getting everywhere, I decided to line the pocket.  There were so many benefits to that - no seam in the pocket, easier to sew on, and also it added structure to the knit.  I did the same with mine (and wanted to line my hood, but I didn't have enough cotton fabric left.)  I think that my pink hoody will still be a nice summerweight option but if I made this again I would stick to the heavy stuff, and probably just size down to an XXS.  And yes, enough hoodies for now!  On to some other Papercut patterns...