Wednesday, 22 April 2015

Merchant and Mills Trapeze dress

Some ironies with this project. I compared it to the Camber set *at length*, (it is quite different!), made a muslin of the top, did a shoulder widening adjustment, and then realised my amazing fabric had so much stretch that I would be better off with the narrower shoulder.  Then I applied the pattern to my fabric and determined that even shortening the dress 6'' there was no way it fit on 1.5 meters of fabric...

So I ended up, after these labors, cutting the normal pattern, size 10, with no changes, from some Marc Jacobs charmeuse that I had lying around and was tired of looking at.  The charmeuse created most of the challenges here.  I french seamed the sides and shoulders, applied the facing, which then of course refused to lie flat, and then the sleeves, with really little trouble (I stopped french seaming by then, too much trouble for the sleeves.)  There is a funny little sleeve insert which required a bit of effort (and is my favourite part!)  Overall this is such a shapeless, floppy kind of dress that I doubt the relevance of any small irregularities caused by my charmeuse slipping away from me. Or maybe the IDT was doing its job.

Hemmed the rest of about 7'' off the length. I don't love hemming so my technique is to spend as little time on it as possible.  This time it worked out.  The wide hem and the wide sleeve hems match, and although on certain spots my stitching is not totally straight that was me, not my machine.


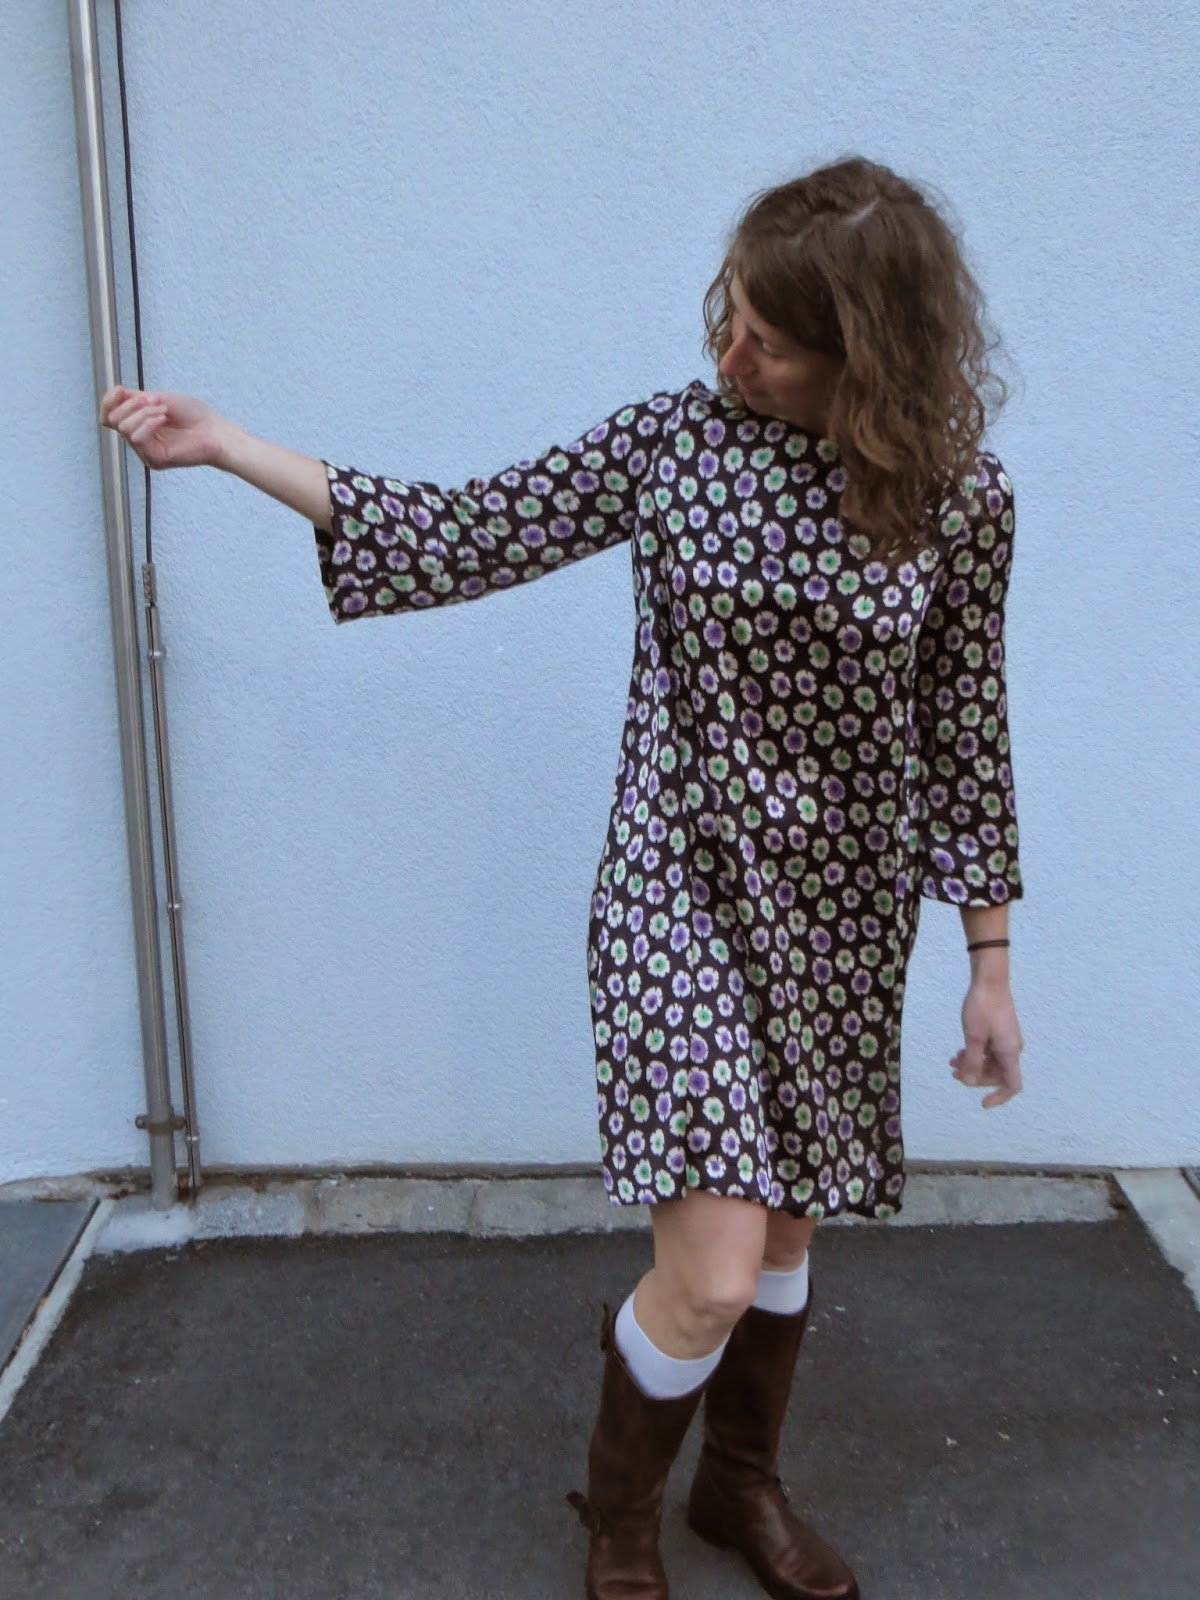


This was fun.  It could be done in one evening. I think the facings suck because they always do and I would never use them again.  This one could easily accept a bias tape finish.  The result is...sort of cool in a hippie way.  Maybe I'll find somewhere to wear it and then feel like it's totally me, but I am not used to having so much fabric between the bust and hem.  I think it can be quite flattering, and the silk because it keeps sticking to me, then flowing away, creates very nice movement, but just a bit of me wonders if it's too middle aged lady? Pregnant lady?  Trying to hide something lady?  Not sure yet. I wore it to dinner with my friends (hence change of scenery photos!) and they reckoned it looked very sophisticated so it can't be too bad but I'm on the fence as to whether it goes in my 'keep' pile or my 'friends' pile.

Monday, 20 April 2015

Deer and Doe Chataigne trousers

So who needs shorts when we could make pants?  My idea for this came from the snug fit at the waist.  I envisioned hippie era pants that are snug at the waist, and sort of billowy to the ankles.  To create the billow effect I though I might tie strings at the ankles so they could be long but not drag on the ground.

Also, this fabric.  This is from Emma's Sewing Basket in Seattle.  I got the end of the roll.  It's a hemp blend - either hemp wool or hemp poly, and it has a great soft feel, drape, and I love the pink and brown!  I have been considering it for every project and getting frustrated!  I realised a bit too late that it is also itchy.  

I cut a size 38.  I measured the inseam and opening width of the pants I was wearing at the time, which were boot cut jeans.  I just eyed it as I cut.  I figured I would have to adjust after sewing.  The waist was just right, although I wouldn't have minded one size smaller.  I had to do some adjusting at the crotch curve, but not a lot. Unfortunately the leg shape is kind of ugly.  I guess this is what happens when you don't know how to draft anything. 

I wonder now if there is a right way to cut pant legs.  I know a straight line is supposed to go down the front of the trouser leg over the knee.  I suspect I cut the legs wrong and I wonder if they will twist as a result.  Another thing to learn about drafting, someday.  It always becomes more relevant after you try it : )

So I got most of the way through these pants and then became demoralised because they were...a little too hippie even. Not to mention just a bit big at the waist, and they had to be properly fitted to work.  They sat for a week while I sifted through some other fast-fashion projects.  (Really, lately, I know, I'm on a low-quality binge.)  And then something amazing happened: my friend Mirjana entered the scene and announced that she had been looking everywhere for baggy hippie pants!  She is the same size as me, although as always with curves in slightly different places, so she came out well while digging through my recent makes, walking away with my Waffle vest and with the Camber Set as well (ends up it just needed a proper set of boobs and it looks amazing!)

So I was sparked to finish them.  I ended up taking in about 3cm at center back, with a not very skilled taper, and a tiny bit at the sides.  I finished them with a normal hem.  Mirjana is happy and so am I.


Sunday, 12 April 2015

Vogue 1247 Top

During a cutting binge last week I suddenly put this fabric together with this pattern.  I have been planning to make the skirt, but the shirt gets surprising reviews (initially I wasn't interested at all...foreshadowing?)

The fabric is one of my favourites.  It is a light silk-cotton that I spotted in Wellington at The Fabric Store, but didn't buy it since I was about to move.  I was very sad about that and thought about it.  Aaaand!  One year later at the Fabric Store in LA I found it!  I only got a meter, another problem of mine...I managed to squeeze the pattern onto it by cutting a size 6.

Vogue size 6: I have never made a Vogue size 6 in my life and I suspect I never will again.  This top is so baggy that I thought I'd have enough room in it even in a size or two smaller than usual.  For reference, I generally fit into a Vogue 10 and occasionally into an 8.

I was hoping that by being exacting with the french seams, that things would magically fit together.  They didn't - from the very first piece.  When I sewed the first center front and side together, I was really puzzled why there was about 3 extra cm at the top of the side piece.  The answer is that there shouldn't be...and that got things slightly offset from the beginning.  I didn't find it exactly difficult to sew, but I think that once you have done one step slightly off, it's impossible to recover because there isn't a lot of adjustment room elsewhere.

That bust dart?  It's like, outside my shoulder.


But that's ok!  Because in the end, the top is COMPLETELY HIDEOUS. There is no fixing this problem.  I look like a pregnant linebacker.  Why do the bust darts end 3 inches out from the bust?  I can find nothing flattering about this top.  I had to force myself to hem it, since it was clearly a lost cause.  The silk-cotton is a good fabric for the pattern, so I don't think its lack of drape is to blame.  I can't imagine the shirt looking better if it were *bigger*.  Overall I am mystified how it suits other people so well!  

Thursday, 9 April 2015

Tilly Delphine skirt

So I am on a skirt binge.  (You didn't notice yet, it's happening behind the scenes.)
This is skirt number 2.

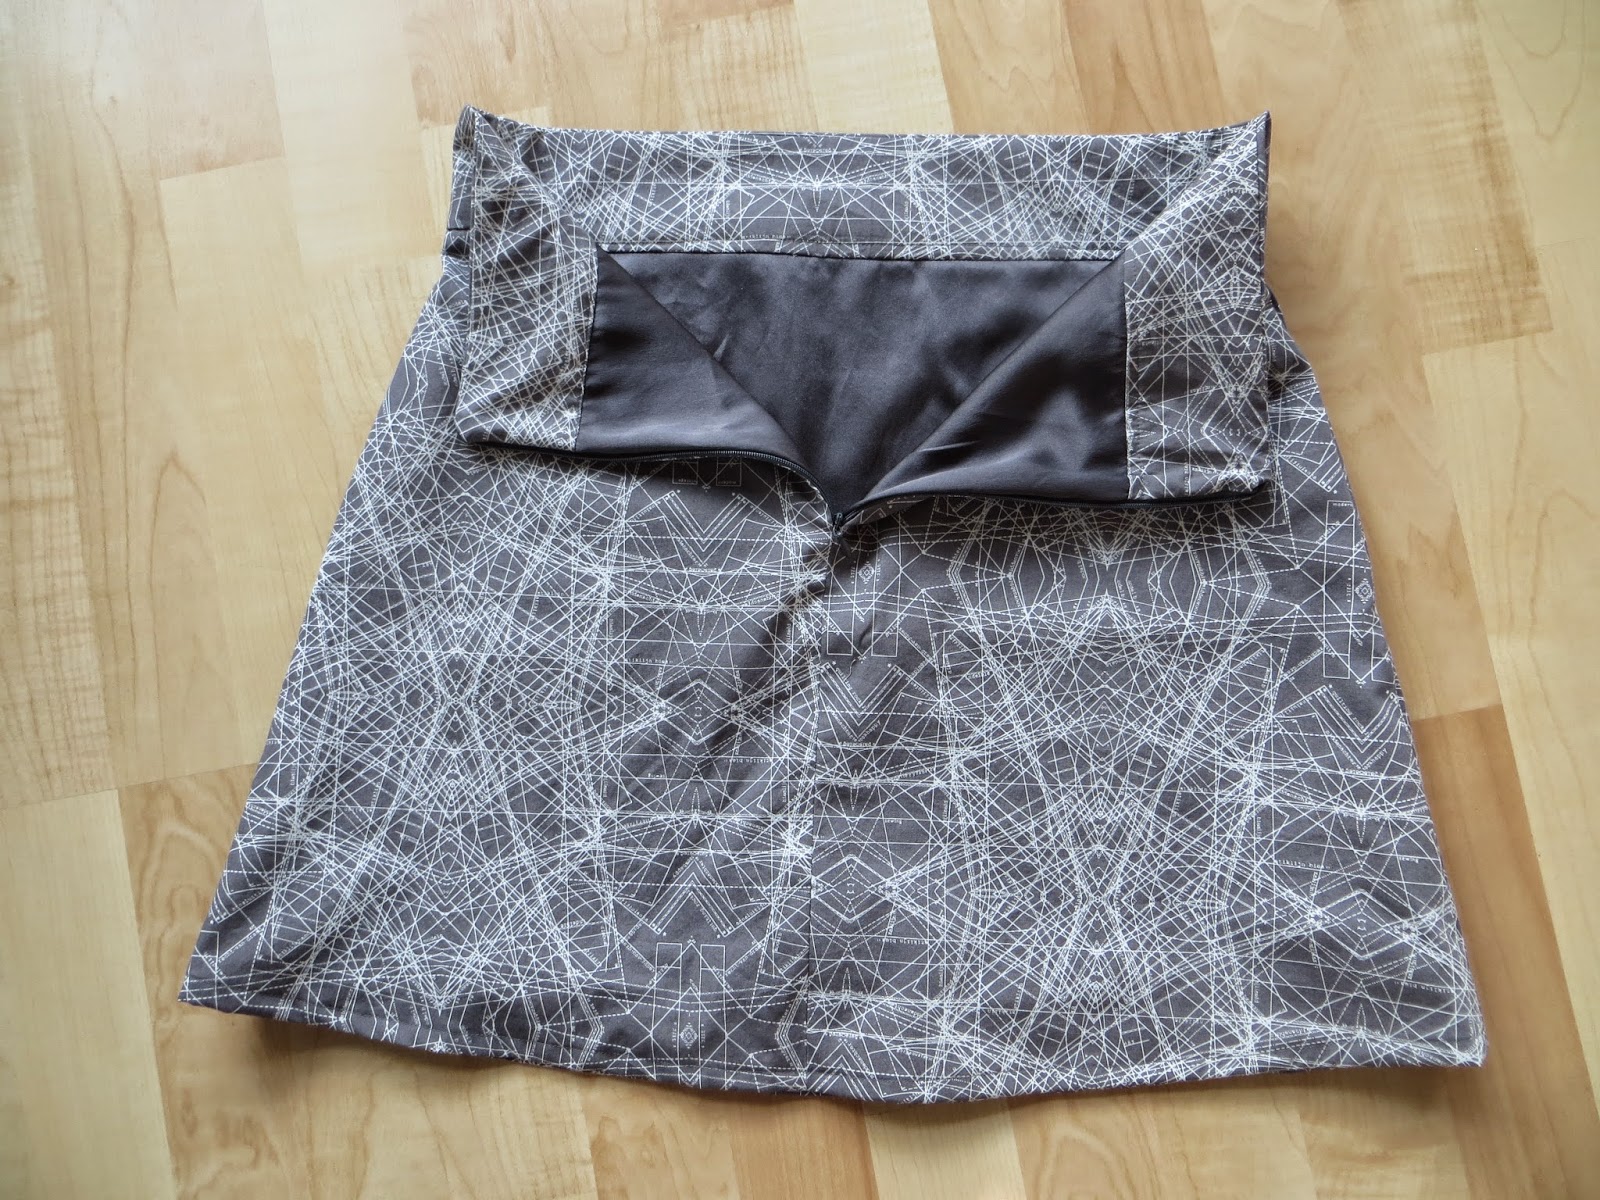
The fabric is an Art Gallery print that I love.  Unfortunately the etsy seller was less than generous, sending me 40'' width fabric.  It was nearly impossible to cut the skirt out, and I had to shorten it extra.  I think 3'' total (which is fine).  No chance for pattern matching of any kind.  Of all my charmeuse collection I finally settled on grey to line this.  Maybe I should have gone with red?

Size: 3, based on the waist of the measured pieces and where I wanted it to sit on my waist.  I went less by the size chart and more by the actual waistband pattern piece.

I followed Tilly's online tutorial to line the skirt, as it's a bit different than how I lined the Burda skirt.  You essentially make two skirts and then slide the lining into the main, and sew them together.  Genius!  I had to save the hemming for last since I wasn't sure what my actual final length was.  (Each piece was cut a different length due to fabric shortage!)


The funny edge on the pattern pieces creates this stark angle


Funny edge on the bottom pieces, difficult to line up as well, necessary for shape??


You can see here that it hits at my actual waist, which I find very unflattering.


My issues with this skirt:
1. The waistband, ugh, I mean, if I had made a size bigger, it would sit lower, and might be better.  If the waistband were half as wide it would be bigger.  If the waistband were curved it might look better.  But as it is, this skirt, out of 2, is in place number 2 behind the horses.  I suspect when I wear it in real life it will ride up and I will be tugging it down forever.

2. What's up with the 5/8 inch angled seam allowances?  They were difficult to sew, and they mean that the skirt has a funny bend at that spot.  I feel like this is bad drafting, or like, overdrafting somehow - it gives the impression of being well-thought out, while actually being worse for the final result.  But I don't know enough about this stuff - is that necessary for the A-line shape of the shirt?

Anyway an easy project and I do like it.  It will need to be worn for me to determine how much, though.  One option would be to make it without the waistband.  Still a few skirts to go before I pick a grand prize winner...

Thursday, 26 March 2015

Merchant & Mills Camber Set

Ah, who doesn't fall in love browsing Merchant & Mills website?
Had to give this a try.  Not too many reviews online though.  Now that I browse them again after the fact, I suspect I could have approached this pattern with something resembling a...MUSLIN!!  It is cut super narrow in the shoulders.

Size 10: based on my bust measurement.  I was annoyed that there are no final measurements available.
Fabric: double gauze by Kokka, found in Berlin.  Great to sew, ungreat to unpick.  Disintegrates like mad when it's not staystitched.
Length: hacked off about 6'' from the pattern length.  (I cut at the final tick mark.)

Opinion: No trouble with the burrito neck instructions except at one spot right at the middle, where you really need to sew only up to a certain point on the center shoulder.  Hence the unpicking.  If you do it wrong, the front doesn't line up with the back at the shoulder quite right. I ironed a lot to get things to behave and I was fairly satisfied overall.

Here at the intersection of the arm and the body is this persistent sleeve fit problem of mine.  I don't know how to fix it.  Some suggestion is that I need to actually bring the armscye closer to my body, but my range of motion is already terrible in this dress.


sorry I didn't get a better back picture.  It does hang straight.


Final opinion: Hm.  Shapeless sack.  If I took a direct 2'' chunk out of the middle of the front, the dress fits better.  Also, the shoulders.  Terrible shoulders.  They have a stupid pouf behind my shoulder, they restrict my movement, they look too narrow...I'm wishing for a fairy godmother to appear and tell me what I need to DO to fix the shoulder, but this is what I suspect would help:

-1'' shoulder widening
-and I think this is time for the forward shoulder manipulation.  By moving that high point of the shoulder forward, I would regain movement and would have height where I need it.  Although I believe you can also just remove that excess fabric.  It is my least favourite feature of shoulders...gathering! puffiness! uck.

Plus:
-I would take that 2'' straight out of the front.  Lower the front neckline to compensate, it is quite high.

I am dissuaded from doing this because of the two piece back!  There is a chance I will come back to it as I am determined to eventually find the perfect shift dress pattern.
The photos don't look as bad as I feel, but this one is still probably looking for a new home.


Saturday, 21 March 2015

Deer and Doe Sureau

Impatient for the Cinnamone to come out but it has been delayed until fall.  Instead, I combed the Deer and Doe website wondering what else I could make. I love my Belladones and I suspect that Deer and Doe drafts for exactly my body shape.

The Sureau really didn't initially stick on my radar, and only recently I realised that it has *fake buttons!*  Score!  No button placket after all! They always gape on me, another reason I don't own any button up shirts.  The idea of the Sureau grew on me.  The black bird fabric from Atelier Brunette has been hoarded since last summer and it was time for it to become something that I had a low chance of messing up on.

I cut a 38, which I used for the Belladones as well.  I found the instructions straightforward and the process simple.  Even the gathering went along without a hitch.  I had been debating making various shoulder and sleeve changes, but based on how well I suspected this would fit, plus a quick measure of the shoulder width, I was convinced to make no changes at all.  I sewed the top 2'' of the zipper side seam ahead of time, and although that isn't usual for an invisible zip, it worked super well and meant my waist seam needed no help lining up.  The facing is well attached at the sleeves, and doesn't flap around.  I finished the innards with a zig zag.  I would have loved to like, bias bind them or something, but the cotton is quite light, almost voile, and that seemed like overkill.  I did one crazy thing though.  The seam allowances of the front placket, once it's sewn in, overlapped. I hand sewed one over the other for a clean finish, and then I hand sewed the flappy front facing down to that.  The front facing really needs to be held down because at that one key spot - the center front - there are something like 5 layers of fabric.


Black really doesn't photograph well!


Sorry, gratuitous photo of my hair which I have just cut off.

In the mirror it almost looks like the back is too wide, but I can't see any obvious wrinkles.


Pros: Easy.  I really like it.  I think the black gives it a touch of serious to undo the girly factor of the front gathers.  I even left it the normal length.

Cons: This feels to me like a dress that looks homemade.  Also, should I be a DD cup to fill the gathers??  They look kind of empty and I'm not sure it's just me.  When I look in the mirror the back side sticks out way a lot because it's gathered...but in the photos it looks ok.

Final word: I love it anyway.  But I'm not going to make four more. 

Thursday, 19 March 2015

Waffle Dropje in flannel and fleece

After making my friend a Dropje vest I was envious, but I had a sea of ideas involving quilting or interlining, and I couldn't come up with something that sounded manageable.

Finally I realised that what I so coveted was the fleecy vest interior!  I felt overwhelmed at trying to quilt something, and I wanted the details of the vest to stand on their own.  The tweed that I was thinking of for the outside just didn't seem right.  So I decided to use the soft flannel (initially the lining) as the exterior instead, and picked up some thick black fleece in Chur for an absurd 30 franks per meter.  Sewing with fleece had some unexpected perks...like cleaning my flat top to bottom three times to collect the Black-Plague of fleece particles that escaped and stuck to every surface...

I decided to make a size 36, instead of 38 according to the size chart, because the 34 fit me ok (taking into consideration that it was very stretchy fabric).  I shortened the 36 about 2 inches and used the belt waistband piece from the 34 which was slightly shorter.  To line it I: made two copies (excluding interior pockets) and then sewed the hood together, followed by the zipper, and this time I did sew the armholes together as well instead of using a facing.  The hem facing covers up the lining and I top stitched that down.  Unfortunately I got very excited during the process and so I didn't understitch the hood.  I also naturally sewed the first armhole wrong and got a möbius strip that I had to undo.


As I mentioned with the first version of this vest, the instructions are truly a joy!  

End result: I still feel like the shoulders are too narrow cut, and the front is baggy in a way that doesn't please me.  To avoid the front bagginess I would have needed thinner materials and to cut a smaller size again.  The vest is cozy as desired and leaves me with good range of motion.