Thursday, 2 June 2016

Variations on a Colourway, Andi Satterland cropped sweater

While I was waiting to finish my first version of this sweater...I already started the second one.  I bought this beautiful Malabrigo yarn in Port Townsend, WA last October with the plan to make the same thing again.  I thought it must be like making a dress, that after the first time you have the hang of the pattern and it won't feel so terrifying.  I debated making something else and cast on the Miette, but my experience with the lace at the beginning was terrible so I decided to return to the original plan and garner some lace experience elsewhere (like with scarves and Craftsy lessons!)

Using this wool I could already see after the first piece that it would end up a lot bigger than sweater number one.  (Not a bad thing.) I didn't swatch anything, and I still made a size S, the second smallest, based on my measurements.

I had to stop it right after the first section, because I only had the one size US 8 needle and it was needed for another project.  Having limited supplies and nothing to do but knit was quite good for my skills because I had to finish each project before moving on - no more half-done socks lying around!  Also making things for people with imminent departure was good added the stress to finish my projects on time.  The bad thing is that I didn't think through this entire project from the beginning, colourwise, and my one colourway had a lot of variation.  

Anyway spring started blossoming so it was time to get on with it. I was completely shocked by how quickly it went.  I finished up the first ball of yarn and started on with the second, and then was a bit sad as the colour was so washed out.  After a few rows I switched to ball three, which had predominantly greens and blues rather than greens and purple.  I had bought a skein of the colourway Purpuras, which is purple and magenta, but I wasn't feeling it.  I also didn't want to do the wave-design at the bottom because my two-colour alternation technique is wrong (I assume) and the inside yarn kept attaching to my bra and making me worry that I was going to break my beautiful sweater.  I thought this yarn was busy enough without that detail.  I debated for awhile but realised my accidental yarn order had decided for me, as the final ball of yarn was deeper blue, purple, and green, and so I decided to try and do a colourway gradation.


I was less scared knitting this sweater so I made more mistakes as well as working faster.  I don't really understand when you put the sweater into the round and add stitches in the middle of your work - my thread tail stays stuck to the end of the round, and my new added stitches are on the other "half" of the work, taking a second round before it really becomes one unit and with this stretched out yarn tail in the way.  My ssk must be wrong as it creates a decorative extra line (which I just left in, whatever).  And the crowning glory was when I decided I should try it on, and naturally ripped out a few rows of stitches that I couldn't get back.  I got them on my needles but there was a big hole that I tried to weave shut later.
trying to block it smaller...
These are the before-blocking pictures


I realised too that this is the point when I'm ready to move on to different sweaters - to see how someone else does things.  This tutorial made the sweatermaking process feel less scary because each piece of instruction was far away from the next one, so you couldn't look ahead too much and get nervous.  When it's all written out on one piece of paper and you don't understand the abbreviations that you'll need in 10 rows, it seems too daunting to even start.  But now I'm irritated by things on this sweater that are NOT different than my first one - like binding on for the sleeves, should it always look a little...detached?  I'm finally ready to try something different.

The fit prior to blocking was good, but still had extra fabric around the upper chest and shoulders.  I was hoping that by blocking in hot water it would get tighter.  When I put it in hot water it actually relaxed and seemed soooo big...oh no!  I tried to block it smaller somehow. 


That didn't work!  It's still got extra fabric around the shoulders.  Unfortunately I made the short rows on the right shoulder really loose and it makes a big difference.  But I know it's really mainly noticeable to me!  Overall this sweater is more practical than the blue one because it's longer, but it's been an interesting lesson on how the same pattern can make really different sweaters. 

Sunday, 8 May 2016

Named Geneva tee times three

I kicked off my sewing vacation with a Geneva tee!  Except it's not - it's a Geneva sweater, made from lambswool.  And not just that, but made from a massive, scratchy, hippie-ish 8-gored lambswool skirt that I got at some secondhand shop in Munich for 10 euro awhile ago.  I was cold when I got to Munich and it seemed a nice way of getting back into things.  So don't mind the holes, I kept a scrap of the fabric to fix them.
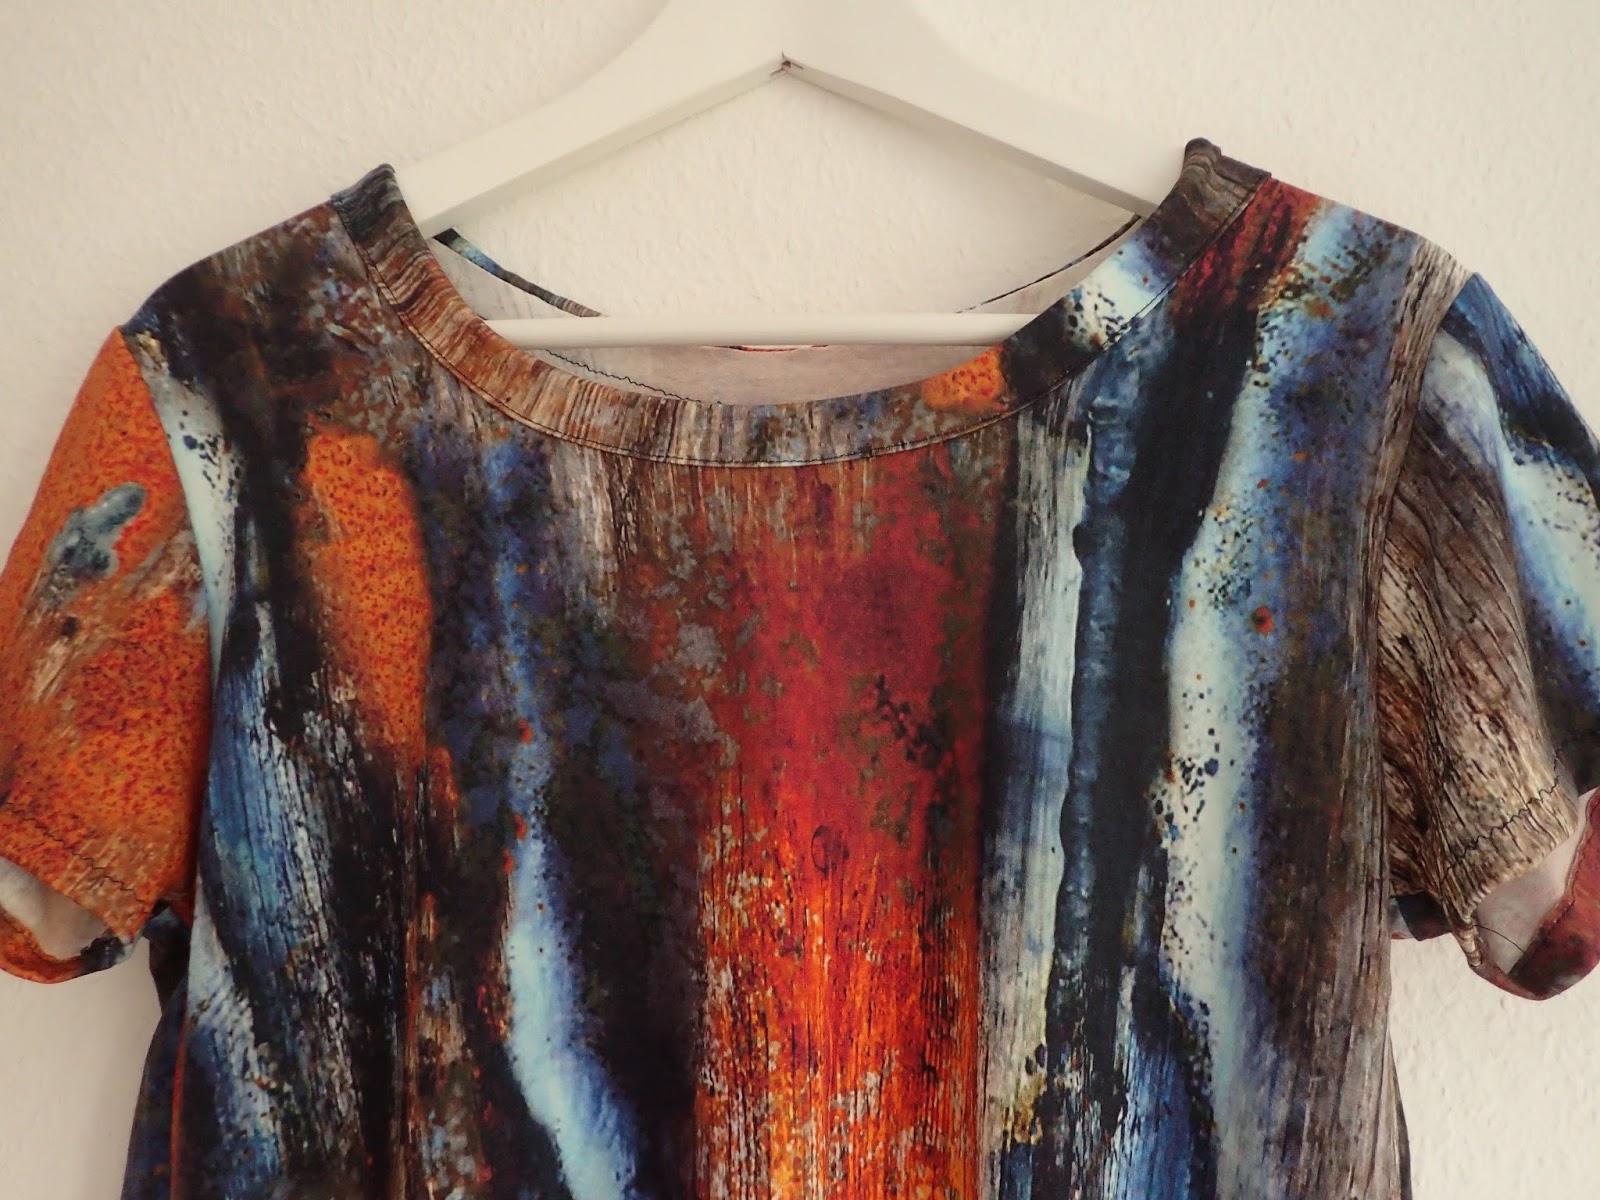


My Geneva pattern is size 36 based on my measurements.  It's a good fit for the thicker fabrics but maybe too loose for finer jerseys.  I like the shoulder darts - they do have to be ironed down but I don't mind emphasis on my wide shoulders, and I think they also fit really nicely on me.  Possibly if you are narrow shouldered you would need to size down.


It passed my first test, so I made a few more.  My second Geneva was a thin slubbed jersey with stars, from The Sweet Mercerie.  My order from this shop was amazing.  The fabric is sooo cheap, it's just like the pictures and there are awesome knits.  I had to narrow the side seams by 1 cm on each side to get a better fit, with this thin fabric. I think that the fabric would have been better suited to a Renfrew because it's so light jersey.  Since this pattern has normal hemmed sleeves and bottom, they tend to stretch out a lot over the course of the day.  I hope that it'll improve when I have access to a dryer and the fabric shrinks, but at present I think the Geneva doesn't seem like the best fit for a simple, thin jersey tshirt.


Sorry about the in-between and headless poses.  The light jersey is also pretty unflattering in photographs so I struggled to get some that looked decent.

The final version is a transformation.  I started with this sweater which was a going away present from my housemate Camille:

I wanted to use only the black parts but it wasn't long enough and I prioritised saving the hem, and so it cut into some of the dirty white.  I think the lace distracts from the, er, dirt and stains, though.  The stretchy lace is from Das Blaue Tuch, a lovely eco-fabric shop in Munchener Freiheit.  It's a rayon and something else blend, and is very soft.  When I was sewing it caught on all my callused fingertips and started to run, or pill, so I was glad that this was mostly a recycled project (first) and that I have a half meter left over for later (second.)  After wearing it for a bit I guess I'll have a better impression of how fragile the lace is.


Anyway for a recycled top I'm super pleased with it!  The neck binding was a pain because it has mechanical stretch but curls up and thins when you stretch it like one of those chinese finger traps.  Other than that it didn't cause me any trouble sewing at all.

Overall I don't know why this pattern (specifically) inspired me to such heights of recycled creativity.  Sometimes a pattern does, though.  Like the Papercut Hoody pattern, this one just makes my fingers itch to make more and to modify more.  Maybe it's just that I adore raglan sleeves?

The Geneva was also an unplanned experiment on using different types of knit fabric - the wool sweater turned out better than I expected with the random extra ex-skirt seams, and using the cotton sweater made me more comfortable with taking the fabric from one item and making it into another, taking into consideration what you start with.  I'm really proud of that; this sweater may be humble but I feel like it represents a more personal foray into why I really wanted to sew - making one (hideous, sorry Camille) thing into another awesome one.

The Geneva pattern rounded out my week of sewing.  I sewed a Geneva first - the sweater - and wore it my entire week in Munich.  I sewed the other two shirts at the end of the week.  Overall out of my sewing vacation I got: one Briar, one Mission tank top, one slinky Mission jersey dress, a Geneva long sleeved tee, a Geneva sweater and an stunning Falda summer jacket.  My friends got: one red Sallie jumpsuit, one Strathcona tee, and one Briar.  My storage box got one lambswool Geneva (because in Ukraine it was already getting too warm to bring it back.)

It wasn't easy to plan a sewing vacation with my head full of dreams, limited time, and luggage restrictions.  I reckon I did a good job. I'm so much happier now that I can wear me-mades most days - they may be imperfect and idiosyncratic, but they mean something that RTW doesn't and I definitely felt the lack in my wardrobe in the past few months.  The next step for me is to force myself to remake more of my wardrobe rather than giving things away so blithely.  It's a step I can't take right away but that I hope to integrate over the next year, and of course would be much easier if I would stop moving every year!


Wednesday, 27 April 2016

Sallie Jumpsuit by Closet Case patterns

I prepared this pdf pattern while deep in my sewing preparations, and went for a size 8 based on so many people saying to go by your measurements.  I'm sort of a 6-8, because I have been exercising and my already square torso has become more square.  Nobody mentions that when you get ab muscles you lose your waistline for them!! Hah! So, I forgot that I should really size down for knits and in fact being both shortwaisted and short, I think I might have best been suited to a size 4.  Because of that I disagree that you can cut exactly according to your size.

I used a drapey rayon.  It's heavy, as rayon tends to be, in this great saturated red, and I really was dreaming of a Sallie short dress and I kind of wish I had just done that straightaway, because I ran out of time and couldn't do it at all : (

There were a few moments of irritation - when you sew the underarm together it looks like a snaggly mess, but a snip into the seam allowance and some ironing makes it look great on the outside.  I really really adore this top.  It's substantial with the two layers of fabric and so comfortable!!


I took about 3 hours to make this - a concentrated morning.  It came together with no mishaps, although I had not checked what elastic I needed so I used the 1/4" elastic I had, and something a bit thicker would hold the heavy legs better.  I cut off 5" from the bottoms.

If I made this again, other than using a size 4, I'd probably raise the crotch a few inches.  I'm not completely sure it's a success - it's comfortable but is too low cut to feel right at work, and because it's red it's very attention grabbing and I'm not sure I like how I look in it enough for that.

I would love to make another one, but the dress is probably more of a priority; I think this would be an absolute staple in my wardrobe as a short dress.  I will probably go with a less flashy colour when I made the jumpsuit again, because it's already quite unique looking.   

It was my first Closet Case patterns and I did enjoy it!  I'm looking forward to eventually having the time to work on this pattern because I adore the top half, and of course I'll eventually make some Ginger jeans, but sadly the sewing vacation is over, so not any time soon.

The final good news is that one of my coworkers looks amazing in this jumpsuit!  So it got a new home!  Everyone is happy.

Tuesday, 26 April 2016

Grainline Scout: the Goldilocks problem

I've had enough time to review my past Scout mistakes and improve, so I totally thought this was going to be nirvana.  I also had weeks to prepare for my sewing vacation so it's an embarrassing oversight that I didn't review my old posts and the size of Scout I've used in the past! I cut a size 6 sleeve and a 6 top, tapering to a size 4 below the armscye.  If I had paid attention I would have known to taper from a size 4-->2, as I have made both a size 2 and a 4 in the past and wasn't really satisfied with either of them.

I increased the width of the bias piece, which has never been enough for me.
I changed the bottom using the Polly Top bottom, which adds shaping but also adds width towards the bottom.

The fabric is a drapey rayon that I got from Anna ka Bazaar.  I have seen people rave about Anna ka Bazaar, and the shop is cute and the girls in it were nice to me when I was in Paris, but I find the fabric quality, when you buy online, can really vary.  This fabric is a lovely, not-quite transparent rayon, and I've seen other people using it as well - Republique du Chiffon used it for their Madeleine dress (which yes, I would totally make if I had more time.)

Small rant: I know everyone loves Grainline.  I don't love Grainline. I'm always lukewarm about the patterns and then eventually because everyone loves them, I try them, and then I keep trying and keep trying them, but I never seem to arrive.  I'm additionally grumpy because I had to re-download all my pdf patterns, and I had some expired links (it's been many travels and many computers since I started sewing!).  Every company that I wrote to sent me a new link for one more download.  Except Grainline.  They ignored my email entirely and I had to buy the Scout pattern again.  This doesn't make me change my mind about kind of not loving Grainline.  Rant over.


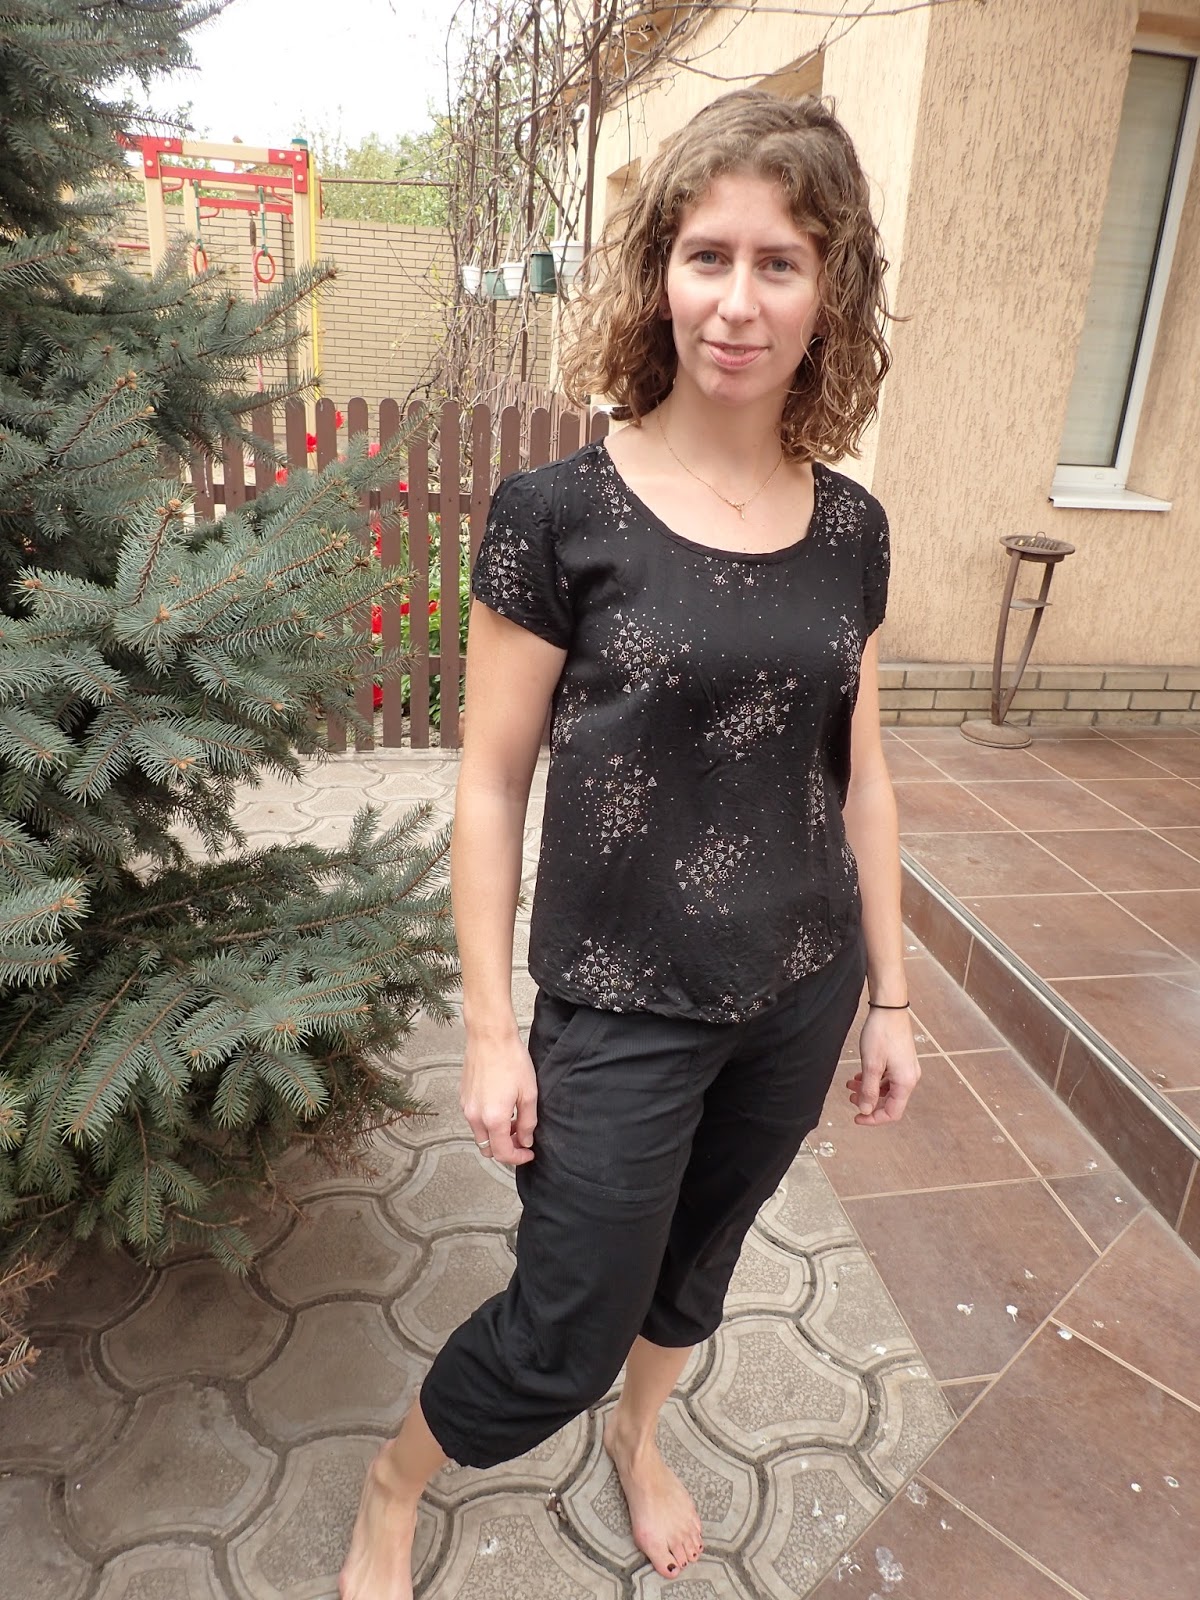
And, in fact making this Scout made me grumpy.  Black is hard to see and the rayon is just slippery enough to make you pay close attention. The results are still not totally satisfying me. In this size the back looks ok but there's extra fabric in the front - I could easily take out 2inches from the entire front.  Also, the extra width from the Polly bottom makes this feel like a capacious, shapeless top.  The drapiness and beauty of the rayon balance it out ok but in the end it's still not perfection!  Arg!!

So for next time - read my notes!!  Cut a size 4, tapering to 2 below the sleeves!  Don't change the hem! Also I really loved the feel of double gauze (I used a Nani Iro gauze for my first Scout and I only recently gave it away because my muscles finally were too much for the size 2 sleeves...)  Nirvana is almost in my grasp...or do we feel that with each sewing project? 


Megan Nielsen Briar & Thread Theory Strathcona Tee

I realised during my first Briar: I'm over Briar.  Unfortunately I had more planned!  Sewing week was entering full swing...

The first, for me, was an amazing heathered black cotton blend from The Sweet Mercerie.  I really can't recommend this shop enough.  I found it only a week prior to my sewing holiday and I fell in love with the knits.  The photos are true to reality and the prices are super low.  Shipping was fast and cheap to Germany.  I got the last piece of this black stuff, and so I didn't do the usual Briar hem - I just cut it as long as I had fabric for and then evened it out a bit.


Yup, playing on jungle gyms makes you dirty.


The one for my friend had some additional requests - she wanted a higher neck and a bit more modesty at the belly.  I also cut one for her in green interlock knit but I ran out of time and didn't get to sew it.  Next time!  Overall I just eyed these changes.  My pattern was modified thus: I traced the short Briar line + 9 cm length, in a size S, with 1cm removed from the front shoulder.  Unfortunately it took me quite awhile to realise why I didn't love the results - I looked at my blog and saw that I had cut an XS, not a S to fit.  So this cm removed was irrelevant and the fit was too loose for my liking.

 Anyway, in the XS I get pooling in the front shoulder - see my Briar 2, and removing 1cm seems to fix it. The fabric is from the market in Delft, it's a very drapey rayon.  I have more and I'm still trying to figure out exactly what it should be.


Then I made my host a shirt to thank him for letting me turn his flat into a third-world sweatshop for a week.  I used the Strathcona Henley pattern and cut a size S according to his chest measurement.  I think the pattern runs a bit small because it was really fitted, and he was in the lower part of the size range for a small.  The instructions are really vague and kind of weird.  I think they are mainly for making the Henley - if you are making a plain shirt it's assumed that you know what you're doing.  (There is a sewalong if you need help.) Also, the neck binding is shown cut along the grain instead of against it, which I didn't like.  I forgot to lengthen the sleeves, so I added some cuffs, per the pattern.


I planned a second shirt (sounds like deja vu right?) with normal sleeves and a neck binding cut with across the grain...but I cut it out and didn't have time to finish it.  Anyway my friend was super pleased with the one he got. 

Overall a solid, simple men's tshirt pattern.