Wednesday, 31 May 2023

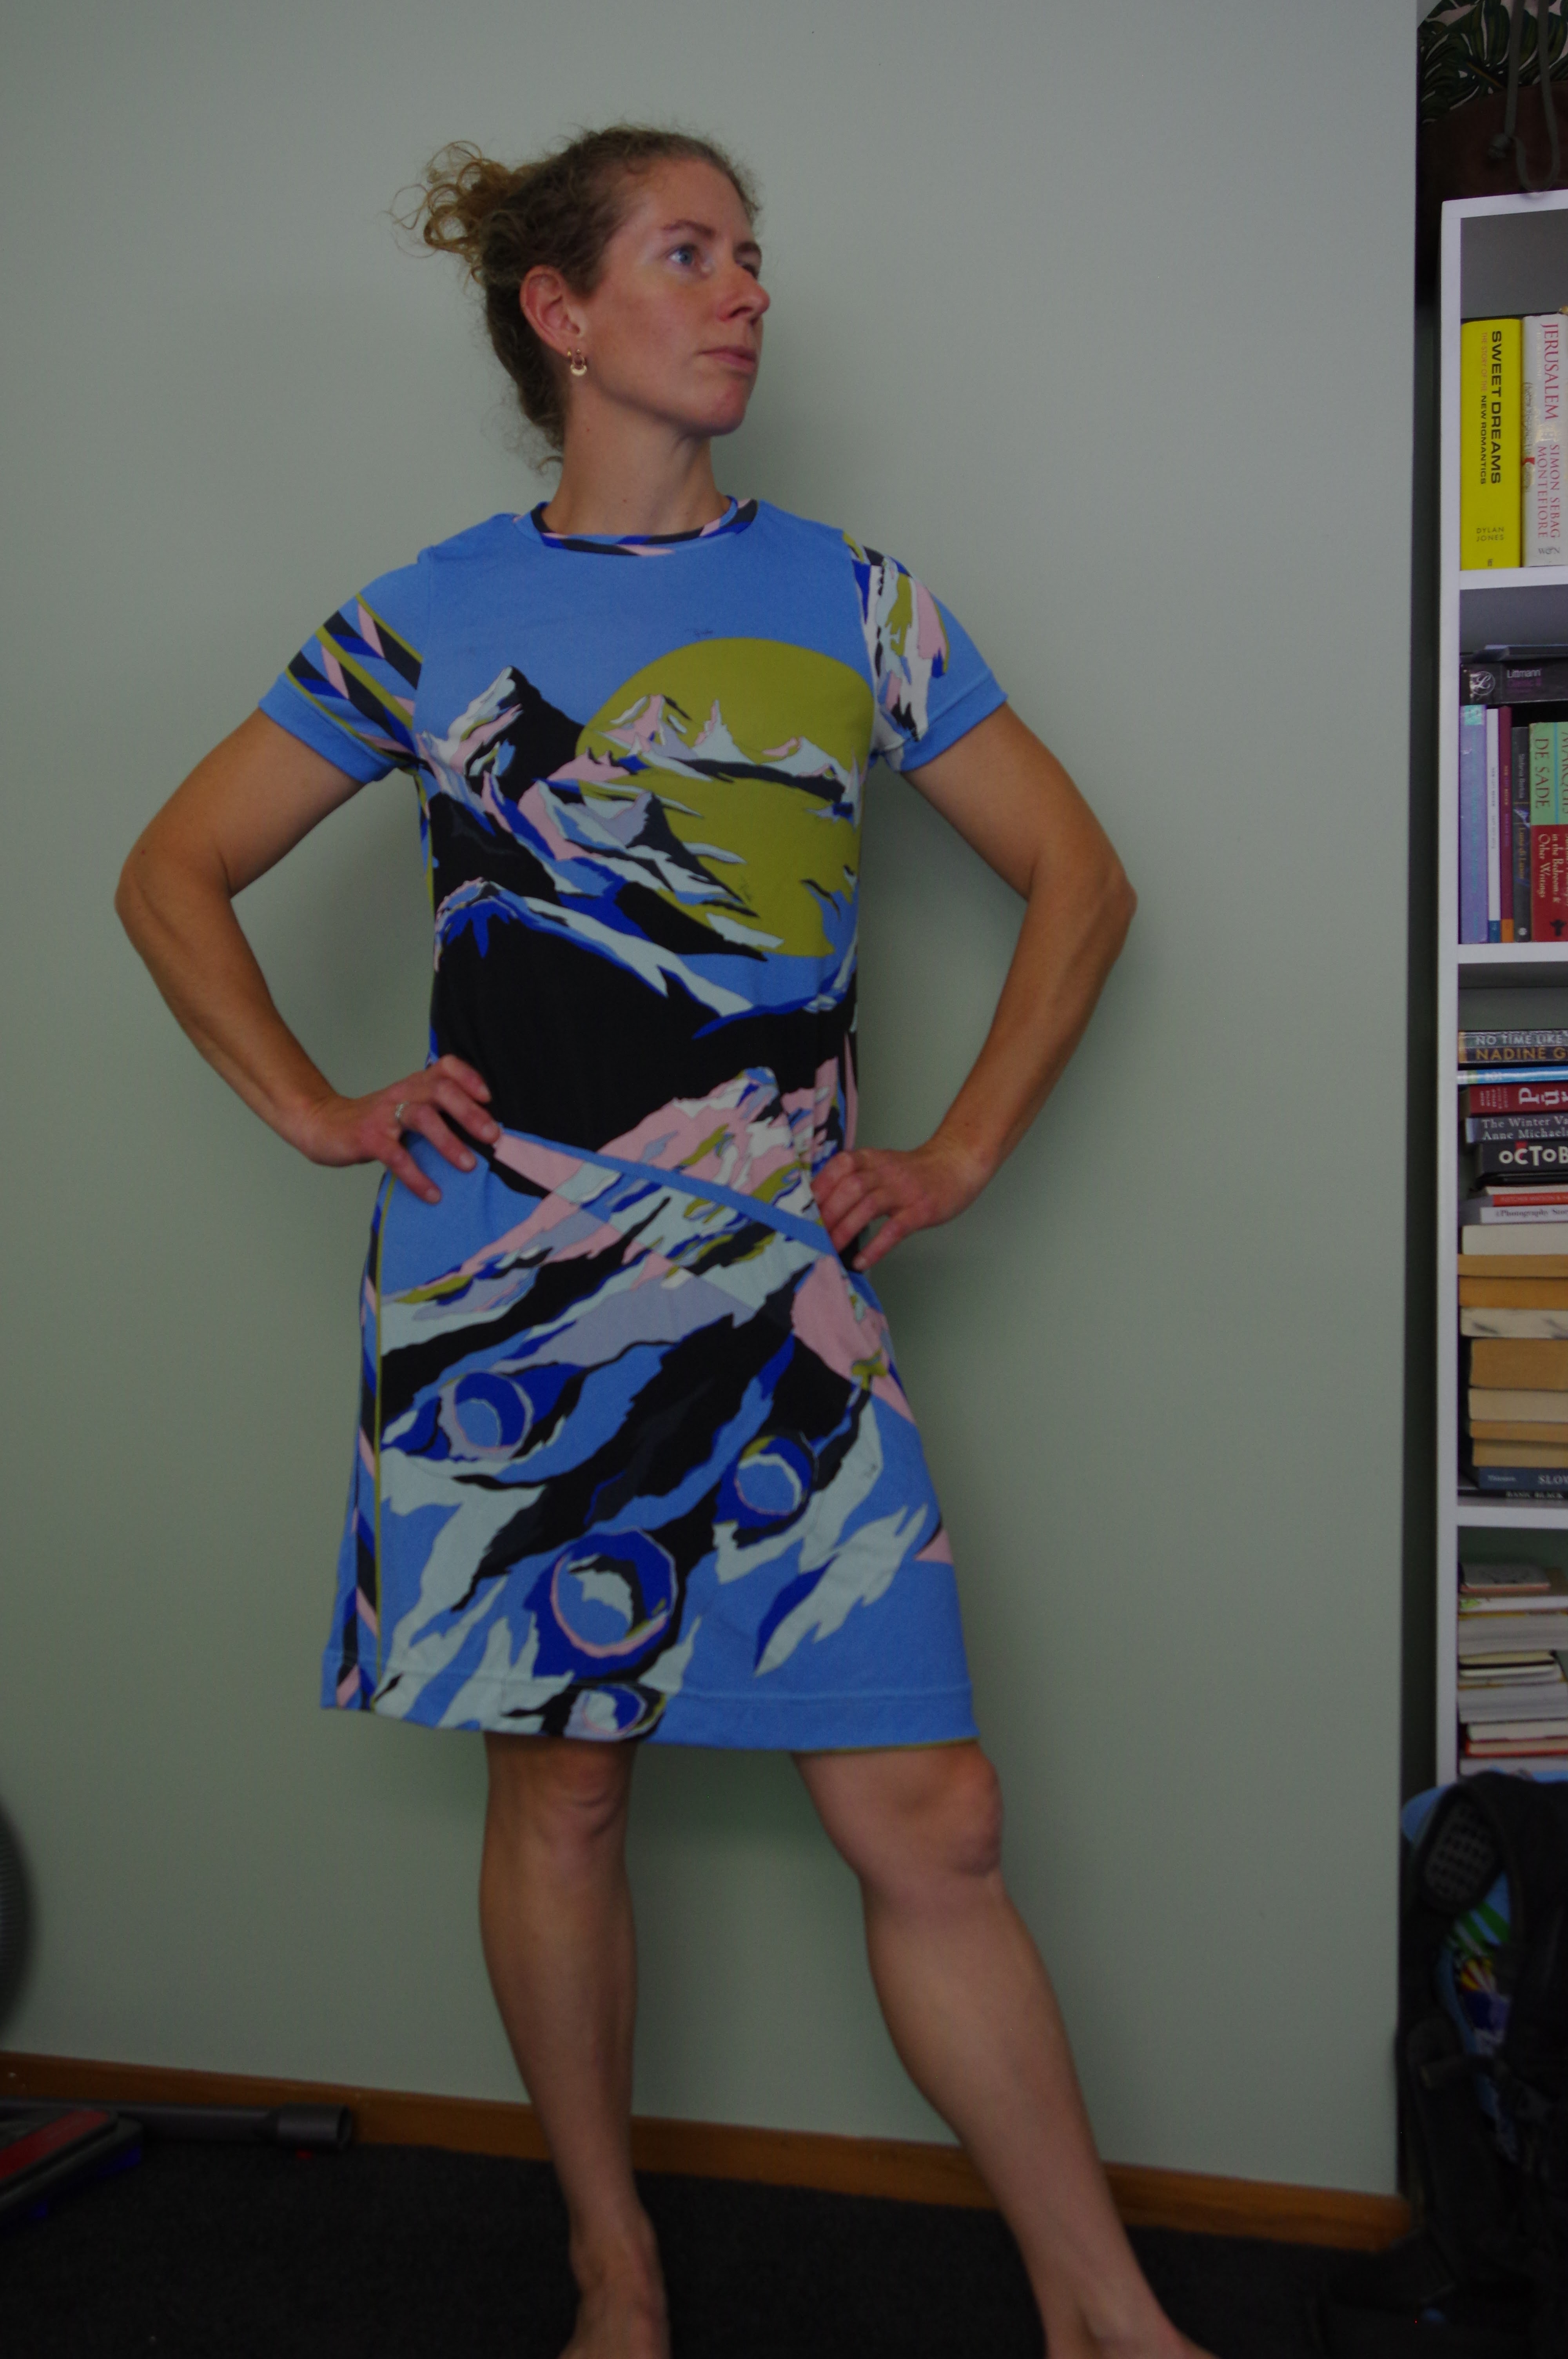
La Maison Victor Lize tshirt dress (3/2019) in Pucci

Gah!  Where has the time gone?  I have been sewing a tiny bit but somehow not enough to finish a blog post?  For 6 months?  That's never happened before unless I was literally unable to get to a sewing machine. 

Anyway, I borrowed a few different editions of LMV a long time ago and traced a few patterns.  Here is this one.  Unfortunately the only way to access it is by finding a copy of that magazine. I was kind enough to my future self to add the seam allowances too, so basically the traced patterns were ready to go.  I've already made the Charlene sweatshirt which I thought was quite cool, though I sort of hate voluminous sleeves in real life.

This is a long tshirt dress with no remarkable features.  I had traced size 34, which I presume is my size, and I could see by the lines on the pattern pieces that I'd given myself a good 1 cm seam allowance.  I cropped the pattern as long as the length of my blue fabric.

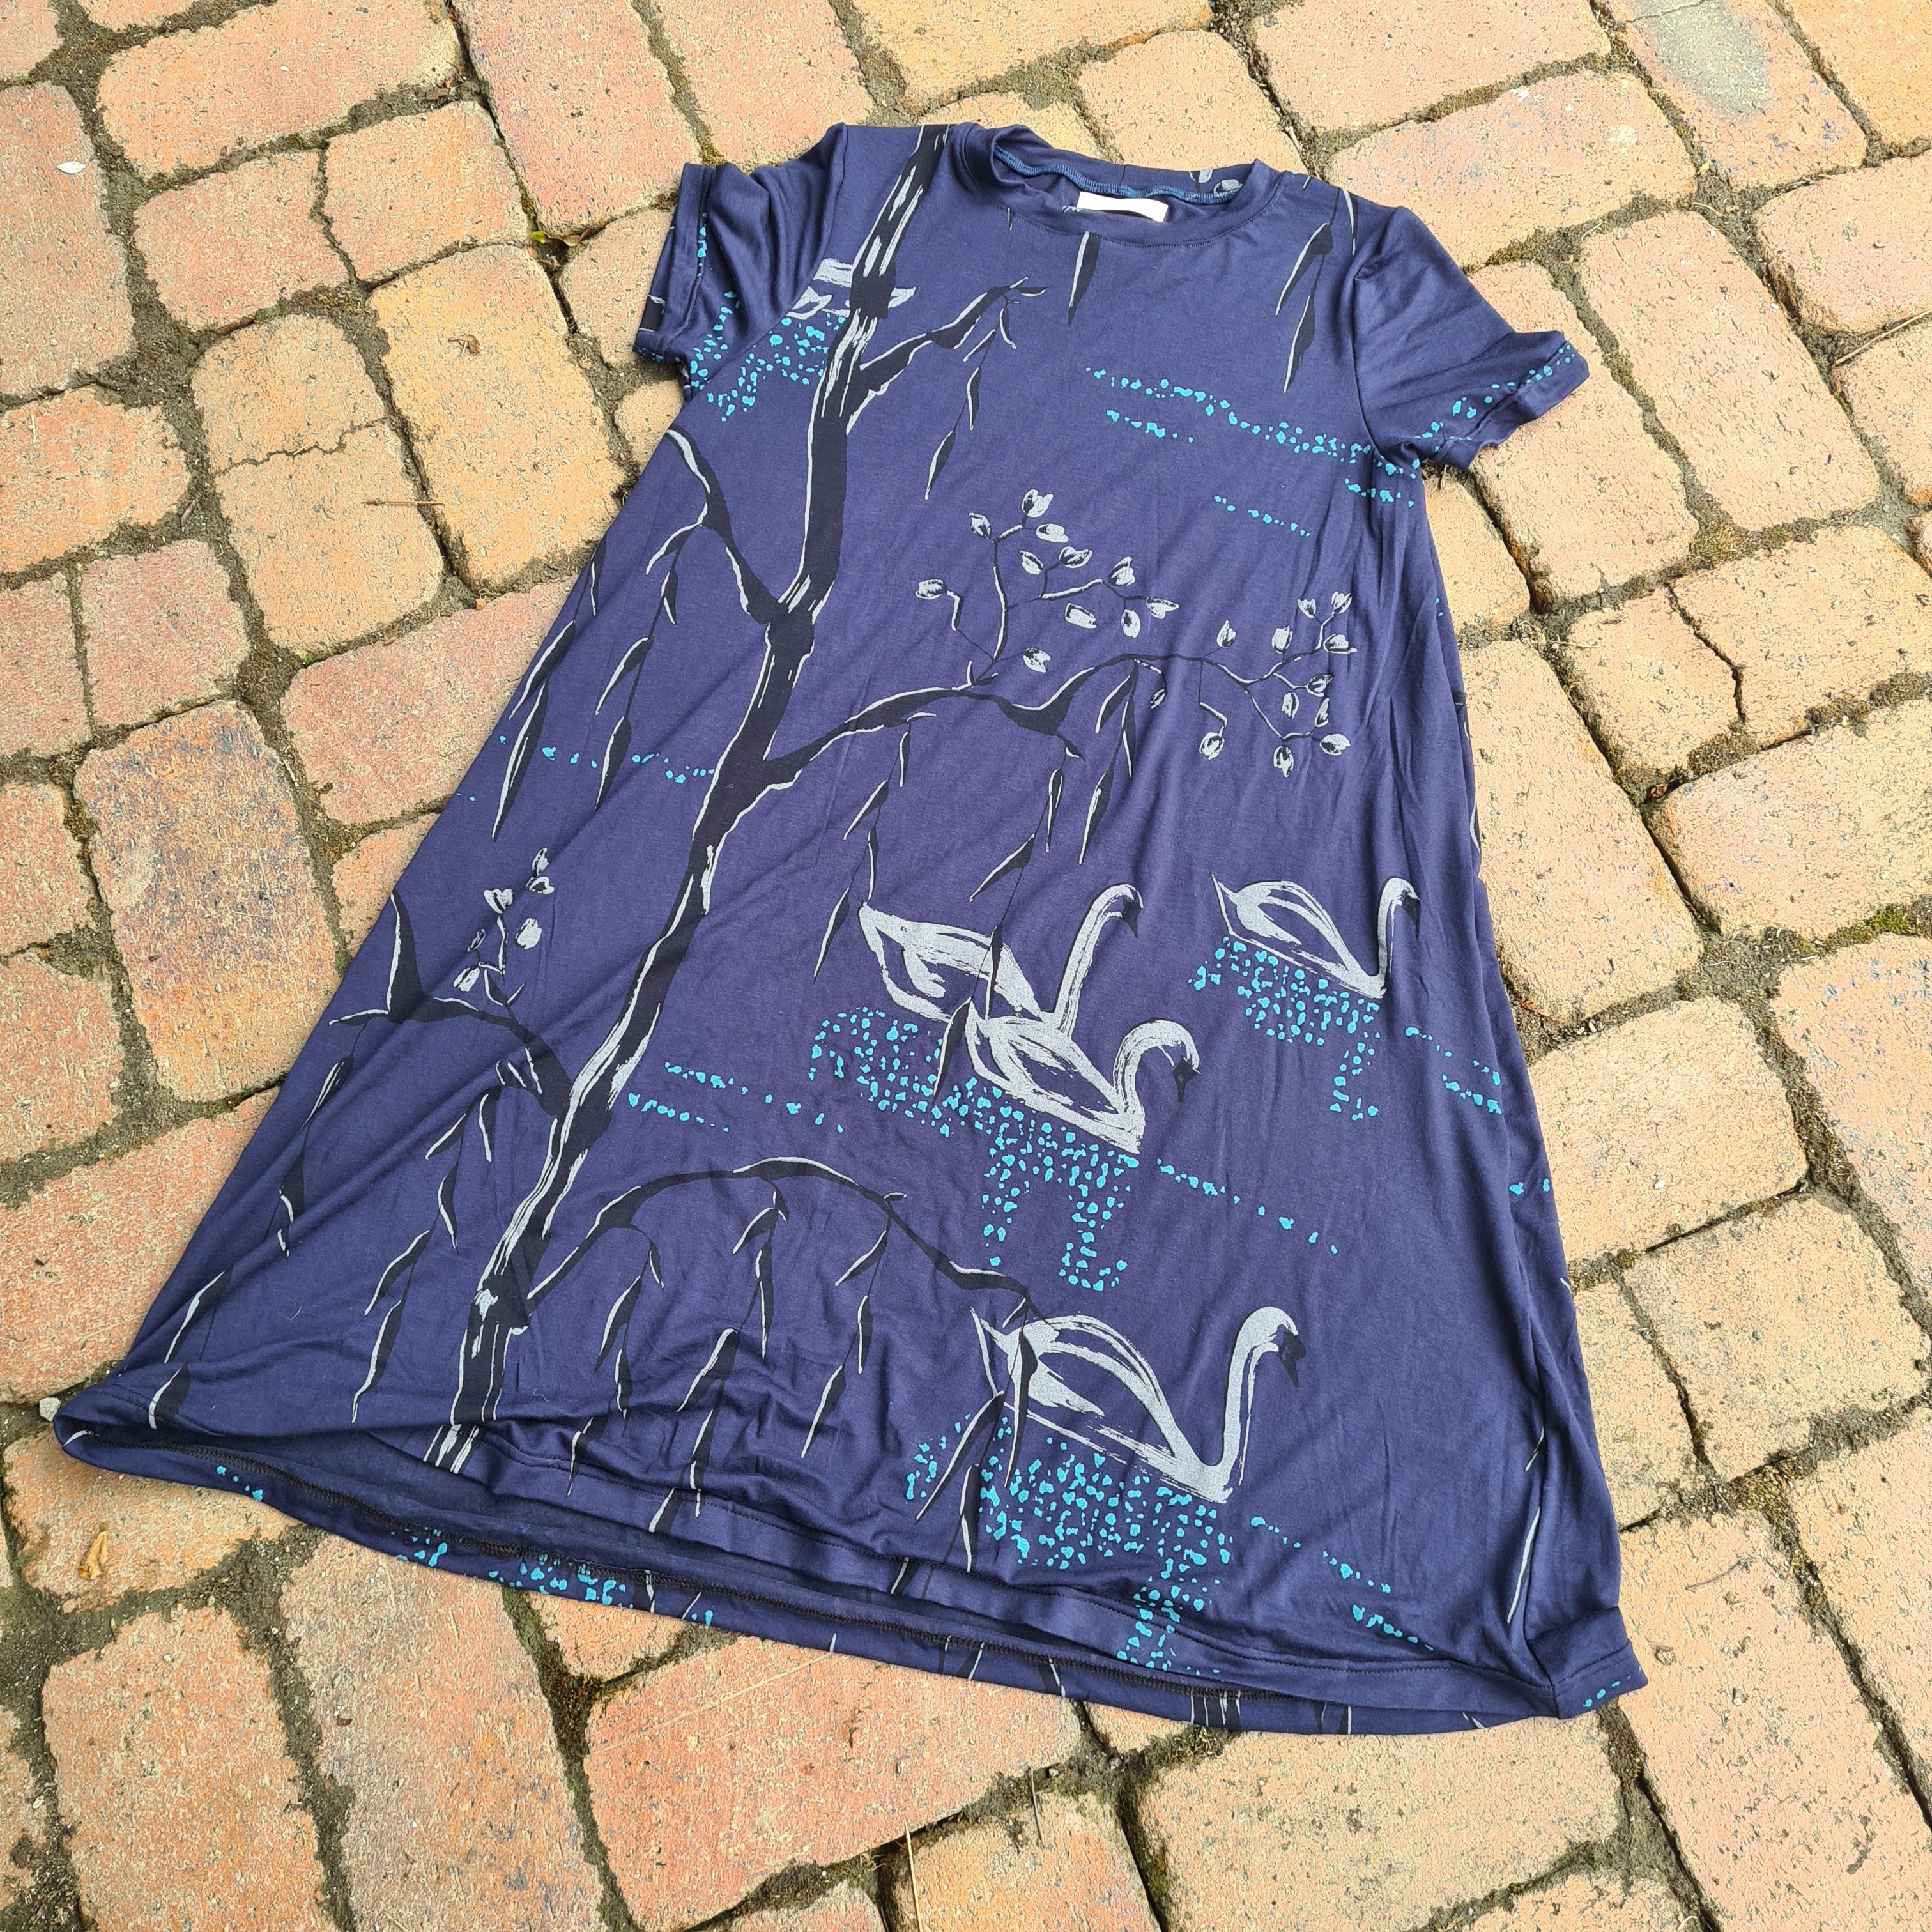
I had schemed to use an amazing little tiny metre of Pucci fabric...so first I followed the pattern and made this nice swan dress for a friend.  I was too lazy to add pockets.  The swan fabric is rayon and it's from one of my European binge shops about 18 months ago, I don't love it, so I was happy to offload it onto someone else.  I liked the fit of the dress, but it's SO A-line.  Too much for a tshirt dress. If you made it full length that would be a lot of fabric.  Maybe nice to swish around, but anyway.  Because of the higher neckline it does not Show All, unlike the Closet Core Ebony dress, but I would say it's only a bit less voluminous.  I didn't choose that pattern because I thought it would be harder to balance the pattern across the raglan shoulders, and because the wide shape is the point of the pattern so removing all that volume seemed like a bad idea. 


So I retraced the pattern flat instead of on the fold. I laid out my tiny metre of fabric on the floor (my kitchen floor isn't a great cutting space but unfortunately the carpets aren't crappy enough to rip up yet) and laid out my new pattern pieces onto it.  Then I proceeded to basically crop off the A line until it fit the fabric.  I cropped off a lot!  EEEK!  I played around with the fabric layout as much as I could but had to give in and use the geometric border, which I would have liked to avoid. 


I was overjoyed by the results.  I again didn't add pockets, this time because I didn't want to mess up the line of the dress.  I have stashed this insanely cool fabric for about 18 months and it's been on my mind the whole time.  I don't think another garment would have suited the heavy rayon drape and stretch as well as a tshirt dress, and it's obviously the best canvas for a print of this nature.  I also managed to keep things like mountain tips off my nipples, which is a grand success.  The geometric bits are all on the same side, and the other side matches up harmoniously.  Overall, a win for a special stash fabric. 


Monday, 26 December 2022

Sew House 7 Toaster sweater number 1: wangling minky and other adventures

Not long after this fabric arrived I allocated it to this pattern.  It's a rather small piece of minky and I loved the design, which is why I bought it from Blended Thread along with some other pieces. The fabric itself feels very soft and is very floppy, it's quite cozy.  And of course, it has nap. 

It's been a long time since I made this pattern (here.)  So long that I lost my pattern pieces, which is rare for me. I really loved the fit the first time around but I still found it oddly useless in my wardrobe and it didn't stay around.  

So, reprinting etc later. I was really committed to this fabric for this pattern despite knowing it would be a serious tetris game.  I didn't really know how the minky would sew up either. The new modified pattern has new, modified sizing, and I went with a size 2, as the bust is correct and I thought the waist measurement would be a bit irrelevant.  


It was a serious tetris game, and I lost - I decided to just use the rainbow selvedge edge on the hem, which a friend of mine has done on a different project recently.  I wasn't sure I like it as a design feature, but you know, live and learn. 

The real story here is that minky is horrible to sew.  It's like velvet but with higher pile.  Simply sewing two pieces together, they try to shear away from each other, as velvet does, but the real tragedy came when sewing the folded over pieces like the neckband, cuffs and hem.  The pile doesn't like being folded in half and so it would squirrel away from itself.  On the hem I had learned, and basted the hem together.  The cuffs were a pain.  This is a problem that continues post sewing: the neckband and hem don't want to be folded, so they kind of mush up and slide around.  

I ended up really not liking this fit for this fabric.  I debated cropping the top, as when it was shorter it hung more loosely and that was both more flattering and suited the fabric more, but because of the annoying shiftiness of the bands, I decided to give it to a friend along with a shipment of winter clothing, so hopefully she will like it as is!  Her hips are a touch narrower than mine too so overall it will hang more nicely on her.   

I have had mixed feelings about my Blended Threads fabrics - none of them have been quality I would buy again, and this is also the case here.  I didn't find the minky fun to work with and it's polyester feel makes me think it wouldn't be nice in most clothing other than maybe vests or jackets.  I have not seen much fading of the prints on the Blended thread fabrics, but the best of the lot was the bamboo spandex.


Saturday, 24 December 2022

Peppermint peplum top plus some Clyde pants

Out of the blue I realised the thing I needed in life was a peplum top to wear under my cropped sweaters.  I needed it to be relatively fitted for that purpose.  I hunted around and settled on the Peppermint magazine Peplum top - a free pattern! Win! I made a practice version from some linen scraps.  Smallest size, no modifications except that I self lined the bodice instead of using bias tape.  I prefer this most of the time, however the armpits can sag, so I might try a clever interfacing along the armscye next time I do this.

It was a fun top to make, and easy. However it's not fit for purpose. It's too short to hang out below my sweaters and it hangs too far away from my body.  I considered whether I could introduce a dart into the top but I couldn't figure out how you just add in a dart, and I worried then I would need a zip as well.  I thought in the end I will make the top again and lengthen it, as it is quite short, and see if that's enough. I might decrease the A line shape of it slightly as well.  In the meantime, this is a cute top on its own so I'm not dissatisfied. 

AND I know I'm always talking about how I'll never make any more Clyde pants...but I got this amazing cashmere coating.  And in my defence, in the shop it was nice, thin, lightweight and the most fantastically soft coziness...and I thought it would make great Clyde pants.  Once I washed it it fluffed up and felt kind of ridiculous to be using for pants but I carried on anyway.  And so it does make very cozy Clyde pants and they are rather like wearing a cashmere coat on your legs, and it does feel great but a bit ridiculous.  This is a good pattern for fabric like this which has a lot of body.  I used my usual pattern pieces which are size 4 short.  I had kind of angled the front waistband down previously and I ditched that, as it was harder to get the waistband to fold over.  Just accept a long crotch... 


Friday, 16 December 2022

Comments on dresses: reviewing the Camber set and the Botany dress

The Camber Set.
I really always promise myself that I won't make this again.  But then I forget.
This time I felt like for sure I could modify the pattern and it would be great!! 
Made up in a kind of shifty dry linen (I used the rest of it for my Georgia top.) 
The only adjustment is a wide shoulder adjustment I applied to it awhile ago. You can see that in the back view as it kind of hangs off my shoulder.  I think this is actually the incorrect adjustment for me to make, but it's taken awhile to realise it.   


I think it's time to just simply confirm I don't like this dress.  In my head, this is exactly what I like wearing.  But I make it and each time I think ew.  Fixing the shoulders would probably not make me inspired to reach for this shape dress.  Ironically the other dress by M&M, the trapeze dress, fits me *perfectly* through the arm yet for some reason I keep not making it again.  Note to self: trapeze dress.  Maybe in a knit.  Hm...

Botany dress 
When I made this before I thought it was unsalvageable as a pattern and I gave it to a friend.  She loves it and went on to make herself a bunch more.  But then midwinter I got these cockatoos and the fine drape of the voile made me think it would be fine. Shapeless dress for summer? Yes please!!  I was wrong. 


This is theoretically salvageable if I removed the skirt, took 2 inches off the bodice and reapplied.  It's a great dress for those with long torsos, my friend Tessa loves it.  Because I am lazy and I have some cockatoo fabric left, this is going to a less picky friend.  I might stop trying here.  I think I need another Botany top with ruffle, because I gave away my red one and kind of loved it.  Oops.

I think I've moved on from shift dresses in the styles I keep attempting here.  I like the Georgia dress reasonably well and that seems to be the shift dress style that is a win for me, but my 3 Georgia dresses still are inconvenient because they don't go with bike riding, and my Georgia top isn't the favourite of my shapeless square tops (Botany, LB, Strata...I think the LB is actually the best fitting for me.)

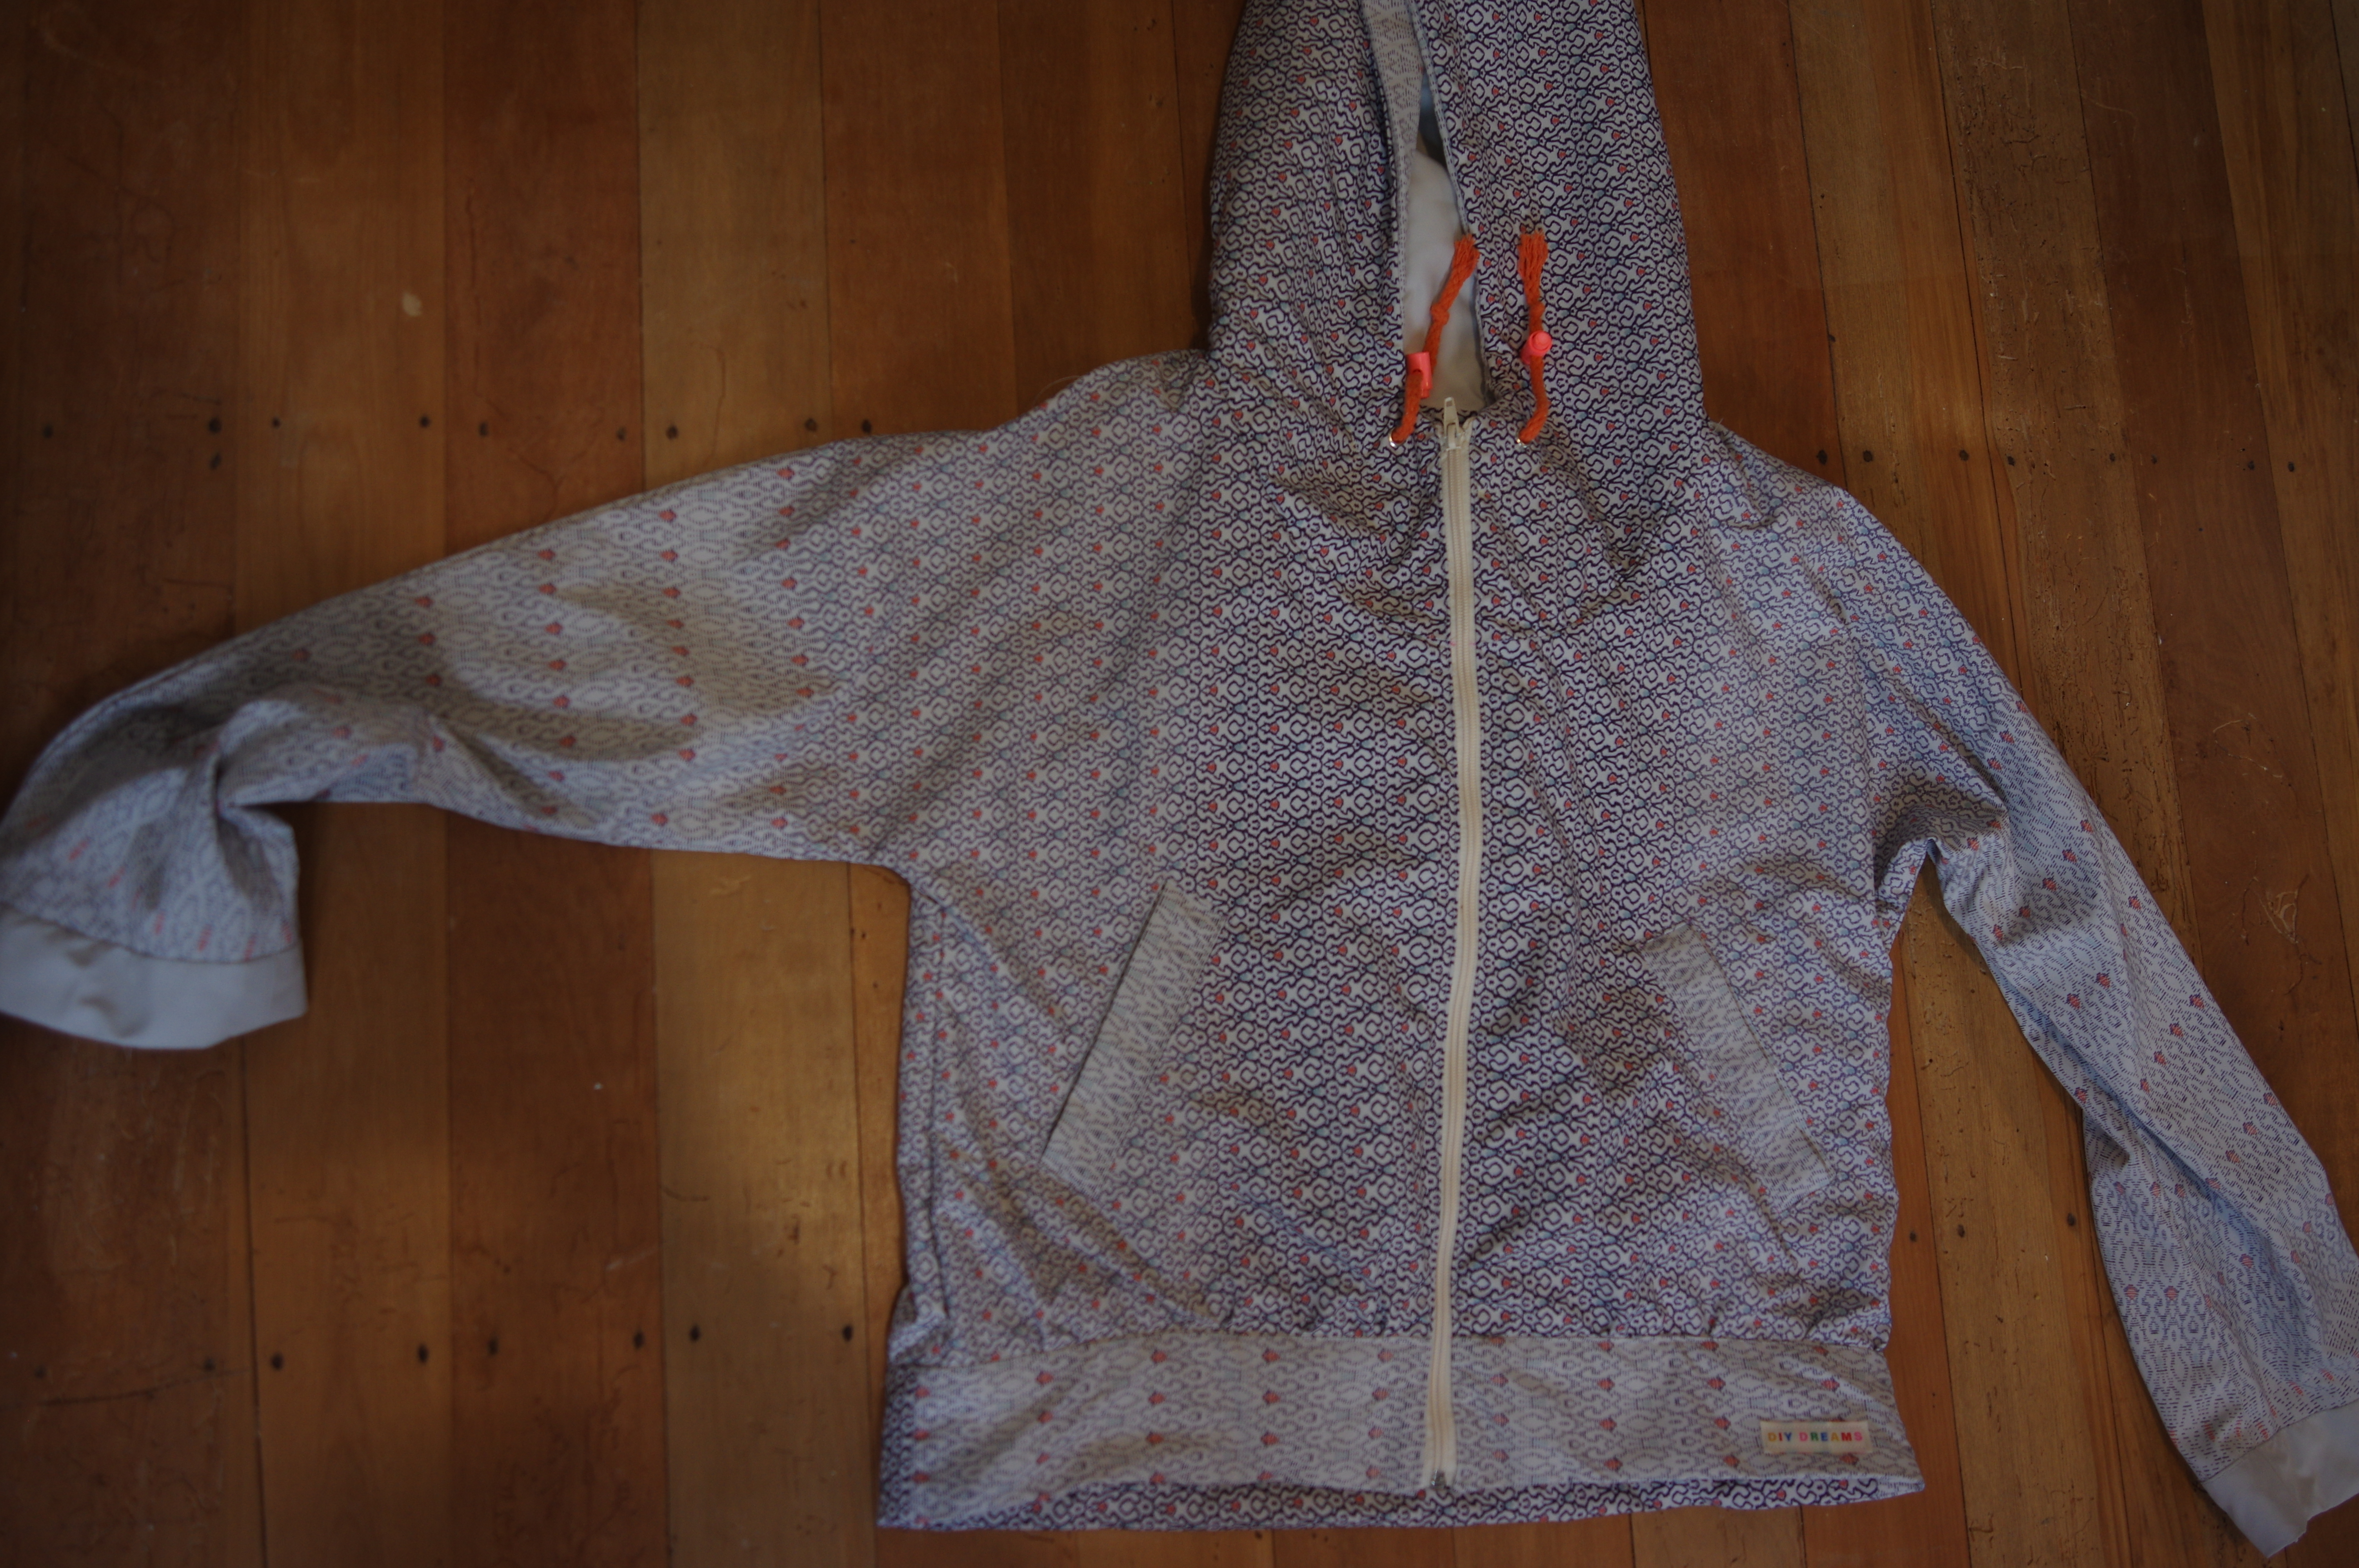
The Wheaton Windbreaker: worth the effort?

I've been planning to make this ever since it came out.  I have a large queue of jackets, you see, and each time I make one I need to recover afterwards.  A nice jacket has a lot of small details, and all that sums up into a Big Project.  For some reason it also seems like it's really hard to produce a jacket pattern that is both a good jacket, and that has good, genuinely helpful instructions.  Thus, the queue just stays the same length no matter what I do!

There was the Glide jacket, by Made it Patterns.  No comment. (I think I have said enough.)

And there was the Arare jacket: beautiful, success, really a bit too small considering my claustrophobia putting things over my head, but definitely a keeper.  Pocket instructions a bit bad for Waffle patterns, but everything else was great.  

I tried Very Hard to make the Wheaton pattern fit on a piece of waxed cotton at some point last year.  A meter piece.  It didn't fit, but left me the legacy of my pieces cut out in a size 0 when I'm a 4 on the size chart.  Right. So then Tessa and I went to buy fabric in Auckland and got matching nylon to make matching Wheaton windbreakers.  We got 3m each.  And even better - when I had a reason to come up to Hamilton for sewing day, we decided to make them together.  

Tessa made size 12, as she was between 10 and 12 on the chart. She reported a size 10 would have been fine. If you are following the size chart, the ease is generous.  The size 0 fits me though I would have liked it a bit bigger, the size 4 would have indeed been optimal.

I prepped ahead of time because I couldn't bring scissors etc with me on the airplane. I cut out my size 0 pattern (sigh) and though I had wanted to use the gradient of the fabric on the cross grain I couldn't make it fit so I had to use it with the gradient going across.  I had enough fabric to be a tiny bit picky, but barely.  I interfaced everything per the instructions.  Tessa really struggled with 3m of fabric but just barely got the entire thing cut out except the pockets.  

Tessa started her jacket the morning of sewing day. She only interfaced as she went along and was less finicky with details.  She quickly passed me and had finished the jacket by the end of the day, while I still had the cuffs to put on, the hem to sew, and the facings to tack down.  This is the summary of the day: the more you follow these instructions, the worse things will go for you.  We agreed that this was the worst sewing day we had ever had together because we were collectively miserable at every single step of the process. (Usually we are at least sewing different things and can cheerlead each other on.)

First: welts.  As every pattern designer seems to think they have to reinvent the welt-wheel, these welt marks are very confusing. They are inside out arrows, instead of a box.  Save yourself, and draw the box around the arrowhead ends.  Then you line up the welts with the sides of your box, per usual.  Also, don't fold the welt lip ahead of time, because then you're constrained to use it without adjusting it to cover the space. Wait til later when you can adjust it to fit - a better pocket results. 

Next issue: interfacing.  Don't interface *anything* that has go to around a curve.  This pattern is drafted so tightly that it just won't go.  Don't interface the hem, don't interface the neck part of the facing. If you have fabric that requires interfacing, it's worth cutting the interfacing down so it is not on the seam allowance.  Tessa beat me here by only interfacing as she went along, and didn't interface things that didn't need it.  She was able to ease in her hood and the hem without catastrophic amounts of seam ripping, whereas I lost a few hours undoing and getting frustrated.  

Tessa:


(In these photos I still hadn't done the facings although the exterior was put together.)


Subsequent drama: the cuffs.  WTF?  You cut out 4 little pieces but as best we could understand, you need 8, 4 for each side.  A LONG TIME after finishing the jacket I suddenly wondered if you are supposed to actually do the cuffs as a facing inside the sleeve, but that doesn't make sense because the sleeves are already super short.  So, if you are doing normal cuffs you need 8 of those little pieces.  Also I forget now what the instructions said but best to ignore them and do normal cuffs - attach to jacket and thread the elastic through the casing.  It will save you some stress.  Consider measuring the length of sleeves and lengthening if not happy - they are pretty short.

Finally if you actually sew the facing and hem facing down to hold the pocket in, you lose half the pocket.  If you want full sized pockets, they have to be outside all those facings and flappy around.  A peeve I have.  


In summary, we both finished our jackets, although I took another month to recover from the very memory and finish mine. After taking these photos I did add elastic into the cuffs. Tessa says that she has been wearing her jacket to work every day and gets so many compliments on it, which gives her the opportunity to tell everyone how awful it was to make.  I don't know if I can get over the experience and I will probably give mine to my cousin, who has asked for it.  (I did, and she loves it.)

If you love the shape of the Wheaton this is the advice I can offer: 

It creates a very high quality jacket though with some flappy but nice and deep pockets.  

It might not be fun along the way.  Do a practice welt pocket, interface only as you go and as really needed, and lengthen the sleeves ahead of time if you arms are anything longer than average or if you want to try a sleeve facing instead of a cuff.  Don't plan to do it in a day or your creative vocabulary will come out!  Plan bribes to get yourself through it.