Monday 30 December 2019

Whitney Deal Ryan top review and variations


I was determined to make a velvet top using this pattern, but I knew from the beginning that it would take a few muslins to get the right fit.  I've never used this pattern designer before and I found the pattern somewhat lacking to start with.

It is a PDF with no A0 option.
The tiled A4 pages had borders on some pages, but not on others, so at times I had to line up pages and guess the right size of the gap.
The instructions have a 1/4" SA on most of the top, and a 5/8" SA on the side seams.  This is one of those new things indie pattern designers are doing, and it's annoying.

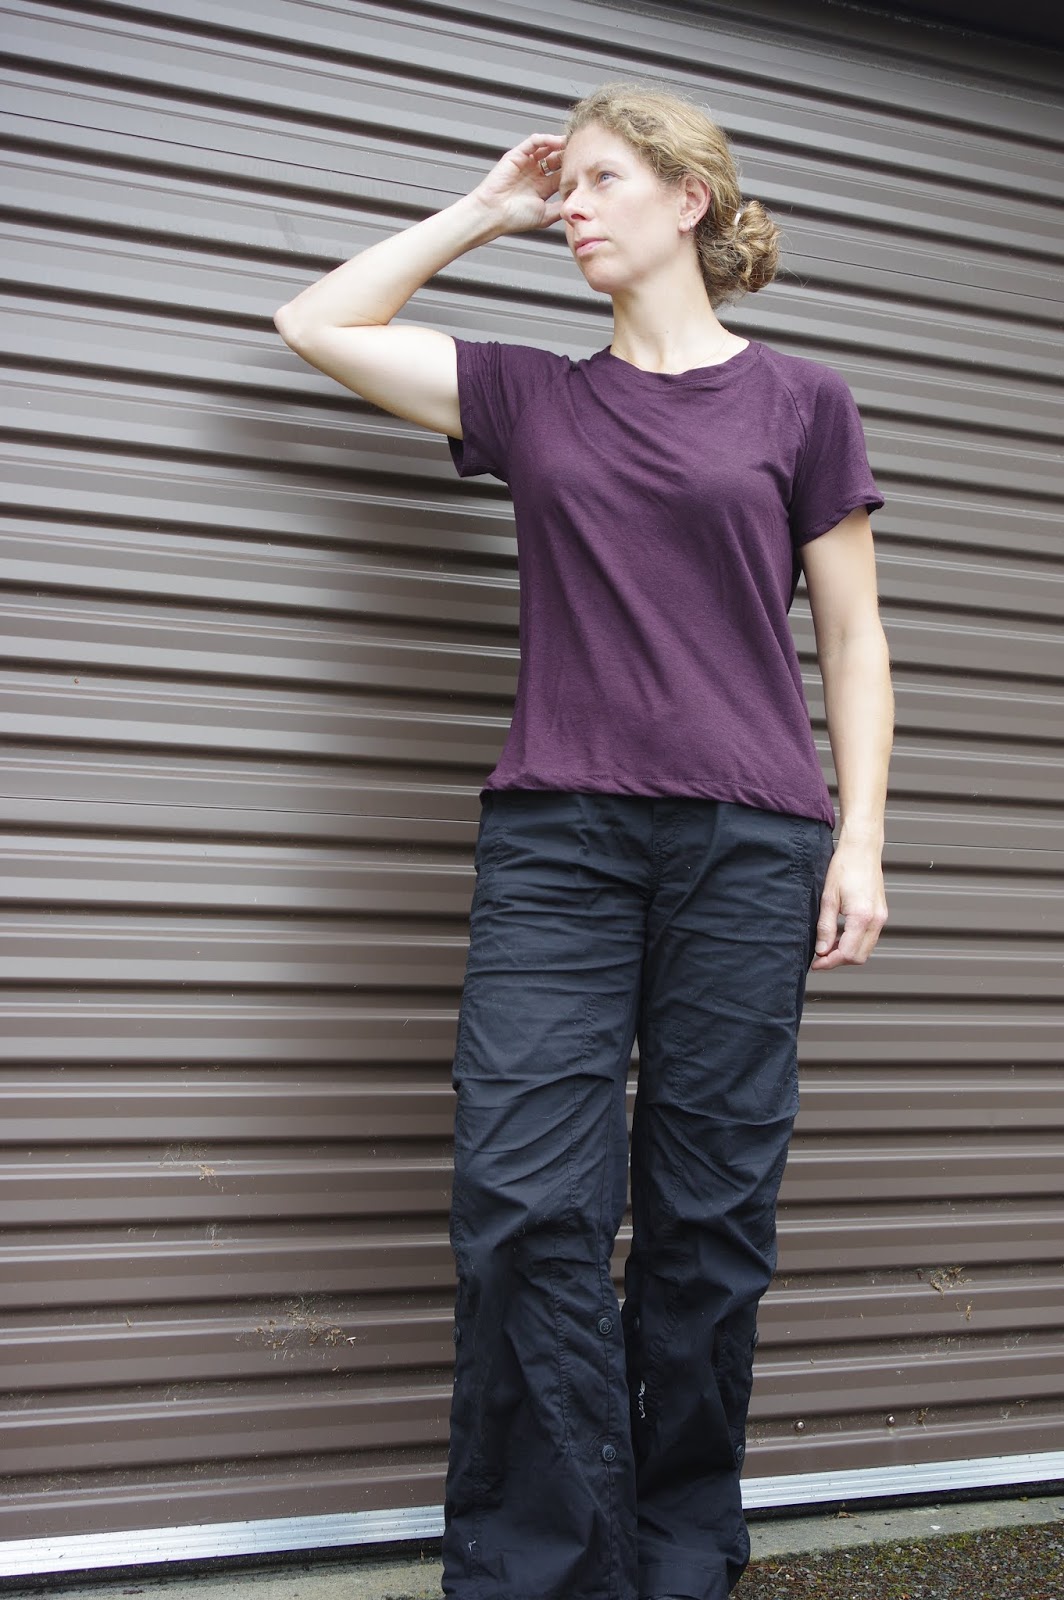
I made my first version in the smallest size, which says bust 30-32".  My bust may be in the 32-33 inch range, but my back is wide and this often confounds measures.  I knew the top would be way too long, and so I made zero changes initially in order to capture the fit.


Version one is as expected.  Pretty unglamorous.  I do like the fit just under the yoke with the gathers, but it pulled across my back, and the top is made for people with stick arms.  As expected, it is very long.


This data in hand, I increased the width of the back yoke by about 1.5 cm on the fold, lowered the armhole by just about an inch to make the sleeves roomier, cut off the bottom 10 inches of the pattern, and normalised everything to a 3/8" SA.

I scavenged up matching scraps and actually they are quite precious ones - the back top is a light silk cotton voile that I am oddly in love with, previously made into a horrific Vogue top (here, lurkers!) and the front yoke is a cotton voile I've used to muslin my Japanese pattern dress with.  The bottoms are delicious linen viscose from an etsy seller who subsequently vanished.  It has great drape and a bit of texture. If I wanted it to be less twee I might have skipped out on the hearts, but anyway it is cute.


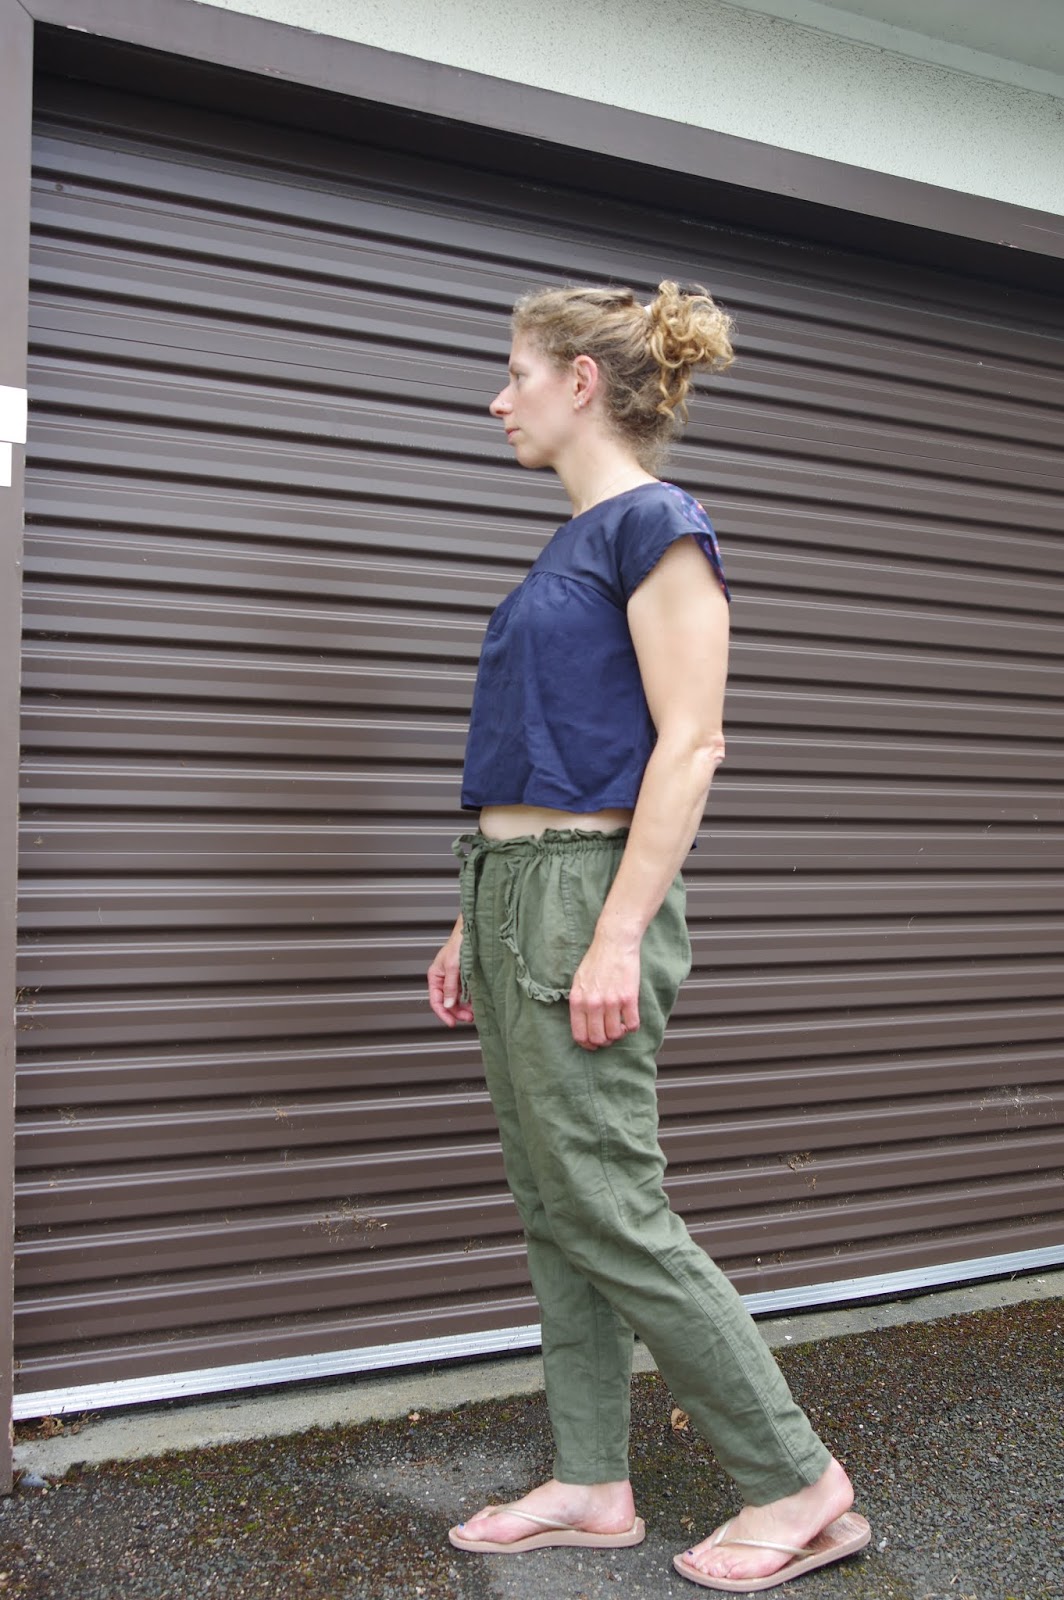
I was actually really surprised to achieve total success with my adjustments, though I conceded I cut the top a tiny bit too short and lengthened the final version by another inch.  I've stuck with this pattern because, of course, I had a vision involving that hot pink silk velvet.  The only remaining question was whether to do the tedious and horrible facing when sewing with slippery silk velvet. I concede that the velvet would feel best against the skin, but a bit of bias tape would be much easier.

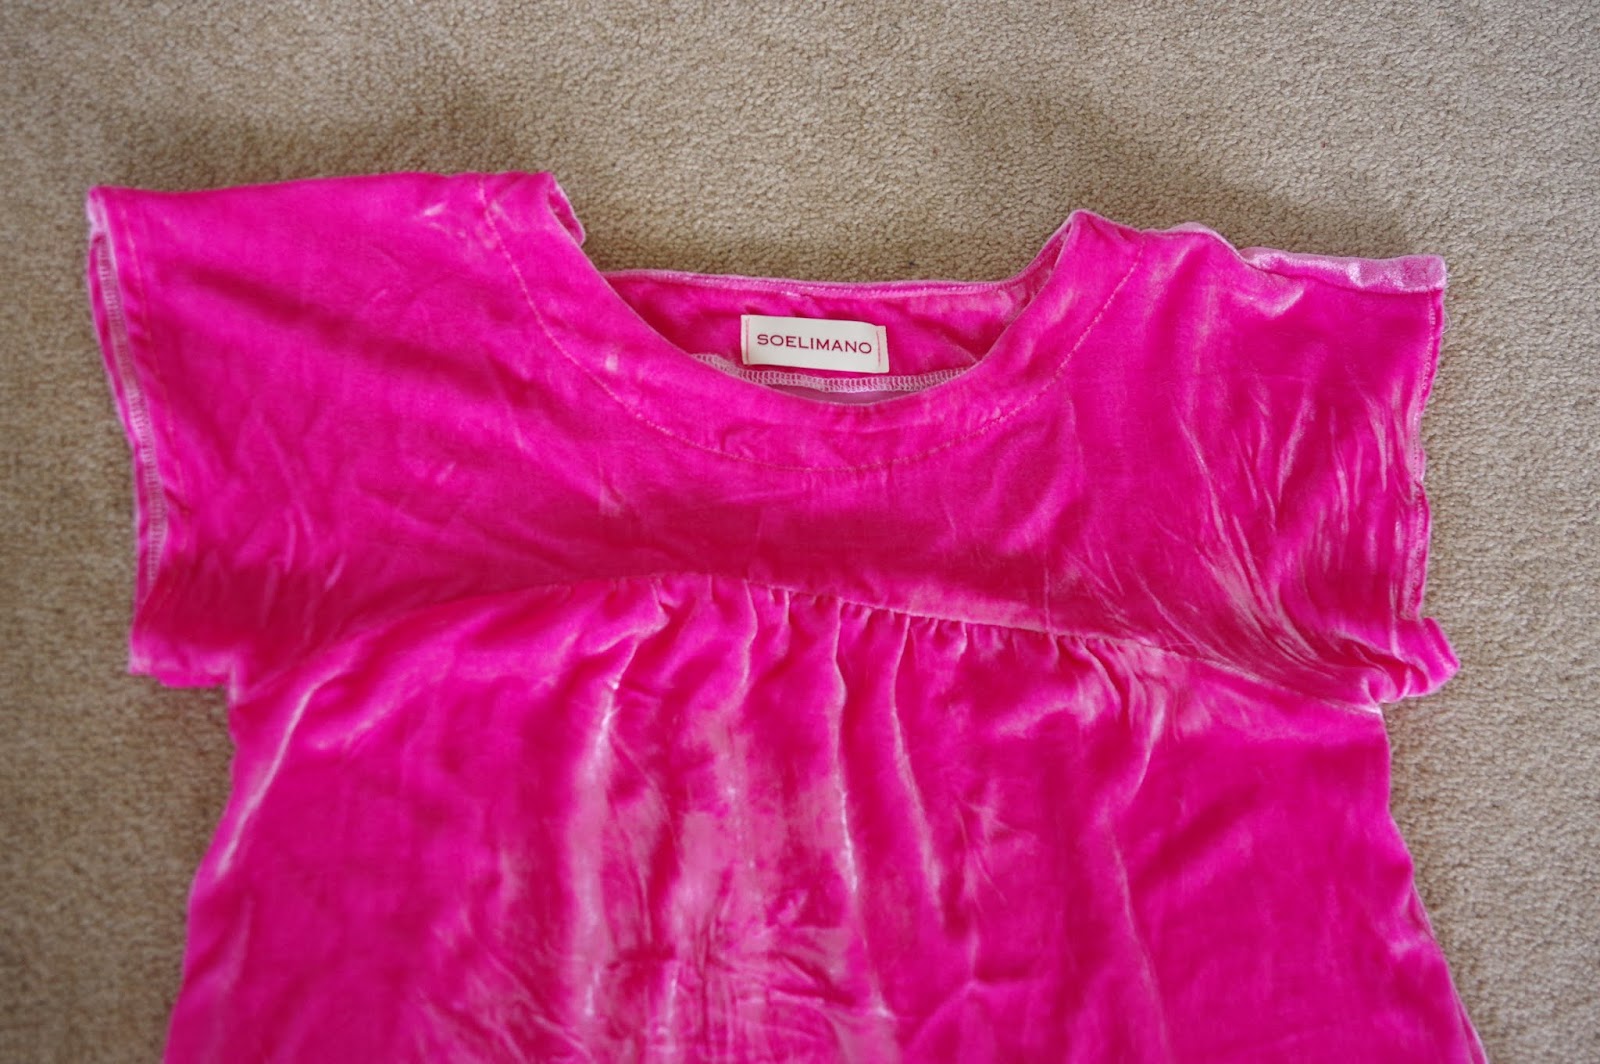
I went with the velvet. Actually it wasn't that bad to cut or to sew.  I used a lot of pins, and didn't have any trouble with it shifting around. I ironed only sporadically and doubled the top over itself when ironing so the furry side was always facing another furry side. Now that I'd made this three times it was a fast sew.  I overlocked all the insides.  The facing seam isn't quite straight on the front, but it's not too obvious and everything else was easy.


My velvet top is actually totally perfect.  I prepped the fabric by handwashing and airdrying so it should be pretty easy care.  I'm not all that fussed by how wear is crushing the velvet, because it's almost iridescent in the light and looks good wrinkled, hooray!


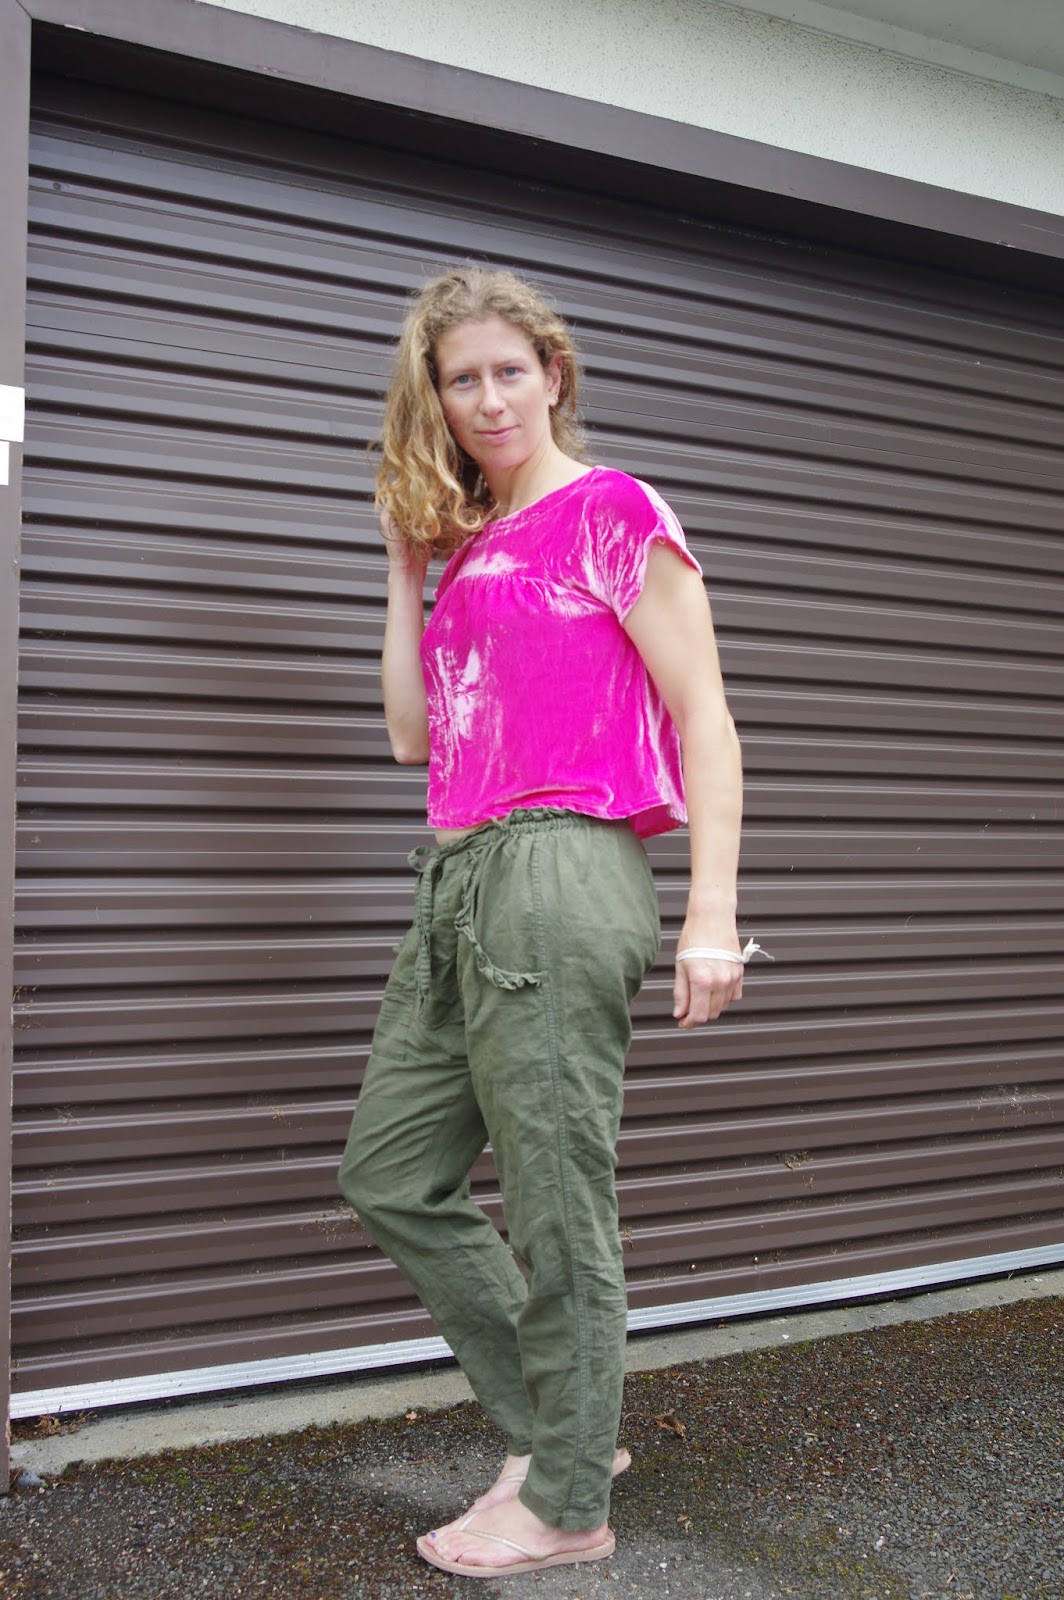
Can you tell by my pictures that I love this top?  Or do I just look like I have zero posing skills, as usual? 

Thursday 26 December 2019

Wide strap maxi dress: Elbe Textiles x Peppermint mag

I find it funny that all designers are making similar patterns at the same time.  This season it's maxi dresses with the same kind of bodice band...I've seen and made a few!

I made size C, which is my usual size in Elbe Textiles.

I also paid attention to 2 facts: this is sized for a person 5'7" tall, AND the creative muse behind Elbe textiles is all about shapeless sacks.  Thus, I removed 4 inches from this pattern: 1 at the bodice, 2 below the bodice, and 1 from near the hem.  That seems to have been about right. 

The fabric is Dolce & Gabbana copycat fabric.  It's poplin weight cotton.  I actually have the D&G original and it's an interesting comparison in terms of quality, both the design print and the fabric are obviously nicer coming from the designer (and the price tag matches, whoa, expensive fabric!)  I did NOT jump to make a new pattern out of the fanciest of fabrics, though I was a wee bit tempted.  The lighter weight, lawn-like feel of the D&G fabric would have given the dress a bit better movement, but the side slits do that anyway.

The instructions are overly wordy, but I suppose too many words better than too few.  Also, it follows a recent trend which irritates me no end: instead of just saying: French the seams - it builds that into the instructions.  I much prefer the instructions to suggest that you french the seams, and add a little side note on how to do so, for those who need it.  This is naturally because lately I'm not going to.  My overlocker wins!

I dragged this out over a few days in between other things - I'm trying to binge sew through a huge project pile before the new year, in the hopes that if I can clean up my queue, I might stop piling up projects to do...I think I'm much happier if I can spontaneously sew a thing, the end.  And I want more time for knitting.


I really enjoyed how you do the hems quite early on, so once you've finished the bodice band, you're done!  It's an easy sew.  However, I made one huge blooper - I assumed I'd need to shorten the straps by a lot.  I tried the dress on, and shortened them accordingly.  I noticed that they seemed to be shorter when I gathered the dress, trying to picture what the elastic would do...

I'm not entirely sure why, but once the elastic is in, the straps seem much shorter. I guess you lose 1.5 cm when you sew them in.  So in the end my straps are way too short and I had cut the ends off before I figured this out.  There's no going back (at least not very easily)! The bust darts are about 2 inches too high.  I also noticed the right side is worse.


The good news - I don't think anyone but me will notice. But I have to wear the dress around to get a sense for how much *I* will notice.  If I dug the end out of the seam allowance the most I gain is a cm, but it might be worth it. 

Anyway, I love the pockets and overall this was a great fun sew.  I'm really pleased that I found something to do with my lemon fabric.


Aime Comme Marie Must Have, woven to knit

I made this very early on in my sewing adventures, see here.
I had to print and cut the pattern again as I hadn't saved the pdf pieces.  So I was pretty shocked to discover that it has no seam allowances. WTF?  As a beginning sewist I guess I had no preconceived idea about adding seam allowances and thought it was quite a lark...

Anyway my thoughts were in the direction of making a knit raglan tee without buying a new pattern.
First up I made it in a woven, size S per the size chart.  I added length to the sleeves (about an inch) and about 2 inches or so to the centre back seam. It's not very exciting but it's going to a friend of mine who lives in the desert, and it fits really well.


For the knit version I probably should have taken out some fabric, but I stuck to the pattern.  I folded out the dart and added a neckband. This knit has some linen in it and is quite drapey. 


Unsurprisingly, by this point I had kind of lost interest in any further modifications (my attention span is too short!) I remembered that I don't need any more tshirts.  I was not particularly enthused with this one, since it's rather oversized and I already have a bunch of oversized hemlocks, and it just sat around until my photos, at which point I realise I did judge it rather harshly. It is comfortable and simple.  I think I could just take some volume out from the centre front and back seams to get a more fitted top and I would be happier with that.

Wednesday 11 December 2019

experimental knit Reef top - by Megan Nielsen patterns

My first Reef experience went badly.  Here's the top.  I didn't like the fit and I didn't like my fabric, and I didn't really like that you end up needing to fit it to yourself at the last minute and cut off a huge seam allowance on the sides.

I've started to notice that when a pattern doesn't suit me, the thing to do is break the rules.  If it's a knit, change something.  If it's a woven, make it in a knit.  So sometime I started to think about making this in a knit, maybe extending the facings or something.

I decided to do a quick attempt just to see what would happen.  I widened the upper back pieces a little and doubled them for a clean finish.  I added a back band to finish the back.  I left the armholes and the neck raw.


The fabric is a lightweight, dubious quality merino from Otara in Auckland.  The fabrics in Otara are cheap so it's great stuff to use on these trial versions of things.

The outcome: it's a win!  I think what I need to do is connect the front and the yoke pieces into one, and cut the front as two pieces with a seam.  That way it would be possible to bind the neckband first, and then use armhole bindings. I also sliced 1 inch off all the side seams of my pattern piece, which was a lucky guess.  I had forgotten the delightful shaped hem on this top.  My remodel has made me like it anew!  I'm not sure I'll go on to make the final product but I'll wear my raw seamed version until it falls apart.

I was going to make a knit pair of Reef shorts too!  (I love my reef shorts, here.)  But then I thought maybe I don't need them.  So for now I'm not going to make them but I'll keep thinking about it.