Wednesday 19 July 2023

the True Bias Sutton top is pretty rad

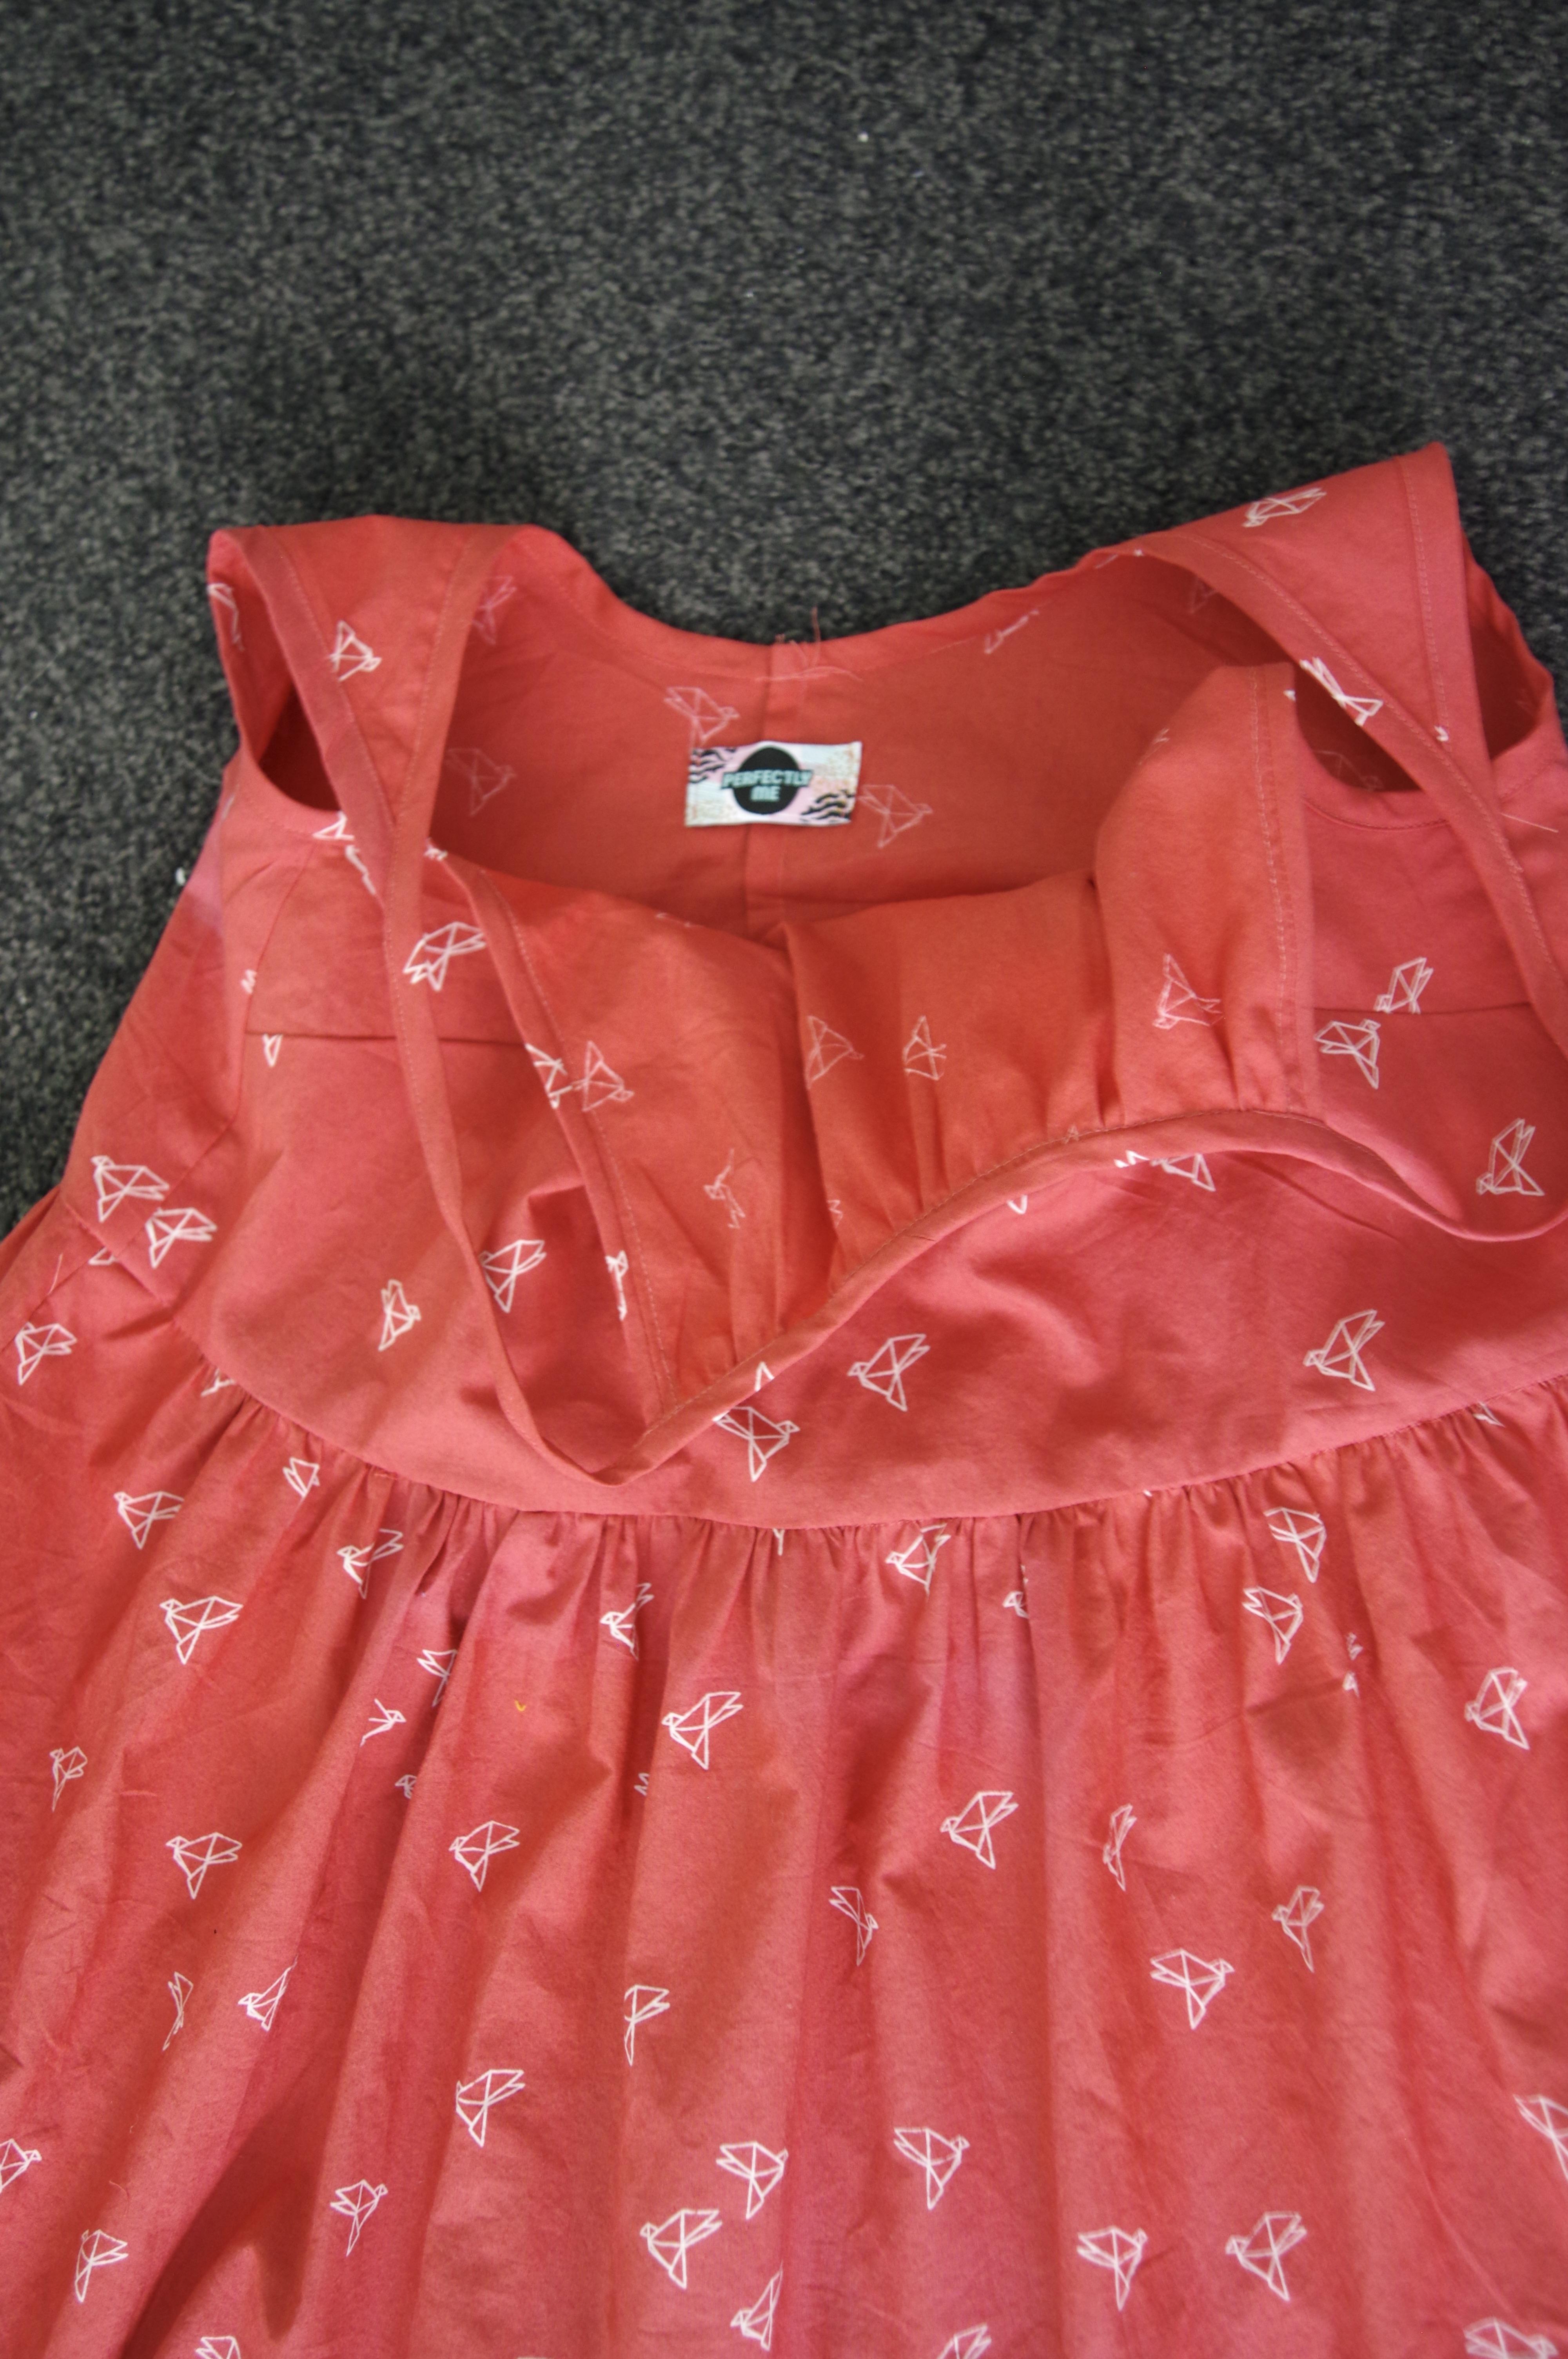
I had always planned to make another Sutton!  I loved my first one (hrm, actually it is the second!) made from a silk remnant, but I eventually gave it away because I wasn't wearing it enough and I just love giving clothes away.  When I made it, I felt like you need an overlocker to do this pattern justice and get a really beautiful clean finish.  The centre front seam doesn't work particularly well with a French seam.  I loved the fit on me in the silk.  So I planned to eventually make another one, but it was one of those ideas hanging out in the background.  Before going to Tahiti I decided to use this beautiful scant metre of Japanese fabric to make one for my friend R.  I love this fabric but I don't think the colours suit me. I had tried to fit many dresses onto the piece, but it was just too small.  

 So here it is: size 2, and with the same modifications as previously, I guess! I really thought I had not modified it at all...but I had completely forgotten about my first version of the top, and on the second I commented about the dots not matching up.  I am using the same pattern pieces as before, so I guess I must have shortened it, and it's possible that I shortened the front more than the back.  Now, of course, since I did use the overlocker I probably didn't even notice those dots on the pattern.  Looking back over the versions, this really does better with a very floppy fabric like silk.

 I was a tiny bit lazy about the back pleat since it's not for me...


This confirmed my desire to make one for myself.  I have a designer voile waiting, and a lightweight silk cotton that I think will be a good underlining, and I have a scrap of rayon as well - not sure I need two versions of this top, but it's a really fun, satisfying make, and it doesn't take much yardage.  Now it's the depths of winter and I'm not too rushed to make these but as we get towards spring I will probably actually do it!

Thursday 6 July 2023

Waffle Dropje long sleeve (knit) hoodie

The Waffle Dropje and I have a history.  I was really obsessed with this vest pattern (see for instance here and here and here.)  When a sleeve addition came out I was very pleased.  In my LONG sewing list, and based on all my experiments leaning towards stretch wovens, I matched this pattern with a scuba fabric in my stash.  And when it came time to finally make it, of course I realised that one metre wasn't enough for a full hoodie, and I kind of forgot that this is a woven pattern, not a knit hoodie, and I pulled out this really stretchy double faced knit fabric.  It's from a destash by Lizzy in Port Macquarie.  I had it pink side out and kind of didn't like it, but as I was sewing I realised how much I loved the oatmeal face.  


It was, however, also very early in the sewing process that I realised this was massive on me. I had made the size 36, as in my many previous forays, 34 was too small (but in a woven!!) ... MASSIVE. I still went through with it.  I used a Riri zip.  I lined all my vests, so I had never followed the instructions before and done the facing.  I don't like it, and in a woven item I think it's better to just line it, but the instructions were clear enough (I like Waffle's instructions.) 


I have a new housemate and she's into slouchy, oversized things.  She has claimed this right away.  The fact that it was going to easily find a new home did get me through the more onerous finishing bits of the hoodie; it's not that fun to finish a project when you realise it is kind of a loss.  And interestingly enough I feel kind of done with this pattern now, like I've plumbed it's depths and gone as far as I want to go.  

I can't really speak to how well the arm fit is with the new sleeve addition since my knit was super roomy. 

Wednesday 5 July 2023

Summer Fling dress by Sew this Pattern (aiming for perfection) (not there yet)

It was a few months ago. Summer. About to go to Tahiti.  Time to make another summer fling dress and give away the last one!  

This is bye bye birdie fabric by Atelier Brunette. It was stashed so long...that it has been faded by the sun.  I love it so much that I kept saving it for that dreamy perfect project, and I expected this version of the dress to be a real winner and therefore a good use of said special fabric.  

I got out my pattern pieces and got cracking.  The one thing I overlooked, despite having the previous dress in the sewing room with me, is that I DID narrow the previous dress 1" on the side seams.  I did not adjust this on the pattern, and I thought I had, and I didn't check.  

The previous dress, Liberty poplin, is very heavy and feels disproportionately long on me, so I never wear it.  I still wear the first version at times though it was more beach-life appropriate and not so mountain-life appropriate, so I wear it less than I did in Gisborne. 


This fabric is a lot lighter.  I adjusted the straps to pull at a better angle than previously and was meticulous about measuring the lengths so it wouldn't hang too long, but without the side seam adjustment it did not end up being a great improvement.  Oddly, the dress seems to hang lower than expected, but I think it's just lower in the armpit and that makes it feel that way.  I gave this dress to a friend and kept the blue one for now -- after assessing it while making the new one I think I can salvage it by cutting off each tier and shortening them, but I really hate gathering, so I'll have to be in the right mood to tackle it.  Next summer...

I do think it is finally time to stop the delaying.  This dress can handle being made in silk even with a lot of body, and I have silks from Thailand languishing patiently.  I need to be really meticulous to get it right though.  Plans: shorten each tier, including the bodice, by 1-2" (assess first!) Ensure bodice narrowed, and pin the bias in place to try on before committing.  The strap angles seem to be consistently good now.  The change I made between versions 1 and 2 was to do the underarm bias binding as one piece (front and back underarm) and to do another long bias binding piece from one side of the back, creating the strap, crossing the front, and etc.  This method fixed the weird kink I had in the front of the first dress, where the underarm and the bodice bias binding came together to form the strap.   

I've used the pockets from the Bardon dress, because they are like having a purse at your side.  They are amazing pockets.   

Watch this space!  I have three lengths of silk ikat I keep trying to commit to cutting into and I'm determined this dress will be one of them, but I'm not sure which one yet.


Closet Core Plateau joggers review

 I realised that I need to be more proactive in making all the loungewear, rather than saying I have enough and then buying more when I see pretty ones in the shop.  The pocket structure on these made them interesting and I don't have any larger, cozier type sweatpants pattern, so I bought the hard copy pattern when I was in Miss Maude (in person!!).  This of course makes it a bit daunting, I ended up cutting a size 4, though I was able to leave the shorts uncut as I think my friend Tessa wants to try the pattern too.  On the size chart the size 4 says waist 26-hip 35, so now I wonder why I didn't make a size 6?  I'm waist 27-hip 37.  Maybe I was thinking about Ginger jeans?  Anyway, don't size down.  These fit, but I would have preferred the baggier fit of a size 6.  

My fabric is the Mind the Maker Cashmere Woolen Fleece knit.  It is amazing, I have it in 2 colours, it has been deep stashed.  I have matching rib for the cuffs, but used the sweatshirting itself for the waistband. 

I usually like the line drawings and instructions by Closet Core well enough.  However, it ends up that I really do not like these pockets. The instructions didn't make sense, things did not line up, and I ended up kind of making the pockets look right, and then retrofit-sewing stuff together to close up holes.  You need to do a lot of sewing with a normal machine for these pants, and considering you are using sweatshirt fabric, it's a bad match.  The sewing lines look bad, the pockets gape and look bad, and seriously wtf about that butt pocket hanging out mid thigh??  


yes!  That's where the pattern says to put this pocket.


I think I will ask Tessa for advice on a nice, normal, baggy and unflattering sweatpants pattern.  I don't recommend these particular pants at all because of the amount of normal machine sewing and the challenge of getting the pocket bits to match up. In the end, if you have pockets in sweatpants, there is going to be bulk because of the stuff you put in those pockets, or you can just put a binding on the front pocket edge and sew the pocket onto the front to cut down on bulk -- I don't feel like losing that layer of bulk here ended up creating a nicer looking front.

I will comment that the fabric is so comfortable that these feel ok on despite my gripes with the pattern and despite making what is likely a size too small. They would probably look a bit better if they were looser!

Tuesday 4 July 2023

Made some more Pleats to Meet You pants


On my last two treks to Nepal, out of the blue, I have wished for a pair of comfortable, loose but just right black lounge pants.  Something to do with always wearing trekking pants...and each time a trek ends, I forget about this desire.  Partly I think because the shape in my head wasn't the same as either Anima or Hudson pants and I don't have any other lounge pant patterns, I just make those two!  I had the full trek to mull over this and finally hit on the Pleats to Meet You pants, which I have made before.  (I wrote about them here.)  I got some jersey at The Fabric Store (heathered dark grey rather than black) and one of my complaints about this pattern was mitigated by figuring out how to see just one page of a pdf at a time on adobe - so I could scroll down and zoom in adequately, rather than the annoying two pages across that I dealt with the first time.  The instructions are still annoying, but I have seen worse. 

I used the same size 10 as before despite thinking it was too big last time. I was too lazy to print out the pattern again!  Maybe I should throw it away so I have to rethink my size next time.

I basted the pleats WAY down, and haven't removed those stitches yet which influence where the pleat drape starts.  The fabric was obnoxious but I sewed these pants quickly to keep it from having time to roll up too much and I used 3/8" seams whenever I felt like instead of being obsessive about keeping to 1/4".  In my rush, I didn't think about interfacing the pocket opening, which you should definitely do to give that edge stability and keep it from drooping.  Mine droop.  I added cuffs by cutting fabric the width of the pant leg (front + back) then randomly removing a bit...and then another bit...until it seemed right.  I didn't shorten the pants. 

In the end these were so droopy and big.  So I just overlocked off a bit from knee through crotch and back down, probably 2" at the crotch and tapering to nothing at the knee.  

And proving that humans do eventually learn, I installed a waist elastic that is nice and loose so it won't tighten up when washed.  

I got new slippers!  They are not pink!  I love them so much!


The result is my new favourite lounge and sleep pants.  I have been wearing these for the past two weeks to sleep and lounge about in, with the only break being last night, to wash them.  They are nice and long and very buttery and comfortable and I think the front rise looks like I'm hiding something in there, but I don't care.  If I ever do decide I like this shape and want to make more, I have two choices: use a woven (these are really huge.) or cut a size 6 instead of 10.  Or both?!