Showing posts with label sew jackets. Show all posts

Friday, 27 December 2024

Louis Antoinette Janis jacket

 It's funny how sometimes I have to actually settle in and sew a lot of variations on a theme, and then I come out of that space and look at those items and how they FEEL on me and I say OH!  I really *don't* suit this style!  All the dreaming about pattern and fabric combos doesn't prepare me, at least (maybe you are different) for the reality of the item.  And despite it being my 11th year sewing, I'm still constantly surprised by what I really could just skip making (if my goal is to curate a wardrobe for myself, which of course is not always the point.)

Hehe 

So I got this pattern in 2015 when I lived in Switzerland.  I was really super keen.  So much that I did a wild, unheard of thing: I made a muslin.  I made notes on the pattern about the crappy fit, didn't blog it, and moved on.  I just did NOT know how to deal with my shoulders.  

Now this fabric.  While I was sewing I realised it would have been great pants, oooops but in the past few months I had mentally attached it to the Silvia Coatigan.  And despite having the pattern printed out and ready, I hesitated.  Something was not right.  While riffling through my patterns I saw this and thought it was a much better fit for the fabric than the Silvia, so that has been folded up and put away.  

I was left with my cut out pattern pieces - size 38, still what I would choose now, and these vague instructions to remove 1cm at the bottom of the armscye.  I figured it must be my sloping shoulders, and the instructions I gave myself are consistent with a sloping shoulder adjustment. Luckily all these adjustments can be done to the cut out fabric - so I removed 1 cm from the front shoulders at the sleeve edge - just cut off a triangle tapering towards normal at the shoulder seam, and I recut the front armscye  1 cm deeper following my old, mysterious instructions.  

This was a really fun pattern to sew together - it's simple, the fabric was well behaved.  I took the time to topstitch a lot of things down (the pattern didn't instruct on finishing) and I added a little hook for a button since I hate things that can't be shut.  I was very surprised by the great fit.  My shoulder adjustments worked!  I even learned how to catch stitch the hem up.


It's winter and this is a light jacket.  The sleeves are slender.  I can fit one layer under it.  Thus, this is a jacket for a very different season, and I suspect it will go into my collection of cool jackets I like, keep and never wear.  (Like my jean jacket, my Deer and Doe Nenuphar, and the adorable Waffle Dropje vest that I keep thinking of adding sleeves to....)  I think I need to actually just step away from all the blazers.  I have bought blazers and then sold them.  I have made blazery type things and then gotten rid of them.  Non-structured, woven layers just don't seem to make much sense to me if I can't zip them up.  But anyway, this was fun to make. 

Tuesday, 27 February 2024

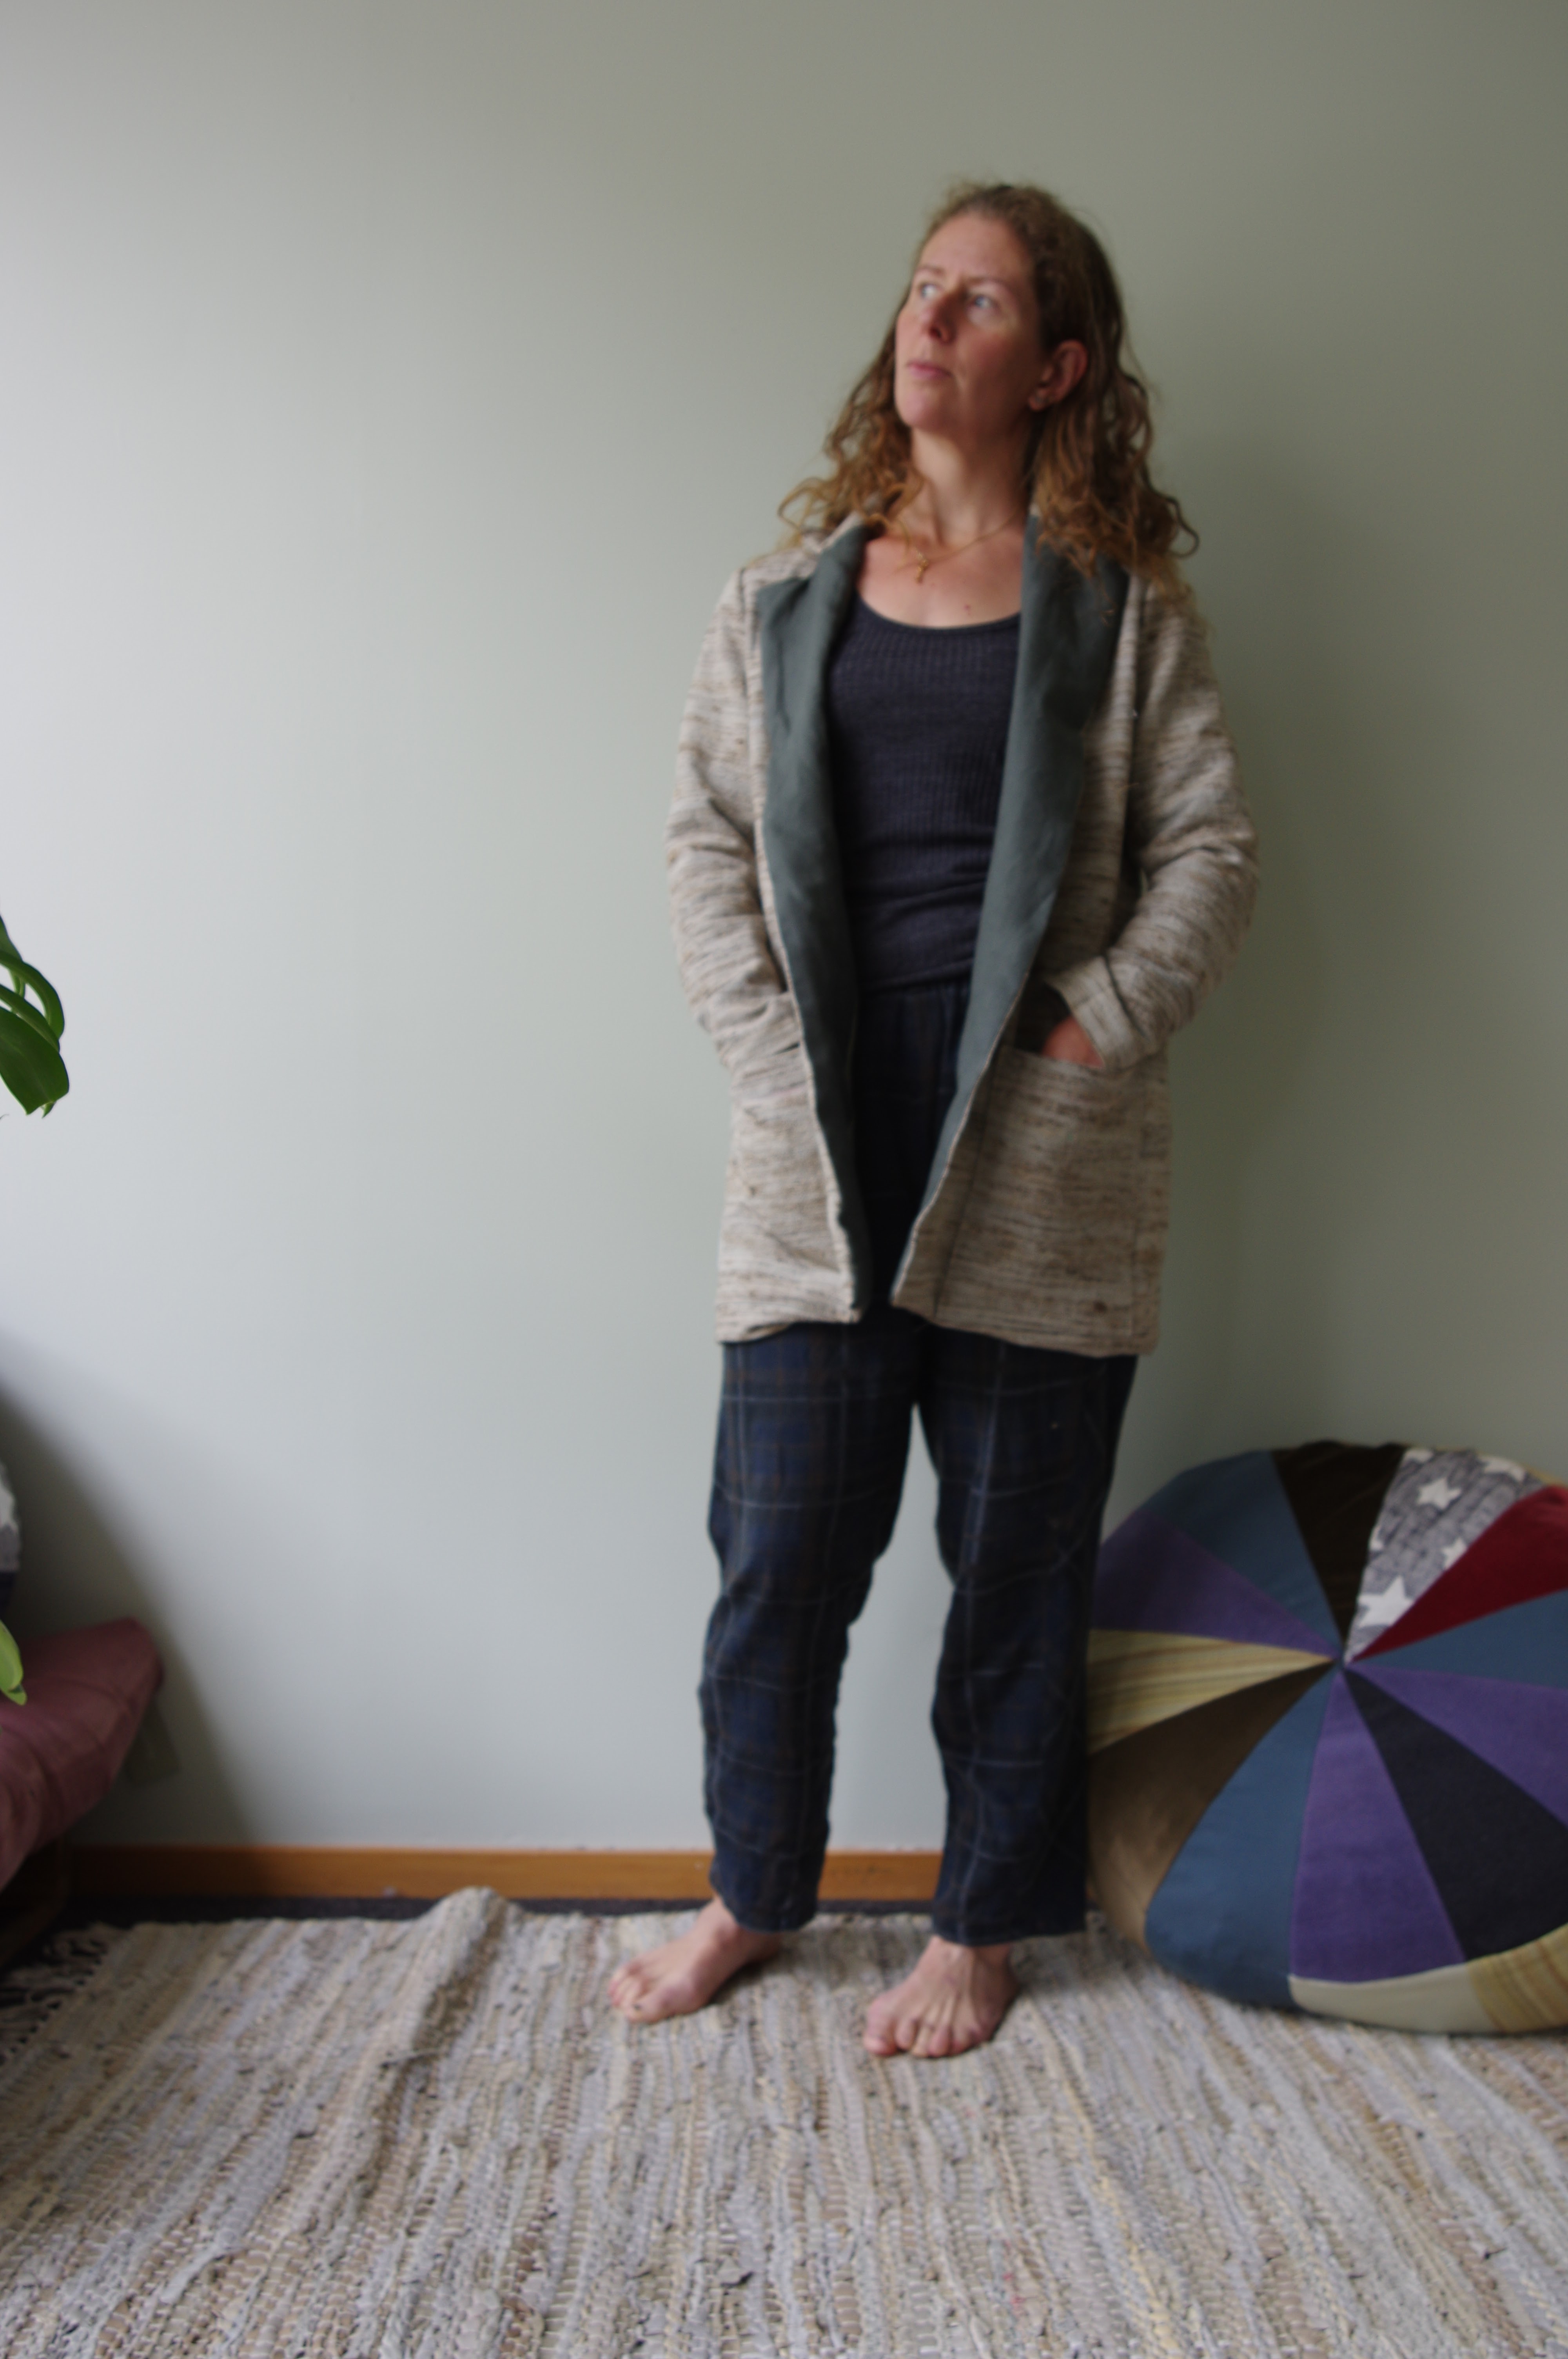
The Friday Pattern Co Victoria blazer review

My experience with the Friday Pattern Co has been intense in the past few months, and it has seriously been pretty checkered.  I knew ahead of time that this pattern has a rather tight sleeve - during our sewing weekend in Auckland I got to try on an XS in progress.  Thus I went with a size S.  I knew it would be long and so my vision was a kind of coat/blazer crossover.

I did not really anticipate how much fabric this needs. I'd considered a lot of different fabrics for it, but settled on a loose woven silk from Nepal, and it's a loomed width (110 cm) and it was not enough...so for the facing I went with a contrasting green linen.  I did NOT at any point think about how the facing of the front lapels would be actually so visible.  Once I realised that I committed this in my head to pretty solid muslin territory because I was not super enthused.  

Things started with some challenges.  The pocket placement is extremely and oddly low, the marks line up the pockets near the hem of the blazer, so I moved them up in order to have a hem in the end, this was still not really helpful as the pocket location meant I couldn't vary the hem upwards by much (unless I wanted to sew into the pocket).  The lining gap is in a strange location, and so I moved it a less obvious location.  Naturally I managed to octopus my sleeve hems into a mobius strip and had to undo the first one, ugh.  I did hand sew the seam allowance of the sleeve cuff together so it wouldn't flip out, and that small amount of extra work did seem to improve the sit of the lining in the cuff, and keep the cuff from unfolding outwards.  I'll keep that in mind for future makes.  I think there are recommendations to sew the lining of the hem like this as well and that makes sense because my hems of lined jackets always droop.

I was already pretty down on this because of the non-matching facing, and so when the hem went to hell in a handbasket I didn't fight too hard. Nothing lined up.  In order to create a semblance of closure I had to create a hem from nothing and the result is this totally horrible curve to the hems and some super dubious handstitching.  Far from finally learning a cool way to get that tragedy of hem, lining and front facing to meet in a friendly fashion, this was a ruin because the length of the facing, the amount of seam allowance of the facing towards the lining, and the lining/hem interface did not match as the instructions suggested they should.  It certainly could be due to interfacing the facing, so it was longer and pulled differently than the silk. Maybe it cut differently than the silk.  No idea.  

My final feeling was that although the fit of this isn't terrible - it does fit -  I never really like lapel things and I don't like this lapel thing, and I would never make it again and never try to figure out what has gone wrong with these instructions and placement of things.  I have previously mused that I will only be happy with a real coat or blazer when I commit to a serious one with layers, pad stitching, shoulder pads, and other tailoring realities that I only know about in a hazy vague way.  I think that's still the case.  I'm too picky to like an easy sew when I want the result of a complicated and well-designed project.  


This might suit someone who really wants that easy sew (which is most of Friday's market) but I don't have advice for the hems except to say maybe it was just me.  I recommend putting on the pockets late in the process when you can double check you are happy with the location.  I don't like the way it fits across my back - maybe I need some kind of wide back or muscled neck adjustment, but overall the fit is not the problem with this pattern.


Monday, 23 October 2023

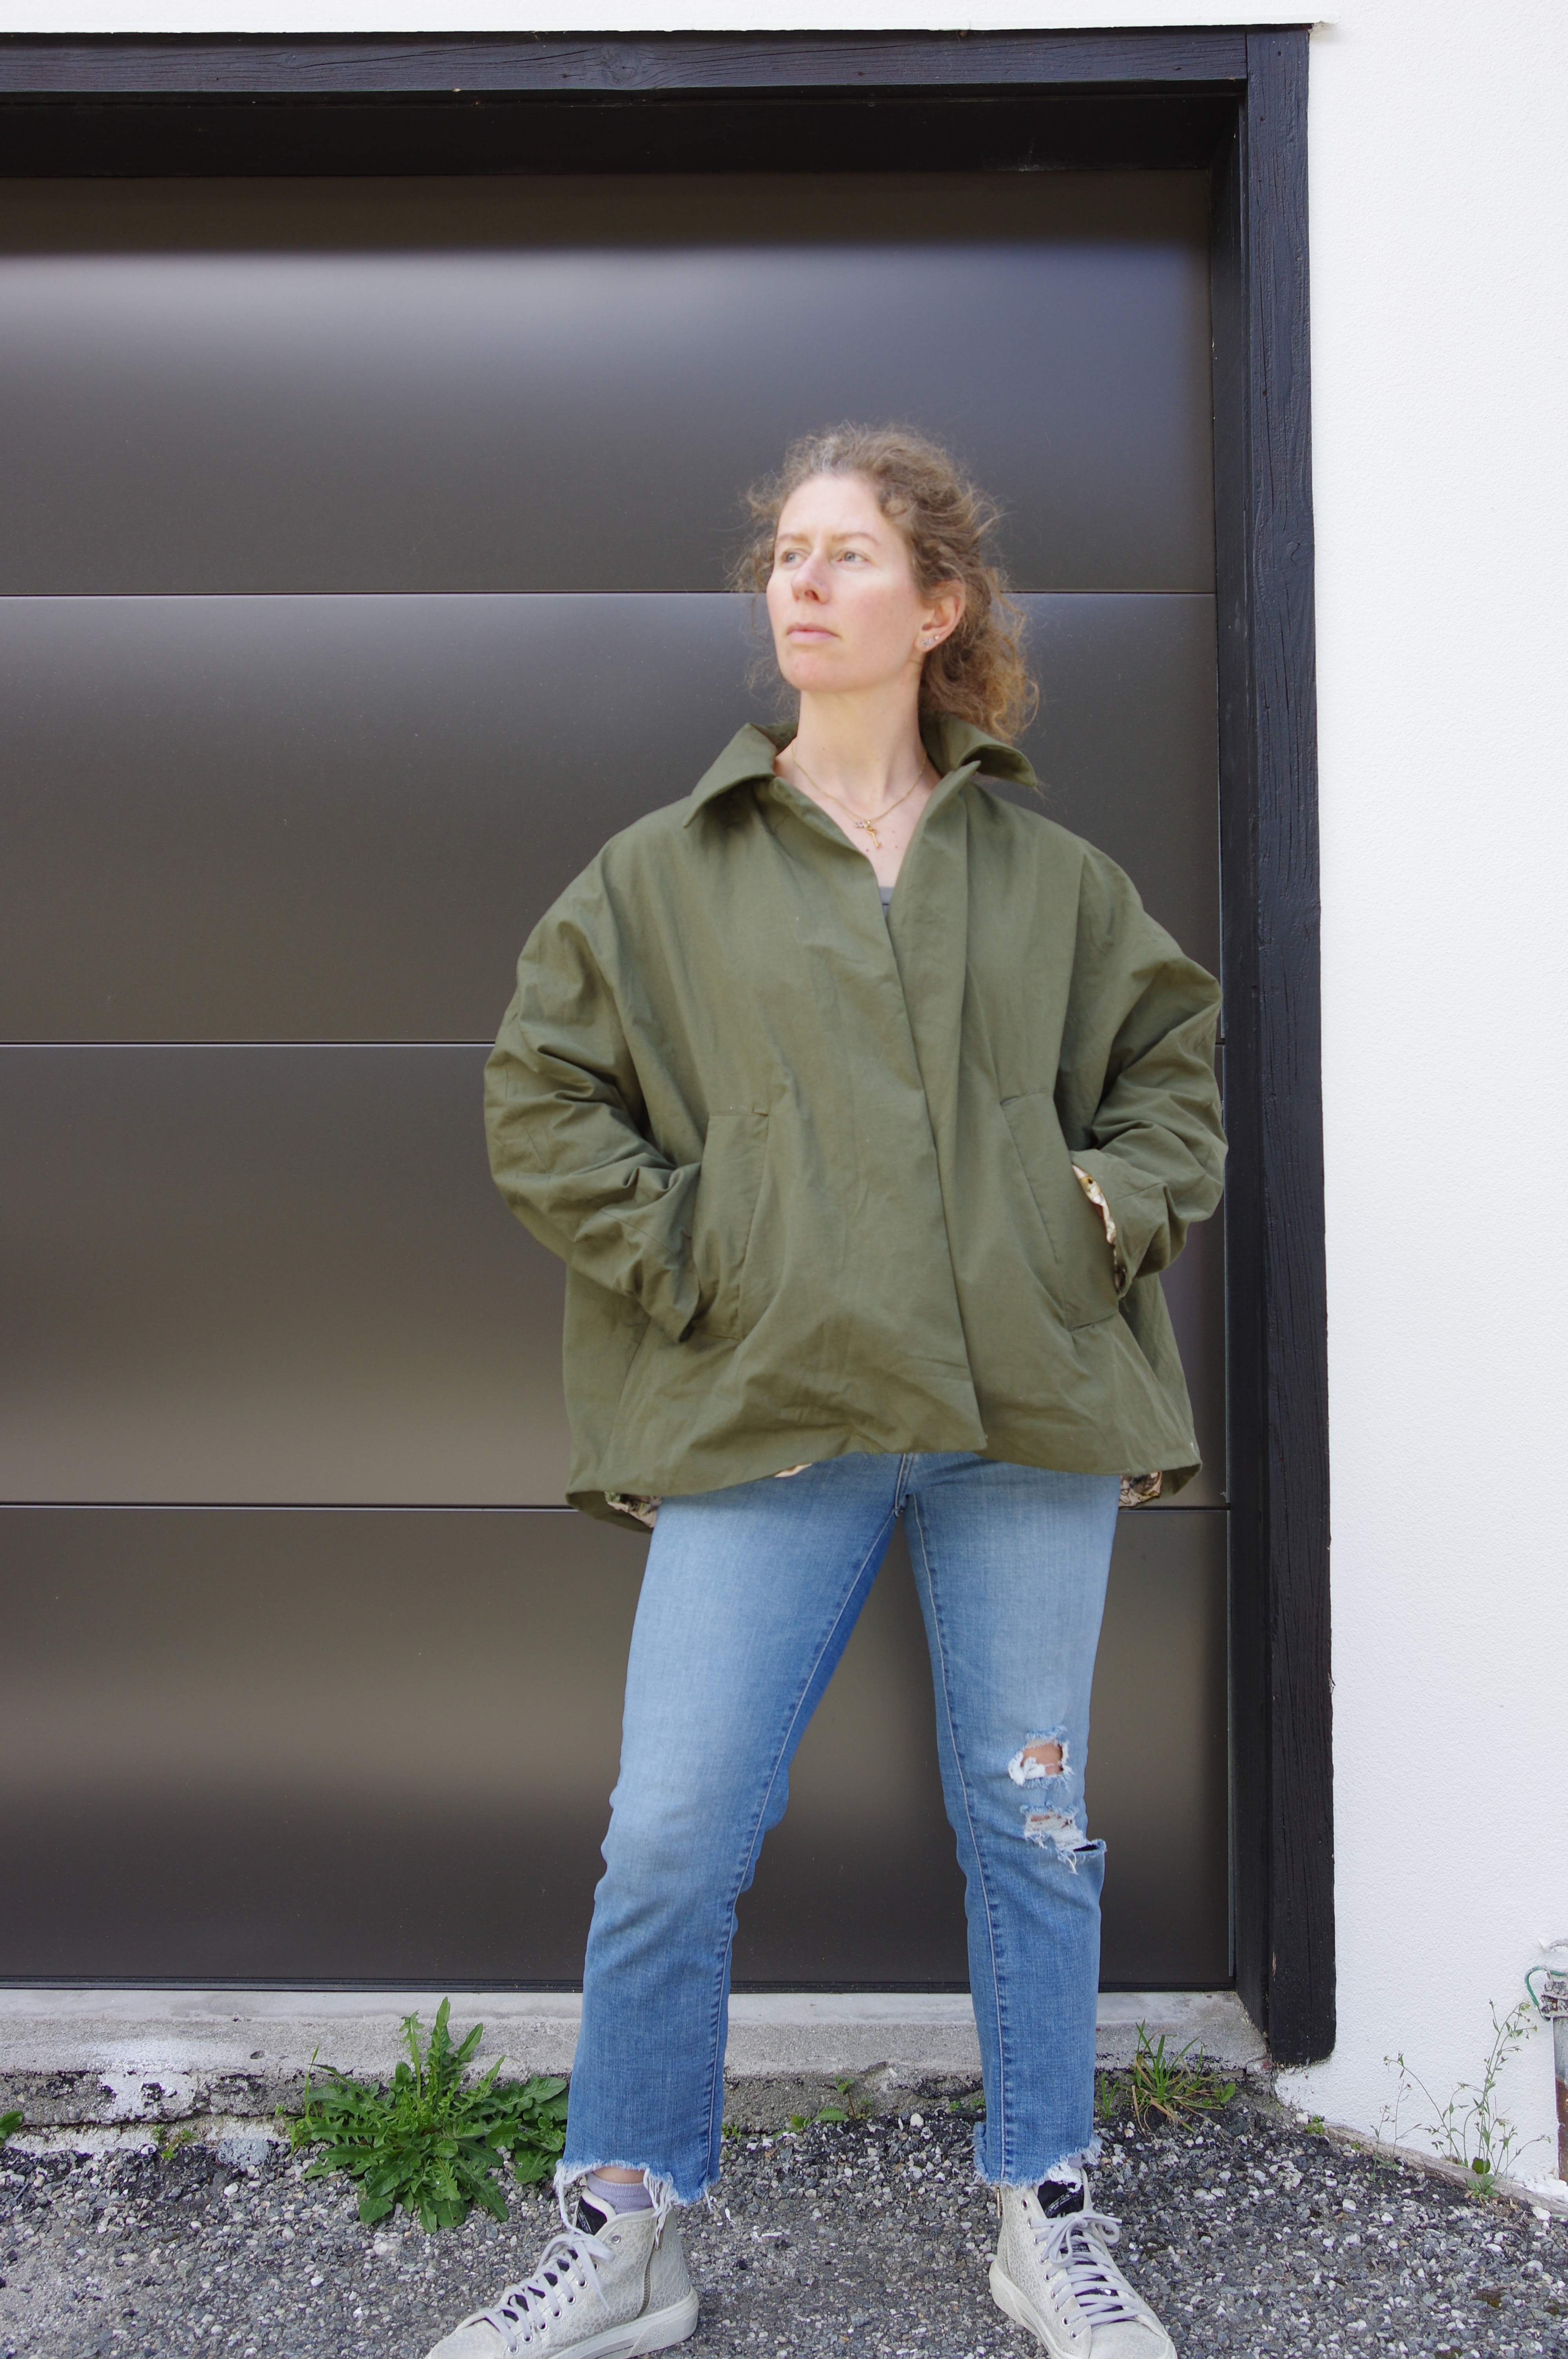
TPC27: the Trend Patterns Puff back jacket review

 I'm doing unusually well with jackets this season - 2!  Already!  And maybe I can get together my energy for a third?  The jacket list might finally slim down a bit?

Anyway in order to convince myself to get on with this - I cut it out at home and took it to a sewing weekend in Auckland.  It fit on the leftover piece of green poplin (has a kind of windowpane check in it like it's a sporty fabric, but I think 100% cotton.)  This piece was about 1.5 m long but was also about 2m wide, and that's what saved me.  

I had bought the lining and Draper's fabrics specifically for this project. 

Made the smallest size. I didn't see a normal type of size chart, just a finished measures size chart, and that was very huge, so the smallest size seemed wise. 

Sewing weekend.  Well, I started the jacket the first evening - and still really woozy from 6 night shifts in a row (bad idea, people) - got through the interfacing and prep work, and went to start the pocket, and I came to a screeching halt.  Every single other welt pocket in the known sewing universe is a "home sewist" welt.  The pocket consists of two separate pieces of fabric, and the welt is a friendly little rectangle (or two) that you sew down the sides and flip right side out.  Thus, every single online instruction is for same.  This pocket is constructed using an industrial welt, and there are no tutorials anywhere.  The instructions didn't make sense and I had no assistance.  That one other person who blogged about this - for some reason her blog vanished off the interwebs.  She had complained too about the welt but I know she figured it out eventually and I couldn't remember if her blog had any sage advice.

 Oh god, it was time to do the inconceivable and make a practice welt.  I literally went to bed and dreamed about this, nightmared all night about this welt. 

But I had nothing else to sew.  

I made a practice welt.  After cogitating all night my brain understood this welt still had to behave as a normal home sewist welt.  If you make this jacket or have this issue, the relevant info is that you fold down the top flap inside out and sew it down to a mark, (NOT a bit further!) and THEN the loose little edge is your standard welt edge and that's what you sew to your main fabric.  I am not usually a tutorial-constructing blogger, but if people want a tutorial I could try to make one.  

Things after that went better.  It did still take 3 welt pockets before they were not horrible, so the sides of both welts on the jacket are a bit stretched from me trying to cover my too large holes.  The rest of the jacket caused me no dramas.  

I even, because I was at a sewing weekend and had time, tried to tack down the hem edge against the inside seam allowances.  But still, this jacket has the fault of all lined jackets I have ever made.  The lining at the sleeve comes out because the sleeve facing isn't stuck down.  The hem bags down and doesn't look precise.  I had all the time, and I ironed a lot, so that hem edge at some point looked great. Not so much now. 


I think I have to stop making lined jackets until I'm ready to read a tailoring book.  I am not happy with these features but luckily my housemate loves hugely oversized things (this is MASSIVELY oversized) and she has claimed it.  It would easily fit a full zip hoodie underneath, and that's her jam.  It does have very long sleeves, which I am not bothered by, they just about cover my hands but in general that is ok with me. 

I hand sewed a single snap on the front to shut it. 

It doesn't make sense to me to have buttons on the front, because it's so oversized it really overlaps too much for buttons that go straight down.  One or two snaps in strategic locations make more sense to me.

Overall this was an interesting make.  I am NOT using this pattern for the precious star print Moschino fabric I am hoarding.  I will NOT make this again.  But, interesting.  


Tuesday, 29 August 2023

Hove, cardboard but shiny, throwing the sewing machine out the window?

 It is a real pleasure that I've made time to get into the sewing room in the past month.  I am bombing through projects I've wanted to sew for over a year.  Including the endless queue of jackets!  Hove has been top of the list, and this fabric from Mood has been earmarked for it.  Because the inside is white, I bought black jacket nylon to line the body with.  I assumed one of my zipper collection would fit, which was not entirely accurate.  The zip I chose was too long (pity I shortened the jacket...) and so I decided cleverly to just let it go further up the front of the hood than it's supposed to.  This worked out fine but when wearing the jacket it's really hard to zip up those extra 3 cm.  I obviously just don't.  If you had a too-short zip it would be better, because you can just start it higher up the hem, but I don't really recommend letting the zip go higher than it's meant to on the front. 

At some point in the planning stages, I got serious and bought bias tape and matching thread specifically to use for this pattern - a rare event which pretty much catapulted this to the top of the list.

I have not used a pattern by In the Folds before, except for the free ones by Peppermint Magazine. I made size C going by the size chart, that matches my measurements pretty well and this fabric is quite heavy so I thought it is good for it to stand away from my body a bit (could have chosen B).  I did pay attention to the comments in the pattern about drape and I do think you should go with a fabric that will drape better than mine does unless you also want a bell over your bottom (but I'm resigned to this situation.) 

I also took note of the height this pattern is drafted for: 5'7" and I read through all the blogs and noticed the jacket looks fine on tall people and very disproportionate on short people.  It really needs to maintain its proportion to be cute.  So I accepted the challenge to crop it 3" at the shorten lines since I am 5'4" and short waisted.  The actual shortening was fine, there is a line.  However, that line is along the front curve and changes the front curve dramatically - there is a huge misalignment to reset.  If you don't plan ahead and reset that curve then the pockets won't fit.  In fact, I have some advice here.  Do shorten the jacket.  Do use a French Curve to fix the curve, and then sew the lining to the lining pockets *BEFORE* doing the outside, because if those don't line up you will know in time to fix the problem.  It's a lot easier to cut four more pockets than to cut 4 big monster S curve shapes that take a metre of fabric each. 

I didn't do that, I just eased it all together and then did some hidden sewing inside the pockets to fix weird gaps that formed.  You can see whiskers along the front of the jacket where it attaches to the facing and that is all from me easing the front together like a boss to make it work despite a very dubious cutting of my new shortened curved front.  That was when things started to get dramatic.  Prior to that I did the back pleats which were a pleasure, because this holographic fabric actually presses very well and I was able to chalk all the pleats and iron them to position them.  Of course, the fabric does not take pins, so I was holding everything together with clips and some double sided tape.  I underlined the back of the jacket before I pleated, and then I lined the sleeves instead of underlining, so the sleeve seam is hidden.  

The pattern instructions are very nice.  They are well drawn, clear, and not excessive.  I generally followed them exactly.  

My dramas were not regarding the pattern, for once.  My fabric was fine when I was sewing a single piece.  Once I had a larger item in front of me, it was heavier and burlier than my sewing machine, and so I got in big fights with the feed dogs that basically were not moving fabric along at all.  I went through many needles, which is fine, because they were all pretty old needles.  I got in fights with every single other thing on my sewing table because this jacket basically required a free space of 1m around the sewing machine in every direction.  Sewing the sleeves on was the final move and that's good because it was almost my final move.  I definitely did not bias bind that seam (but I ran out of bias tape before then.  Buy extra, I had 5m and didn't use it on the sleeves.)

The jacket is very trippy.  It is stiff and I can wear any number of layers under it.  The pockets are roomy and satisfying.  Others have commented the sleeves are short - this is true - I like the length for this type of rain jacket because I think if they were longer the shape would be compromised, and water will run off them out of the way.  I will most likely wear this walking around and biking because it's too much like trying to maneuver a tent to get into the car wearing it, it's very firm.  But perfect for biking, and isn't that when you want to be extra reflective? 


With the camera flash!  Apparently more extreme than when light shines on it irl


I wore this around Auckland and got heaps of compliments from people who sew.  People who don't sew were possibly just too bedazzled to comment.  In the photos the colour looks quite drab but apparently with movement it randomly catches the light here and there and is pretty exciting to look at.  I had been on the fence about this jacket prior to the Auckland trip, likely due to the suffering of making it, but now I quite like it.  I would even sew this pattern again in a very different fabric if I for some reason didn't want to make the other 12 jackets in my queue first.