Showing posts with label hoody. Show all posts

Wednesday, 30 March 2022

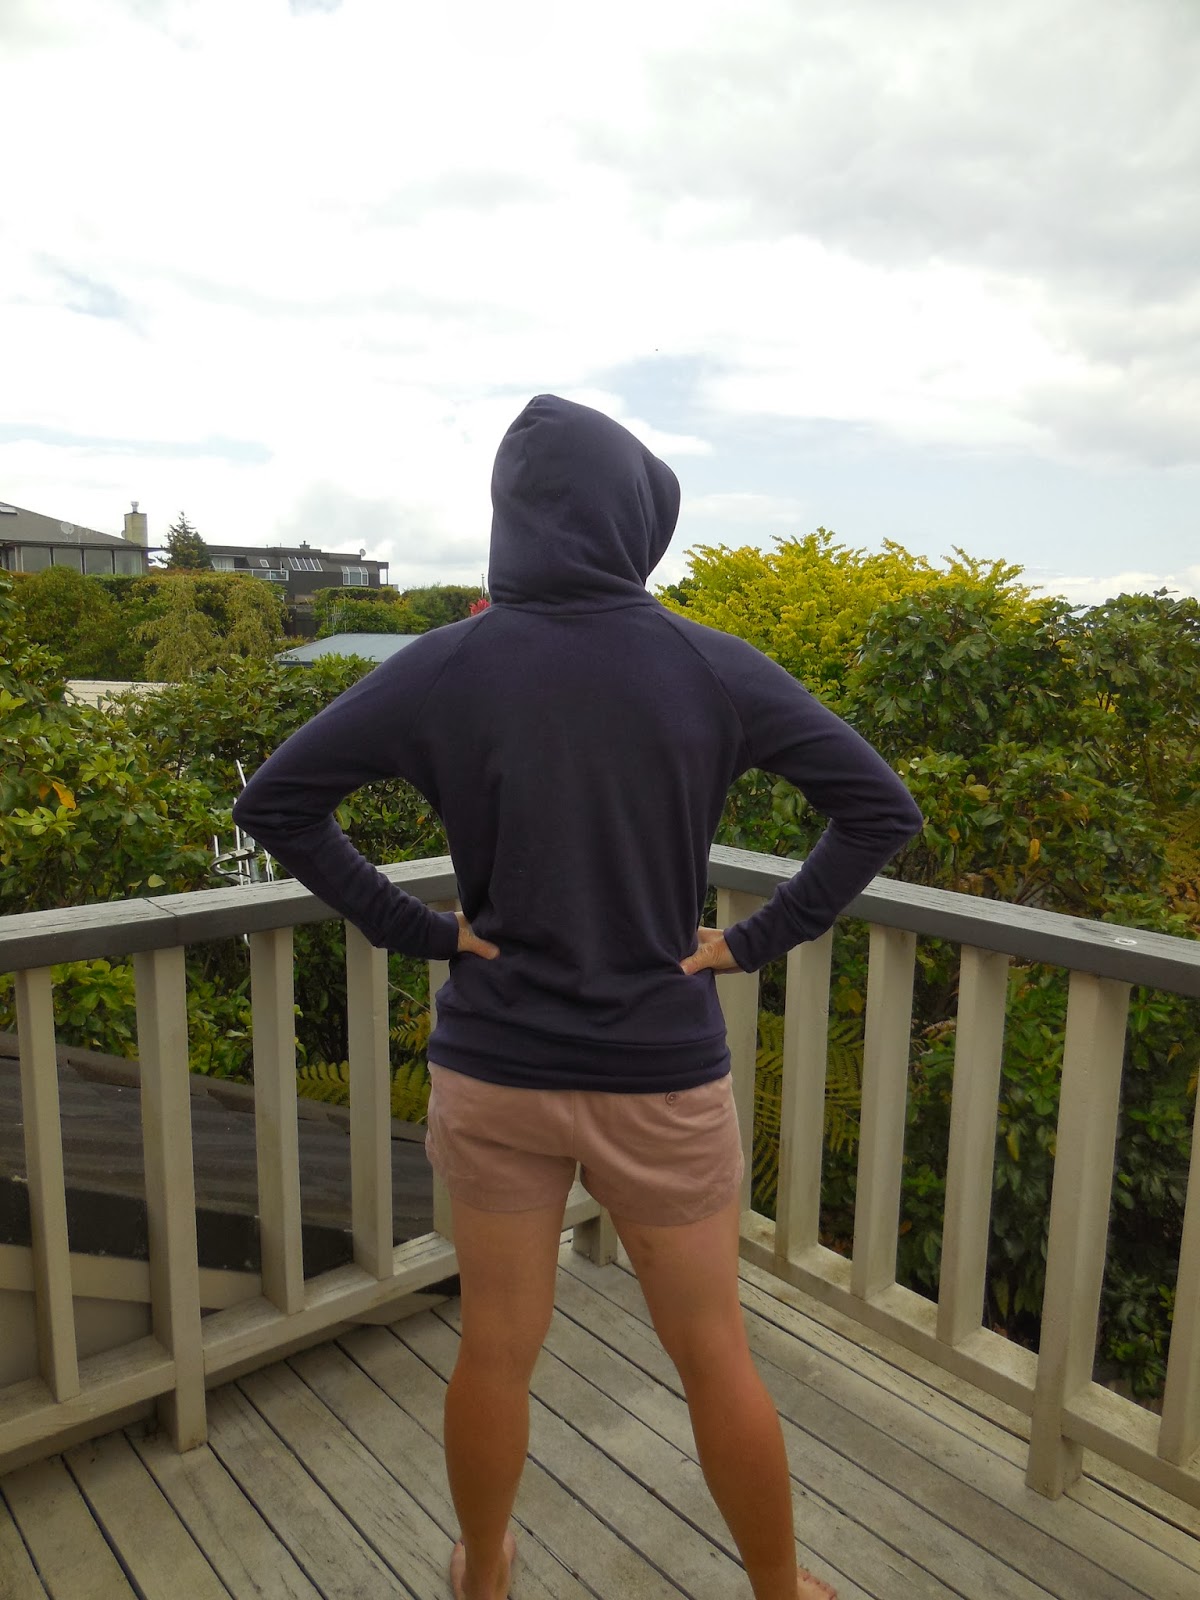
Mile End hoody in both views, by Closet Core patterns

When this came out I wanted it right away but I was in the middle of a winter hoody binge and it really seemed like I should keep using the patterns I already had.  Eye roll.  I should have bought this right away. The papercut patterns undercover hood will always live in my heart but I think I've hacked it to its limit now and need to move on.

This is an amazing pattern.  The back seam wraps around to the front.  The sleeves are in two pieces and have an elbow dart.  The hem is also pieced.  

So add to that story: beautiful rainbow striped terry cloth from Blended Thread, and me post night shift.  

What could possibly go wrong?  ...with pattern matching across 6 pieces on no sleep?  OOPS

I made size 4 and I ran a commentary to my best friend as I tried to pattern match and that kept me awake and in good spirits through the drama.  It was pretty dramatic!  Because as much as you want it all to line up overthinking in my case always wins and everything is always off by 1 mm.  Just that little bit.  And then it all goes to hell with those elbow darts.  BUT at the top of the sleeves my matching is perfect, and it ends up that's the only spot that matters. 
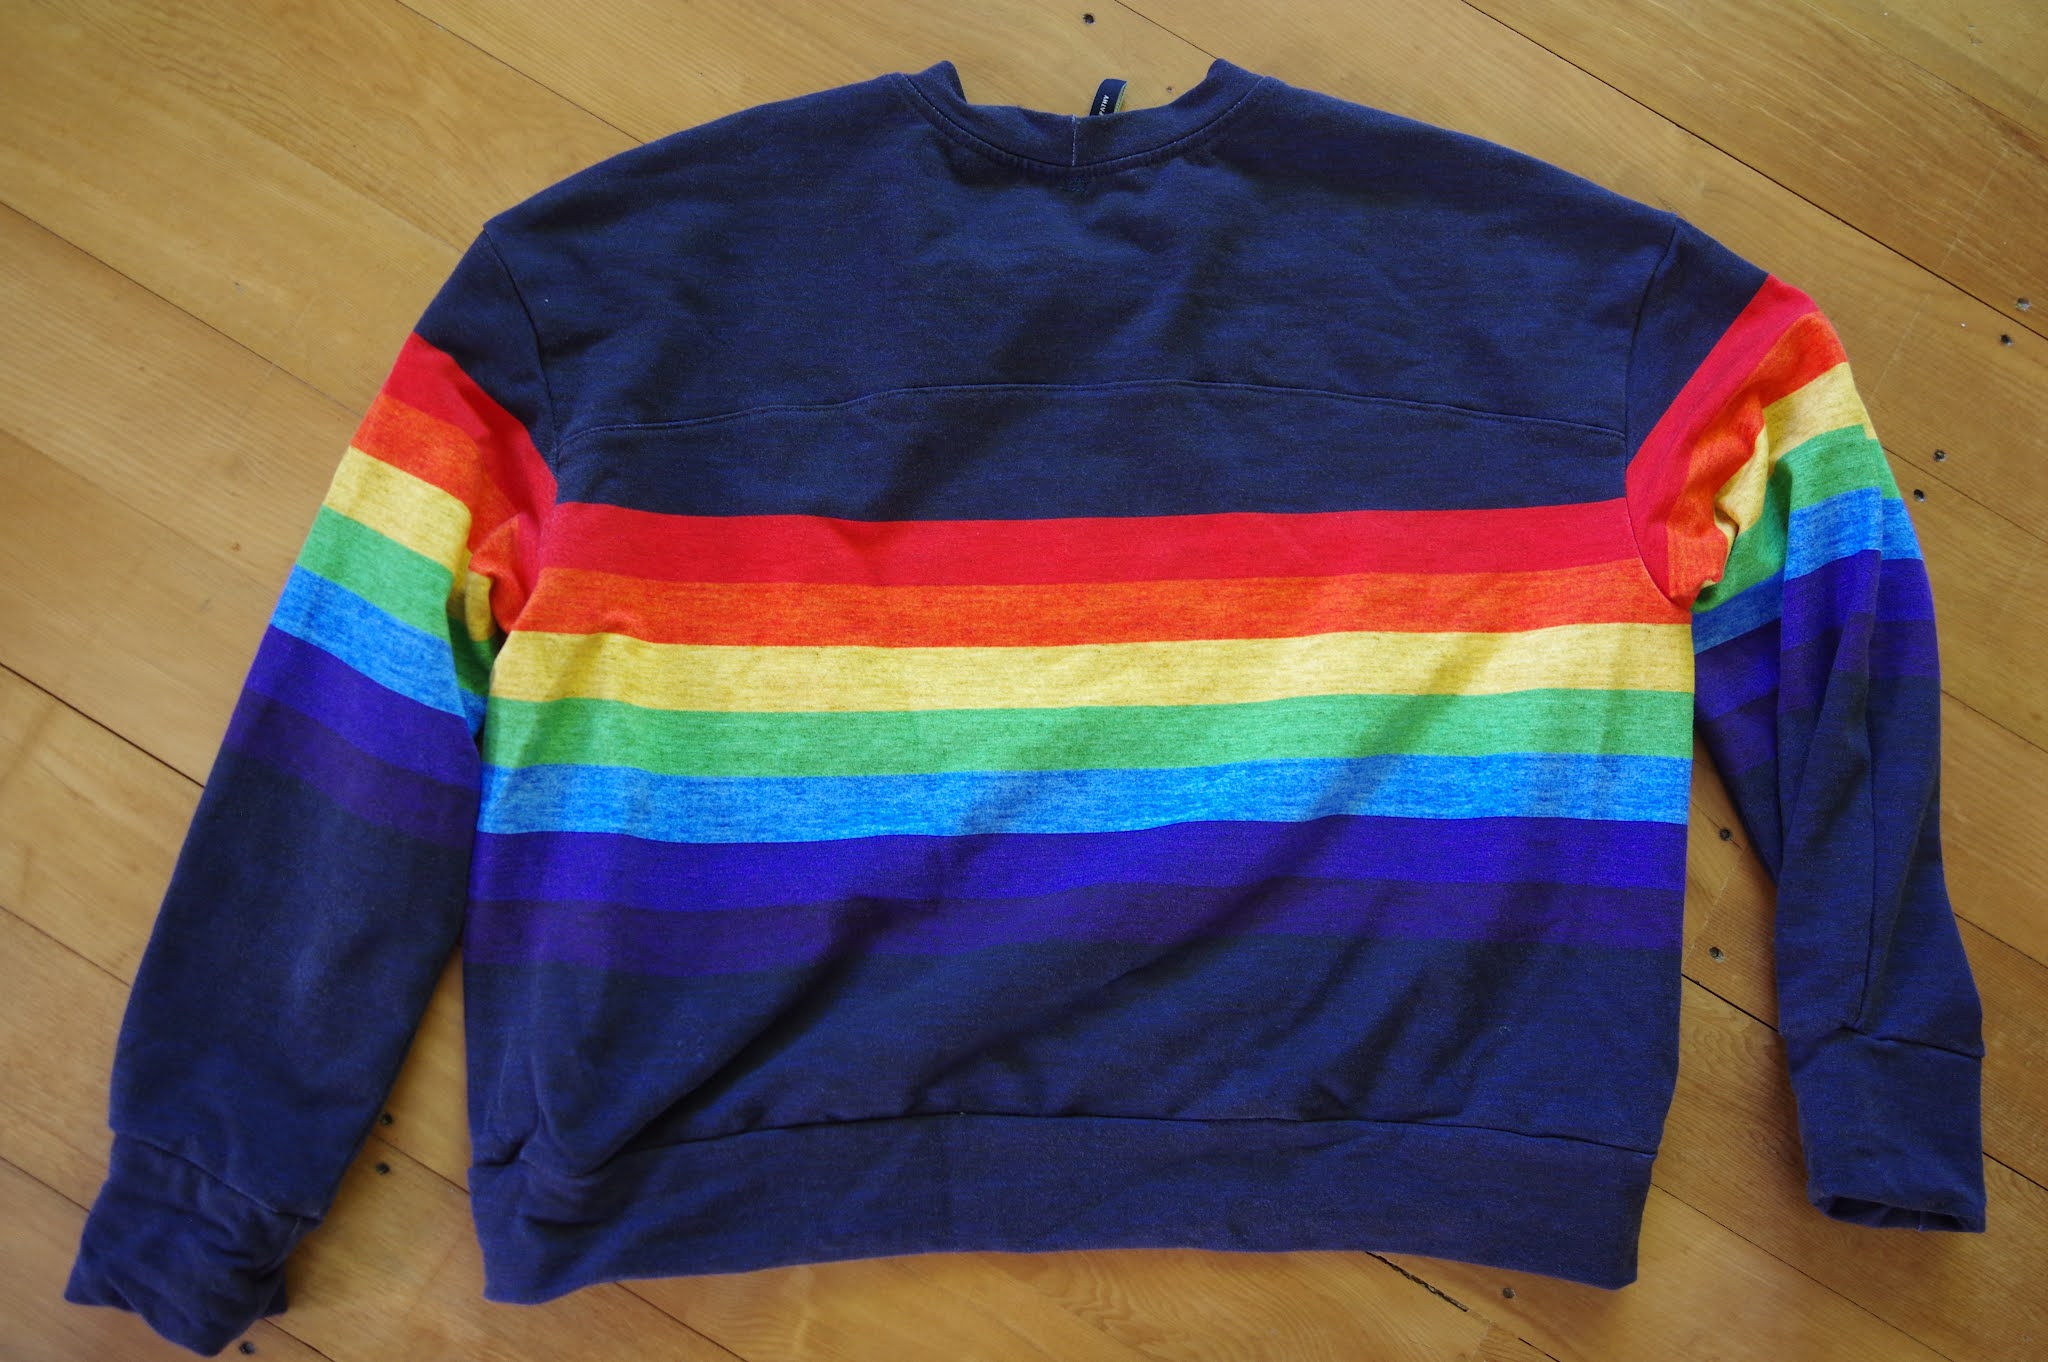


I love this. It is a classic oversized, cropped hoody.  It's not super long.  I do however feel the draft up the sides, and in this fabric it's not warm at all.

The blended threads terry cloth is a bit stiff and not very stretchy, making it hard to get the bands on.  There's some white that shows through when it's stretched.  I love some of their designs but I have so far not been impressed with the fabrics and I don't think I would pay the shipping again. 


I obtained white terry cloth fabric from The Fabric Box to make the next one in the other view and ice dye it.  I have determined it's best to make an item and then ice dye it rather than the other way round, however the distressing problem is if the dye job comes out ugly you have wasted some time.  Making the hoody was slow because I was deep in moving, but it was fun as projects go and forced me to get friendly with my coverstitch machine, which is not a bad thing.  The ice dyeing was literally one of the last sunny days I was in Gisborne and was a bit stressful (ie late to work) but I love the result (and the other things I dyed are also amazing.)  In this case as well I had band problems - I absolutely could NOT use self fabric bands the length of the pattern piece.  I had to remove one half sewn on.  I think I added 3-4 cm and that was still barely enough.  So if you are not using rib, considering extra length on the sleeve bands.  The hem doesn't require as much stretching so it's not relevant there. 


Sadly I have to say - these are both beautiful, nicely made, based on good inspiration, I have no complaints...and I can't really find any place to wear them.  They are roomy so they aren't warm.  They are quite short so anything under them hangs out and looks sloppy - and I'm short.  The sleeves are really spacious.  The hood on the hoody version is gratuitous, it's the kind of hood you never wear up. 

I have been inspired by the many hacks on Insta - it's definitely roomy enough you can make it in a woven then just add stretchy bands.  It's tempting to try something like that.  Also I get now that the front tie pulls it in, and though I didn't like the look of that in the pictures, it's possible I would love it in real life and that it would make the hoody feel more cozy. 

So now that I have made both of them (sorry my new photo spot is not getting me very crisp pictures and my hair really needs more attention...) I think I'm done with this pattern for now while I mull over whether I have any use for it.  Unlike a lot of my projects I love both of these and I'm keeping them despite not knowing how I'll wear them.

Tuesday, 9 February 2021

DP Studio: le 001 Hoodie review

 In the middle of winter I decided to make this hoody.

I went with the smallest size, 36.  I actually planned really hard on this, to get a mix of fabrics that I envisioned in my head.  However that turned it into a challenging project because the different weights of the media caused some drama.  And in fact, I started to move house, and this went into a corner for six months.  Here we are midsummer and it's done!!

The fabrics are from The Fabric Store.  They are a heavyweight liberty sweatshirting, some lightweight black rayon knit and some black sweatshirt knit which is so cuddly.  In retrospect?  I should have done the whole thing in the cozy sweatshirt stuff.  Lesson learned.  I actually Really Do Not Like the Liberty.  It has a weird cardboardy feel, doesn't stretch much, and the design actually bothers me.  Obviously things can seem great in the shop and just not so great at home, c'est la vie.  

There are various tricks with this - in the beginning the pieces aren't obvious because of their strange shape.  You have to pay attention to which side of the sleeve is what, but once a few pieces are together it isn't too complicated.  I had trouble at the three way intersection of the body, the sort of hidden pocket, which is under the body, and the side piece.  That's partly because the weight of my fabrics was so different.  There were little holes I had to go and overlock shut after the fact.  I recommend using a stable sweatshirting fabric for this to make it easy to sew.  I also double layered the hood because I was using a really lightweight fabric.  I used self fabric bindings and they were insanely floppy.  I think I understand now that the instructions provide you a really long binding piece for you to put elastic into.  I bought some actual rib, and I think my piece was 2/3 of the length of the pattern piece to get enough actual pull in of the sweatshirt.  


The instructions are good enough, but they are not excessive.  It's not a difficult project overall but I do recommend working through it slowly due to the unique construction.  I don't recommend very loose or floppy fabrics since it's already a very loose and floppy thing.  

In the end I'm happy it's done, and I actually really like the concept.  I think to make this work I would need to use a single colour and keep it simple.  I will probably source some cuddly, easy to work with sweatshirting to do it for next winter.

Monday, 21 November 2016

Hey June Halifax Hoodie take 2

Hot on the heels of my first Halifax Hoodie, I made a second one, still in size S. I cut it out before the first was done, optimism springs eternal and so forth.  I guess this is an example of when a functional muslin is great.  Because I had a lot of anxiety and took forever to make the first hoodie, and the second one took a day.  This was partly a learning curve - new sewing machine, with buttonholer, zipper foot, etc that I didn't know how to use and was anxious about.  On the second version there were no such problems. 

Sometimes, though, a project is great because of great fabric.  This is lightweight, dry feeling scuba material from emmaonesock, by Theory.  It's sold out.  The black inside is slightly more cottony feeling, while the outside is smooth.  In order to use this fabric I had to make some changes to the pocket binding, but other than that it simplified the process dramatically, because of course this stuff doesn't need any finishing!! 

The only, and obvious, fit change I made was to shorten the bodice by 4".  So, be warned.  If you are long of torso, the Halifax Hoodie will fit you like a dream.  If you are like me: 5'4" and with functionally no space between your ribs and hipbones, this thing will be like a sweater-dress. 


My pictures were taken while out dogwalking; I thought it might be nice to see something in use for once.  That totally means I was caught in every photo with a weird expression on my face! Also I haven't sourced a string for the hood but the buttonholes are functional.  They are in a really strange location, 1/3 of the way up the hood.  I would recommend  putting them much lower down. 


So, more on the fun of working with scuba:

As I noted, I had to do some work on the pockets.  In fact I had to cut one pocket out two or three times.  The binding as instructed didn't work, because the binding was too short and didn't stretch.  A longer binding did fit, but it stuck out on the curve, because scuba has too much body to lie flat on a curve like that.  I tried a different colour cotton jersey binding, but having a second color and type of material was too distracting.  So in the end I drafted a little facing by just copying the top curve of the pocket, and then understitching and flipping it inside.  I topstitched it down and cut off the excess.

Edges: I didn't fold over edges on the pockets, I just sewed them flat.
Similarly, I didn't finish the: jacket to hood seam, the zipper seam, or the jacket to hem seam because they look just fine hanging out.  What I do recommend is to finish these seams by cutting all except one seam short, and just topstitching that one down - like a faux-flat fell seam.  That would enclose the loose edges and look cool on the inside (although the seams don't bother me.)  So obviously I skipped the twill tape this time, and I'm glad of that because I still don't know what I think of it. 

I did find that the scuba had enough stretch to use it as the cuffs and hem without any change. 

I'm really thrilled with this hoody and everyone is impressed because it looks professional.  I have a sexy riri zip that I brought back from Switzerland, specially cut for this project, and for once it was even cut to the right length. 

My only final thought about the scuba fabric is that this particular fabric is thin scuba with a cool feel, and although it's good for layering since things slide over it, it isn't very warm.  I think it'll be best in spring when I just need something to take the edge off - here it's already frosty in the mornings!

Tuesday, 25 October 2016

Hey June Halifax Hoody view C in merino

I'm trying to wean myself off a Lululemon habit and a key element is a good hoody.  I loved the details of this hoody - the twill tape on the inside gives it an RTW finish that I yearn for in my own sewing.  I think I was actually interested in the Halifax hoody initially because of the cowl neck, so it's funny that's the version I have the least interest in making after buying the pattern... anyway with version C I dove into the deep end with maroon merino terry from The Fabric Store  - shipping, by the way, was literally over the weekend!  

The problem with that whole plan is that it was going to be too long, and I knew it was going to be too long.  The pattern even admits it's drafted for a 5'8" person.  Maybe it's time to start just making those inevitable pattern changes?  I'm never going to stop being short-waisted, after all.  I'm at least pretty sure I cut the size S, and  I compared the pattern pieces to those of view B which I did before, just to make sure it was narrower cut (yes.) 

I noticed after I put the body all together that I had no twill tape and speed ordered it on etsy.  However this put a kink in things.  Too bad, because terry cloth sheds bits everywhere, ugh.  I stabilized the zipper band with some thin stretchy interfacing -- my stash has been reunited so I have no idea where this stuff is from anymore.  I also noticed that the loops of terry got damaged by my feed dogs when they went back and forth, like when I reversed.  That was only really evident at the pockets, but I guess it's kind of fragile fabric.

Note to self: don't overdo it with the interfacing.


So...the last few steps took awhile.  I was daunted by the automatic buttonholer for the hood (went fine, only took one try and a quick read of the manual.)  I was daunted by the new zipper foot (learning curve was fine) and I was daunted by using the twill tape (went just fine too.) 
 
At the end I was totally relieved to have this thing done.  I was equally relieved that my friend M did want it, despite the interfacing hanging out and a slightly wonky zip placement - there is about 2cm at both the bottom and the top where there's no zipper.  And actually although the twill tape is a cool idea, the stuff I had was very thick, and the merino terry has a lot of loft, so it was many layers to get through the sewing machine right at the spot you want to look good -- the corner!  And my corners are kind of shoddy. 
 
In the end, the hoody has a new happy home, but I'm not actually convinced on the twill tape finish.  With thinner twill tape maybe.  And thinner fabric. 


Monday, 25 November 2013

Papercut Undercover Hoody marathon

Yes, I've already made two.
So now I made three more!


I did some minor fit changes to each one - they weren't all for me : )  Although I was perfectly happy to model them in the interests of a complete blog.  The cut is the size XS.  For me, in pink, I took out 1" of the centre front.  For my friend Sarah, in cotton purple knit with a terry inner finish, I took the same 1" out of the back.  I also left hers at the normal length, because she likes things long.  For Ellie, in ocean blue merino, I kept the size XS without any changes from the pattern. Except that I took about 2" out of the sleeves on all of them.  The sleeves on the pattern are looooong!

It was cool to see these small changes and the impact they had on the overall fit.  But I think the most important thing to see was how different fabric changed the design completely.  This hoody, in my opinion, is best in a heavyweight jersey or knit.  Both the blue and purple hoodies are heavier than the pink, and also much heavier than the lightweight green merino I used for the first two versions.  I like that a lot more.


It's me with the self timer again...we still aren't friends


On Sarah's, because the inside was a nubbly stuff that was getting everywhere, I decided to line the pocket.  There were so many benefits to that - no seam in the pocket, easier to sew on, and also it added structure to the knit.  I did the same with mine (and wanted to line my hood, but I didn't have enough cotton fabric left.)  I think that my pink hoody will still be a nice summerweight option but if I made this again I would stick to the heavy stuff, and probably just size down to an XXS.  And yes, enough hoodies for now!  On to some other Papercut patterns...