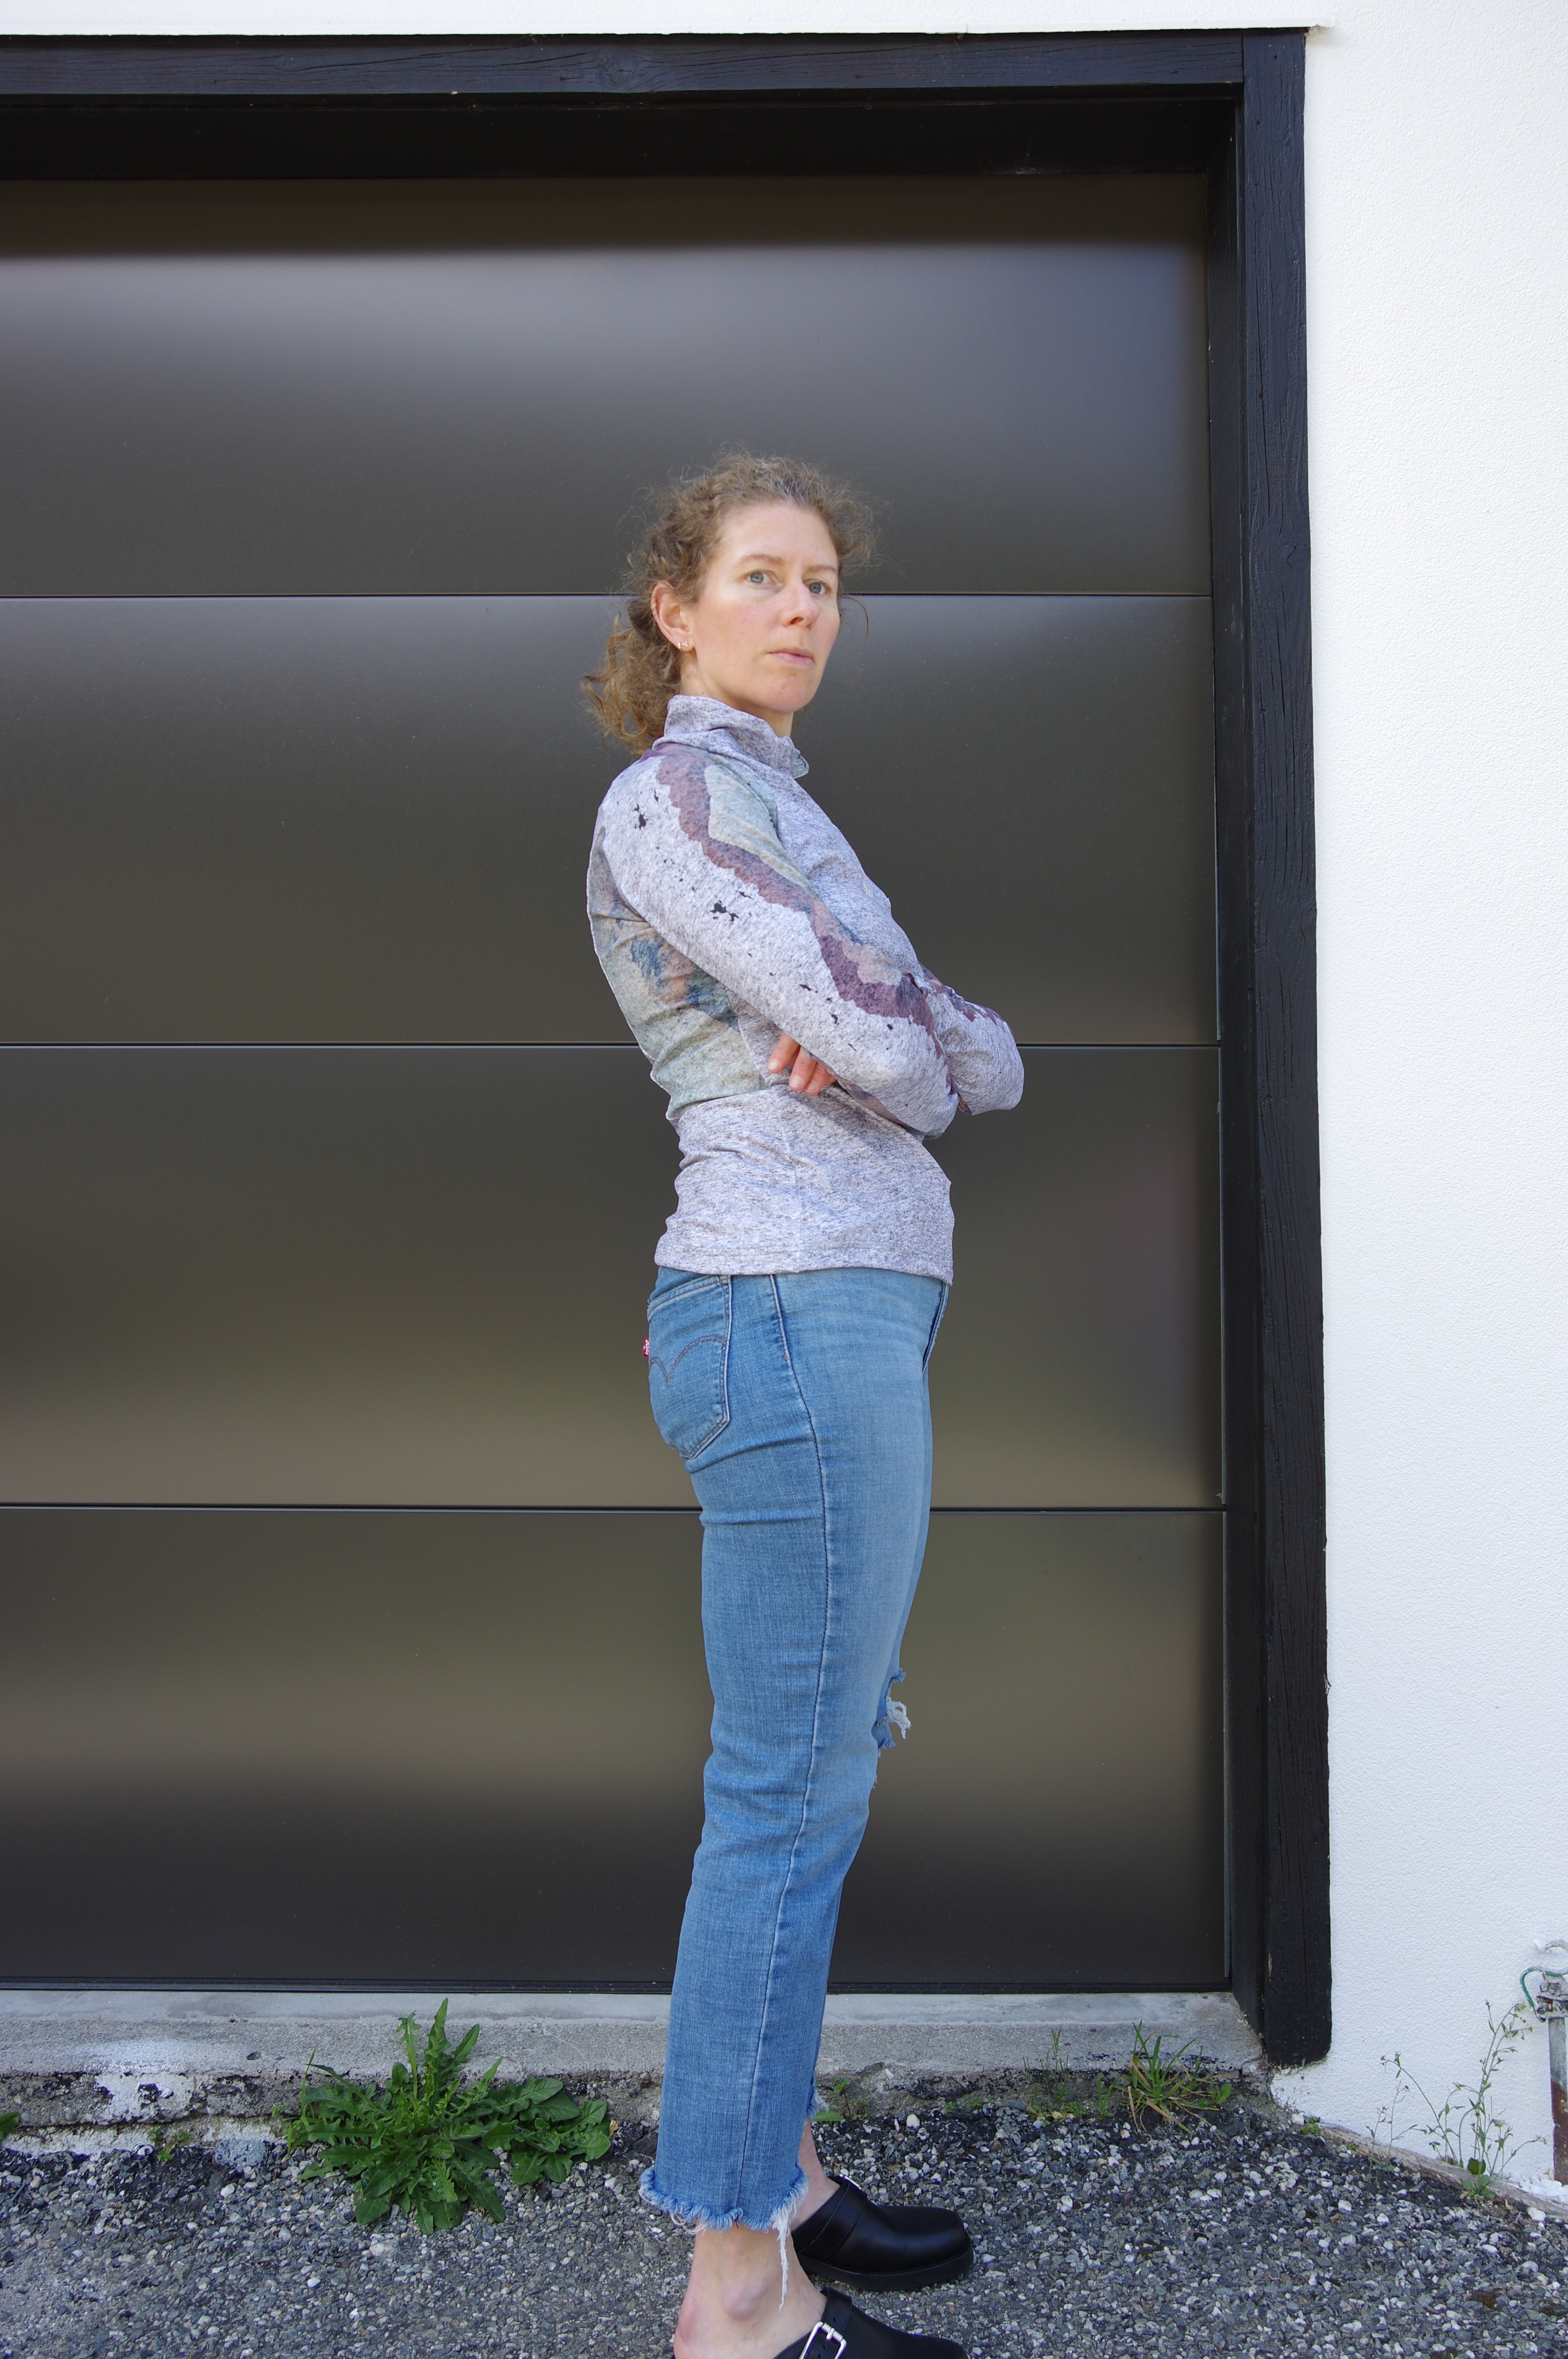
I have been really excited to make a few patterns from this book called SEW, by Ann Ringstrand. It ends up that a pair of my favourite pants ever are her original Hope pants. Seemed super thrilling to be able to make other designs of hers.
The two included pants patterns were the priority. I was going to make the work trousers first and had everything ready to trace the pattern (huge first step!!) I got one page traced...and realised I had traced the base trousers, because half the pattern is on each pattern sheet (rather than both sides of the pattern sheet corresponding to the SAME pattern.) But it didn't really matter, I made the Base trousers first. They are a bit harder so it's probably good that way.
Size S, by my measurements (waist 27 hip 37)
I did not modify these at all to start out with - this was an experiment, and I knew I would send the first pair to a friend if they didn't fit well as she has gained some weight. I also worried a tiny bit I was making them even bigger than necessary because my seam allowances were done by eyeball and might not have been precise. Honestly tracing my own patterns is like a game of telephone, it's a surprise I end up with something remotely similar to the original.
The fabric is Japanese suiting from The Fabric Store, it's so sumptuous! I really enjoyed the feel of this fabric. It behaved well when sewing though my iron occasionally leaves marks because it is a shitty iron and gets too hot at times.
I did a lot of mental cheerleading to get through these pants. Like, day one was prep, next day was back pocket welts, next day was fly...it was very good to break it down like that. The instructions are so super vague, which made it exciting to hunt for instructions that would really help me, and by making my own welts I had to reason through how to make a welt, which has presumably made me a better welter overall in life. (in theory, as proven later.)


I think these pants fit quite a bit like the model pictures, honestly. I wouldn't want them so loose, but they are wearable. So I'm moving on to the XS, and I will shorten the rise 1 cm and shorten the height 1". I'm going to make fake welt pockets for the back instead of real ones, since I never use them. Whew, back to the tracing and seam allowancing.
So that was done, and I cut out my beautiful, soft purple fabric and then procrastinated with a binge of knits. Finally came back around to these, the stress of not doing them got to be more than the pain of doing them. The problem is that I really wanted them to be nice, and I really just wanted to get on with it. I didn't have the same amount of patience to really reason through every single step. The result is that my welt pockets are not as nice. My fly still has a funny gap at the bottom of the zip where the front stitching ends. (I think you just HAVE to baste the fly together to get rid of that, I'm so sick of it.)
I also realised something I have Never Realised Before, which is that in slash pocket pants, the pockets constitute a relevant part of the front waist. Oooohhhh. The pocket pieces here are a single piece, and because I made my pockets bigger, and the game of seam allowances etc, it wasn't really clear where to fold them in half. I had to measure the distance from the side seam that made sense, and then match both pockets up to the front at that distance. Noticing as I did it that the other pair of pants are HUGELY different at that spot. It's amazing how much you can sew, and then realise you still just didn't know something. I did eventually recover from my disappointment that these are not perfect, and accepted that they are wearable and lovely, but I do still feel like they are kind of too big. Plus I really hate the mess of the fake welts on the inside. But it's a style, it's ok.


However regarding this style, in particular, I think it's not very interesting. I could have made a pair of Cali Faye Hampshire pants which HAVE INSTRUCTIONS and welt pockets and slash pockets etc and I would have had a better quality final pair of pants. In fact I am going to make those, because it's been years, and I think it might be good for me to review the instructions. If Ann Ringstrand wanted us to make pants to the same standard she does, she could have provided instructions online as an addendum to her book. She doesn't - I suppose you need to look up the couture techniques elsewhere if you want to apply them. Anyway, if you really want to make her patterns, you can, but I think books like this are more about inspiration and not about actually making the patterns.
Despite all that, I think the other pattern in this book is a very different shape and I'm still willing to do it once I have a fly plan. All the other pockets can be stuck on so I won't have as many dramas, aside from the tracing etc itself. I will most likely go with the XS despite the size chart.