Showing posts with label bags. Show all posts

Friday, 21 November 2025

Merchant and Mills Factotum bag: white leather

 I bought 2 skins of white lambskin from The Fabric Store so long ago it's embarrassing, with the plan for some kind of varsity jacket with leather sleeves.  It morphed through so many ideas because it is really beautiful stuff and I didn't want to mess it up.  But lately I'm just impatient with all these ideas and the years that have gone by and stash in general, and I'm really mowing through it.  The desire to buy new fabric is at a strange low.  Very weird. 

Anyway so I did see this bag in Miss Maude in person a year or so ago.  I wasn't sure I would think it was too small for my usual pursuits, but it is bigger than it looks - could hold a novel, water bottle, plus the usual junk.  And I thought if I pair such a beautiful leather with this bag, I need to use this amazing Tula Pink fabric as lining.  I had a piece of leather strap left from a different M & M pattern kit, and enough rivets too.  I bought a zipper to match since the length was important.  


The process was exceptionally painful.  Leather, it ends up, has grain.  It stretches.  A LOT, but in only certain directions.  And this smooth surfaced leather was hard to mark, for things like...pockets that have a pleat at the bottom.  Sewing the pockets onto the bag was truly torture, as they didn't line up, the leather stretched, things moved, etc.  The result is that the pockets are a bit lower than they should be, although I managed to get the pleated top over them.  I was really worried that I was going to run out of space between the pockets, but the overall look is symmetrical despite the drama.

Sewing the body had similar issues, with the leather stretching at some points and refusing to stretch at other points.  

 My final confusion was how the strap is meant to insert into the side bag.  This area ends up a bit open on my bag.  You can see in the photos that there is a gap behind the zip, and when the zip is closed there's a gap against the tab leading to the strap.  I would consider this area more durable if that were closed, but the instructions were confusing.  The side tabs are made of the leather, they are quite long, and they are not interfaced.  This is clearly the weakest part of the bag and will stretch too much to make me happy.  Speaking as a person who will forever carry around a bunch of books...I would make this out of a very tough webbing, preferably. 

I added an inside pocket because I like them.  That is just the usual seaming open with a zipper and adding a piece of fabric behind it.   

 Final result - this is a really cute bag that I will never use.  Thanks again to my friends who accept the things I make and even love them - it makes it possible for me to keep sewing whatever I want.  I would consider making this again by increasing the pattern pieces by, say 40% to make a larger bag, and then I would make it out of waxed cotton, which just seems so lovely for bags but not for jackets, and I would add hooks so it could have a short strap or a cross body strap.  

The other way I would consider using this is as a camera bag if the sides were made with thick padding!  I'm not saying I'll never come back to the pattern, but it does seem too niche for my liking. 

Friday, 2 June 2023

Merchant and Mills Jack Tar bag x 2

It seemed totally sensible to make two of these at once! I was going to make one for a friend then after that, make one for me, with a few additional clever modifications.  It did work out just as anticipated, except that in the end I liked the first one because the strap was subtly longer and I could wear it as a crossbody...so I sent the cute modified one to my friend.

This is really a 2 hour project.  I had the rivets from Merchant and Mills, two different scraps of oilskin - the grey is leftover oilskin, the yellow is dry oilskin, both are from Miss Maude.  The strap leather was bought awhile ago, it is the stuff in Merchant and Mills kits and in fact I possibly had bought one of the Jack Tar bag kits, very very thick solid stuff, I think good for bags but it feels rather unpleasant to start out.  One of the pieces was harvested from my previous little Merchant and Mills Field Belt.  I decided to replace that strap with an oilskin one because it was too heavy for the little bag.  

I didn't have any problems.  I used one layer of interfacing on the lining for the yellow bag and two on the 2-color bag.  I thought a lot about where to place the colours on the grey and yellow bag because I didn't have enough of just one colour, and I am happy with the results.  The 2-colour bag is much heavier though.  It has 2 layers of interfacing, plus I interfaced the internal pocket, and the normal oilskin is heavier than dry oilskin.  A heavier bag can be nice - it holds more and maybe lasts longer, but I was surprised, after all my efforts to make it my dream bag, to like it less than the simple one.  In the future if I made it again, I would stick with the simpler plan and lengthen the strap about 15 cm to make it a true crossbody - it is doable but tight as things are.  I will definitely use a bag more when I can wear it crossbody.  An external pocket is also necessary, and easy enough to add. 


I think to make both of these really took about 4 hours. 

Wednesday, 24 November 2021

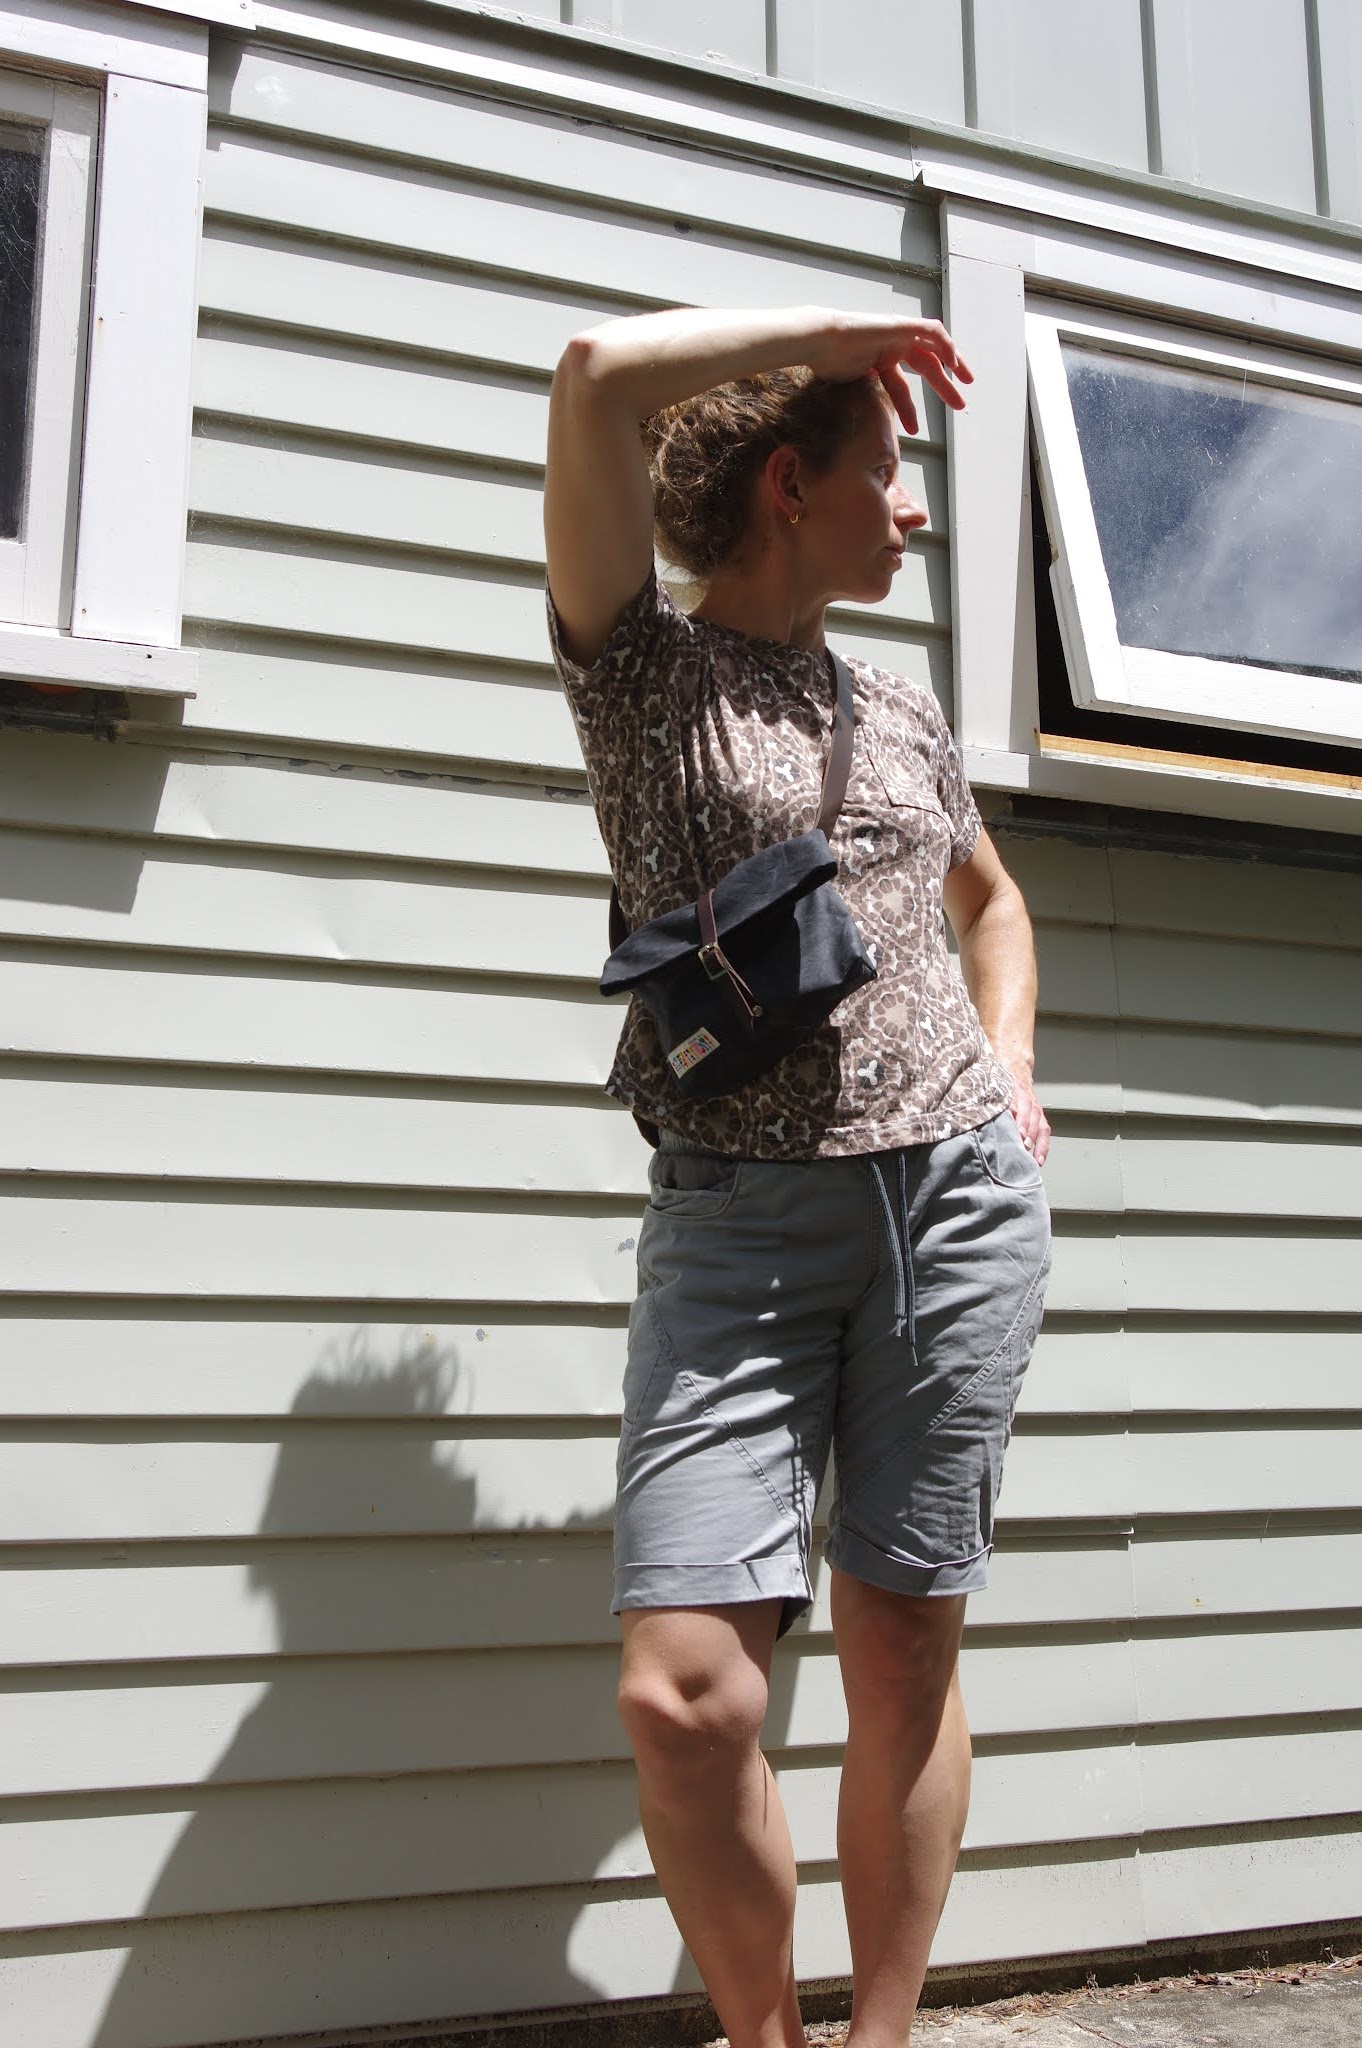
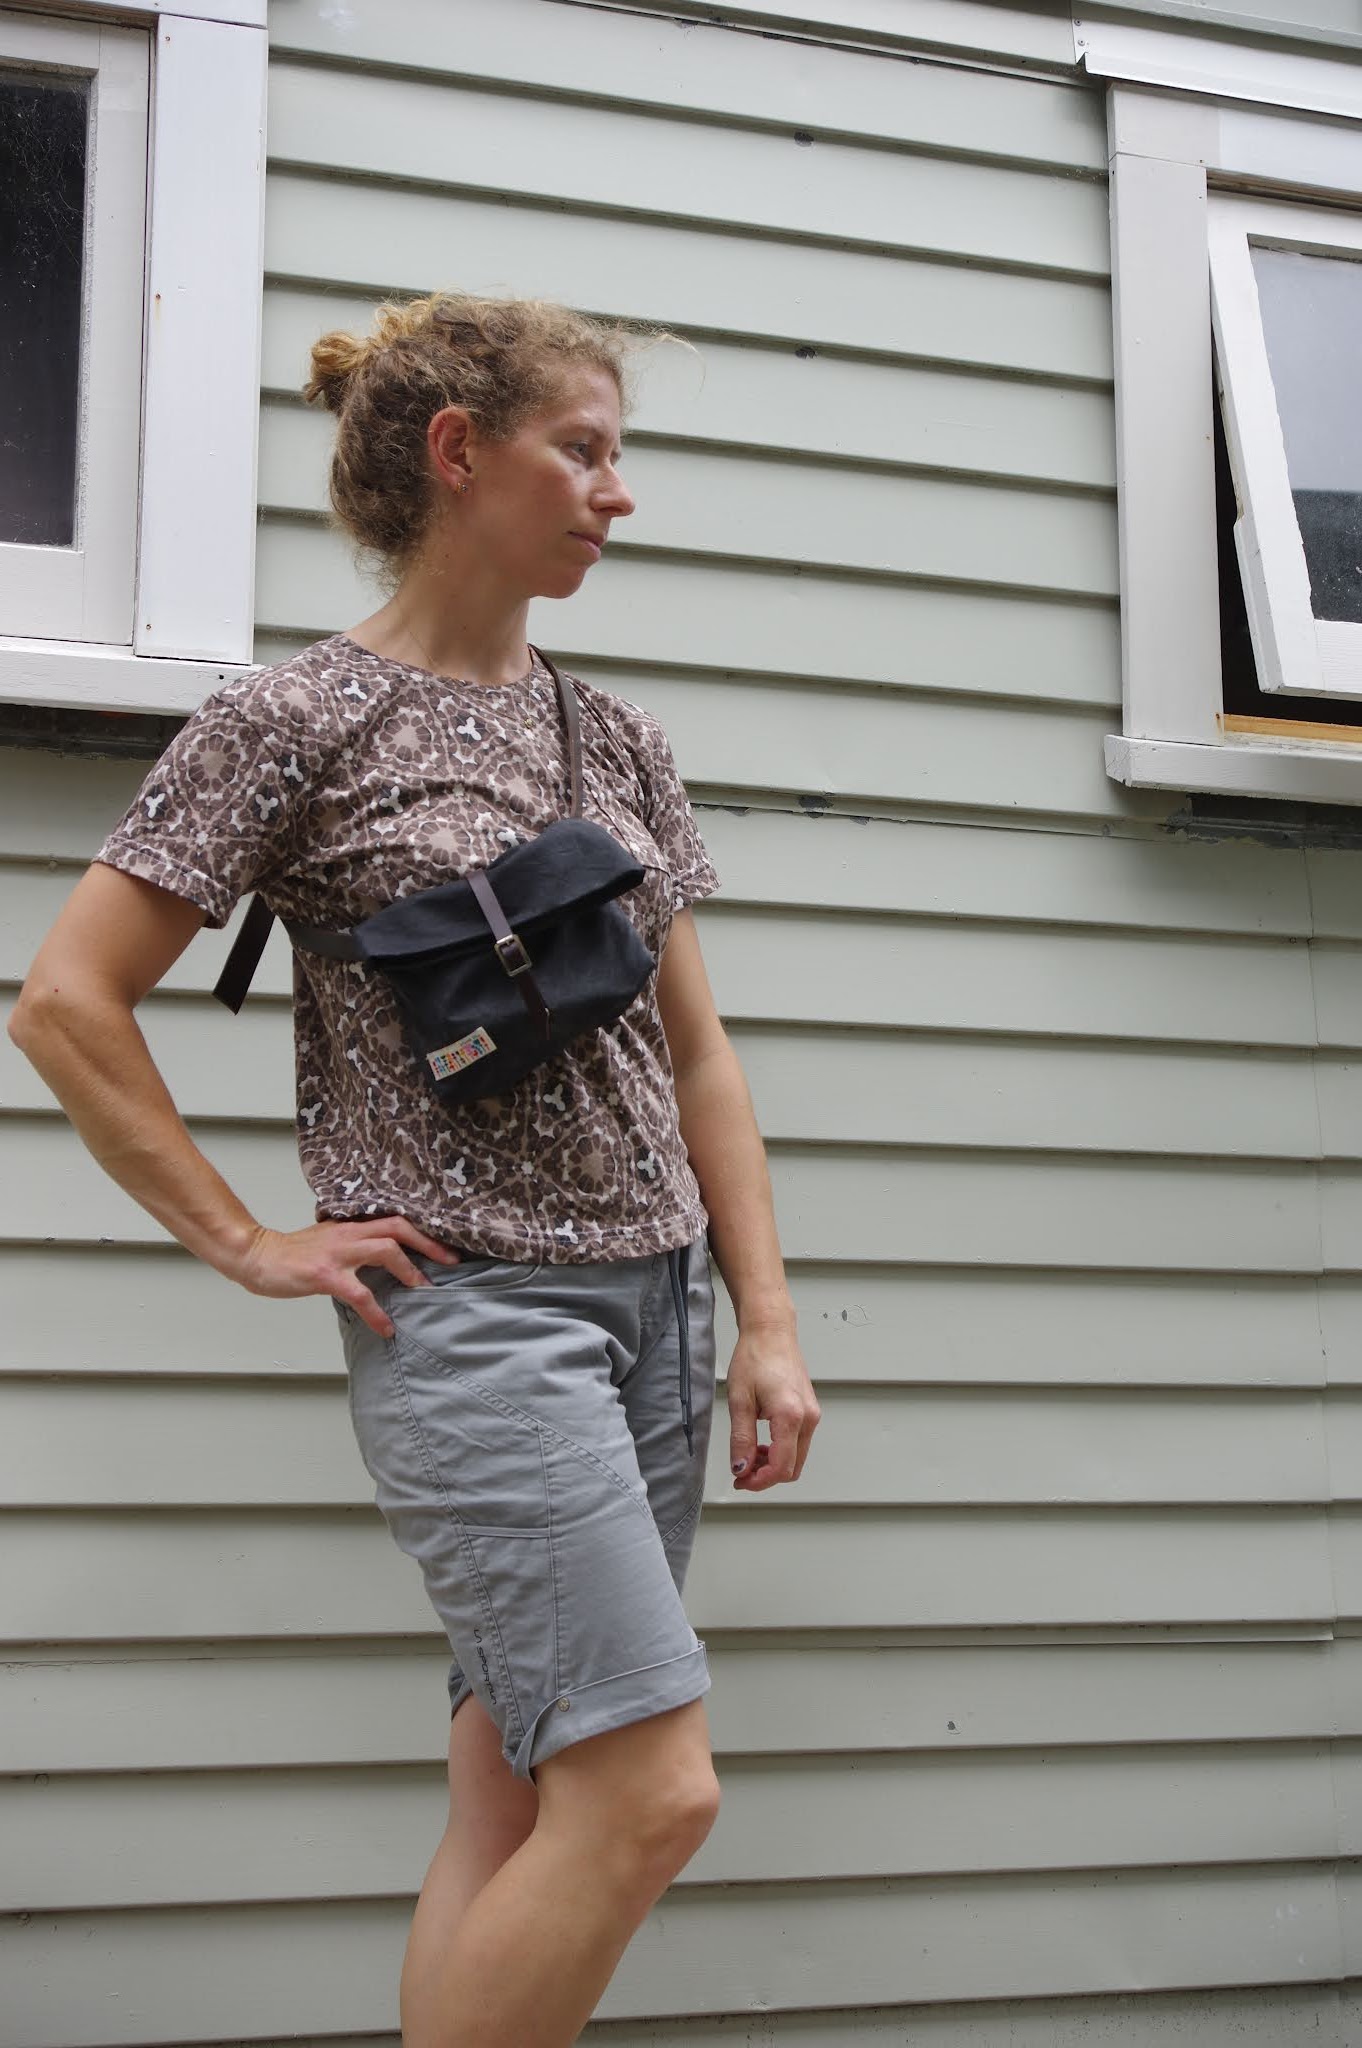
Merchant and Mills field belt in oilskin

 I had been planning this for a year or so.  I had a scrap of suede, which is always annoying, I need to not buy leather without plans...

Anyway so something was blocking it.  And eventually I realised I didn't want it in suede.  I finally had the true vision! Bought grey oilskin from Miss Maude, the oilskin backing, and used a piece of my precious heart fabric that I sadly made into a crappy and thus far not salvaged top!  I had the notions kit and it was so amazingly easy!  Really easy!  I want to make all the bags, and I want to make everything with oilskin now!!


This is basically a rectangle that you fold up and you apply the clasps strategically onto it, bag out a lining and box the corners - that's the hardest bit since they are at the bottom.  I had been thinking about this bag for so long that it came as a shock when the entire process took an hour or two.  The rivets in the kit just hammer together with no tools, and my very old hole maker for leather performed fine at making holes.  The only trick is getting the buckles on upright, the picture is correct but somehow seems wrong, which played with my mind.  I used a teflon foot for the oilskin but I'm not sure I even needed it.  My machine definitely got oiled a bit!

A fun little project. The bag is very small, and the leather belt is very firm, so my only grief is really a fabric belt or something floppy would have been more comfortable, because I'll never get enough weight in the bag to need such a substantial belt portion, since I will wear it loosely belted as a bum bag, or as a crossbody.  Maybe the leather will soften.  Also the leather belt really is sized for a man, I could have done with about 10" less length altogether and I've added more holes but probably still not enough if I want it relatively high at my waist. 

I now want to make a whole wardrobe in oilskin.

Monday, 13 April 2020

Making magazine no. 6: Side handle gusset tote

This pineapple fabric sits around in my stash, ever smaller, but always there.
At some point I thought I'd make this tote.  The pile of fabrics sat on my floor for awhile and finally I got annoyed with the mess.

It took about 3 hours to make.
I interfaced the lining.
For some reason I had decided to underline the outer layer with silk organza, to get used to doing so, and because I had a bunch of organza lying around.  Naturally it made things a lot more fiddly...who knows if there is a benefit!


Overall this is a really easy project. Mine doesn't have a side pocket because it's the original version from the magazine and I didn't see a side pocket option.  Despite all the interfacing it's a droopy final object, but it's kind of growing on me.

I would:
-use a fabric like canvas in the future
-not interface at all
-because it was a total pain around the corners since you couldn't ease anything

Otherwise, all good! 

Tuesday, 17 March 2020

Various bags, some of which are free

Ugh, why is everyone, me included, so desperate to get our hands on fancy bags to store our knitting?  I've become really disillusioned with this; I'm happy that independent human beings who are making things are able to drum up so much business that we are lemmings for the literal second that the items are posted online...but I hate being the lemming that didn't get the bag, month after month.

I tried to make my own.
(In truth my Ida bag, here, is going strong! I really should just make more big Ida bags.)  

Bag one is a wee drawstring number.


The drawstring isn't done properly because I only had one strand, and you are supposed to use two strands, one exiting on each side.  As long as I remember that and only pull the one side I can shut it just fine.  This project really mattered to me because it's made from scraps leftover after I made my first, failed metamorphic dress. I really love this fabric so I was happy to make the bag and at least get a little bit of the fabric in use.  Now, two years after the fact, I've finally harvested that fabric into a Sorbetto top so all is good in the end!

Here is bag 2, the Summer Madras Tote.  Here is the link.


This took forever to make because I am allergic to cutting out big squares.  It got trapped in moving mess. I had to buy extra solid interfacing for it...I pulled it out and then the idea of making my own bias binding stopped me.  Finally I got annoyed at having it sitting around.  This one is more of a grocery type bag.  All of that interfacing was Really thick!  I didn't have a problem sewing it, but it is a stiff bag, at least now before it gets broken in.

And then there is, of course, the Stowe bag.  I had the pattern away in my luggage in Australia but I couldn't wait *2 MORE MONTHS* and so I bought the pdf as well.  Sigh.  I experimented with some Stowe bags, made a bunch, got kind of irritated with them, and on my final version, bagging the lining so that it would be cleanly finished on the inside.  I store my knitting in it.  Haven't made the large size yet.  It seems bizarrely huge! 


This white one is the first one that I made, following the pattern, no lining, and I got a kit from A Verb for Keeping Warm (here are the kits, which are sold out) and did the sashiko stitching (my first!)  This kit consists of fabrics grown and woven in California.  The blue and striped one is the only other one I kept after I dispensed them among friends - it is two layers with no pockets.

Thursday, 25 October 2018

Grainline Portside Dopp kit and toiletry bag: Review

I didn't make the actual Portside bag.  That is for another time. It gets really good reviews.
I know that Carolyn made a huge number of these dopp kits, but mostly that side of the pattern goes under the radar - and the small bag is apparently just an afterthought.  I mean, you wouldn't buy the pattern for it.

More on that: this small bag is literally three pieces of fabric, a zip and two instructions.  After you have gone to the trouble to line the duffel and the kit bag, you are just making a little fabric sack?  It seems like the level of attention in this pattern was focused on the big target item - the duffel.  And each step down from there had a decrease in quality pattern instructions, and in results.

I was extremely disappointed by the Dopp kit pattern.  I was hoping to make something I could take with me travelling as my toiletry bag has basically disintegrated.  I had this ridiculous pineapple fabric and a shower curtain to use as lining.  The pieces make sense, but the instructions basically have you finish all the seams on the inside of the bag, despite the fact that it's in two layers.  So I rethought it and with my recent Ida Clutch experience, attached the zipper first, made each layer, and then painstakingly sewed the sides up to the zipper through a hole in the lining.  Then I turned it right side out and closed the hole.


Also - there's no lining for that outside pocket, which I also really didn't like.  

I used a zipper that is a little bit too weak.  But mainly I thought this bag was huge, way too big for my needs, and I was too busy being pissed off at it to want to use it.  I gave it to my sewing friend's daughter who is apparently really pleased.  (She's 6).

So I decided to salvage things with the small bag.  I cut out everything in my original plus lining fabric and basically followed the same method, of attaching everything to the zip, then I created tubes of each fabric and sewed up the sides one quadrant at a time through a little hole that I left.  I paid attention not to leave any gaps in the lining so no piece of jewelry (etc) could slip through.  I added a little grab strap on one end.  I also used an invisible zip here and that's the weak point in my system.   This fit all my toiletries, though it's not really a great shape, it worked for the trip to Nepal and I can store stuff in it til it falls apart.