Showing posts with label halfmoon atelier. Show all posts

Thursday, 12 October 2023

Halfmoon Atelier Roma skirt, blast from the past


Suddenly saw a pool of leftover silk velvet on the floor and thought it would be a mighty fine Roma skirt.  I had a piece of fabric earmarked for it for years, but left the pattern at my parents and the fabric went to something else.  The first version took a long time to make as I didn't have an overlocker and I had a specific bias-tape related vision.  The pooling in the front was present then, but I had forgotten about it.  I don't think it lasted very long in my wardrobe.

This is truly a fast thing to make, obviously even faster if silk velvet isn't involved. I apparently made size M and seem to have shortened it approximately 8 inches.  I wrote the SA on the pattern and didn't engage with any instructions.  I overlocked the edge and folded it over, getting a bit lazy on one curve but otherwise the overlocked edge is under 1cm. On the previous version I overlapped the edges whereas this time I sewed them together but I don't think it would have changed the size much.


It took about an hour. Final thoughts:  that pooling in the front belly is really hideous, and the skirt pulls upward in order to create that pool.  I would need to size up even more, and it's getting silly for me to make an XL.  It's a cute skirt but not the nice fun loungeskirt I had envisioned, despite the feel of the silk.  I do think silk velvet is a great choice for this!  In fact, stretch velvet would probably work out nicely - I think this pattern would suit stretch fabrics really well although I don't have good advice on getting rid of the front pooch.  It's probably one I won't make again. 

Sunday, 10 May 2020

Halfmoon Atelier Strand dress in cherries

I was a pattern tester for this dress pattern.  I made the size 3, and it was consistent with other patterns by Halfmoon Atelier.  My measurements are 33-27-37. I'm 5'4" and I didn't change the length.

My dress is the first iteration of the pattern. The shoulder straps were adjusted afterwards to be slightly narrower.  The wide fit is fantastic on me.

This pattern has a v-shaped bodice which is in 2 layers, sandwiched between two shoulder straps that work as facings, and then gathers down from there in 2 layers.  

Initially I thought I would stop before the hem ruffle. But in the end I made the full length dress and I love it. The length is not quite full maxidress, which makes it more versatile (I bicycle!)  The bodice straps as facing are supportive for a variety of fabrics and they make a nice clean finish, though they are quite a bit of work.

I keep thinking I would most like to put elastic in the waist, but the tie, loosely done, doesn't bother me and so it has stayed. Usually I don't like a lot of ties around my waist, but I only put the bow on one side instead of having one on each side, and since it's loose, it doesn't need adjusting for me to pull it on.  Having the dress tied at the waist creates a really different silhouette, so it's nice to be able to go from loose to gathered.


I am lucky I got to make this dress in September and wear it for the hottest part of the year before the Making zine came out!  The fabric is rayon from Cotton & Steel, and rayon was a great match for this pattern.

Other notes are that it's important at the front V to baste each side - I did them separately, in order to have the best control.

I really love clean finishes and though you have to work for this one - you fold over the SA on the inside shoulder straps and then topstitch it down - it's really worth it.  I like how this, as a dress, gives you waistband options - it looks quite different to me when it's loose (maxidress!!) and when the waist ties are tied tighter.

The neckline reminds me a bit of the Peppermint magazine free maxidress pattern, though the fit of the dresses is quite different below there.  Here's my version.  I like both patterns - the Peppermint dress is obviously more of a shapeless sack, which can be really nice when it's hot outside. This dress takes a bit more work to make, but I think the result is more refined. 

Tuesday, 30 July 2019

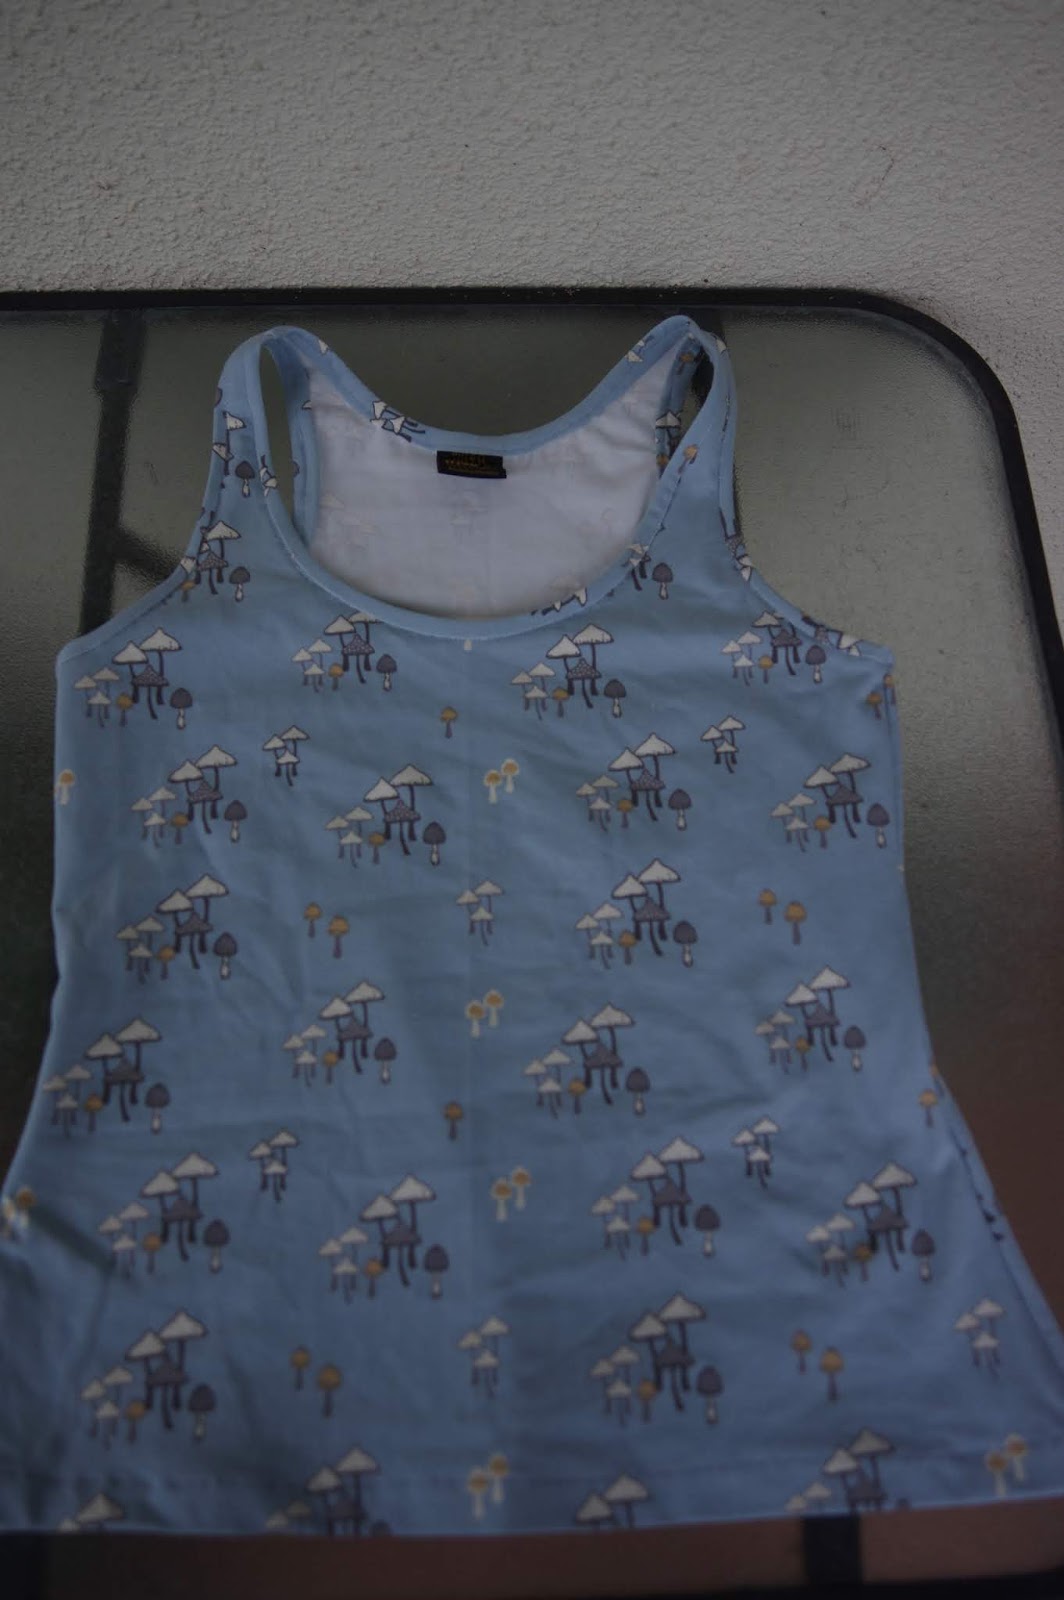
Tank top binge: Mission Maxi tank & Halfmoon Atelier Super Basic tank

Not heaps to tell here, but I hadn't presented the Super Basic tank before, so it's always nice to have a bit of comparison.

For the Mission tanks, my usual size 6 with the front straps shortened about 1".
I removed a generous 4-6" off the hem as well.
Previously I really loved this finish.
I think it works best on stable knits.  On the extremely floppy rib knit, I overlocked the binding edge prior to folding it over, and the result is that it splays outwards and I ended up doing two layers of topstitching to control it.  None of that happened with the mushroom top, which I did in the usual fashion without extra overlocking.


Yep that's a label pinched off an upcycled dress...

The two layers are thicker and overlap at the shoulder strap because of being overlocked. 


As for the Super Basic tank, I was a pattern tester so I'd already honed into the right fit. I cut a size 3.

I think I shortened the front strap a bit here too, as that's a usual fix for me.  I cut these out months ago and so I was puzzled what was the front and what was the back - they looked the same!  I had to try it on a few times before I chose an orientation. Next time I need to remember to mark the front or back to make it more obvious. My fabric is a super stretchy modal blend. I shortened the neck band about 4" (should have done more) and the arm bands about 3".


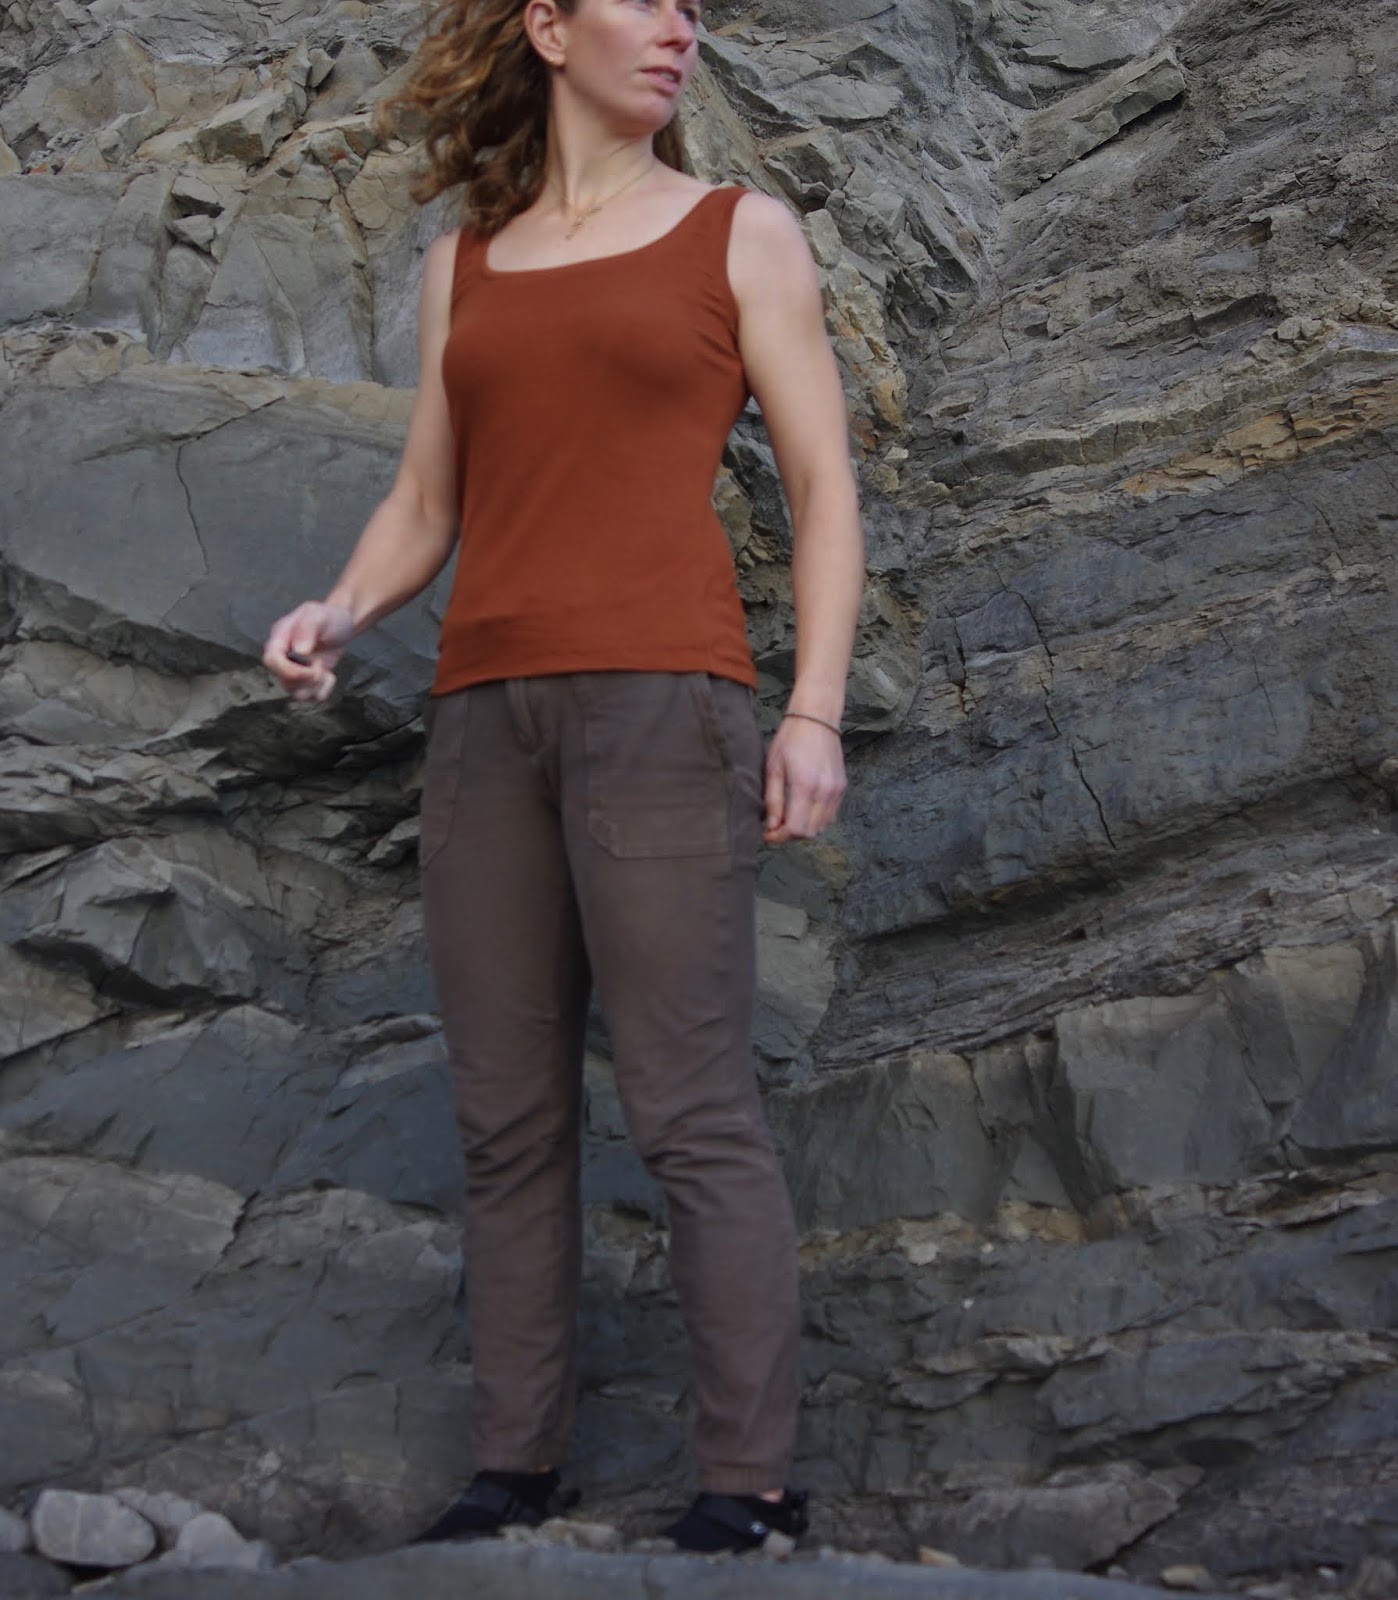
I was thinking that overall I find overlocking the edges of neckbands seems to make them bigger. I used to just do a zig zag on the sewing machine and that is a very controlling stitch that doesn't stretch the fabric out - my tees and tanks done in that way have survived since literally my first year of sewing!  Overlocking may feel like it beats RTW but that is just not always the case. With that thought in mind I did the terra cotta tank (another very floppy ribbed item) with a zig zag instead of trying to feed it through my emotional catastrophe of an overlocker.  (There will be a review eventually, but unlike the reviews that I read prior to purchasing, I find the Babylock Imagine to be more like the Babylock Don't Imagine.)


I shortened the bands a lot more on this since it really needs strong bands to make up for the stretchy and floppy fabric. On the Mission since the binding overlaps, it controls the edge really well but with a normal neck binding like this, you need to have enough tension or the whole top won't fit right. I didn't measure very scientifically, just pulled it around the top until I got a sense that I had reasonable tension.  I also tested out a new photo location but didn't quite calculate properly...all the photos with good light had my head cut off. You're welcome.


Friday, 26 October 2018

Halfmoon Atelier Anegada

I've had this pattern for awhile -it's one that I didn't get to test because I was living in Nepal at the time - once I got it I had to wait for just the right fabric.  Which came while I was in Switzerland recently!  I picked up this very stretchy, sparkly rainbow from the sale bin, and definitely didn't have enough to make the cardigan I was envisioning.  As I was tetris-ing pattern pieces I realised the drape would make this a perfect Anegada, and the stripes meant I could get some fantastic diagonal bindings.

I do recommend, no matter how much you think you know everything about making tshirts...to not only read the instructions but to understand them.  Oops.  I read through what to do on the front neckline tucks, but didn't understand at all.  I made some halfhearted pintucks, the sewing machine gobbled up all the fabric, and in the end I ripped everything out except two tucks on the sides that I couldn't undo without damaging my light fabric.  The binding is long enough that the excess didn't even gather and I would just skip doing those tucks in the future.

It felt weird to be cutting huge bindings on the bias!  But so worth it.  The rest of this top went together without a hitch on my amazing new overlocker and I wore it the next day (and many since.)


Size: 3, consistent with everything for me by Halfmoon Atelier.
Sleeves: I removed 1" before adding the binding, because they were too long otherwise
Length: I removed just under 2" at the lengthen lines: the amount from the line itself to the edge of that piece of paper on the pdf pattern.  If I wanted this to hang at my waist without pooling I could remove another 2 inches!  

I recommend drapey fabrics to get the best out of this pattern.  Because I didn't tuck, my front probably drapes a bit more than it's supposed to.  I really like using stripes on the bias!  I think it gives the pattern something really unique.  Also I was pleased to see it goes well with these shapeless green pants of mine - I don't really like tucking things in and was struggling to find good matches with them.


I rushed out of my house to get sunset photos on the mesa with huge thunderclouds in the background!  It was a weird spot to take pictures and I'm really looking forward to owning my first tripod instead of making rock structures to put my camera on.