Showing posts with label sew activewear. Show all posts

Thursday, 11 June 2026

Made a pair of Lift leggings...and then another one.

 This is the second time I've made these, the first one got onto Insta but only as a flat lay for Reasons. I made it from swim fabric. 

I sized down to a D the first time (I think) and they were too xrated for photos.  It ends up...the gusset matters.  Tiny but mighty.  But also they were really snug overall, though I liked the rise.  Maybe because Swim Fabric is really different to stretchy normal fabrics, I guess.  This time I did size E.  

Easy to make.  The V where it all comes together is just barely off from perfect, oh well.  The rise is VERY high, these go way above my belly button.  Fine, I can actually wear some cropped top things for hot pilates for once.  But I will shorten them next time.   

They were successful in hot pilates. A win! The ruching still disappears when I wear them.  My bum must just be mighty I guess.  


So then I had some leftovers from my beautiful ribbed tree Kila top and thought I might just barely eke these out.  The first pair had done well in hot pilates class, though it's a bit lumpy at that V seam when I'm lying flat.  I can overlook this, but I might eventually just make some super plain leggings too.  Eventually.  I shortened the waist 1" by just cutting off the top.  


Anyway I managed but the trees are upside down on one leg, which I rather like, it adds something to the psychedelic look.  I'm so pleased!  And then I compared these pattern pieces to my first attempt at these shorts and the difference is like 2" so I must have really done something wrong when I printed that out, it seems like more than a single size difference.  

This second pair is much stretchier, because it's a rib fabric.  I have to say that Blended Threads seem to be improving their fabrics and their print jobs, because there's less show through and this rib as well as the bamboo options are so great.  I'm actually waiting for Tessa to tell me it's time to make another order!  My partner wants some underwear in this fabric!  And I am so happy with my new options for hot pilates, as a good environmentalist I've been wearing the same pair of cotton op shop leggings (they were $1!!) for the past 3 years...it's honestly just nice to see some different colours in the mirror.  

Thursday, 13 February 2025

Greenstyle Veltori top, take 2

 After my first Veltori experience I knew I had to try again.  There's so much potential in a sporty zip front top!  Unfortunately I realised I was going to use a totally different size, and I am lazy, so the efforts waited until I sent some other things to the print shop and could get another copy of this printed.  This time around I went with size C, whereas my first version was size D.  I also chose a lovely textured merino knit from The Fabric Store (I have used it in white and was excited to see another colourway available). 

I was going to shorten it 1" plus 1/2" at the waist and I was thinking so hard about this that I...somehow forgot to shorten at the waist.  As before, the pieces are very confusing.  It's not clear until you are putting it together that you don't need the side inserts if you are doing a 1-colour back, but you always need the sleeve inserts no matter which version you make. 


The fit is much better than before.  It's still very roomy in my merino.  I find the neck sits much further out than I would like it to, since the point of the high neck is to be snug.  Even though I didn't shorten at the waist, the length isn't too bad. 

I used my own advice and interfaced along the zip, which helped, but I used knit interfacing and actually heavier woven interfacing would have been even better.

As is, this is a totally wearable top, but when I put in the zip I saw that I had managed to get a colour that is ALMOST but not quite right, and that put me off so hard.  A friend of mine saw my pictures and asked for it so it's going to her.  I'm oddly picky about my exercise wear - I prefer old, holey things to new stuff - and so I am perfectly happy with what I currently own.  This was still a really useful detour! 


Friday, 20 October 2023

Greenstyle Veltori top review

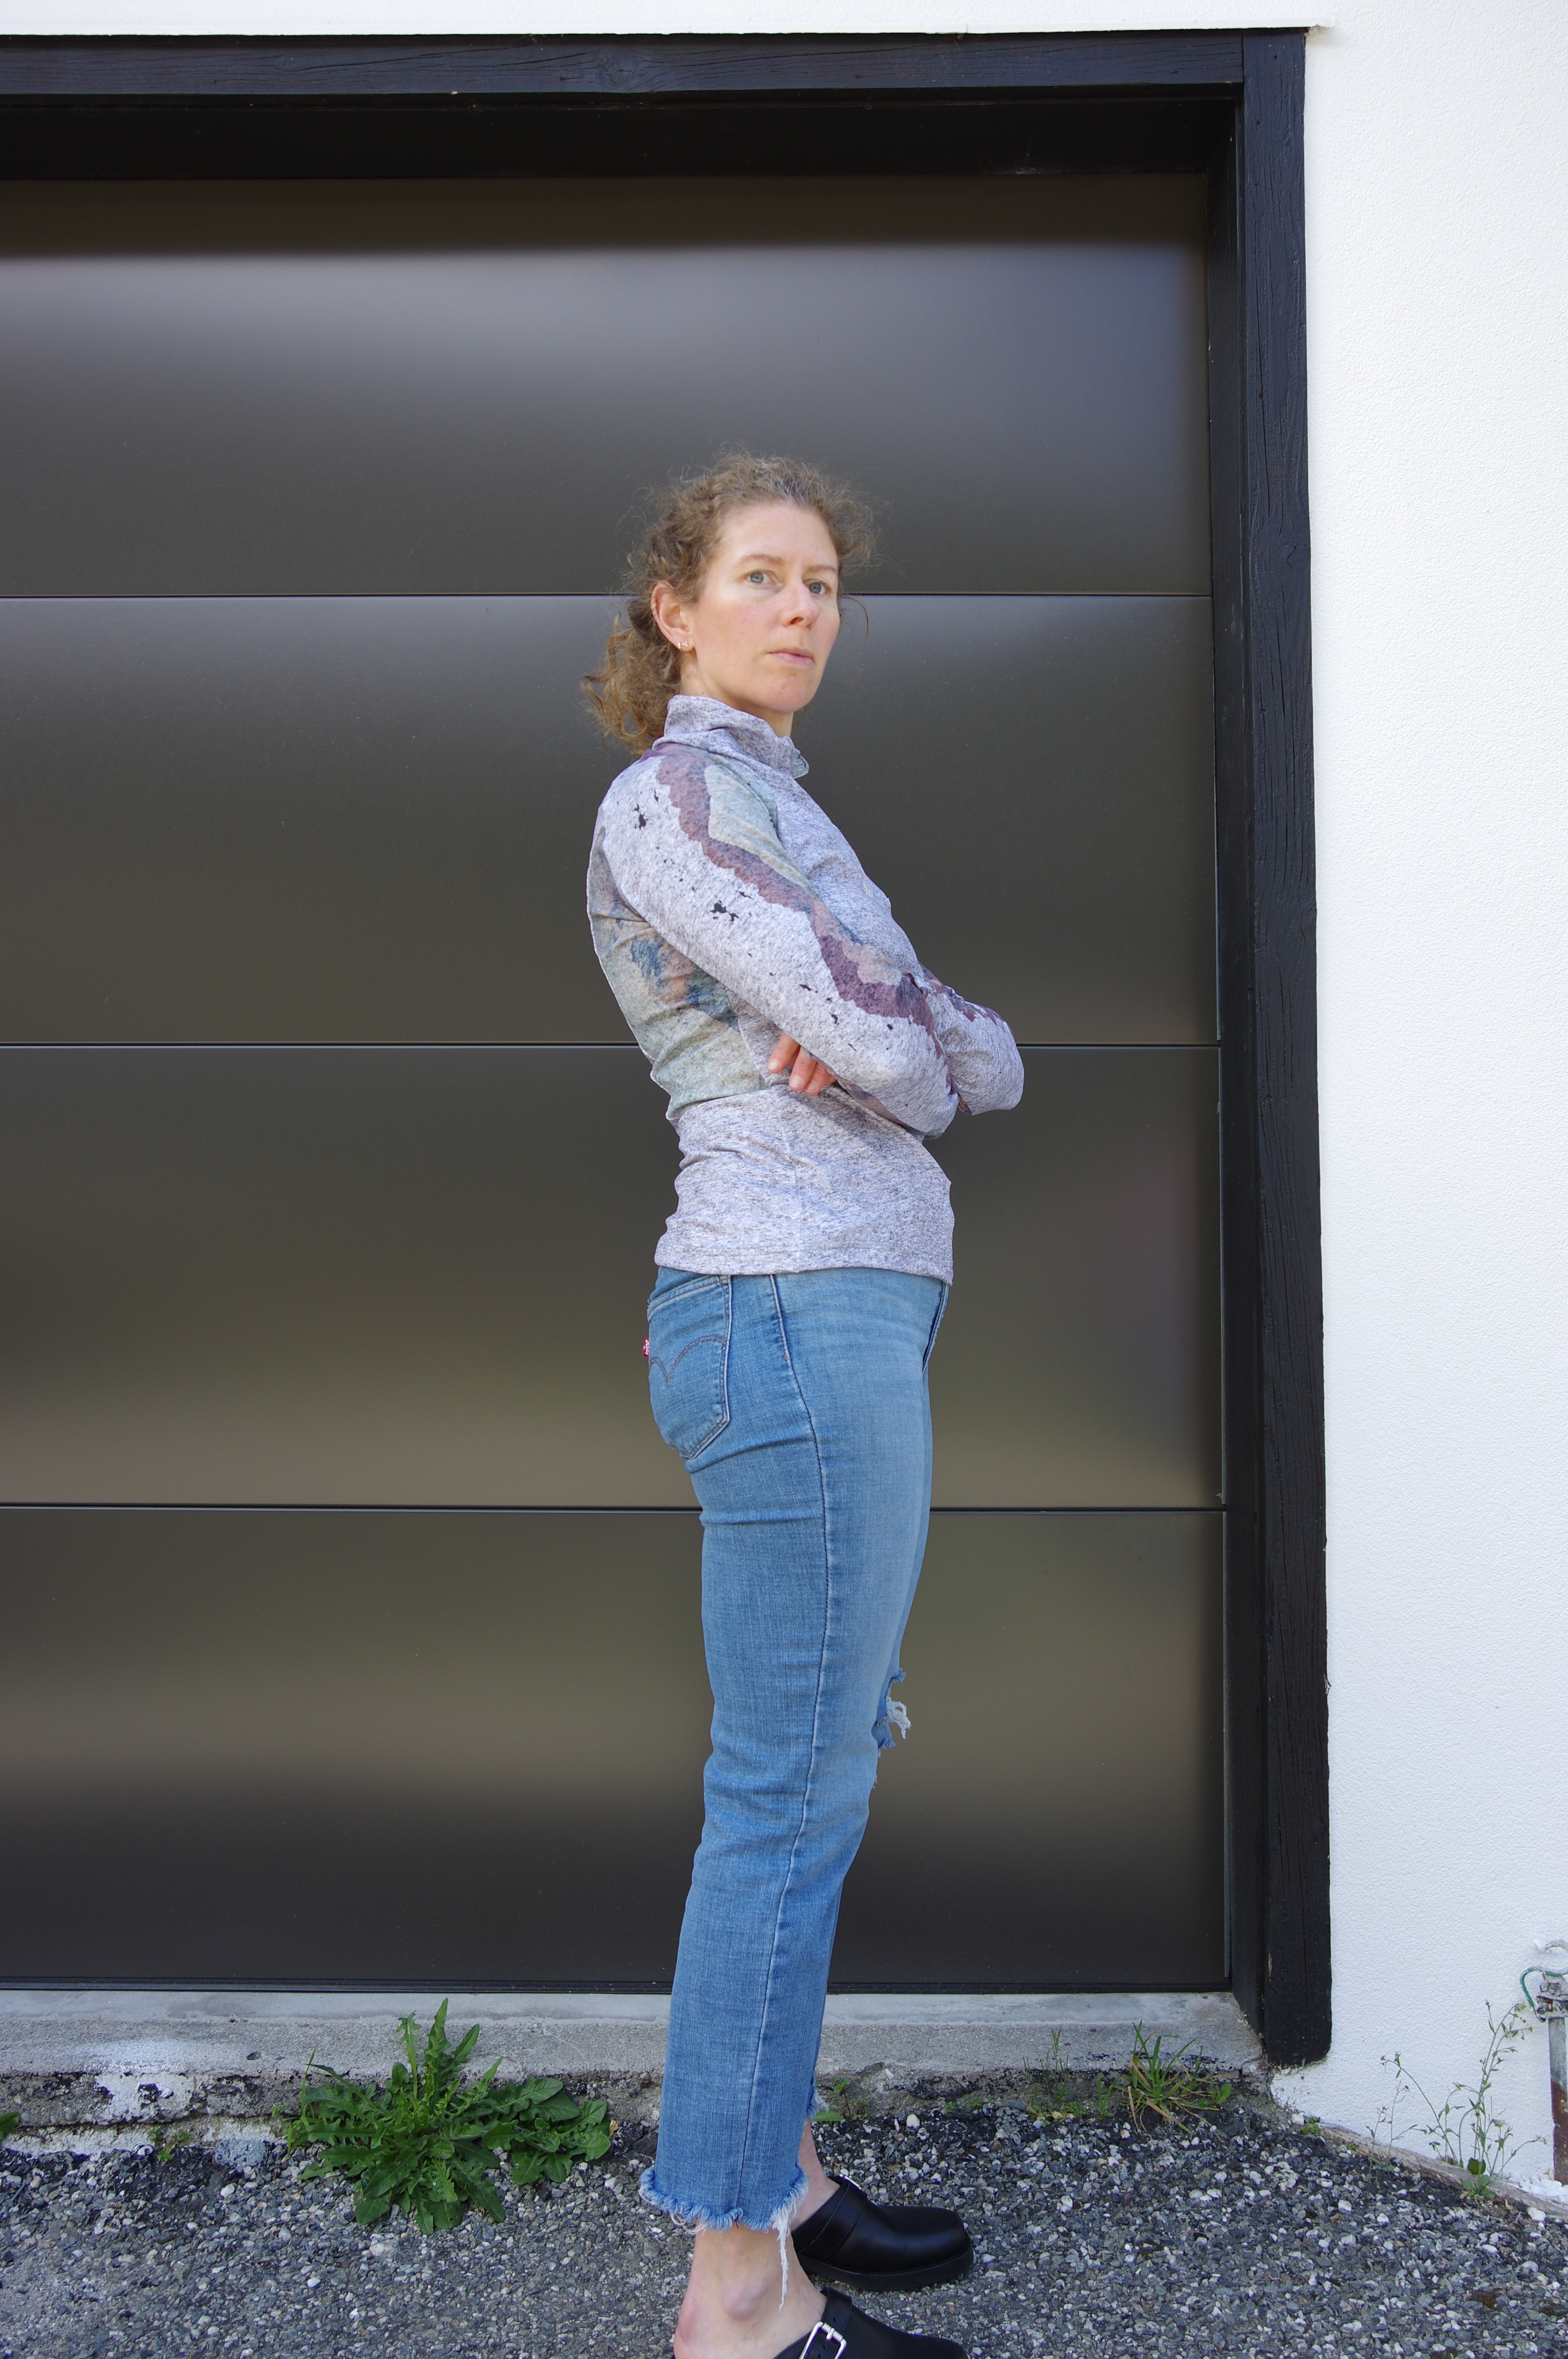
When I saw the Greenstyle Veltori top I was actually, finally, sparked to start making my own activewear.  I'm not sure why this did it.  Maybe because it's a style of top I specifically buy thinking I can't recreate it.  I don't have heaps of them or anything, but it definitely is something I see in my RTW activewear pile.  I've faced the fact that I need to make activewear since it's what I wear the most, instead of telling myself I have enough secondhand Lulu to last my entire life and don't need to make more.  (It is always a lie anyway, the secondhand Lulu keeps coming...)

I also had this fabric languishing in my stash from our Blended Threads order. It's the activewear fabric. I already had made some pants from it, and I find it to be too polyestery and sticky for my liking.  I was thinking of making pants with it but was happy to change tack.  It's a single metre of fabric and I did get to do a bit of pattern positioning, but not perfect. 

So, the pattern.  Greenstyle have NOT done well on their A0.  There's nearly an entire empty wasted page with a sleeve on it.  

The size chart doesn't match me very well.  On the last pattern, the Lumia, I had reviews to follow but there are no reviews of this with any actual information in them.  C bust, D waist, E hips?  Hm, what to do?  And what to do with the high bust info?  I did pay attention to the high bust, thinking it's so tiny of a number (should know better! Ignore!!) and so I went for a size D going out to E at the hips.  

Next, there is a side piece.  There are 2 cut lines on the front and back pieces.  There is NO instruction anywhere clarifying that if you use the larger cut lines, you don't need the size piece. I had extrapolated this while cutting, because I really had no extra fabric.  When I got down to the sewing room and looked at the instructions, I believed with panic that I still needed to cut a side torso piece.  In fact, the instructions also ignore that they have made two possible cuts and don't provide any comment. 

I went into this grumpy because of that side piece drama.  I had to force myself into the sewing room, and so I started this project kind of presuming I wouldn't like it anymore.  Because of that I didn't interface the sides of the zip.  Please, interface the sides of the zip!! It isn't in the instructions (they say to use double sided sticky tape for the zip) but really you just need interfacing.  I would interface both sides. My inner side stretched a lot which was irritating, but actually had little to do with the final result. The way this comes together is a cute tetris and once I got over my irritation and realised I *did not need* that side piece I enjoyed it.  It's a fast project.  

Another comment: use a zip of the correct length. Otherwise, you have to sew over the zip when you attach the front to the upper front, and it's hard to do neatly especially if you are overlocking.  My zip was long and I did gingerly overlock through the teeth. I think it gives things a slightly more bubbly finish in that spot.  I also think that the zip garage is unnecessary here.  I thought it would make it more high-end but really, you don't need it. 

Mostly everything is overlocked, there's a bit of the side front that isn't and it's best to overlock those edges before you attach the next piece or they remain unfinished forever. 


 I have given up ever looking very well groomed in my photos, as you can tell, but I also left my dignity behind in the hopes you would be able to see the front features better. 

It is too big.  I think the fit in the chest needs to be snug and so a size C would have been better, depending on fabric I might have even done ok with a size B but I don't have an instinctual feel for this company yet so I'm not sure.  I shortened it 1" at the hem and I could shorten more, I didn't feel like messing around with all the pieces to figure out where to shorten it otherwise.  The overall feel of the D is too big, like the way the chest sits isn't right.  

In the end I enjoyed the process. It's not a perfect pattern but once I feel like printing out the a4s and putting together another size I will pretty happily make myself this in some coral merino I have sitting around.  I might even make a size B and see what happens since merino has quite a lot of give.  This one is, as always, going to a friend.  


Monday, 11 September 2023

The Greenstyle Lumia hoodie, well hello Greenstyle patterns!

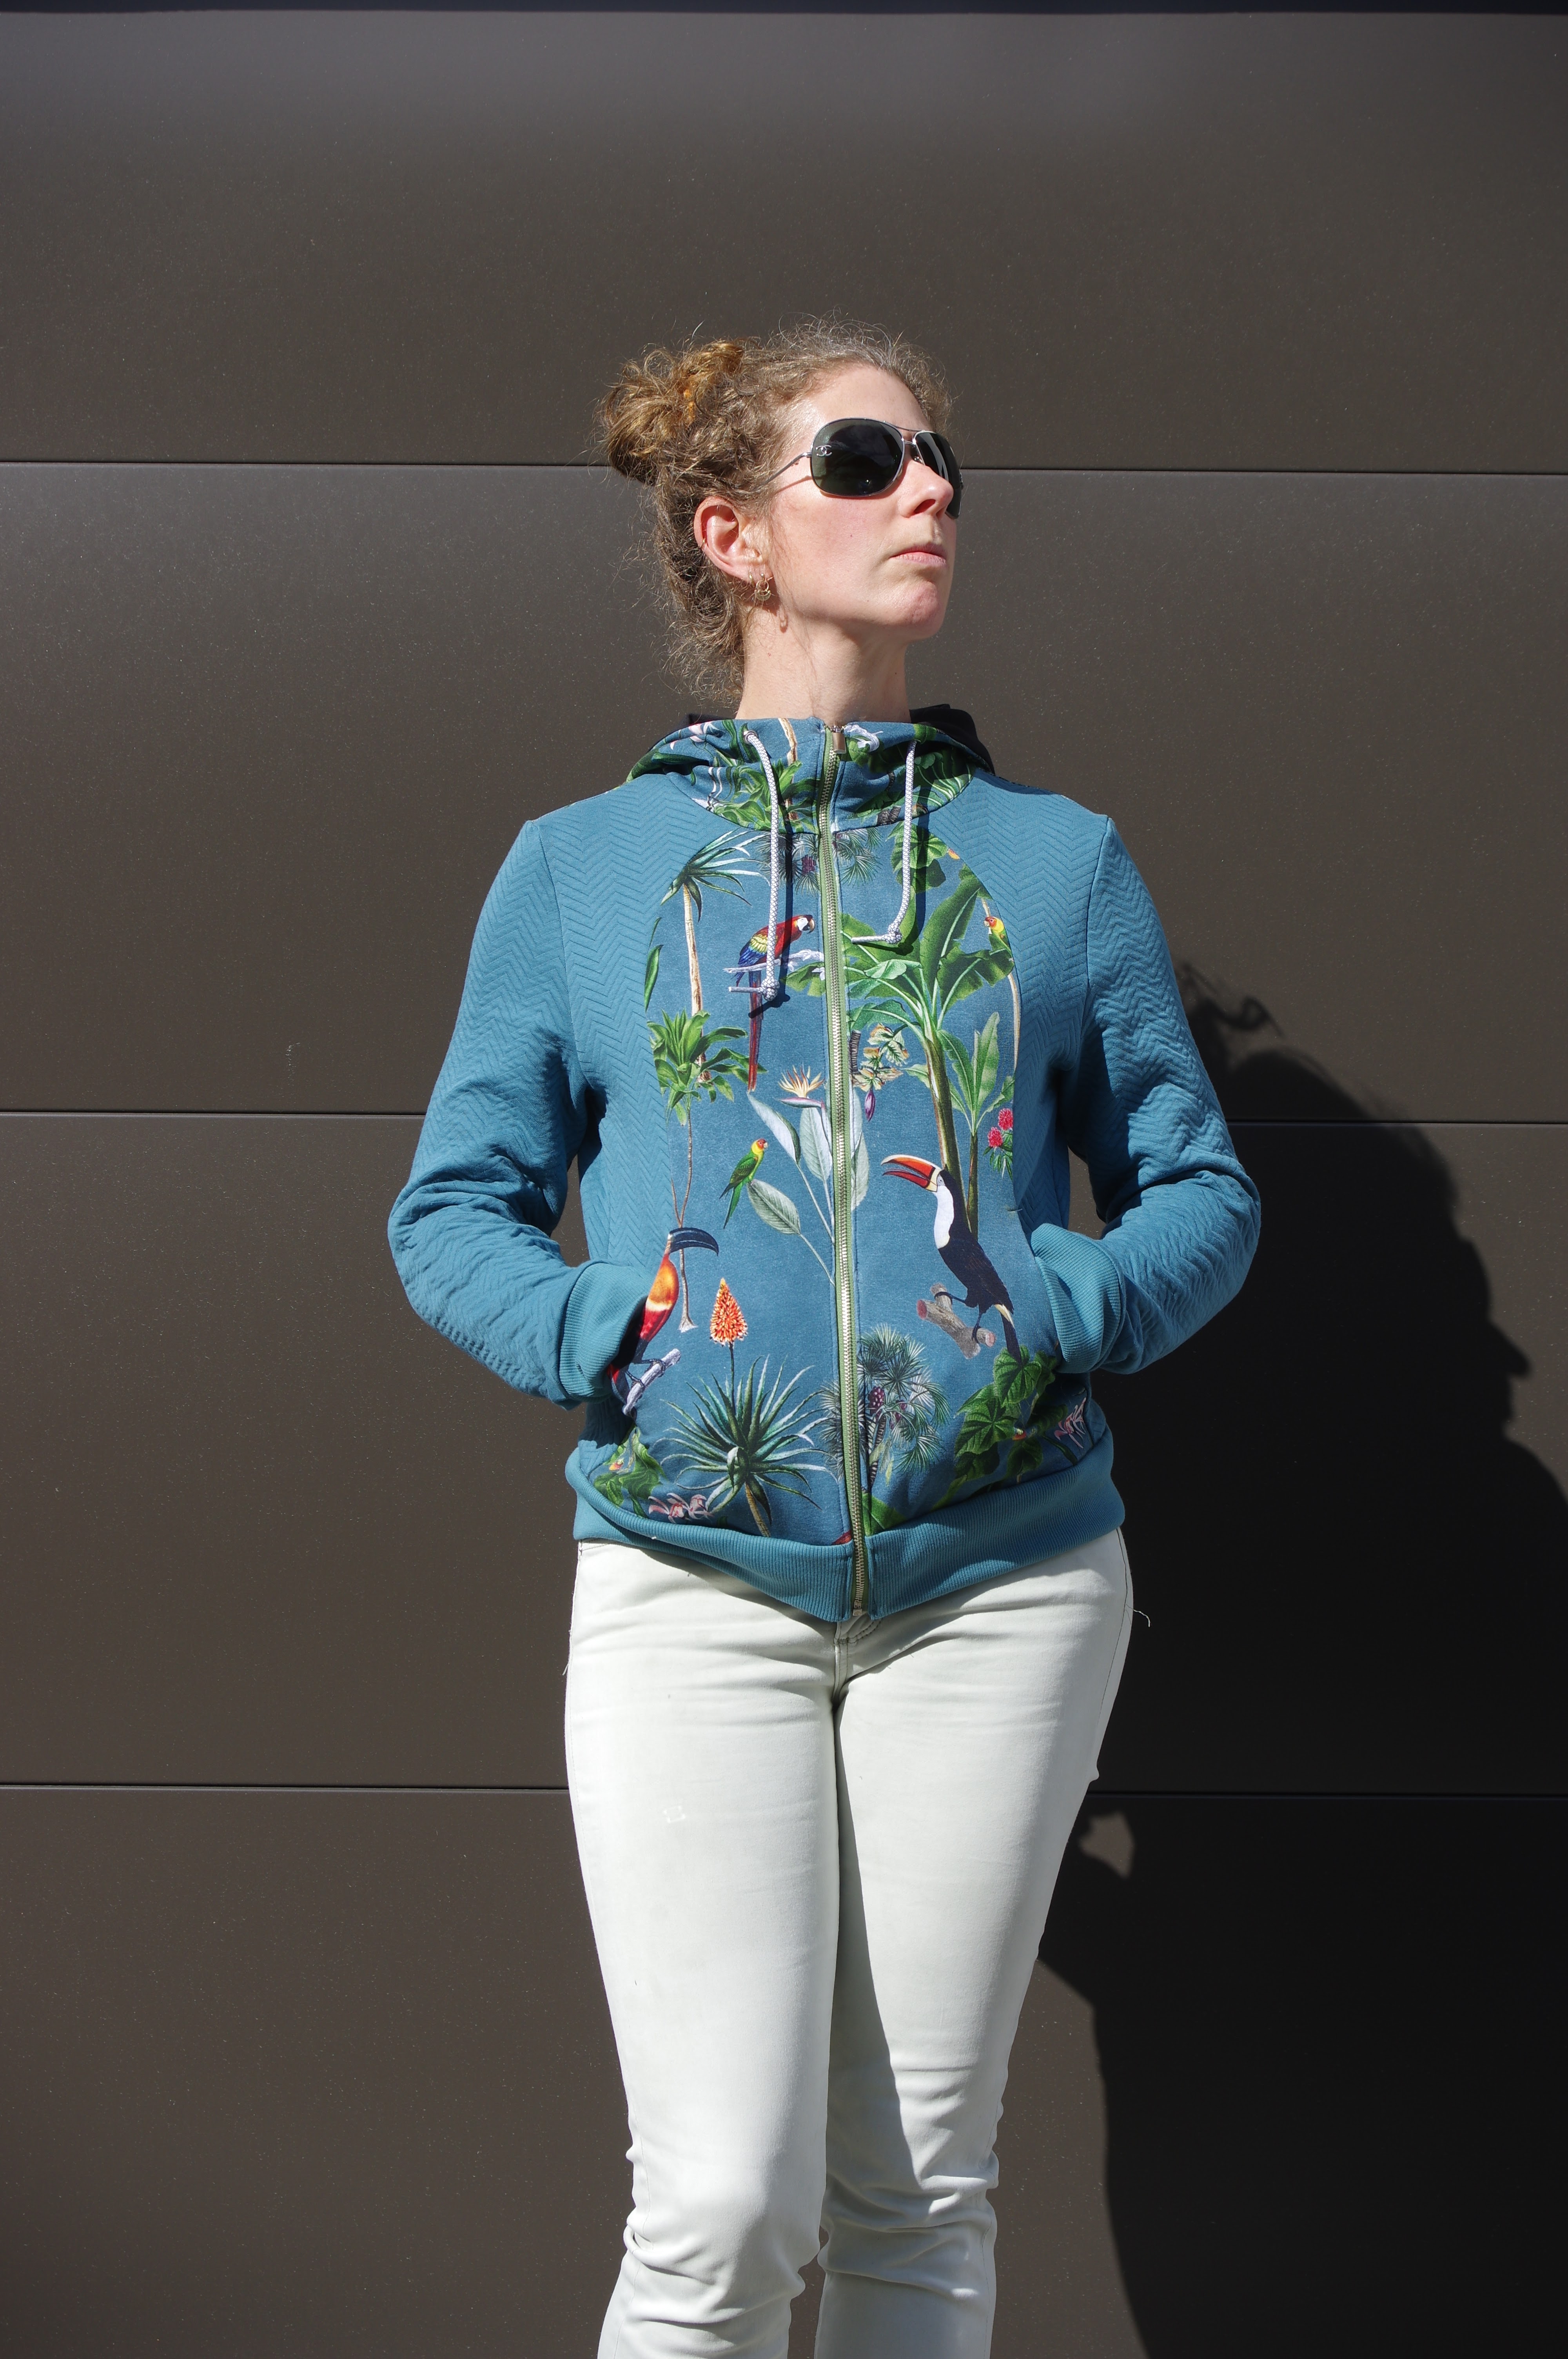
I have been hoarding medium weight leftovers since making the Linnea pullover hoodie and realising I am totally claustrophobic in pullover hoodies, plus I hated the way I had pieced it.  When I saw this egregiously obvious Lululemon copy it was clearly gonna be the winner for these scraps, with some nice piecing potential for the birds, though let's not pretend it will replace my carefully curated Lulu hoodie collection.  I reviewed all the blogs and got some useful size info, from which I chose size 3. It's not necessarily what the size chart would have gotten me - I would have done C at the chest but graded up to E at the hips.  I don't think that was necessary and the reviews pointed me in the right direction, commenting that it is pretty roomy. 

I shortened the pattern by 2" at the shorten lines, everything dovetailed up perfectly.
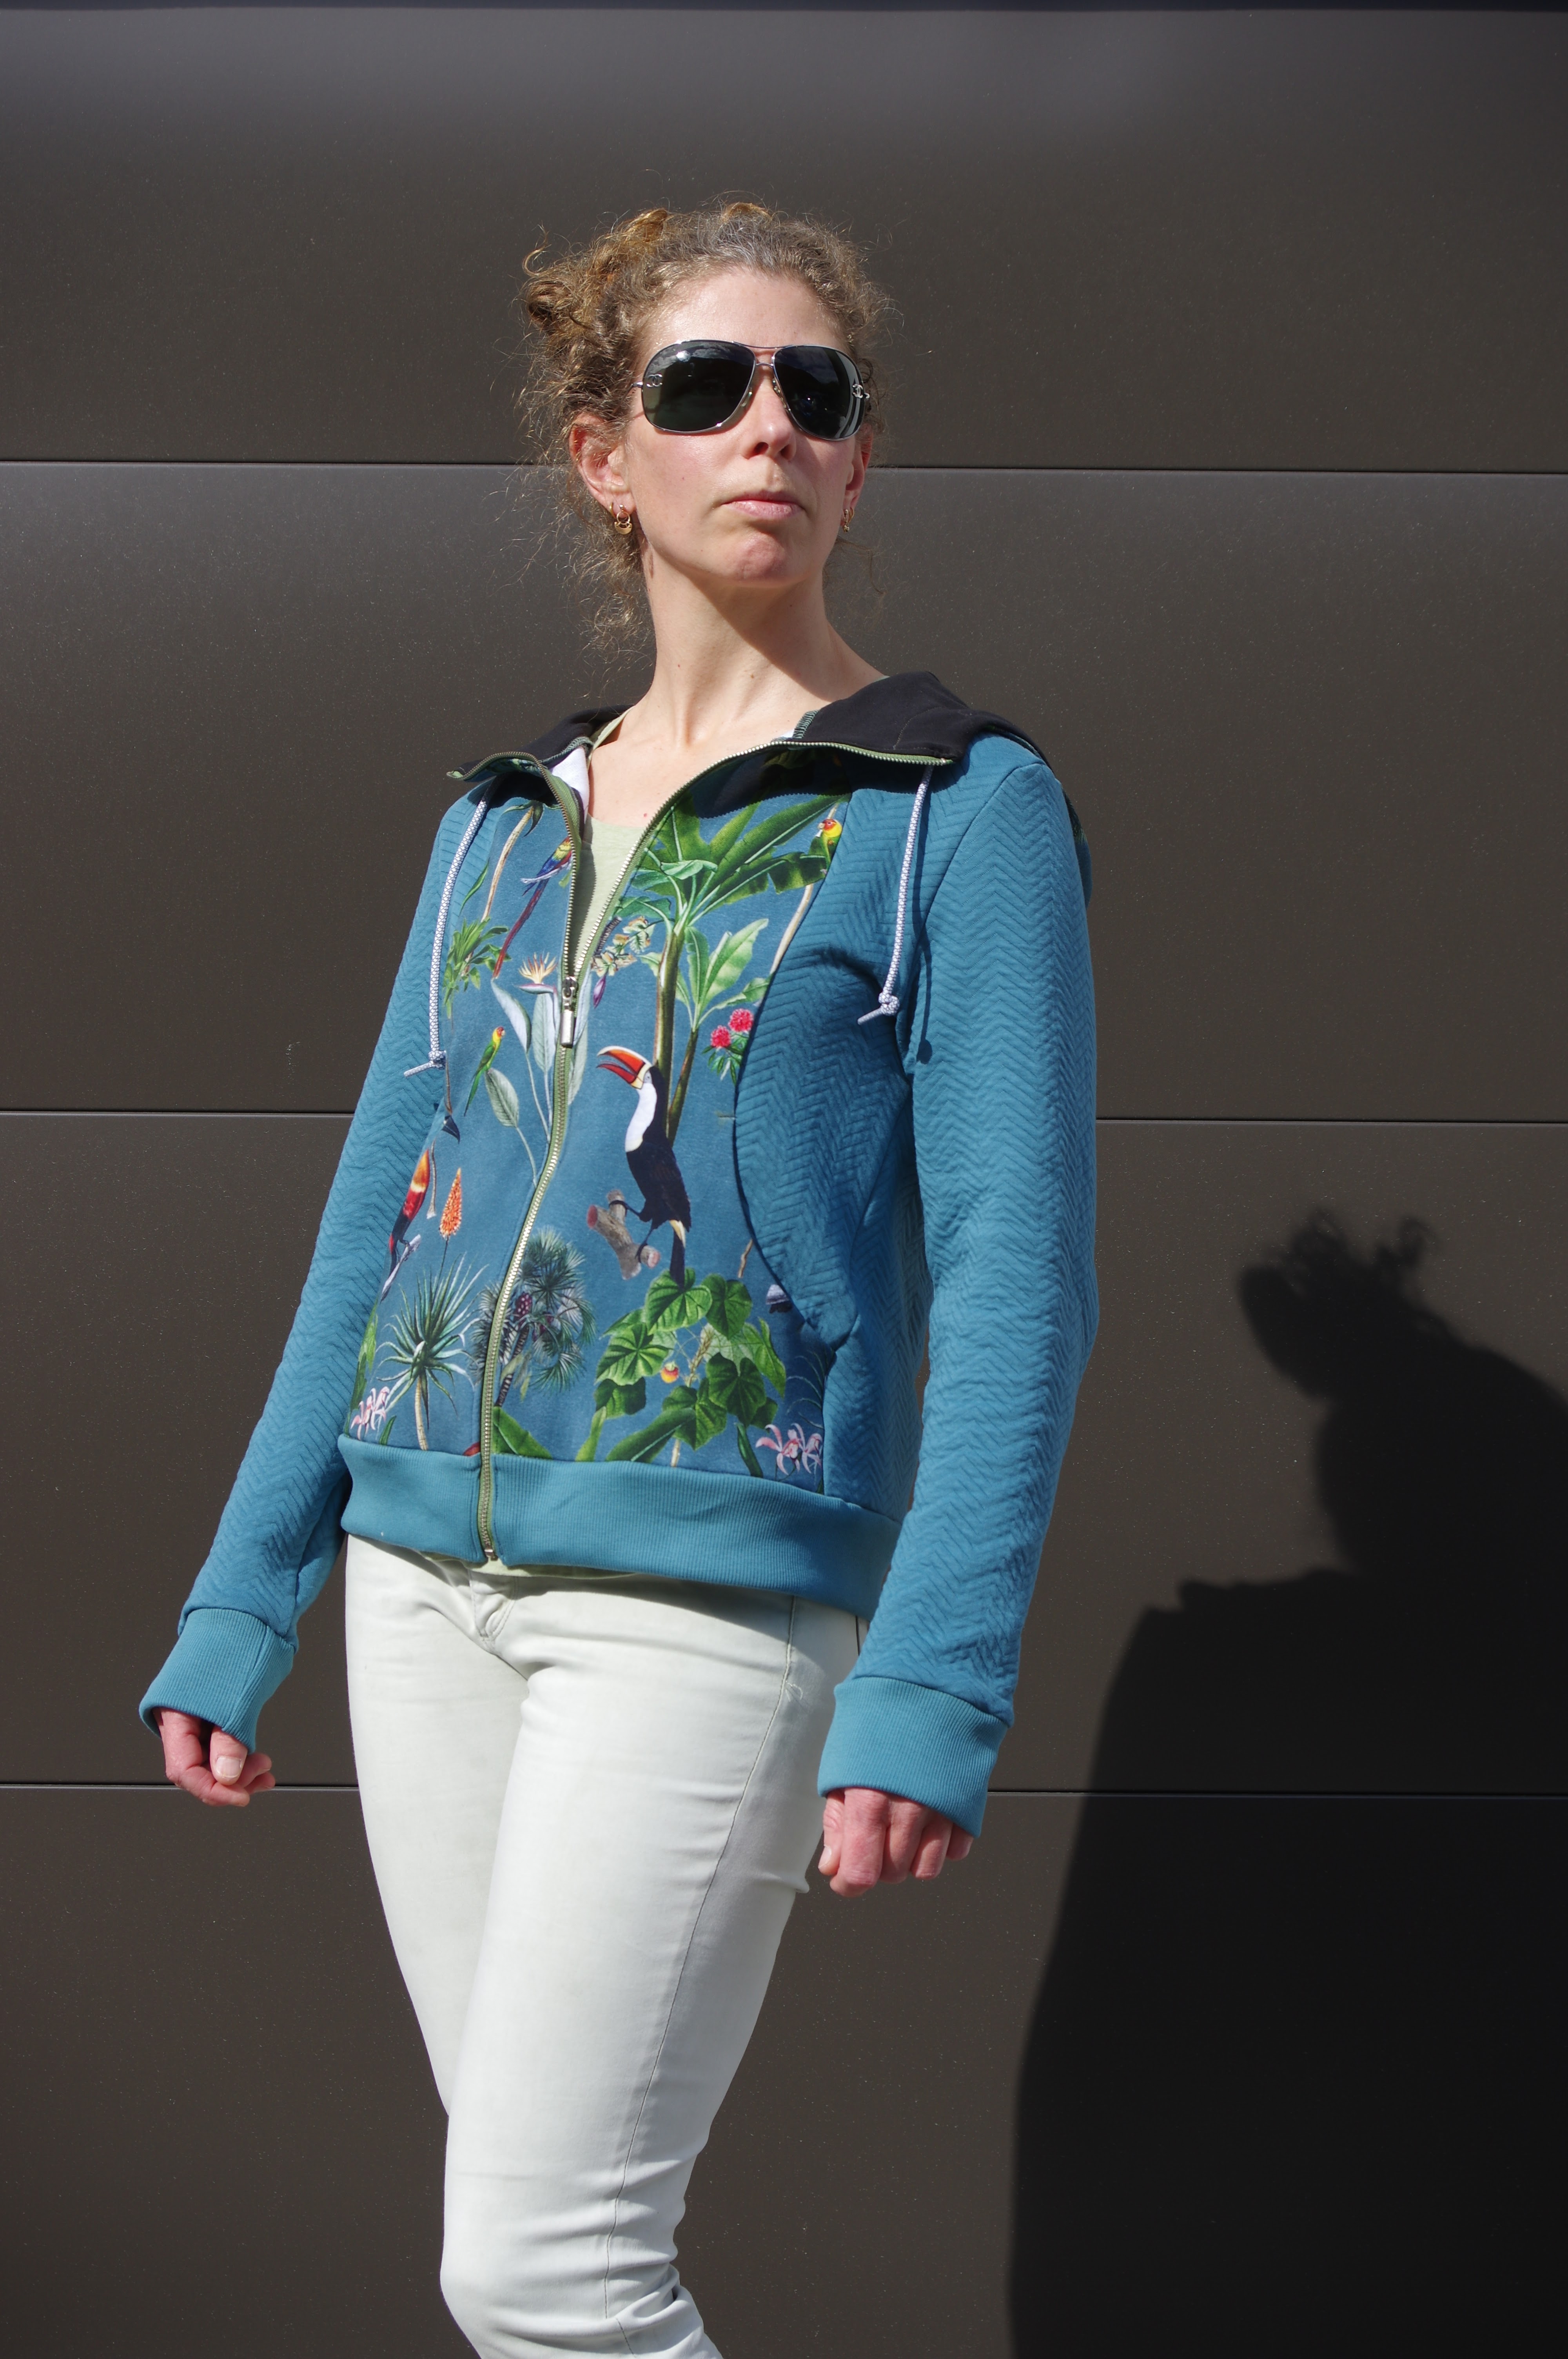
My vision had been to use black fabric for the sides and lower back, but I realised I couldn't do that and use it anywhere in the hood and I thought it might be jarring with blue sleeves.  I also had blue ribbing, not black.  So I ended up using this double faced, quilted blue knit as the main supplement to the birds (I think it's by Mind the Maker) and only lined the hood in black.  

I enjoyed the instructions, and everything came together neatly without any issues.  The pockets are great, as they create inside pockets as well as outside ones.  Since I used rib on the cuffs and hem, I should have shortened it, but I didn't and they are too loose. 


As you can see I remembered that my fancy sunglasses make all my photos look better (at least to me) so I have added them back into my photoshoot.  

When I connected the first piece of blue and birds, I immediately knew I hated the combination.  I've gotten lots of feedback that other people think it's rad but I was totally turned off.  Welp, now I know!  I had two people vying for this but my housemate won the coin toss. 

This is a pretty roomy hoodie and I actually recommend using a heavier weight sweatshirting for it.  My fabric, which is french terry and the double knit, in my opinion, is borderline too thin.  I also see that to up the quality of the finish, a twill tape edge on the zip side is really needed. I keep putting off learning how to do that.  The instructions for this pattern have included that, so it was my laziness this time around.

I don't know if I have made any Greenstyle patterns before, though my friend Tessa swears by them, I keep saying to myself that I have enough activewear and don't need to make any. This is totally a fallacy.  I need to always make the things I like wearing so that the ones I make will take over my wardrobe!  I do have future plans to make some running tights and summer activewear, and I've had some activewear fabric stashed so hopefully that will all come out in the next few months. This has been a pretty exciting boost for me to try more of this company's offerings.