Showing posts with label lining. Show all posts

Friday, 11 October 2019

Two layer silk Grainline Willow

This was one of the super precious projects that I thought up in my final month or so in Arizona, the first time I was in Arizona, when I was still pretending I'd have time to sew prior to moving.  I cut it out and then have carried it with me and it made the trip mainly by dint of being few pieces and being really small flat pieces.

The outer fabric is silk-cotton from Ramieandlinen on etsy.  I used it here for the lining of a Stylearc jacket, and it was terrible lining fabric because it's basically sheer and far too lightweight for such an application.  So the second layer is plain white silk, which I did gelatin prior to cutting out.  Comparing the two layers, the gelatin seems to have done well as the silk layer isn't too grossly different shaped than the top layer.

I used the same size (4) as on my first successful Willow, with the same extra cm added to the centre back.

The method for attaching was the burrito method -
Sew shoulders
attach the neck seams, understitch and cut
burrito and sew the armholes
pull through shoulders
sew side seams continuously

I then thought I would hand sew the bottom because the key feature I'd thought up for this was to do a shy amount of embroidery over it along the hem lines.  I reckoned this would hide the seams which you can see through the fabric, it would keep the neck and sleeves more stable, and it would make the hem more interesting.  I thought it would wrinkle if I did a machine hem.


Because of all this thinking, of course nothing got done, so here we are two years later.  I gave it all a good iron, picked out some thread and set a long stitch length.  I'll embroider some other project, some other day!


Also you can see how my Dawn Jeans are wearing in - not quite a perfect fit but totally wearable and they definitely impress everyone.  This is a totally me-made outfit!  My sandals are from the Shoe Camaraderie workshop last April. 

Thursday, 6 November 2014

Papercut Rigel Bomber

This is the project that seemed doomed.  I had all these jacket plans for the summer, hatched on that bed in the hotel room in Arizona in May.  It looked, from that vantage point, like I'd have so much summer time to sew jackets!  You may note this is only the second jacket.  There is a third one still out there waiting to happen.

Fabric: Marc Jacobs grey wool tweed, from Mood.
Lining: silk from ramieandlinen on Etsy.
Bands: Pacific Fabrics in Seattle.
Zip: my new local shop 'Nählädeli', after the worst, longest hunt ever.  Who would ever believe that a shop open for about 12 hours a week in a village of 1000 people would be the one place I would find this zip?

Size: XS or XXS?
I sized down (XXS) after reading all the blogs.  I figured I wanted this jacket to fit pretty closely and I didn't want the bagginess issue many have had.  Also I thought wool would be relatively loose.  The blogs were very helpful regarding lining, but because I read so many I ended up confused.  Overall I followed Anna's lining recommendations, but I think I was confused by Kim, who drafted her own lining.  I assumed I had to do that, which made this project slow to begin as I was nervous about drafting anything. Not to mention it was unnecessary, and ended up complicating things later on.

I assumed that I would have no problem at alllll with the welt pockets, since no one else did.  I didn't do a lot of prior research.  Um, oops.  I had everything ready, including a US-purchased 35cm zip that has since vanished during the move.  I attacked my jacket front with scissors and installed my first ever welt pocket to discover...a huge honking hole, because you are not supposed to cut your hole longer than the welt covering bit.  Which the instructions, I must say, did not explicitly comment on!  (Don't tell me it's obvious...)

After that I took a break, read up on welt pockets, found out nothing useful, and anyway managed to do most of the second one successfully while trying to figure out what I was going to do to salvage my hopefully amazing jacket.  When I start a project I am always full of this zeal that it's going to be the best thing I've ever made, and whenever I make my inevitable first mistake, comes the sad downfall that it might not, after all.  That made me hesitate for a long time, because my expectations were so high and my huge mistake was so early.

Contrary to all other bloggers, I found ZERO useful resources on welt pockets.  Who knows - maybe I need scientific diagrams and words instead of pictures, but I did not return to my jacket edified.  So it sat.

And then I finally was ready to try again and...my sewing machine (the Necchi that I stole borrowed from my mother - divine retribution?) broke.

So I packed this baby up in plastic bags, assumed it was hopeless forever, and shipped it to myself, where in a new, leisurely mood and fully freed from any expectations, I faced down the big massive hole in the front of my jacket, and realised there was no way I was going to undo everything and make a new front.  The hole had to be hidden, and it was doable thanks to the loose weave of the tweed and well matching thread.  There's a bit of a fold where I had to pull the fabric around the hole, but I was saved by how the tweed eats the thread so it's invisible.  I sewed a zig zag over the remaining hole and then sewed the last bit by hand.  Salvaged!  And I still really have no clue how welt pockets work : /

The rest of this jacket went along in the same leisurely fashion.  Because of my self-drafted front lining, but normal back lining, I didn't know exactly where to attach the facing to the lining, since they didn't share a seam.  The bottom front where the binding, lining, facing, and front come together was also a puzzle that got pinned and repinned many times.  I sewed it only just before putting in the zip.


It is not as baggy as it looks in these pictures!


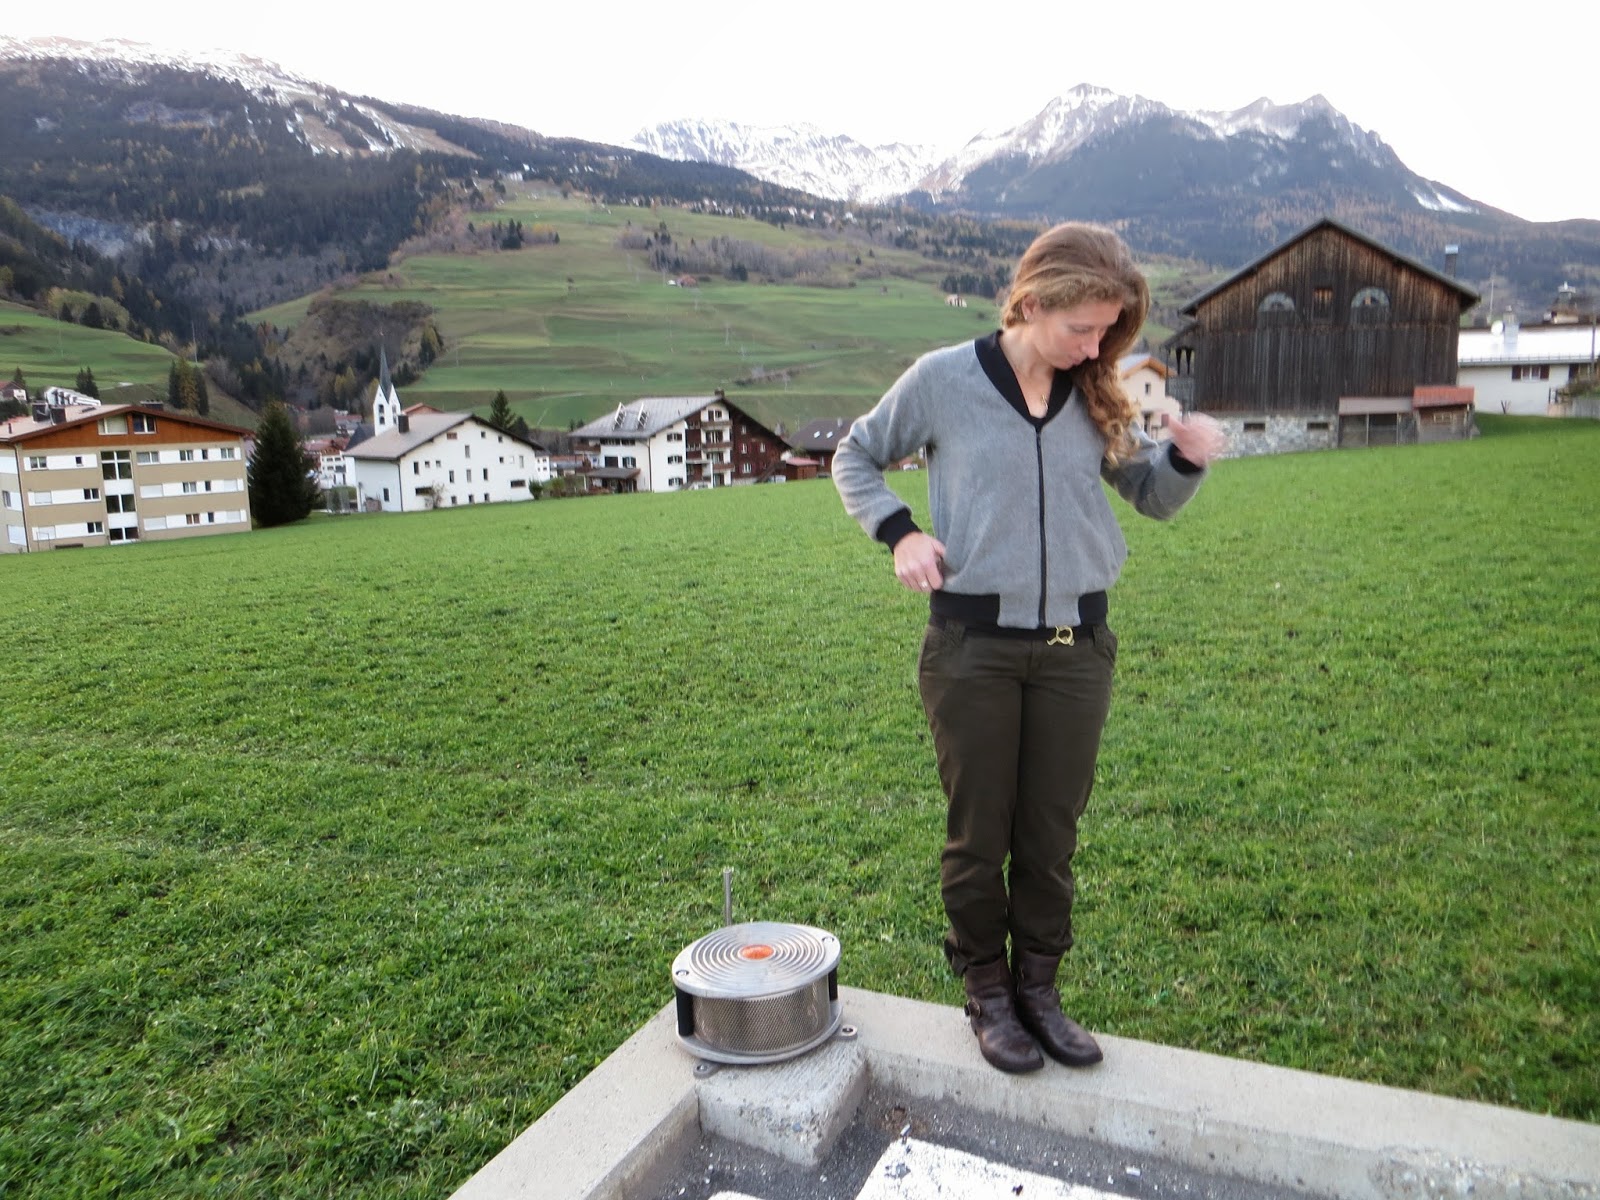
Thanks to my coworker Isabelle for the photos!  Many of them are taken at the side of the hospital heli-pad, which at least has a nice view.

I sewed it mostly like Anna, as I said above - normal jacket together, lining together, attached them by sandwiching the hem band in all layers.  After that I diverged slightly.  I sewed the facing and the lining together by pinning everything into place and approximating where they should overlap.  Next I sewed the sleeves in using the Sewaholic method from the Minoru, so my sleevebands were also fully enclosed.  I sewed in the zip and finally sewed the facing to the zip and all the way around the neck.  My technique maximised what I could do without a zip, since I didn't have it until the very end.  Also, my final seam ended up being along the zip and then the neckline, and therefore basically invisible, while sealing everything in.  The most finicky spot was the bottom of the facing/front beside the zip, which just had to be very well tucked together and ironed before I could sew it shut.  This worked nicely in my wool, but if you were planning less visible topstitching on finer fabric, it might not look as well.

What I would do better:
-the thin silk pockets, I would interface the silk.  They are important in a jacket like this and I feel like they are going to fall apart, especially since my welt pocket skills are still just about zero and I'm not totally sure how I attached the pockets to the jacket.

-On size and fit: If you are not short waisted, and if you don't have proportionally short arms, then make the arms longer.  I changed nothing, and this baby hits just above my hips, and the sleeves hit exactly at my wrists.  If I wanted it cozy, baggy, or to go over sweaters, I would need to size up.  To go over a tshirt, it's perfect.  The binding does make a blousy effect at the bottom, no matter what fabric you use.  If you don't want this, then make the binding longer than the instructions ask for.

Ok but, shockingly enough and despite everything, my jacket is totally amazing.  Of course, it snowed yesterday...

Saturday, 16 August 2014

Style Arc Lorie jacket

This is the first pattern by Style Arc that I have done.  I knew ahead of time that the instructions are sparse but sufficient.  Many people don't like that you only get one size with Style Arc, so the first few patterns are needed to test out fit.  I have heard that the sizing is consistent, so once you do settle on a size, it generally fits well.  I used my measurements to order a size 8.

I expected this jacket to be quite an involved process.  It isn't a full Chanel style jacket with interlining or any hand stitching, but it does involve block fusing the pieces (which I learned is when you interface every single piece of the jacket except the sleeves!) and topstitching.  I also mitred my first corner - when you make a 90 degree turn while sewing two pieces together.  It went quite well, but does require a bit of preparation because you have to cut the corner right after you turn it, so that the second side will go smoothly.

Because the instructions are very sparse, it's important to cut every notch very well.  I had trouble adding the hem band to the jacket because no matter which way I flipped up, the notches didn't match.  I was concerned because it's supposed to be fitted at the waist with some flare, and I thought if I got it upside down, it might not have the desired shape.  Other than that, I did find the instructions sufficient.  The only other place that I had trouble was the final step - attaching the sleeves inside out.  I recalled from my Minoru that this can be tricky but I sewed them up with no problem...only after I tried to turn the jacket right side out it had become a Mobius strip...

I learned something about fusing in general during this process.  I had block fused my pieces following the instructions.  I was using a very stable double knit cotton twill, and the fusing is probably most important if the main jacket fabric is loosely woven, Chanel style.  My lining, however, was a very light silk-cotton.  I thought it was probably too light to be a lining, and so I used bemberg for the sleeves to make sure they could take the stress.  In retrospect, I would have done better to not fuse every piece of the jacket, and to fuse the silk-cotton pieces instead. 

The main stopping point was waiting for my special order lavender 19" zipper to arrive....what a pain! It still wasn't perfect but I was so sick of looking for zippers that I finally decided to go with it and see how the jacket would turn out.  I was considering this a muslin project and when trying it on without the lining I was suspicious of the fit - it seemed very boxy and not at all as fitted or shaped as I expected.  I didn't get to see the final fit until after I turned the jacket right side out with the lining in place.  It was better than before, but I found a few major fit issues that make me totally not interested in ever wearing it.  I guess this is where a muslin might have been a good idea, but without the lining I couldn't perceive how it would fit.

the lightweight lining actually is not an issue once it's in place


mitred corners!


Looks like it needs those shoulder pads!


...yet I have no shoulder room to move at all!


much nicer on Pam!


she's happy - she just got a new jacket!


Major issues:

-extremely narrow through shoulders. I expected my shoulders to fit in the shoulder pad space.  But you see that is vertical space above the shoulders, which looks stupid. My shoulders fit in the sleeves and so I feel like I'm in a straitjacket.  For this to fit, I would have needed about a 1.5" shoulder widening.  Now I truly believe that Style Arc makes narrow patterns through the shoulders.  My lesson associated with this is more general - I think I need to watch what happens with sleeves on me.  I suspect I need some kind of sleeve adjustment but I haven't learned enough about them to know.  Almost any woven that I sew with sleeves has something funny in the sleeve area - enough that those are generally finished projects I pass on to friends. 

-second to the wide shoulder issue, total bust minimizing.  I thought this jacket would be shaping but it's totally shapeless.  My bust is hidden and there's no nice narrowing at the waist (which I expected from the pictures.)  This is improved on a person with narrower shoulders like Pam, and actually was a useful lesson to me about the shoulder widening.  I don't need FBAs, because a shoulder adjustment will add the room for my large upper chest (as I recently discovered, instead of having a high bust measurement that is less than my bust, I have a high bust measurement that is about 1.5" larger than my bust.  I haven't taken the next step of figuring out how much of this is frontal and how much is on the backside.)

-Length is ok, I could for once have preferred it a touch longer.  I'm very short waisted so this is unusual.

As you can see, I found a grateful recipient of this purple jacket at work.  Pam is happy!  She is slightly taller than me, with a larger bust and narrower shoulders.  She loves the jacket!

Monday, 4 August 2014

Batik Belladone

This is my second Belladone - quite awhile after the first one.  Luckily I have a good memory for all the things that went wrong the first time around and was determined to make this version as near to perfect as possible.

Size 38 again, in beautiful green batik cotton from www.emmaonesock.com.  It became important to note that it's really hard to tell which is the right side of this fabric!

On the darts: I shortened the bottom bust darts about 3/4" and lowered the upper bust darts by about 1/2".  I did this after assessing how my first Belladone fit. 

I could actually have lengthened the torso on this pattern - probably the only pattern on the planet that is short for a short-waisted person!  But it's not a big problem, and I didn't really notice it until it was too late. 

I made sure this time to improve on my bias binding.  In fact, I decided to do all invisible bias binding, to see how it changed the fit.  My bias tape was weird double fold, so the results are that everything bound lost about 3/4" - I cut off the extra layer when I folded it to the inside but it still was slightly wider than usual bias tape.  I was concerned this would take away too much fabric but it seems to be ok.  I can attest, however, that invisibly bias binding armholes is no fun.  All the bias-goodness of bias tape isn't enough to make that tape want to go around a tight corner.  I had to stop often, cut my curves, and iron as I went in order to get it not to bunch up.  Interestingly, on the first version where I left the bias tape bound on the outsides, I did not have the bunching up in the back that others have complained of.  On this version, I did, but only a tiny bit.

As before, I bound all my loose seams on the inside.  It took forever, but was worth it.  I still don't know how to bind the seams of the zipper though. I thought I could add some seam tape after I put the zip in, but when I tried it I had no success.  I will probably zigzag it eventually as it's the only open seam.

The only change I made to the pattern was that I lined the skirt.  I used bemberg in teal green that matched my invisible bias tape.  Now the insides are secretly gorgeous!  This is the first time that I've made a lining for something that didn't have one - isn't that crazy?  So I was actually nervous to get the pattern pieces right.  The back is the same as the main fabric but for the front I taped the pocket to the front pattern piece, and then cut that whole thing out, avoiding the seam allowance from the pocket.  I also didn't know how to deal with the zipper.  I treated the two layers as one when I installed the zip, but below it I had to separate them and seam them independently.  It is a little messy but is hidden between the layers. 

My close attention to detail meant that this dress - which could easily be done in an evening, actually took forever...in my parlance that means more than a week.  And one reason was because of that little problem with the fabric right and wrong sides.  I accidentally made the back skirt darts on the same side, so I didn't have two symmetrical backs.  I noticed it after I had sewn one side on, and already cut the seam down...then I realised the other panel needed to go on that side, because the sewn on one was definitely wrong-side out.  So I undid it and had to do a lot of shenanigans to figure out how to match up my uncut with cut seams.  Then I redid the one offending inside-out dart.  This ate up my sewing time and I had to leave for a weekend trip with the dress unfinished, grrrr.


Finally it's done, a testament to a great dress after aeons of effort.  I know it's good because I wore it to work, and had multiple patients pause while complaining about how sick they are to say, "Um Doc, maybe this is inappropriate but that's a beautiful dress!"  It seems like you can make a lot of easy dresses in less than a day, but if you want to finish a dress beautifully, a simple dress can take weeks.  A lesson to reflect on, as lately I'm getting stressed by how much sewing I plan into my life, and I'm not always sure I want to be doing all of it.