Showing posts with label awesome!!. Show all posts

Friday, 3 October 2025

Helen's Closet and the Falconer pants of my jean dreams

 Ok so I had made a pair of Helene jeans and they were great.  Right?  Great?!  I was somehow sad and not satisfied and had to re-evaluate what I really want in a pair of jeans right now.  And I realised that my brain has been snapping up trendy ideas without telling me, and what I really want is some oversized sort of banana shaped jeans like a very expensive pair of L'Agence jeans I tried on not long before.  (They are the Cody Rodeo crop, currently $729 in NZD, how is that for ridiculous?)


What to do about this?  Obviously I need to find a new and very different sort of pattern.  I put the idea to my friend Tessa who had just made the Falconer pants, about the day after they came out.  I chewed on the idea.  And I realised with some pocket modifications, and possibly the addition of knee darts, I could largely copy the cool bits of those L'Agence jeans, although I do not have access to pale or heavily stonewashed denim, I could make do.  

I got to work, prepped a size 6, shortened the rise 1" and the length 1" to account for being a short human. 

Increased the size of the pockets quite a bit (I don't now recall just how much) and split them in half for a vertical seam, a la Design Feature.  The pocket is still sewn into the back seam as per the pattern, but the front overlaps the front seam to create something closer to my Vision. 

Got scared off the idea of adding knee darts.  Too much was already happening.  A new pattern, jeans topstitching, the Pockets...in retrospect I do wish for them to break up the expanse of denim, but there's always a next time.  

As I was sewing I applied my pockets in the recommended location to start - about 1" from the waistband.  I wasn't quite sure where I wanted them, other than knowing they would overlap the front seam.  But once I had done one side, including so much beautiful topstitching, I realised that was way too high.  Some deep sighs were made and the seam ripper engaged.  I ended up placing them lower, hoping that's a good spot for me to reach and put lots of things into. 

I have to also specifically comment on the instructions in this pattern.  They were pristine.  This is one of the best created patterns I have used in a long time.  The fit is perfect - exactly as anticipated by the pattern measurements.  I have not used heaps of Helen's Closet patterns, just the Blackwood cardigan, which is great but very narrow in the arms, and the Orchard dress which did in fact fit really stunningly well despite being simple - in those easy patterns I haven't really paid much attention to the greatness of her pattern detailing before.  I might keep a closer eye on her other patterns - I know the Winslow culottes have gotten heaps of love, so something to consider as we get closer to summer.  I am also just now noticing the Ukee shorts might fit all my pattern desires for a pair of Patagonia-like summer shorts...something to think about. 

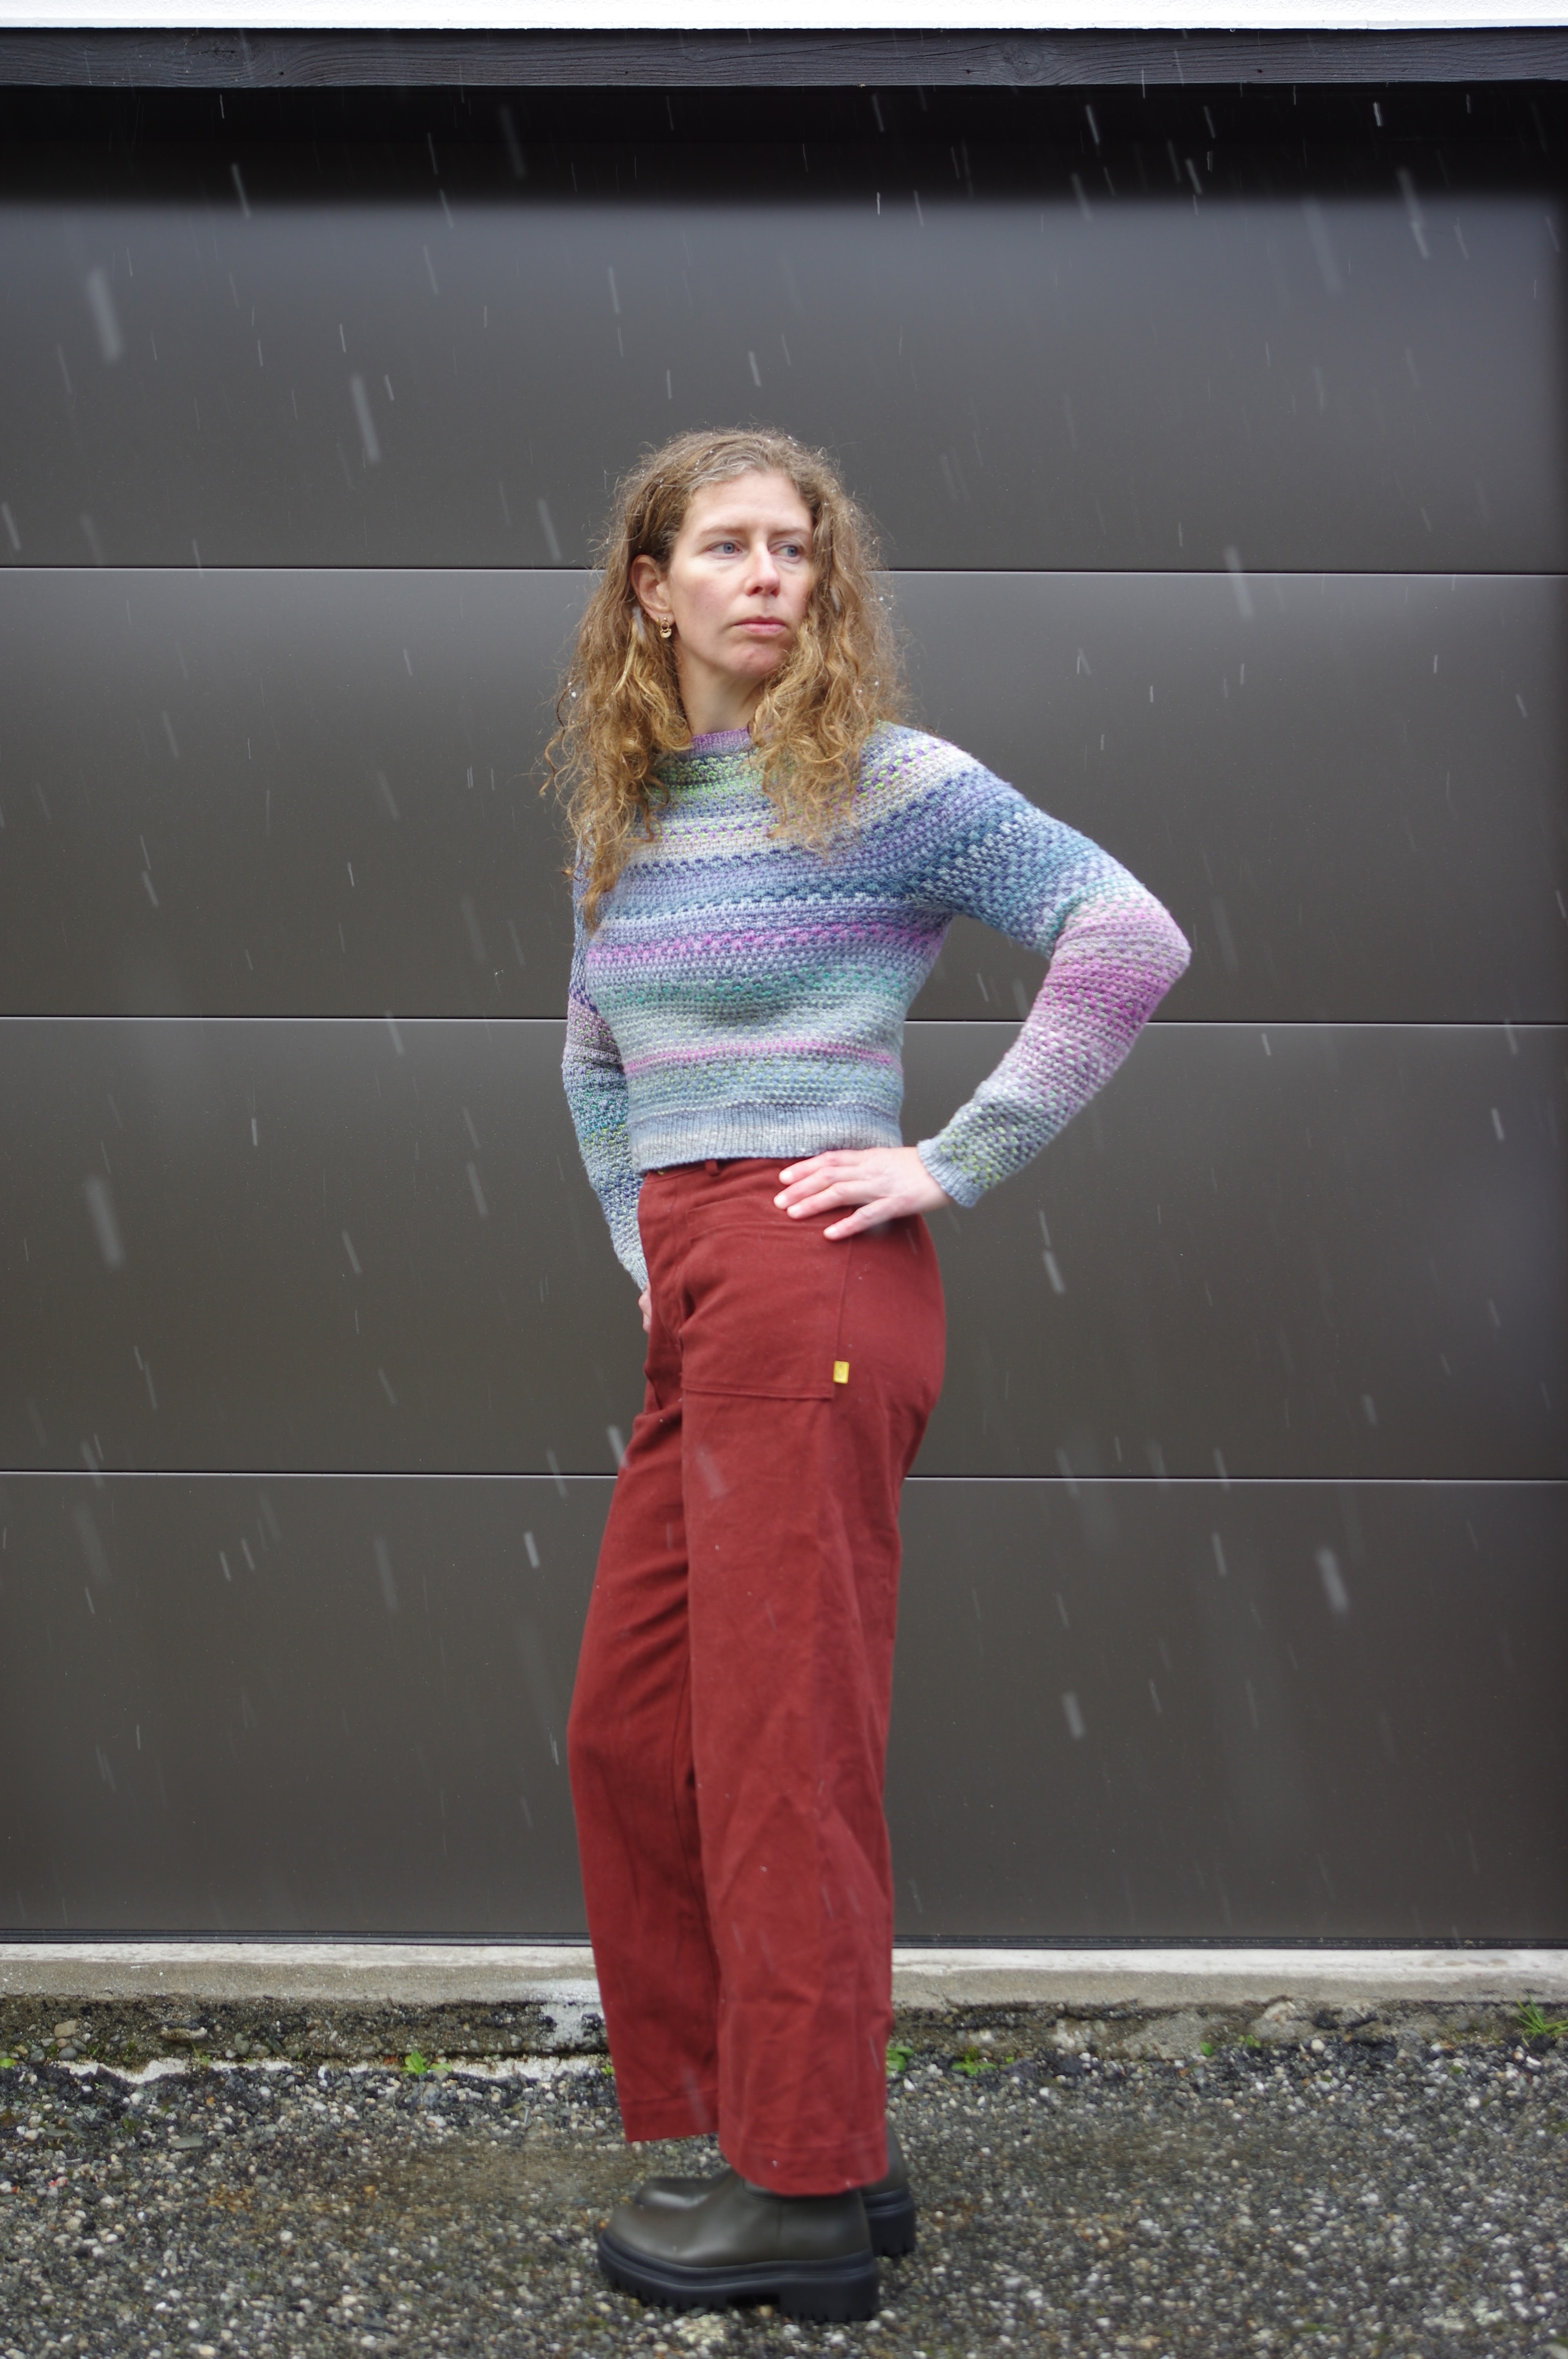
Anyway here we are: 


I had told my Thursday knitting club all about my desire to make these pants, including the L'Agence photos etc.  The ladies in Thursday knit group are older (it meets at 10 am) and we had gotten into an argument about whether one could make jeans that look as good as store bought.  They are a demographic who are largely pretty familiar with their sewing machines even if they no longer sew much.  I had already worn in my new Helene jeans to win this argument, and I followed the discussions by wearing in my new Falconer jeans the following week.  

Not only have I won, but a lady is totally converted and has dusted off her sewing machine and made multiple pairs of her own Helene jeans and Falconer pants since then.  What a great win!! 

I love these pants.  I like the super high waist, the loose fit, the length. The pockets are massive and fit everything.  I don't love my stiff denim and we will see, maybe I'll pumice it up a bit to see if I can get it to soften.  Otherwise I am happy in all ways, for once.  (Except now I want a pair that is full length, and in some pale blue denim....)

Monday, 28 August 2023

Persephone, dear, it's been awhile

 Gosh how has it been this long? I last made some Persephone pants in 2019!  

I made three separate versions of these, somehow struggling to commit to an actual heavyweight fabric, and playing around with the rise and the size.  I started with size 4, then I removed the pockets and some of the rise, and then I finally tried out a size 0 (which was a bit of a leap).  The first pair were fun for awhile, the second pair shredded, and the third pair were way too tight.  

So I pulled out these pattern pieces and this heavyweight brick twill (finally!)  All the work has been done fitting and I have made these a few times there are no surprises to the process.  They are a size 4.  There is 1" removed from the rise plus I cut off the top at the size 0 line. I lengthened the darts since previously they were a bit fat after all that cropping.  I cut the waistband much longer than the pattern piece so I wouldn't have to worry about easing it (some flashbacks to terrible Philippa pant experience here, I don't think the Persephones needed to be eased.)  I also narrowed them to size 0 at the hem to see if that would keep my bike from chewing on the cuffs.  I used Pomona patch pockets on them. 

These came together relatively quickly, without any harm to the maker, and with minimal screaming at my sewing machine.  I did the fly buttonholes easily on my normal machine, and after a single attempt at the main button I switched to the Bernina right away because I have learned it is not worth expecting my Pfaff to do a serious buttonhole.  


Hooray new pants!  They are too airy for winter and I got cold the first day I wore them. The patch pockets still don't really solve the problem that I can't get things into them.  One solution would be pockets with darts at the bottom and kind of bellows shape so they stick out and are ready for me to put things in, but as I wore these I realised the other solution would be to put the pockets much lower down where there is space for me to get my hands into them - I'm not sure how this would look.  But none of that belies how great they are!  I think they are safe for my bicycle too which is excellent.  Overall it took me years, but I finally have a perfect pair of Persephones in my closet. 


Thursday, 20 July 2023

the True Bias Sutton top is pretty rad

I had always planned to make another Sutton!  I loved my first one (hrm, actually it is the second!) made from a silk remnant, but I eventually gave it away because I wasn't wearing it enough and I just love giving clothes away.  When I made it, I felt like you need an overlocker to do this pattern justice and get a really beautiful clean finish.  The centre front seam doesn't work particularly well with a French seam.  I loved the fit on me in the silk.  So I planned to eventually make another one, but it was one of those ideas hanging out in the background.  Before going to Tahiti I decided to use this beautiful scant metre of Japanese fabric to make one for my friend R.  I love this fabric but I don't think the colours suit me. I had tried to fit many dresses onto the piece, but it was just too small.  

 So here it is: size 2, and with the same modifications as previously, I guess! I really thought I had not modified it at all...but I had completely forgotten about my first version of the top, and on the second I commented about the dots not matching up.  I am using the same pattern pieces as before, so I guess I must have shortened it, and it's possible that I shortened the front more than the back.  Now, of course, since I did use the overlocker I probably didn't even notice those dots on the pattern.  Looking back over the versions, this really does better with a very floppy fabric like silk.

 I was a tiny bit lazy about the back pleat since it's not for me...


This confirmed my desire to make one for myself.  I have a designer voile waiting, and a lightweight silk cotton that I think will be a good underlining, and I have a scrap of rayon as well - not sure I need two versions of this top, but it's a really fun, satisfying make, and it doesn't take much yardage.  Now it's the depths of winter and I'm not too rushed to make these but as we get towards spring I will probably actually do it!

Wednesday, 15 April 2020

Waffle Dropje shearling vest

I know, all I do is complain about what's wrong with patterns and then I go and make four of them. (here, here and here.)
Wellll you'd think by now I would have perfected this one.

This concept came to me fully polished while I strolled through Upper Mustang in Nepal.  Yep, it was hot and I was sweaty and hiking up hills of dirt, and I was thinking about making a vest out of animal skins.  I never said I was logical.  I did however drive straight to The Fabric Store from the airport to pick out my skins, and the vest was put together the following day.  However they were one skin short so I had to hold my impatience together while waiting to put on the hood.

I had some trouble figuring out the size.  My last post was oddly vague and all my pieces appeared to be size 36.  I thought I had sized down.  I decided that on a shearling vest, oversized was totally ok.  I went with about 1 inch longer than the pattern piece length, but no waist binding.

For the stretchy side panels I used two layers of merino which I sewed together along the top and bottom to enclose them.  Then I just sewed them to the front and back as normal since those seams won't unravel. (Note: I topstitched them down *to the merino side* not to the shearling side, a fact I just recently thought may have caused later problems...)

I then relocated to Greymouth but luckily my new office manager had a sewing machine so there was no problem! I managed to just barely tease the hood pieces out of that finicky little Singer.

I didn't have leather needles, and my usual sharp needles were not very good - I did most of this using the needles that come with sewing machines that are always in the little hidden storage area.  It was heavier duty and generally didn't skip stitches.  The borrowed Singer was not as good as my Pfaff, and I was really nervous about putting on the pockets.  They aren't perfect, but they are definitely fine and are so so cozy!  I just used a piece of paper to measure about how I wanted them, and then traced two.

This project stalled after that because I was moving and didn't manage to keep all my little bits in one place, but also because I noticed something right away - little rips occurring forwards and back of the merino stretch panels.  I could see that is a spot which has increased wear from pulling it on and off, and the leather can't give the same way the merino can.  I had no idea what to do to fix this.  I thought anything I put on it to bind it will be hard to get on and might make things worse.  I don't have access to an industrial sewing machine that might be able to manage lots of layers.  I asked a lot of friends, and my mother, and didn't get any useful ideas.

Luckily despite my impasse, I planned the rest of the steps for this vest!  I bought the bone buttons in Kathmandu specifically for this project, and then got thick waxed leather thread to apply them.

I planned to use strips of the original shearling for the button holders, and I saved the edges of the skins where there was no furry back.  I strengthened them by stitching down the middle of each piece. All the bits were together, waiting for success.  I even realised I could use grommets in the front for the buttons to strengthen them.

Friends told me that if I used grommets around the armhole it would redistribute stress.  I was finally reunited with this project, all those bits, and my grommet kit, however when I was making shoes recently the grommets were a huge catastrophe and all came out bent, so I worried I wasn't on the road to grommety success.

Fast forward to Isolation 2020!  Haha in between binging on whatever project enters my head in a wheeling free for all of sewing, I decided it was my duty to do my old, scary UFOs.  (Also two bras sitting on my desk collecting dust ughhhhh).  I got out the grommet kit and -ahem- read the instructions.  And realised I was using the wrong bits to put grommets in.

I tried to sort through these pictures but I couldn't choose which strange expressions were less strange than the rest so I kept them all.  Go figure I decided I needed an exotic photo shoot right when gale force winds started blowing!


So that's it, in one morning I: installed grommets all over the place.
Put in the buttons.
Sewed down my button holders, just as I had imagined MANY TIMES in the past two years, thank god I'd already marked placement and everything!
I glued the little rips with shoe glue
And for extra support I did a few sets of stitching down the seamlines of each of those suspicious seams.  I'm hoping between the grommets, the glue, and the stitching I will have redistributed stress enough that it won't rip any more, but I'm also more prepared to glue the entire armholes, or even add little strips of leather for support if I have to.
And then I was so excited I went and took those pictures.


This project really stretched my sense of what I could do.  I started out with inspiration and my inspiration was totally, perfectly fulfilled.  Did I mention that I even reshaped the front of the hood to cup my head without a hood drawstring?  So many perfect plans went into this, but it actually took me all of those two years to get the skills, equipment (shoe glue, miracle worker!!) and sheer determination to deal with the unexpected issues that cropped up.  Sometimes things do need to sit in time out for awhile.