This Sallie top is totally cobbled together out of scraps. I adore this rayon and wish forever that I'd bought 12 meters instead of just 2. I was struggling to find a pattern that I could use for it. Trying to mix and match a bunch of different weights of jersey turns out looking very homemade, so I wanted to avoid that. And luck had it - I couldn't make a Renfrew out of it because I would have had to use different sleeves and bindings. But I could fit the two pieces of a Sallie out of it - and I had been musing on making a Sallie top.
I was going to upcycle a merino wool skirt for the lining but the skirt looked like loads of fabric...until I got cutting. No matter how I turned things, I could only get one piece out of it, and was left with the conundrum - what could I put together with that? I ended up using some black stretch silk left over from another project. I knew it would be tighter and so I used that as the front. It's also rather short but you can't tell.


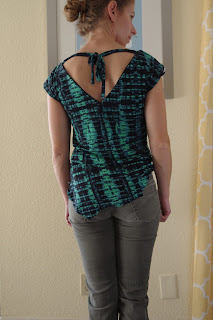


I made the top as normal. As you can see I didn't do anything so boring as cut the bottoms even, I just left them as the bottom of the fabric. It's important when making this as a top to still sew that line of stitching along the bottom in order to hold the layers together - that is what keeps the neckline from rotating out. My common denominator was the bottom of the silk, so I sewed at that level all the way around - but it wasn't done yet when I made these photos so that's why the lining peeks out a bit.
This was really an epic save. I got a second top out of the best fabric ever and it's got a cozy silk and wool lining and I love the ragged bottom. As you can see, since I carried that ragged theme over and made a two-layer Renfrew out of tissue weight jersey from Anna ka Bazaar:


 This fabric was meant to be a Sallie back when I bought it, but it was much more transparent than I expected so I set it aside. Then I was going to make a Style Arc Kylie, but after looking at the pattern pieces I realized there was no way I had enough fabric. (Reality doesn't seem to come into play when I buy patterns - I always assume I can somehow jigsaw all the pieces into any size fabric...)
The rule of tissue jersey is to touch it as little as possible. It's nice not to do much finishing but the fabric is still a finicky pain to work with.
I used the standard size 4 Renfrew with a 2 inch shortening at the waist but the length is the length of my pattern pieces. As you can see I didn't cut these even either. I just put the shorter layer over the longer layer. I sewed the shoulders together and the side seams separately. The sleeves are elbow-length and are unfinished at the ends. For this one I sewed the sleeve continuously with the underlayer and then sewed the overlayer separately. I have varied which side I sew the sleeve with and I don't think it matters much.
I thought eventually I might cut the overlayer into something specific but for now I'm leaving it as is.
I was going to upcycle a merino wool skirt for the lining but the skirt looked like loads of fabric...until I got cutting. No matter how I turned things, I could only get one piece out of it, and was left with the conundrum - what could I put together with that? I ended up using some black stretch silk left over from another project. I knew it would be tighter and so I used that as the front. It's also rather short but you can't tell.


I made the top as normal. As you can see I didn't do anything so boring as cut the bottoms even, I just left them as the bottom of the fabric. It's important when making this as a top to still sew that line of stitching along the bottom in order to hold the layers together - that is what keeps the neckline from rotating out. My common denominator was the bottom of the silk, so I sewed at that level all the way around - but it wasn't done yet when I made these photos so that's why the lining peeks out a bit.
This was really an epic save. I got a second top out of the best fabric ever and it's got a cozy silk and wool lining and I love the ragged bottom. As you can see, since I carried that ragged theme over and made a two-layer Renfrew out of tissue weight jersey from Anna ka Bazaar:


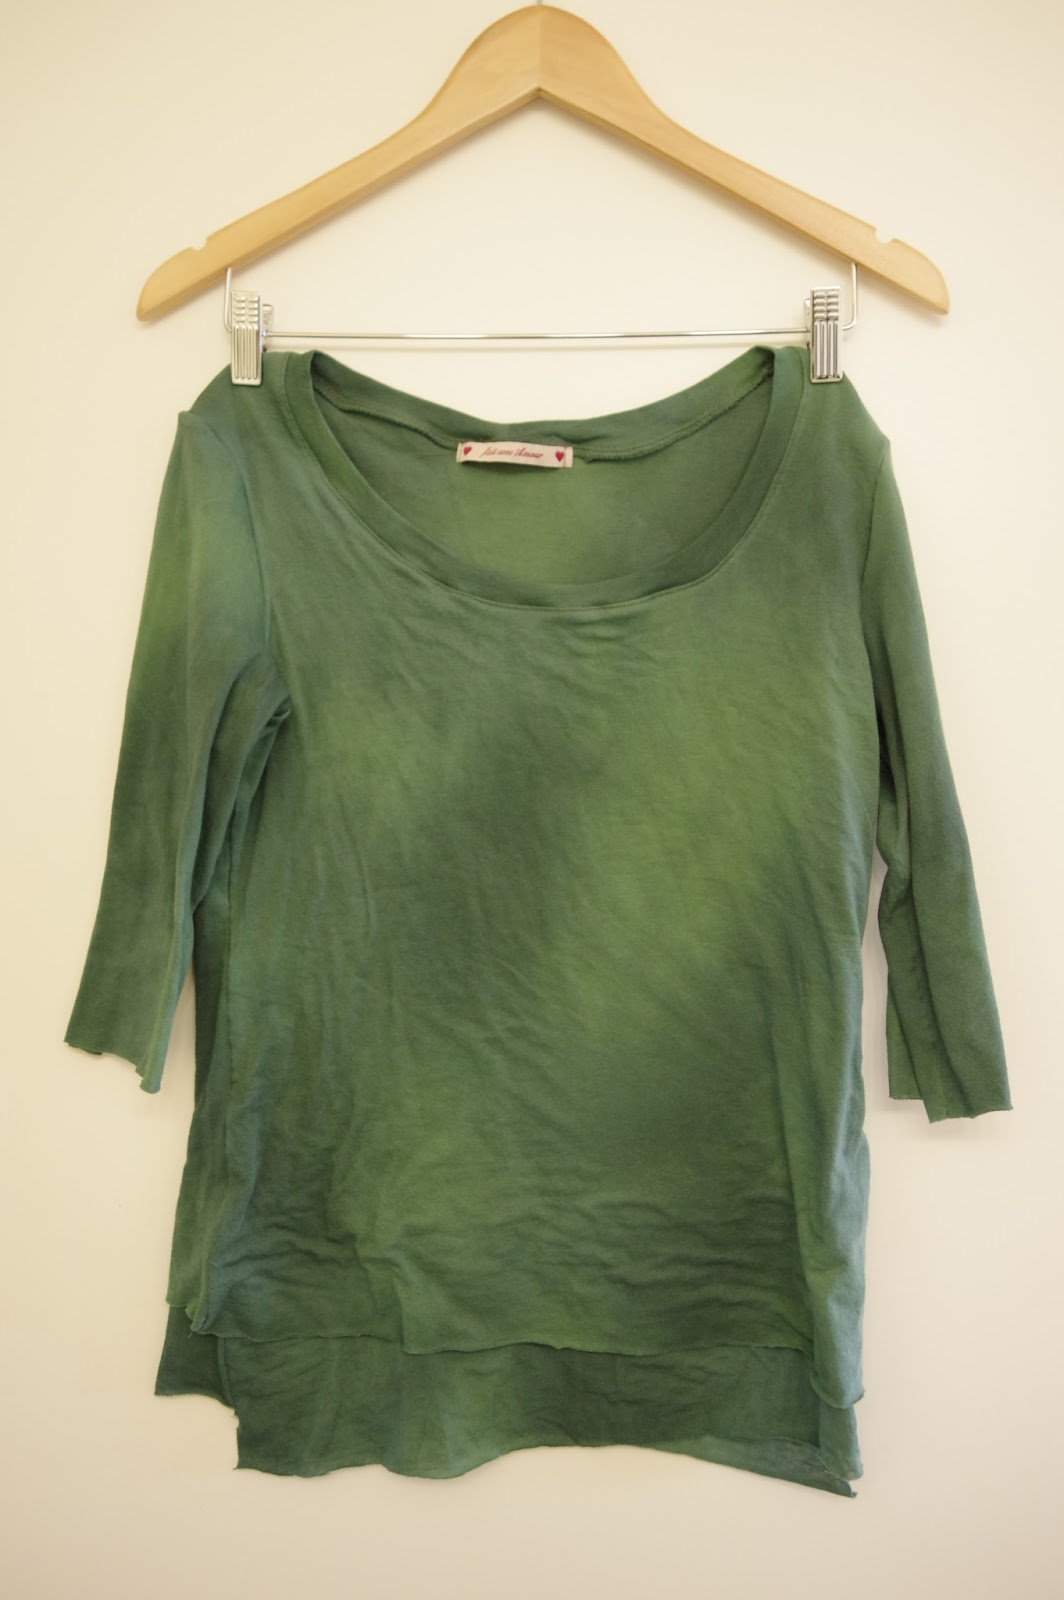


The rule of tissue jersey is to touch it as little as possible. It's nice not to do much finishing but the fabric is still a finicky pain to work with.
I used the standard size 4 Renfrew with a 2 inch shortening at the waist but the length is the length of my pattern pieces. As you can see I didn't cut these even either. I just put the shorter layer over the longer layer. I sewed the shoulders together and the side seams separately. The sleeves are elbow-length and are unfinished at the ends. For this one I sewed the sleeve continuously with the underlayer and then sewed the overlayer separately. I have varied which side I sew the sleeve with and I don't think it matters much.
I thought eventually I might cut the overlayer into something specific but for now I'm leaving it as is.


