Saturday 18 September 2021

Revisiting the multifaceted Halifax hoodie pattern, by Hey June patterns

 This was so long overdue but in my head, there were too many pattern pieces and it was complicated...because there were three versions to this top.  Ridiculous excuse.  I got excited when I had this vision involving some long stashed etro jersey (so buttery, so amazing) and my forever in the queue idea to upcycle cashmere jerseys.  Holey ones.  I finally realised I didn't have enough holey jerseys to make a pair of loungepants, but I might just barely have enough to LINE AN ENTIRE HOODIE!  A friend had just given me the orange one and that was the inspiration to get on with it.

Anyway I started with version B size S.

I shortened it 2" as my previous blog told me to (here) and I used the reverse of the fabric, a merino blend from Otara in Auckland, to create some visual interest.  Great, easy, simple, happy. 


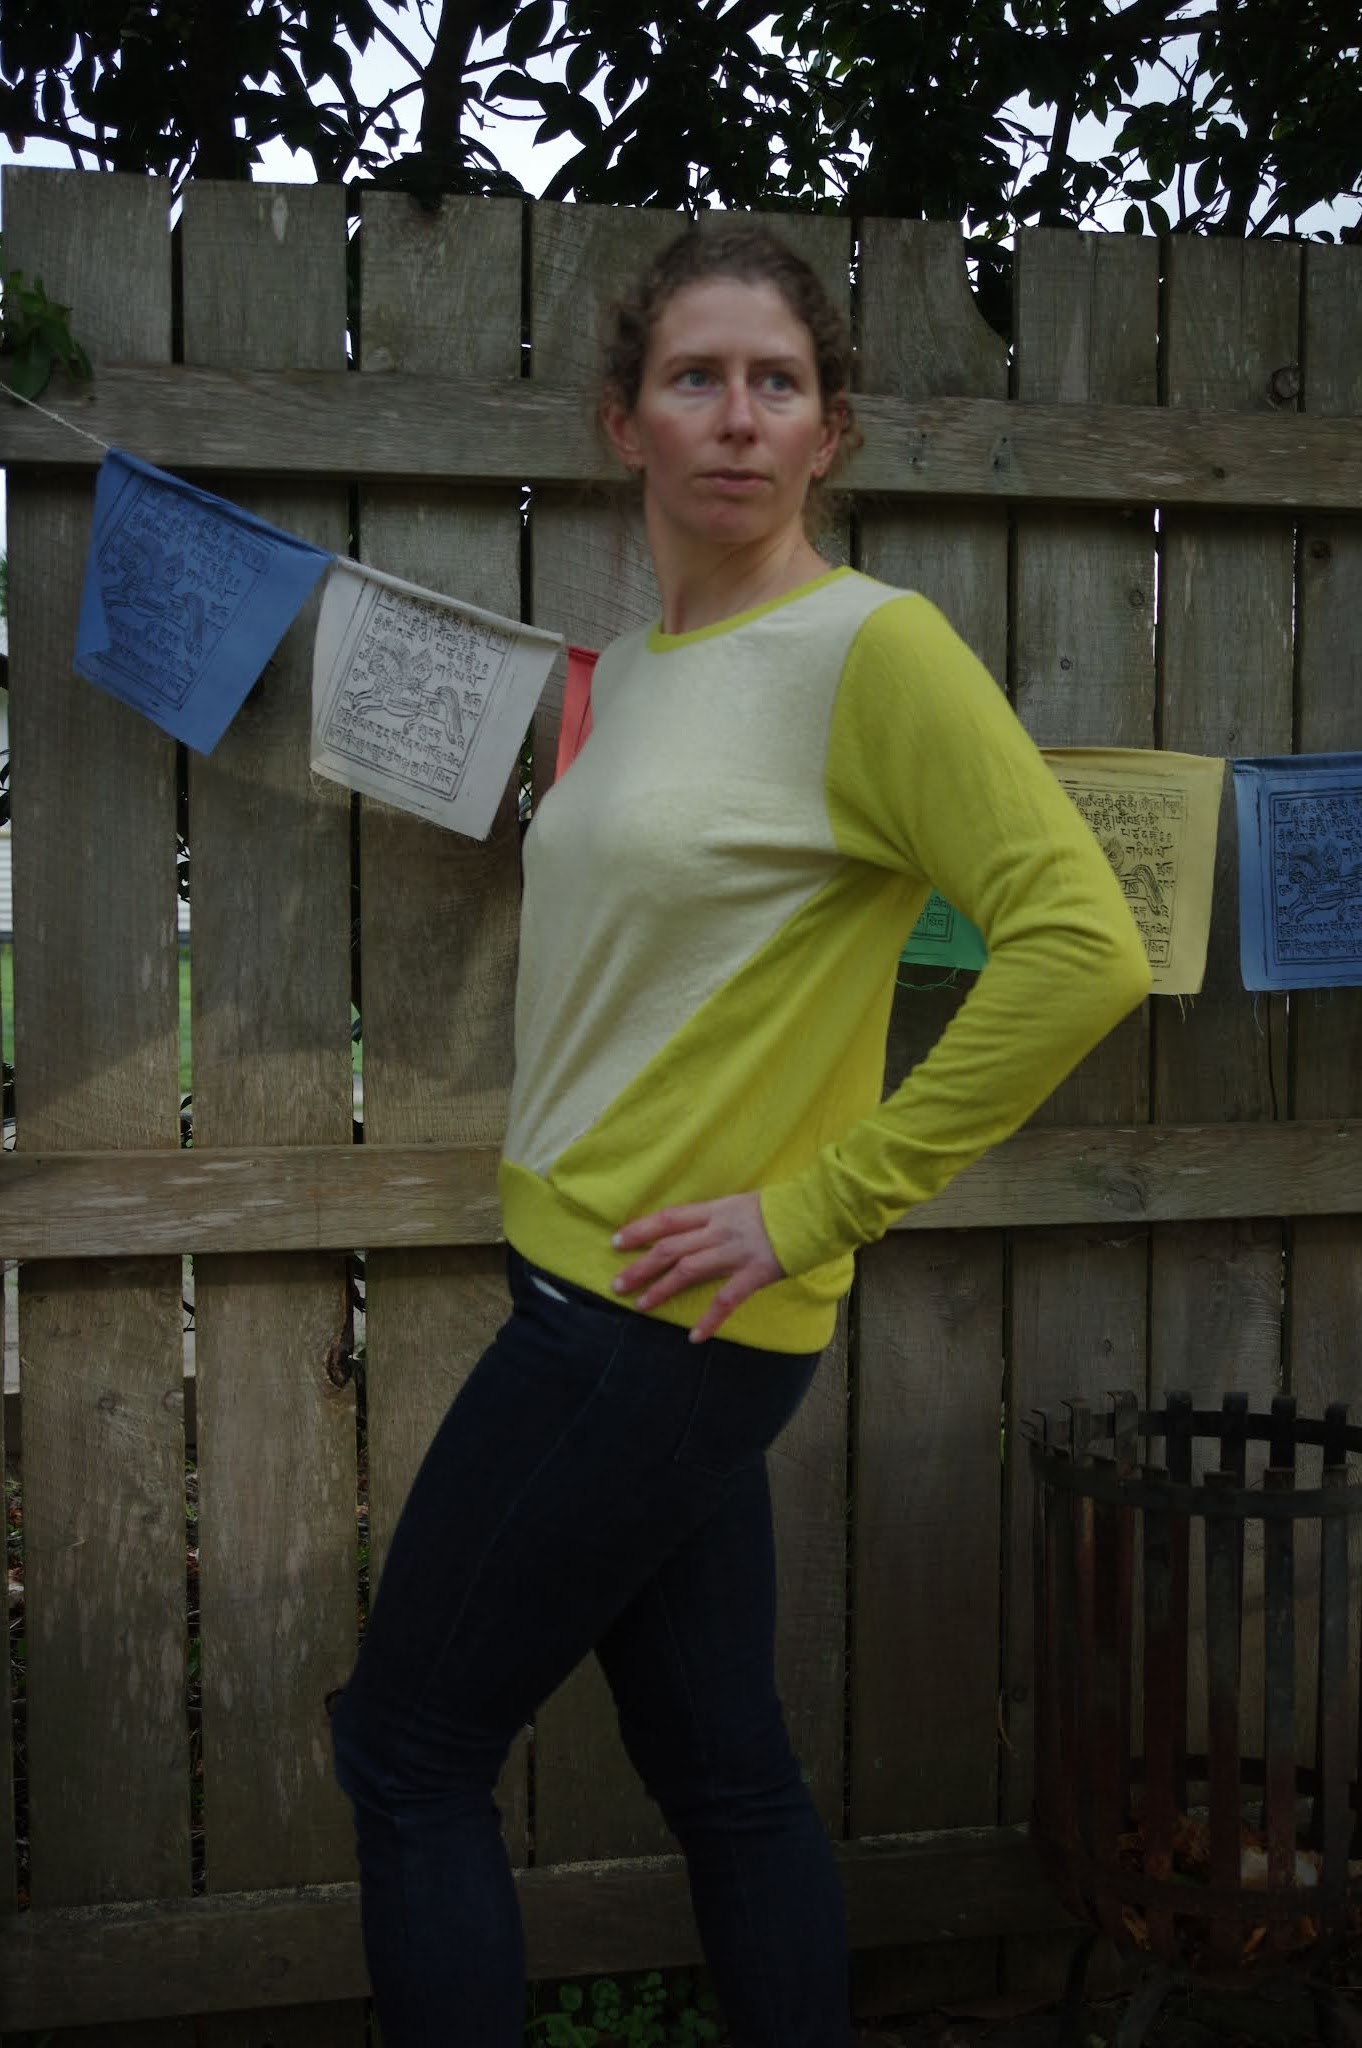
The hoodie took a LOT more thinking and effort.  First I had to tetris pieces of the cashmere to match each pattern piece.  I had to then patch all the holes - I laid more of the same cashmere on, after I interfaced the scraps, and I zig zagged it in place.  I salvaged hems from the black cashmere to use as the cuffs and somehow magically had black rib sitting around to use as the hem.  The pockets are also lined.  And the yellow lining is actually a lighter weight silk cashmere blend I had lying around which was a mystery item, not a sweater.  I didn't have enough sweaters on their own.  It's a little heavier because of the silk, but worked out fine.  


Sewing the hoodie together didn't have too many challenges, it got to be many layers but my overlocker managed ok.  I interfaced the fronts of the hoodie - all 4 of them, prior to installing the zip and it's not quite perfect but it's close enough - at the hem something jumped out of place a bit which is always exasperating but not worth fixing.  I had huge issues when I got to the hood though.  I have recently bought massive grommets and I was really sad that I didn't think to use them.  I used normal sized ones.  The hood was jersey plus cashmere folded over, so the string had to pass through a tunnel of cashmere...and it was catastrophic. I could barely get it through the grommet.  It got lost and tunnelled down through all the layers to some netherland in the mid back of the hoodie.  I had to open my stitching and save my string.  I got it in place at last (2+ hours of torture!) but unfortunately I think it will need to be redone with some very thin waxed cord, because I actually want to pull the hood tight to wear this when I'm cold and it hangs up on the channel and on the grommet hole.  That's a fix for another time.  The hoodie is long despite my previous 2" shortening to the pattern - because the fabrics drag it down a bit.  But it's pretty amazing!  


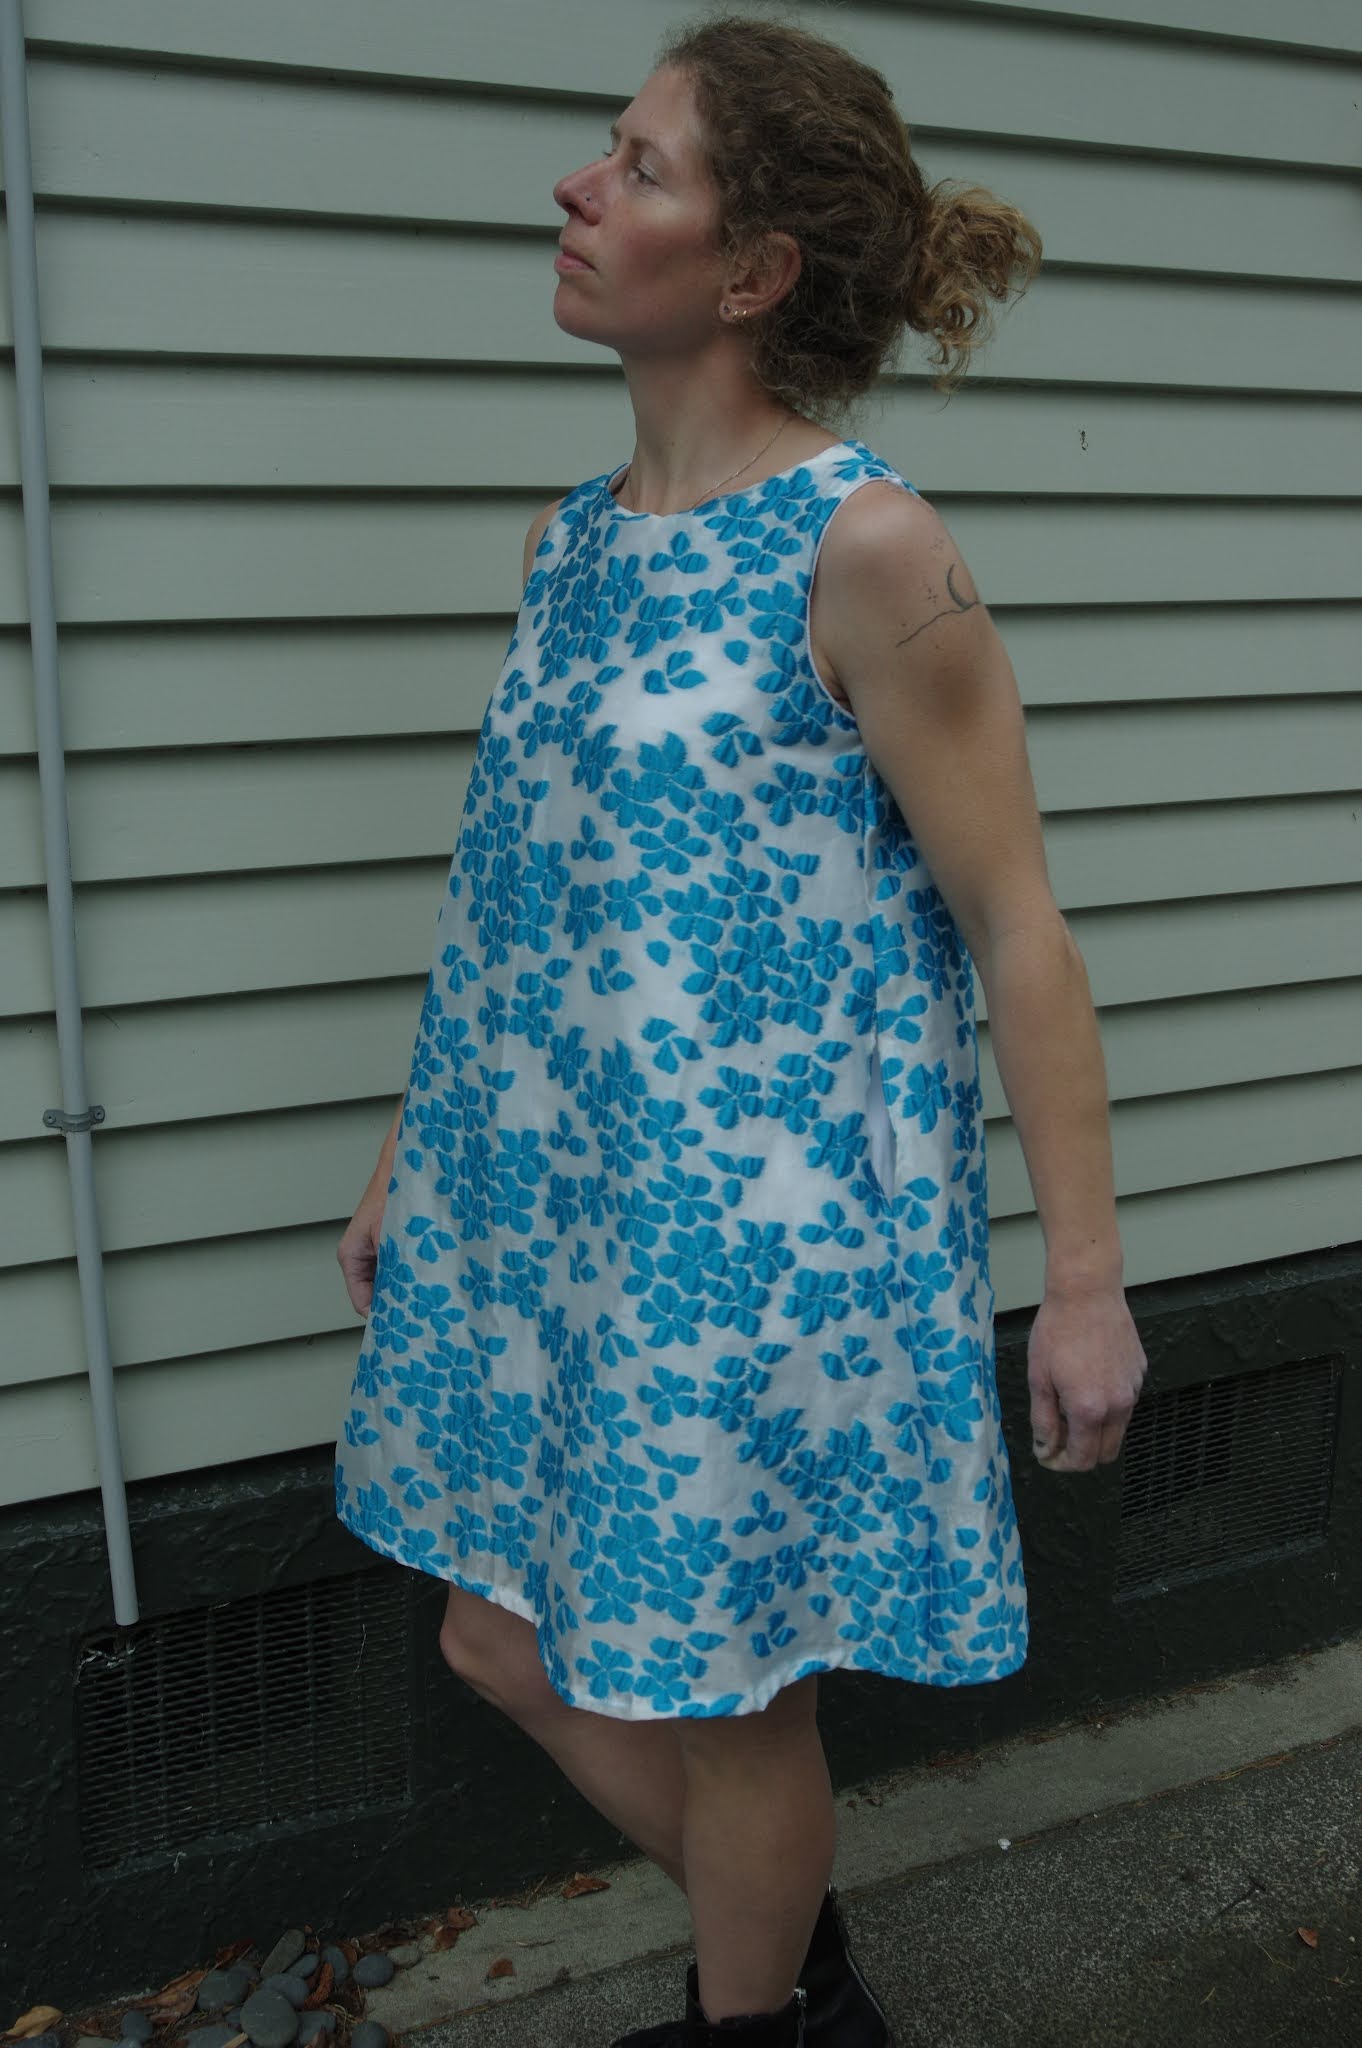
I was, as you might notice, inspired by the construction zone state of my house to advance my photography a bit.  Probably I should put more effort into good photos more often.  I get in the habit of just thinking I'm really quite ugly because I don't bother to take more flattering pictures.  

I was going to do the cowl neck sweatshirt version too but my attention span moved onto something else, so maybe next winter. 

Wednesday 15 September 2021

Free Peppermint Magazine jumpsuit pattern by In the Folds, a review

 So I had made a sports bra crop top thing and that got me thinking about the jumpsuits.  I have been debating jumpsuits for about a year.  In winter there is no interest in wearing a jumpsuit.  Too cold.  Still too cold now, in fact.  But the last few weeks were warmer and so that old jumpsuit idea bounced back in.  I have a very clear vision of what I want and all the patterns are...not quite there.  While I was looking at them, I took a total detour away from my vision and decided to make this free peppermint jumpsuit.  It's one of the stupendous free patterns from Peppermint Magazine.

 I was enthusiastic after seeing this nice version with the zip in the front, and I reckoned I could add some patch pockets to break up the expanse, and if I liked it, I could then modify it massively into that dream vision I have going.  

I then realised I had just the fabric!!!  A recent purchase from The Fabric Box of 3 meters of this beautiful drapey tencel.  I got so excited and away I went.  I saw the pattern is drafted for a very tall person and I wasn't entirely sure where to take away that 10 cm.  I took away 1 inch on the bodice and 1 inch on the legs.  So that's only 6 cm.  I measured all the different places and it didn't seem wise to shorten the bodice further...but where then?  I'm still not 170 cm tall!  I was worried it still might be too long, but I figured tapering the legs and shortening the hems would be an ok option too.

I went by the size chart and debated a bit, then sized down into a B rather than a C.  I always struggle with patterns that show your bust and your high bust measurement, because I don't have a measurable high bust due to back muscles.  Going by how snug this pattern ended up, I should just use my bust measurement as the high bust.  This is obvious in retrospect.  If my bust is 33 due to breasts and my upper bust is 33 due to muscles, I still need the room.  Things are often tight on my upper bust so I will now be paying this more mind.  In theory, since I hadn't thought this through yet, the size B would have 1" ease at the bust and seemed like it would be pretty roomy everywhere else, but it is narrower than that at the high bust.  Luckily the SA is 5/8".  I know jumpsuits need to be roomy but I also thought this one really needs to fit just right at the bust or it will be sloppy, especially since I had no plan to make the tie.  I do not do ties.  

I struggled with how I couldn't try this one through the process!!  I understitched the facings like mad.  They connect under the arms, so they don't flap around and are therefore acceptable facings.  I was very stressed about the centre front zip and did a lot of staring at the pattern pieces before I realised I could copy the seam allowance situation from the back onto the front, and vice versa - which worked out fine!  But felt so confusing!  The process in fact all went way fine considering that I had stressed over it for two days first, and the instructions were totally good and did not irritate me at all.  And then I FINALLY got to try on my clown suit!  And wow the fit at the bust is snug.  Oops.


So I got out the seam ripper and I redid the upper bodice with a 2/8" SA and curved it back to match below the darts.  Whew.  Fixed!  It's good!  I can move now and it doesn't pull too hard across the back. 

I do notice that if I lean super hard forward, it's snug lengthwise, which is probably why jumpsuits are made with a drop crotch and long bodice.  I think I should have made the size C, and that most people would prefer a size up in general if not sure what to do, as it just about catches on my bum instead of flowing neatly over it.  But a male friend gave me unstinting compliments so I guess perfection is not the only goal - the male seal of approval is pretty bizarre, considering this is a pastel print sort of shapeless onesie.  For whatever reason, when I wear it I think it's hilarious, which makes me happy, and that's a total win.  Will see once it's actually (consistently) warm outside how often it gets worn.  I might end up narrowing the legs a bit and shortening the hems so I can wear them rolled up with sandals. 

Tuesday 14 September 2021

Sophie Hines axis tank review

I had read a few reviews of this pattern and was interested but not sure whether I would ever wear something like this.  I have lots of sports bras and I don't really like uncovering my midsection.

But I had this really small piece of pretty fabric from Blended Threads and one day decided I needed it to be this top...bra...thing.  I have no idea how I'll wear this.  I figured I needed to just have it, and then figure it out. 

I made Size 4-6/S. 

This fabric is beautiful but I got a precut and I was trying to be stingy about shipping so I did stupid things like buy half meters of fabric.  Eyes rolling.  It's cotton spandex and has a good recovery.   I read the instructions and actually did what they said, and thus discovered this magical thing - the 3 step zig zag!!  I discovered it last in about 2014 and was totally excited by it for a year or so, and then I think I haven't done the ol three step since.  So it featured heavily here.


Then I figured I was on a binge and I should experiment.  It does not take much fabric - I still have half the width of that half meter cut!  So I went over to the dark side with some rib.  I had traced the XXS but didn't use it and yep, should have used it, this one is pretty loose.  Luckily I have a neighbor who does yoga and it fit her perfectly (before I got photos!). 

Finally I moved on to merino for the high neck version. To my surprise I LOVE this.  I might need to make another one like this before I put away the pattern, and maybe in something really compressive and secure.  Cause ugh, definitely not in merino.  The rolling little shits of bands made me nearly have a breakdown.  I also recommend double layering this in merino because it's quite loose, the bottom band is actually not snug at all.  The pictures make it look like my boobs are gonna fall out the sides but they feel secure enough. 


Now...I think what I need is some overall/dungaree things to wear over these tops.

Saturday 11 September 2021

the Made It Patterns Glide jacket, a review aka PTSD recovery session

 Haha you might have the idea already that this jacket wasn't a walk in the park. 

So let's start with some pictures and you can judge afterwards if it was worth it for me, and if your experience might be better. 


 Disclosure: I bought this pattern the minute I saw it. I loved the lines of the jacket and the pockets and the little irregularity at the hem. It was my introduction to this pattern company, and though I found the description a bit bubbly, I LOVED this jacket and was keen to try it.  Then I followed Made It patterns on Insta and they posted a sweatshirt in February - which I also LOVED - and said it was in testing...soon to come out...well, it's September now and not a hint of said pattern.  In the intervening months I got really pissed off at this cheater advertising.  I also had the pattern printed in March, after I bought the fabric, I read the instructions, and I was so put off by them that this project turned into something I wanted, but that felt like an onerous burden to sew. 

***

Fabric: Outer is a heavy nylon rainproof from The Fabric Store, lining is a polyestery acetate from same.  I bought these specifically for this pattern (rare event!!) which is why I was willing to go with the poly.  The colour matched, and I realised I wouldn't hesitate to buy a sports jacket with a lining like that.   I think the fabric requirements listed are good, because I didn't have much left over.

I made size 10 based on the size chart.  I'm happy with the fit. 

I had the A0s printed. It's quite a few sheets, and no attempt was made to save paper.  There's a lot of empty space on those sheets.  The pieces are labelled pretty clearly and it's nice to have the interfacing pattern pieces to cut out as they are funny shaped.  However, in this relatively firm, tight woven fabric with zero stretch, I think the interfacing was not important.

It took me probably 10 hours to sew this jacket.  Or two sewing days.  It wasn't a super long process even though it was frustrating.  Also, I made the version without a hood, and the hooded version might skip the drama of the collar. 

So, the instructions.  I hated them.  I hated them more than I've ever hated sewing instructions, but I needed them, because there were a lot of quirks to this original pattern, and unfortunately, though the instructions reminded you to use a 3/8" SA with *every single step* and told you to fuckin take a dance after putting in a zip (I'll dance on my own time, bitch) they didn't actually provide much help when it came to places where you needed help.  I think partly it's because there are photos instead of diagrams, so it was often unclear where you were sewing up to when turning a corner.  There are a number of corners.  I had trouble with the corners of the collar, and even more trouble with the corners at the hem.  I came into additional difficulty (which was my fault) because my lining being acetate was shifty while cutting and so on one side it didn't match correctly. 

In the end, my collar isn't perfect.  The instructions have you sew the sides first, then the back.  I had to ease in the back SO HARD it was almost too much for my fabric.  I think it might work better to do the back collar first, and then the sides after.  It also seems to depend on having a fabric that will stretch a little bit so you can ease it in.

The zip installation for the pockets is irritating, but the results are fine.  The center zip is put in as usual so no surprises there, and there are good measurements telling you where the zip should start and stop.  My fronts line up beautifully with minimal effort.  

The hem instructions are so puzzling you have to read them three times, throw them away (but don't throw your computer across the room), and then look at what's in front of you and just figure it out that way.  On the side where my lining wasn't stretched I got a good result in the end.  On the side where my lining was cut slightly off, my result wasn't great and that side crumples up a tiny from pulling.  I'm not entirely sure what I did to get there. 

You are told to tack a bunch of spots down on the inside before you shut the bagged lining (also you only need to leave one sleeve open, not both) - I didn't do the tacks and it means the sleeves keep pulling out, as the lining is too long for them to stay put.  Other than that this jacket looks pretty amazing as long as you aren't a sewist staring at my collar. 

So your choice: ten hours of torture, for a really great wearable jacket!  Also, in case it wasn't clear, I couldn't stand the chirpy instructions with their reminders to take breaks and endless cheerleading.  However, it's a selling point and I'm sure some people would LOVE instructions like that.  The drafting of the dropped sleeves is lazy (to get them to fit, you don't sew the top SA of the bodice, so that it can stretch open when you sew them on.)  But the drafting overall and the attention to drafting detail is excellent.  I think this is a good pattern with clever options and detailing, though I'll most likely keep a wide berth from this company in future.


Thursday 9 September 2021

Merchant and Mills trapeze dress experiment

 I've been planning this dress for about a year.  I first made this pattern ages ago (here) and was surprised how good the fit was.  I was going to make another one but the dream fabric was a bit too narrow and I stupidly didn't realise I should do it anyway!  So the pattern languished without further attention...until now. 

I used size 10 which fit well, so no changes there.

 The outer fabric is a weirdly out of character poly blend from Emma One Sock and I bought it with the idea of doing this!  A two layer dress, and something about pockets.  I was not sure where I'd put the pockets at first.  It took months for me to find some white rib knit (in retrospect it totally didn't need to be rib, any white jersey would have been fine).  And finally I just needed it done.  I decided on a single kangaroo pocket in the front of the lining, and then sleeve gaps in the outer layer so you could reach the inner.  That way the two aren't touching, and the pockets don't touch the outer (which has so much volume on its own.)

I had been sort of mulling over the process for days.  I cut out the lining using the dress pattern but just cut off the trapeze shape below the armscye.  I could have used a tank top dress pattern and saved on fabric but I was insistent in my head that I follow the vision (eye roll) so I did it this way and ended up overlocking off about 5 inches from the side seams afterwards.  I wanted the lining to have seams on the inside so I couldn't treat it like your average lined dress, which has all the seams between the two layers.  For this reason I left the SA open when I burritoed the sleeves, sewed the lining first, and then sewed the outer layer.  This also had the advantage that I could cut off that extra fabric from the lining.  The neckline was fine, but on the sleeves I had extra, and so I just overlocked any extra away.

The rib knit ironically bought for this project was not enough in length, so then I added an extra panel on the front and back to make it longer.  I didn't pay attention and ended up with the front seam on that facing out, but if it's ever visible, it's actually kind of cute. 


In the end I accidentally made an amazing piece of art!  I think this dress is fantastic.  It feels like I have upskilled a level in sewing.  A few years ago, I'd have a Vision and I'd Sew a Thing and it would....NOT match the vision.  It was just...an Experiment...  so it's a shock to have a vision and fulfill it and have it literally be everything I hoped.  

That said, I am giving this to a friend who actually needs dresses and she will hopefully love it as much as I do!  The pocket is so spacious you can fill it with all the things AND it's all hidden.  The amazing fit has reminded me about how great this pattern is, so maybe I'll feel the inspiration and make more for myself.