Sunday 22 October 2023

TPC27: the Trend Patterns Puff back jacket review

 I'm doing unusually well with jackets this season - 2!  Already!  And maybe I can get together my energy for a third?  The jacket list might finally slim down a bit?

Anyway in order to convince myself to get on with this - I cut it out at home and took it to a sewing weekend in Auckland.  It fit on the leftover piece of green poplin (has a kind of windowpane check in it like it's a sporty fabric, but I think 100% cotton.)  This piece was about 1.5 m long but was also about 2m wide, and that's what saved me.  

I had bought the lining and Draper's fabrics specifically for this project. 

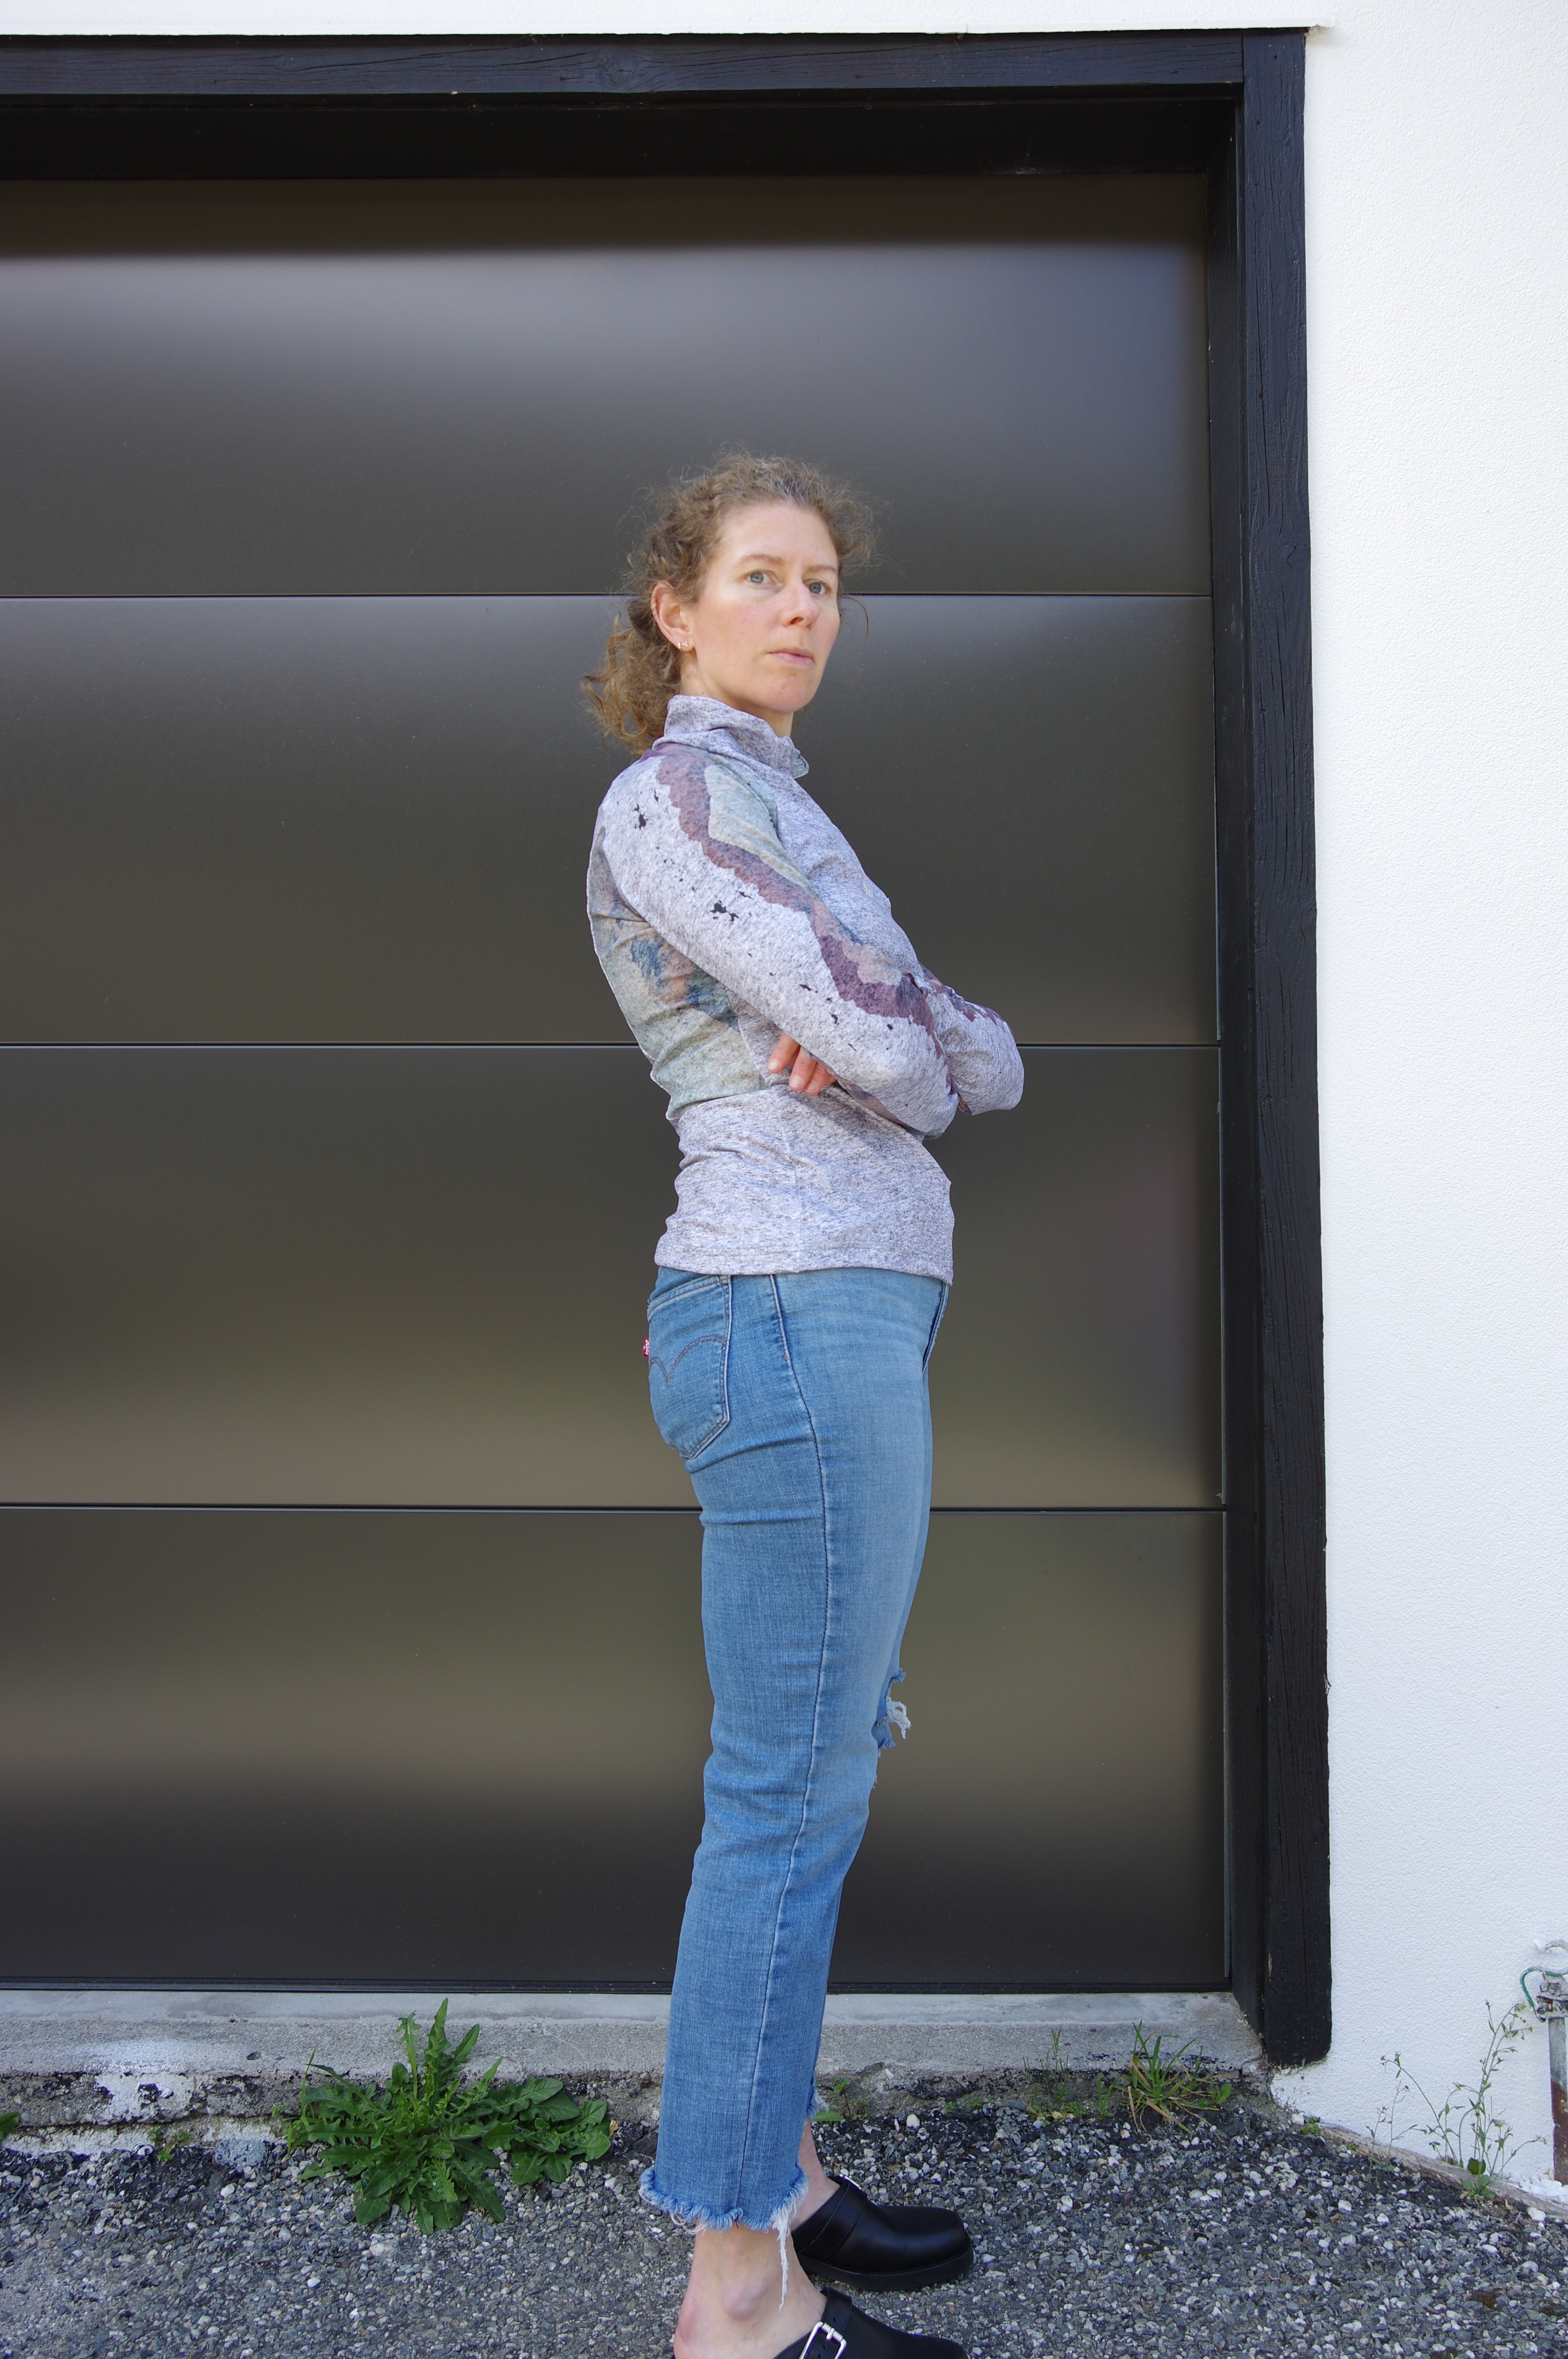
Made the smallest size. I didn't see a normal type of size chart, just a finished measures size chart, and that was very huge, so the smallest size seemed wise. 

Sewing weekend.  Well, I started the jacket the first evening - and still really woozy from 6 night shifts in a row (bad idea, people) - got through the interfacing and prep work, and went to start the pocket, and I came to a screeching halt.  Every single other welt pocket in the known sewing universe is a "home sewist" welt.  The pocket consists of two separate pieces of fabric, and the welt is a friendly little rectangle (or two) that you sew down the sides and flip right side out.  Thus, every single online instruction is for same.  This pocket is constructed using an industrial welt, and there are no tutorials anywhere.  The instructions didn't make sense and I had no assistance.  That one other person who blogged about this - for some reason her blog vanished off the interwebs.  She had complained too about the welt but I know she figured it out eventually and I couldn't remember if her blog had any sage advice.

 Oh god, it was time to do the inconceivable and make a practice welt.  I literally went to bed and dreamed about this, nightmared all night about this welt. 

But I had nothing else to sew.  

I made a practice welt.  After cogitating all night my brain understood this welt still had to behave as a normal home sewist welt.  If you make this jacket or have this issue, the relevant info is that you fold down the top flap inside out and sew it down to a mark, (NOT a bit further!) and THEN the loose little edge is your standard welt edge and that's what you sew to your main fabric.  I am not usually a tutorial-constructing blogger, but if people want a tutorial I could try to make one.  

Things after that went better.  It did still take 3 welt pockets before they were not horrible, so the sides of both welts on the jacket are a bit stretched from me trying to cover my too large holes.  The rest of the jacket caused me no dramas.  

I even, because I was at a sewing weekend and had time, tried to tack down the hem edge against the inside seam allowances.  But still, this jacket has the fault of all lined jackets I have ever made.  The lining at the sleeve comes out because the sleeve facing isn't stuck down.  The hem bags down and doesn't look precise.  I had all the time, and I ironed a lot, so that hem edge at some point looked great. Not so much now. 


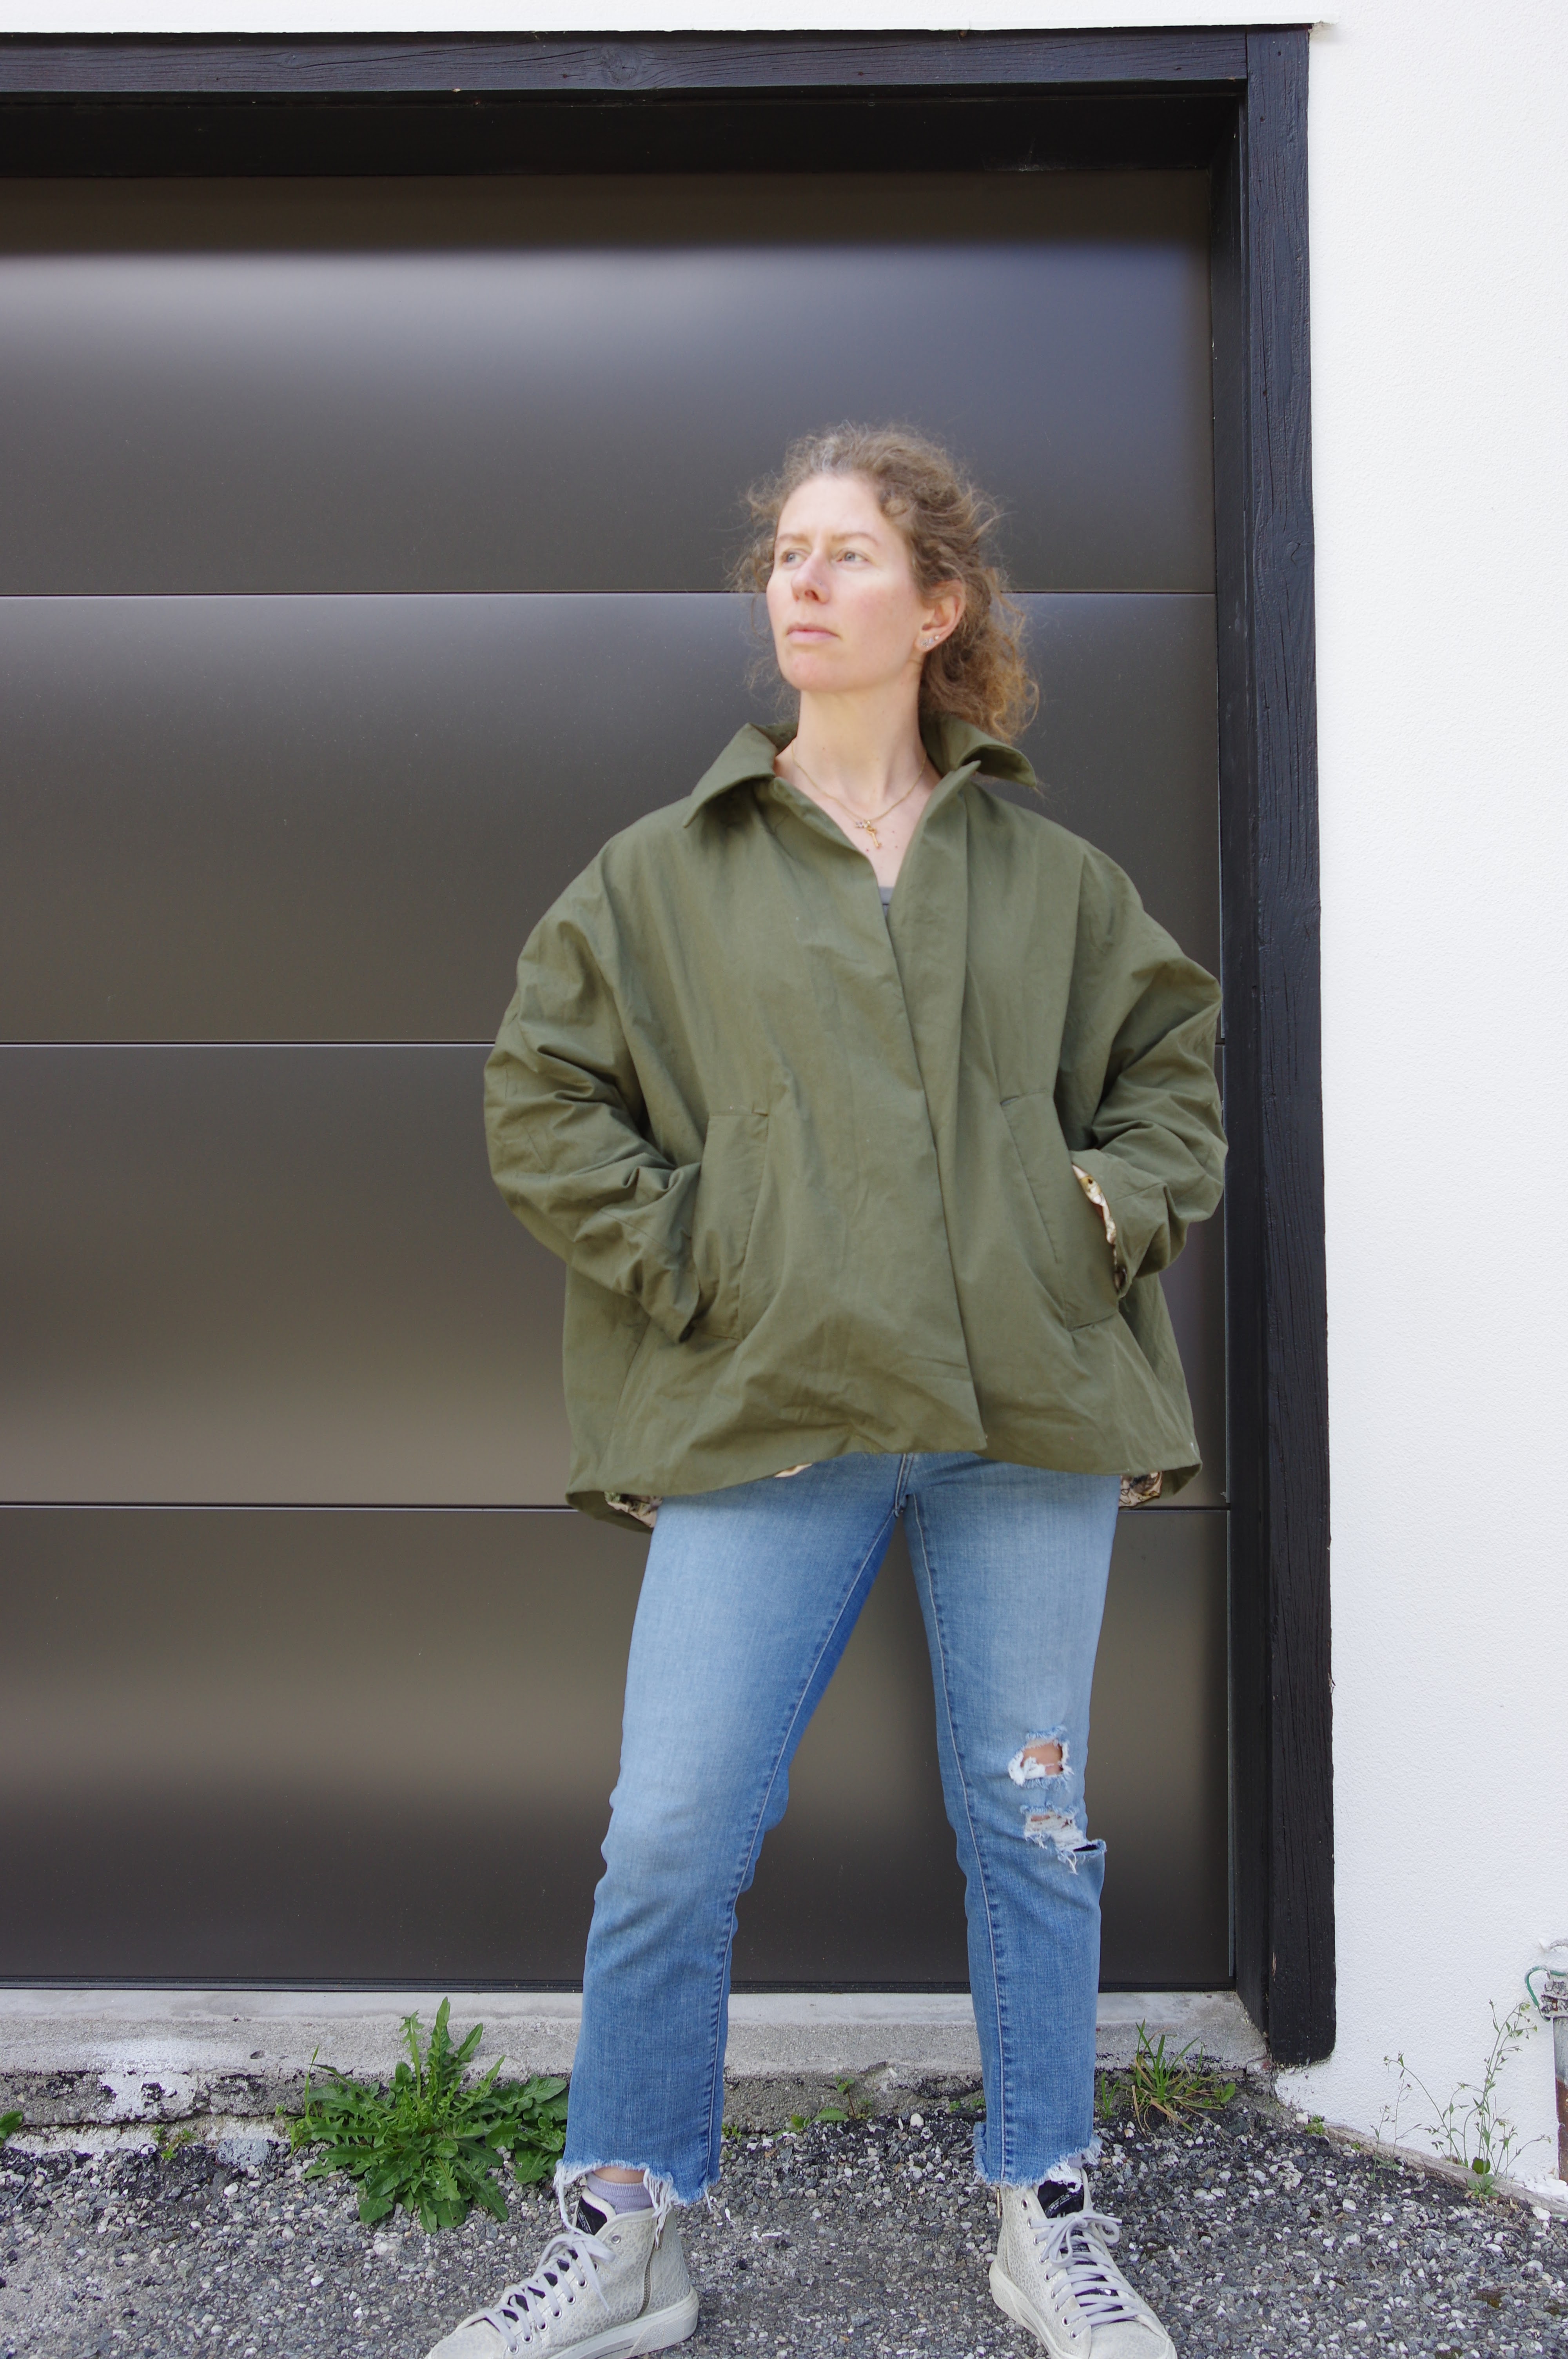
I think I have to stop making lined jackets until I'm ready to read a tailoring book.  I am not happy with these features but luckily my housemate loves hugely oversized things (this is MASSIVELY oversized) and she has claimed it.  It would easily fit a full zip hoodie underneath, and that's her jam.  It does have very long sleeves, which I am not bothered by, they just about cover my hands but in general that is ok with me. 

I hand sewed a single snap on the front to shut it. 

It doesn't make sense to me to have buttons on the front, because it's so oversized it really overlaps too much for buttons that go straight down.  One or two snaps in strategic locations make more sense to me.

Overall this was an interesting make.  I am NOT using this pattern for the precious star print Moschino fabric I am hoarding.  I will NOT make this again.  But, interesting.  


Friday 20 October 2023

Helen's Closet Orchard dress - Free pattern review

 I've been thinking of finally making the Sadie slip dress, so naturally I resisted (I have a whole plan including double layers of silk charmeuse, will for sure involve swearing.) and started looking for other slip dress patterns. I was eyeing up the Saltwater slip, but it required actually paying money, and to a company I have really been grumpy with lately for their lackadaisical but over-advertised offerings in the form of the Ilford and Arlo.  Thus I came across this free download!  Wahoo!

The sizing chart of Helen's Closet doesn't match me perfectly. 33-26-35 is the size 4, good in the chest but a bit concerning at the hips, and I wanted to make sure there wouldn't be pooling in my back from my swayback.  I have decided in general to ignore the high bust measure, or to use the larger of the two when in doubt, since a high bust measure is useless on those with back muscles.  The waist measure is not as important, there's quite a bit of ease, but I went up to a size 6 below the waist.  I also cut the back in two pieces because I was too lazy to consider arranging my (tiny piece of) fabric with two folds.  In doing that I added 1" to the centre of the back.  There's enough bias tape extra that this didn't change how much bias tape I needed to cut.  Probably I could have done only one of these adjustments, as it has plenty of easy and is very swooshy. 

The fabric is a skimpy metre of See you at 6 viscose, nice and weighty with an interestingly kaleidoscopic fine print.  It's very opaque and the weight means it drapes perfectly for this style.  I used the shortest dress cut line and I shortened the dress at the lines by 1".    

I didn't have any problems with the bias taping, and this pattern has you put interfacing at the top of the strap bias tape, which is genius - and very good for a free pattern!  I can definitely feel the difference in how substantial the straps are.  The pattern comes with pockets too.  I stuck the straps on with pins and then put the dress on so I could adjust the straps to fit me. I recommend doing this, especially if you are like me and dress straps are always too long. 

After making it I was a bit meh, didn't look like much, to be honest. 


Then I got photos and I was wowed actually by how great the fit is. It's precise at the bust (that extra inch in the back was smart). The pockets are too low - maybe they weren't adjusted when I shortened the dress? Anyway they need to be higher by about 1-2".  I can still access them with straight arms.  The length is perfect.  It's very spacious, a good summer item, will see how often I turn to it.  I'd probably make a straight size 4 if I did this again rather than widening below the hips. Obvs the pockets need to come up. Otherwise I really like this shape!  Might even be fun to turn it on the bias and slim it down a bit below the bust to make a linen version. 

Thursday 19 October 2023

Greenstyle Veltori top review

When I saw the Greenstyle Veltori top I was actually, finally, sparked to start making my own activewear.  I'm not sure why this did it.  Maybe because it's a style of top I specifically buy thinking I can't recreate it.  I don't have heaps of them or anything, but it definitely is something I see in my RTW activewear pile.  I've faced the fact that I need to make activewear since it's what I wear the most, instead of telling myself I have enough secondhand Lulu to last my entire life and don't need to make more.  (It is always a lie anyway, the secondhand Lulu keeps coming...)

I also had this fabric languishing in my stash from our Blended Threads order. It's the activewear fabric. I already had made some pants from it, and I find it to be too polyestery and sticky for my liking.  I was thinking of making pants with it but was happy to change tack.  It's a single metre of fabric and I did get to do a bit of pattern positioning, but not perfect. 

So, the pattern.  Greenstyle have NOT done well on their A0.  There's nearly an entire empty wasted page with a sleeve on it.  

The size chart doesn't match me very well.  On the last pattern, the Lumia, I had reviews to follow but there are no reviews of this with any actual information in them.  C bust, D waist, E hips?  Hm, what to do?  And what to do with the high bust info?  I did pay attention to the high bust, thinking it's so tiny of a number (should know better! Ignore!!) and so I went for a size D going out to E at the hips.  

Next, there is a side piece.  There are 2 cut lines on the front and back pieces.  There is NO instruction anywhere clarifying that if you use the larger cut lines, you don't need the size piece. I had extrapolated this while cutting, because I really had no extra fabric.  When I got down to the sewing room and looked at the instructions, I believed with panic that I still needed to cut a side torso piece.  In fact, the instructions also ignore that they have made two possible cuts and don't provide any comment. 

I went into this grumpy because of that side piece drama.  I had to force myself into the sewing room, and so I started this project kind of presuming I wouldn't like it anymore.  Because of that I didn't interface the sides of the zip.  Please, interface the sides of the zip!! It isn't in the instructions (they say to use double sided sticky tape for the zip) but really you just need interfacing.  I would interface both sides. My inner side stretched a lot which was irritating, but actually had little to do with the final result. The way this comes together is a cute tetris and once I got over my irritation and realised I *did not need* that side piece I enjoyed it.  It's a fast project.  

Another comment: use a zip of the correct length. Otherwise, you have to sew over the zip when you attach the front to the upper front, and it's hard to do neatly especially if you are overlocking.  My zip was long and I did gingerly overlock through the teeth. I think it gives things a slightly more bubbly finish in that spot.  I also think that the zip garage is unnecessary here.  I thought it would make it more high-end but really, you don't need it. 

Mostly everything is overlocked, there's a bit of the side front that isn't and it's best to overlock those edges before you attach the next piece or they remain unfinished forever. 


 I have given up ever looking very well groomed in my photos, as you can tell, but I also left my dignity behind in the hopes you would be able to see the front features better. 

It is too big.  I think the fit in the chest needs to be snug and so a size C would have been better, depending on fabric I might have even done ok with a size B but I don't have an instinctual feel for this company yet so I'm not sure.  I shortened it 1" at the hem and I could shorten more, I didn't feel like messing around with all the pieces to figure out where to shorten it otherwise.  The overall feel of the D is too big, like the way the chest sits isn't right.  

In the end I enjoyed the process. It's not a perfect pattern but once I feel like printing out the a4s and putting together another size I will pretty happily make myself this in some coral merino I have sitting around.  I might even make a size B and see what happens since merino has quite a lot of give.  This one is, as always, going to a friend.  


Sunday 15 October 2023

The last Clyde pants!

 I know I keep saying I won't ever make any more Clyde pants.  Maybe I'm finally done with them?

After my experience with Pietra, I wanted to try some crotch adjustments on pants I've made a few times.  The crotch on these is not satisfactory and the rise is too high so I thought they would be good to work on. 

I shortened the rise by 1" on the front and back, but in order to not mess with the pockets, I shortened the side piece below the pockets.  

I added the Persephone butt and front crotch.  Instead of pinching out fabric, this required adding fabric, and it did feel weird to add when I thought the problem is too much...

The fabric is beautiful textured green suiting from The Fabric Store, it's part of their new stock in now.  Run and get some! It's scrumptious.  

I put these together despite a terrible viral gunge, worse than covid forreal people. 


The top with them is a Deer and Doe Givre, I am not planning to blog it elsewhere.  No excitement just a nice tank top.  I might make the pieced dress version soon. 

I definitely see the butt has more definition.  The front crotch really does seem to be better. Ironically, the back rise isn't enough, and I've remembered to make my elastic much looser so the butt feels a bit at risk at present, but the elastic will tighten after I've washed them, and while wearing they are pretty comfortable.  They feel much smaller than my previous ones, probably because there's an inch less fabric hanging in my crotch.  They also seem very short which is, I suppose, because the crotch isn't hanging down and making them longer. 

I guess to sum, I would optimally take that inch out of the front but taper it back in to the back so I have a higher back rise.  I do think the crotch is better.  Can I be done making Clyde pants?  I have given all my previous ones away; I don't have a huge backstash of them.  These seem like they will be nice spring pants so hopefully I'll keep them around, and hopefully I will move on and stop trying to perfect these impossible pants!  It might be worth going back to the Arenite pants, which I mucked around with a bit and then gave up on.