Last year sometime, I discovered Stouls, who are in France and make washable suede clothing. The quality is exquisite and the prices are sphincter-tightening, especially when a relatively weak currency like the kiwidollar is involved.
In the States there is better access so while I was there, I took the opportunity to investigate. I determined that although they are great quality, they are made with the assumption that you are about 185 cm tall. And the fit is nothing spectacular.
Well, I can make leggings.
Thus began another sewing odyssey. A lot of time was spent thinking, for instance, what would I do with the waistband? Would it require special management? Could I get away without using elastic? How to sew it together? I assumed that overlocking would be impossible.
I bought some stretch suede from the Fabric Store, managing to score it on a day there was huge sale on. I bought 3 skins. My leather legging cost: 200 dollars. Stouls leather leggings: 1500 dollars. I reckon I'm winning here.
I made a practice pair from some black fleece that had similar stretch characteristics. High waist, size XS. They were amazing! In fact they were so great that a friend begged me for them and I gave them to her. They confirmed the fit, and I just used a piece of the fleece for the waistband. I cut about 3" off it to make it tight enough. With the high waist that was perfect. They were a little tight on my calves, and I reckoned 3" too long.
Another investigation: I washed a piece of my beautiful blue stretch suede. It seemed to do ok, confirming that they could be washed in an emergency, but I wasn't sure if the stretch was just a bit lazy after that. So better not to wash them.
To prep the pattern, I cut off 3" of the bottom of the legs, and I used that same length of waistband that worked on the fleece pants. I traced all my pattern pieces and then started chopping the piece up until it fit on my skins. I ended up with a lower leg piece, a horizontal seam, and two thigh pieces with a vertical seam. I cut the waistband in 2 pieces.
This suede is pretty thin, so after only minimal hesitation I went for it and used the overlocker. Absolute success. I overlocked the crotch seam, inseam and the waistband, but just straight stitched the pieces together on the sides, and also straight stitched the lower calves onto the upper legs. Some topstitching was involved to help strengthen those seams, and I topstitched the back crotch to add stability. I found that the topstitching decreases the tension on the seam, which obviously is a good thing on stretch leather trousers as who wants the butt seam to fall apart?
Added pockets. I measured them to be the size I wanted, where I wanted.
When I tried these on I discovered an interesting technical feature of stretch suede. What stretch it has widthwise ends up shortening the fabric lengthwise. So the fixes that I borrowed due to the fit of fleece leggings were not helpful - the leggings are much shorter and the crotch height is much lower. The waistband, because the stretch is horizontal, was too loose. I ended up fixing this by opening up the back seam and adding in some elastic. I hadn't wanted elastic but now I'm really glad for it as it makes the pants feel more secure. They feel a bit tighter than the practice pair but overall I'm happy with the fit.


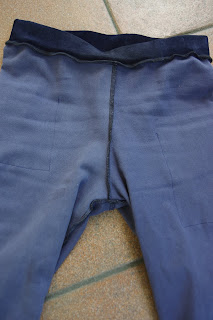


So the best thing about doing it yourself is that you can add pockets! I have pockets! They are so stretchy that I should have reinforced the pocket tops by folding them over, otherwise they are great, and of course the right size for my phone (left pocket) and my car keys (right pocket).
Verdict: some learning and a huge amount of thinking for an awesome result. I'm so proud of my suede pants and I think I'll get a lot of wear out of them before the weather gets too warm. I finally feel like a fashion success when I'm strolling around town after surfing!
In the States there is better access so while I was there, I took the opportunity to investigate. I determined that although they are great quality, they are made with the assumption that you are about 185 cm tall. And the fit is nothing spectacular.
Well, I can make leggings.
Thus began another sewing odyssey. A lot of time was spent thinking, for instance, what would I do with the waistband? Would it require special management? Could I get away without using elastic? How to sew it together? I assumed that overlocking would be impossible.
I bought some stretch suede from the Fabric Store, managing to score it on a day there was huge sale on. I bought 3 skins. My leather legging cost: 200 dollars. Stouls leather leggings: 1500 dollars. I reckon I'm winning here.
I made a practice pair from some black fleece that had similar stretch characteristics. High waist, size XS. They were amazing! In fact they were so great that a friend begged me for them and I gave them to her. They confirmed the fit, and I just used a piece of the fleece for the waistband. I cut about 3" off it to make it tight enough. With the high waist that was perfect. They were a little tight on my calves, and I reckoned 3" too long.
Another investigation: I washed a piece of my beautiful blue stretch suede. It seemed to do ok, confirming that they could be washed in an emergency, but I wasn't sure if the stretch was just a bit lazy after that. So better not to wash them.
To prep the pattern, I cut off 3" of the bottom of the legs, and I used that same length of waistband that worked on the fleece pants. I traced all my pattern pieces and then started chopping the piece up until it fit on my skins. I ended up with a lower leg piece, a horizontal seam, and two thigh pieces with a vertical seam. I cut the waistband in 2 pieces.
This suede is pretty thin, so after only minimal hesitation I went for it and used the overlocker. Absolute success. I overlocked the crotch seam, inseam and the waistband, but just straight stitched the pieces together on the sides, and also straight stitched the lower calves onto the upper legs. Some topstitching was involved to help strengthen those seams, and I topstitched the back crotch to add stability. I found that the topstitching decreases the tension on the seam, which obviously is a good thing on stretch leather trousers as who wants the butt seam to fall apart?
Added pockets. I measured them to be the size I wanted, where I wanted.
When I tried these on I discovered an interesting technical feature of stretch suede. What stretch it has widthwise ends up shortening the fabric lengthwise. So the fixes that I borrowed due to the fit of fleece leggings were not helpful - the leggings are much shorter and the crotch height is much lower. The waistband, because the stretch is horizontal, was too loose. I ended up fixing this by opening up the back seam and adding in some elastic. I hadn't wanted elastic but now I'm really glad for it as it makes the pants feel more secure. They feel a bit tighter than the practice pair but overall I'm happy with the fit.


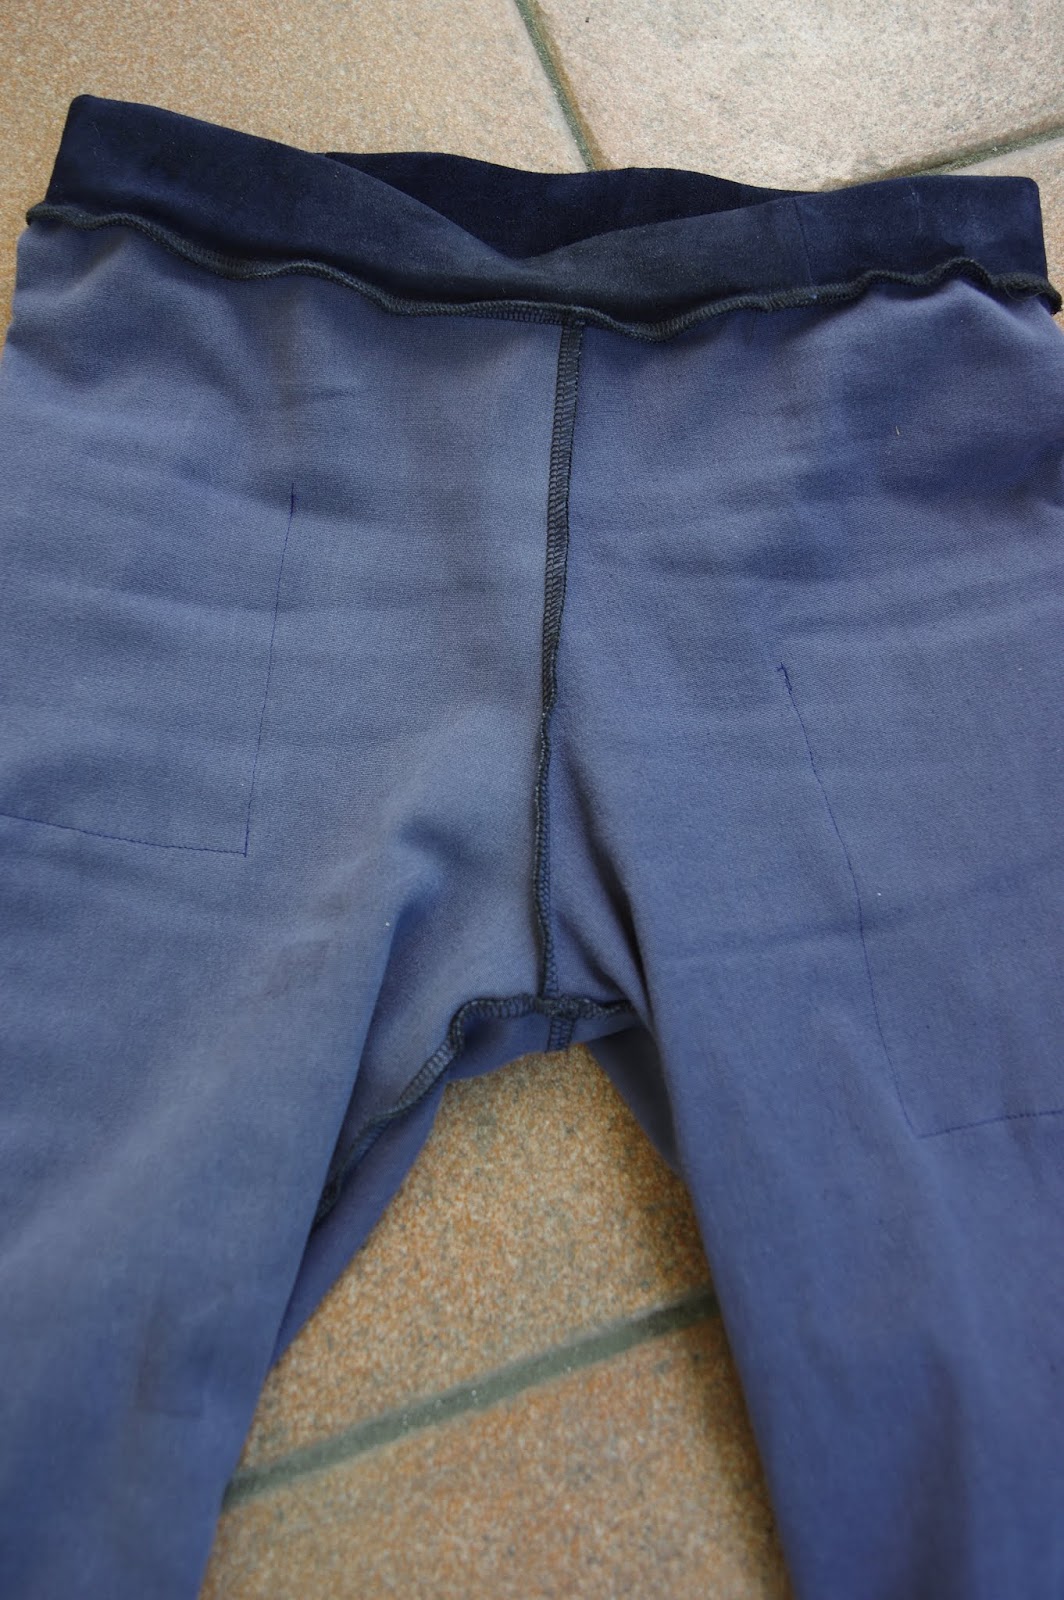


So the best thing about doing it yourself is that you can add pockets! I have pockets! They are so stretchy that I should have reinforced the pocket tops by folding them over, otherwise they are great, and of course the right size for my phone (left pocket) and my car keys (right pocket).
Verdict: some learning and a huge amount of thinking for an awesome result. I'm so proud of my suede pants and I think I'll get a lot of wear out of them before the weather gets too warm. I finally feel like a fashion success when I'm strolling around town after surfing!


