Sunday 4 June 2023

Back to the Free Range Slacks

I was looking for the blog posts of the four versions that I made.  And I guess they fell into the window of time when I didn't post all my makes on Insta, but I also didn't blog them.  It is too bad as my changes were substantial and included the narrow leg version, and I really thought I had taken photos of them!  

So, I have been known to put these down in comparison to the Pomona Pants, but the truth is that they are two different pants, and you probably need both. 

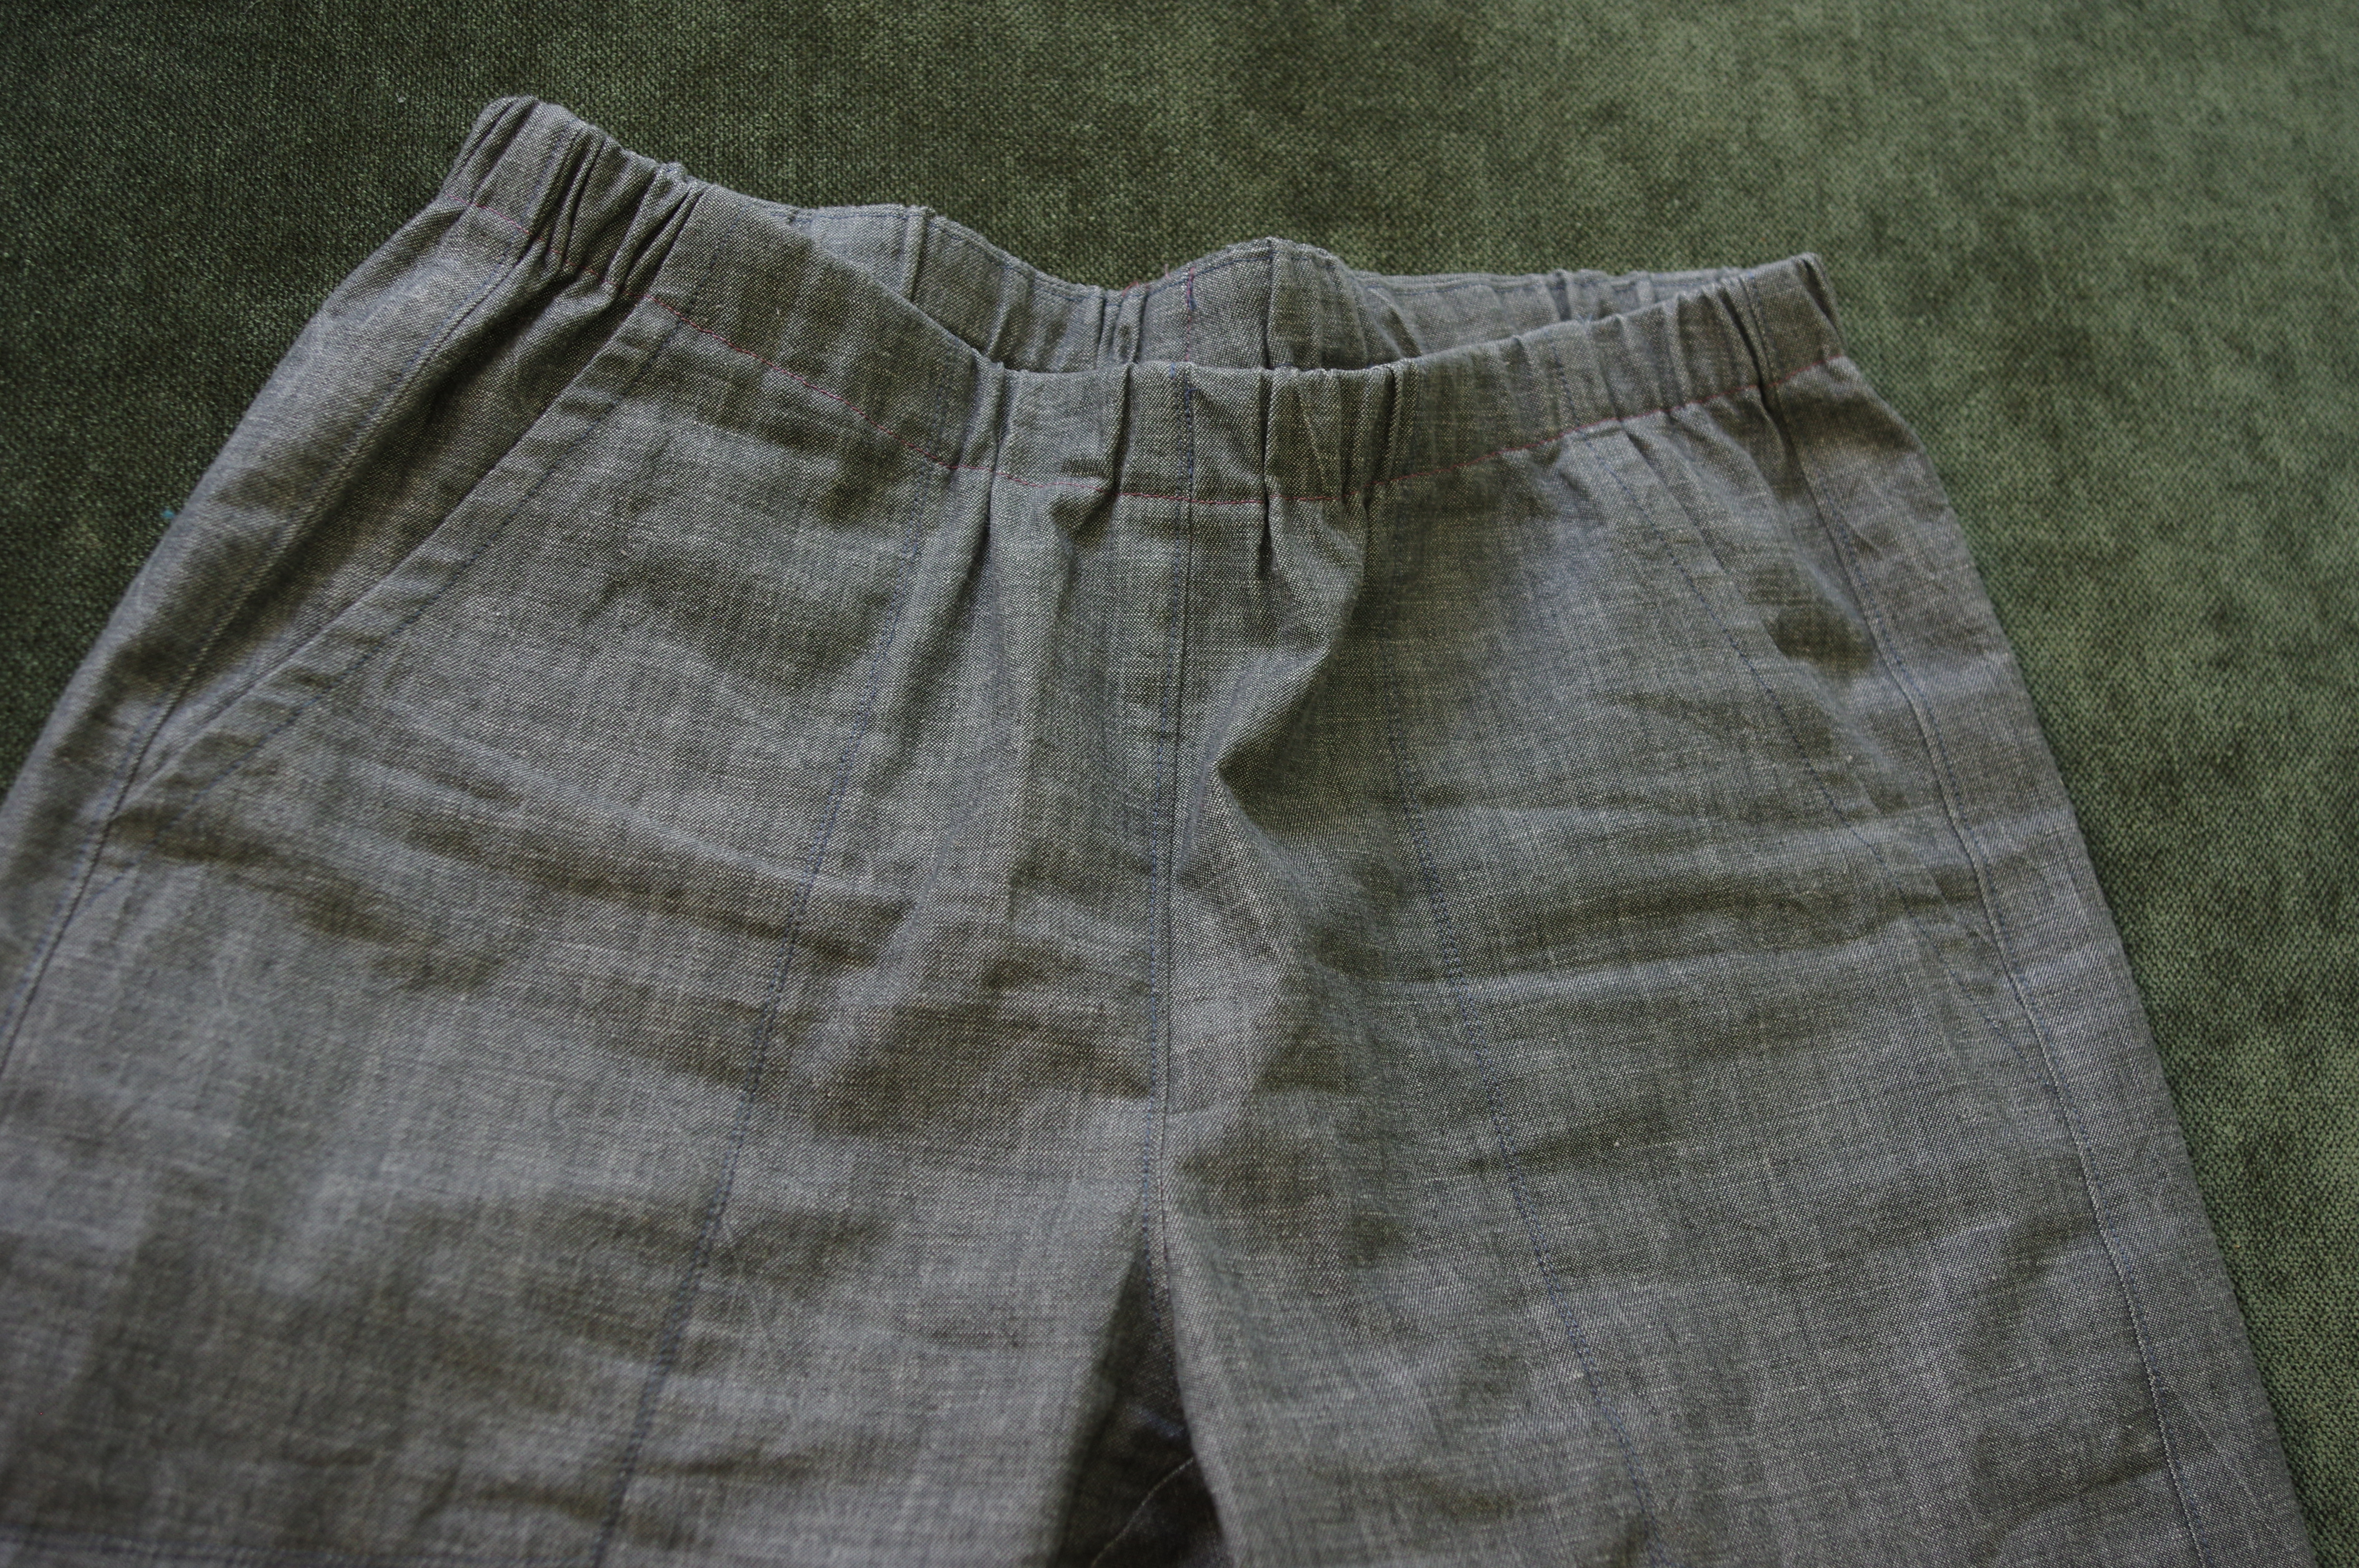
My size is 6 - could have made 4 but I never bothered to reprint the pattern from my first makes.  My very first was wide leg, in heavy weight linen. I still have these and like them, but don't want more of this wider leg shape.  (See my post here). I then moved on to the narrow leg version.  I shortened the rise by about 1" and I shortened the waistband height to create a 1" waistband - a bit tricky as you have to fold down the waistband facing which is angled, but doable.  I find this is just less commitment to the waistband and I quite like that, especially when I remember to leave the elastic relatively loose (it tightens up with washing, and many of my pants have ended up really snug because of this.) 

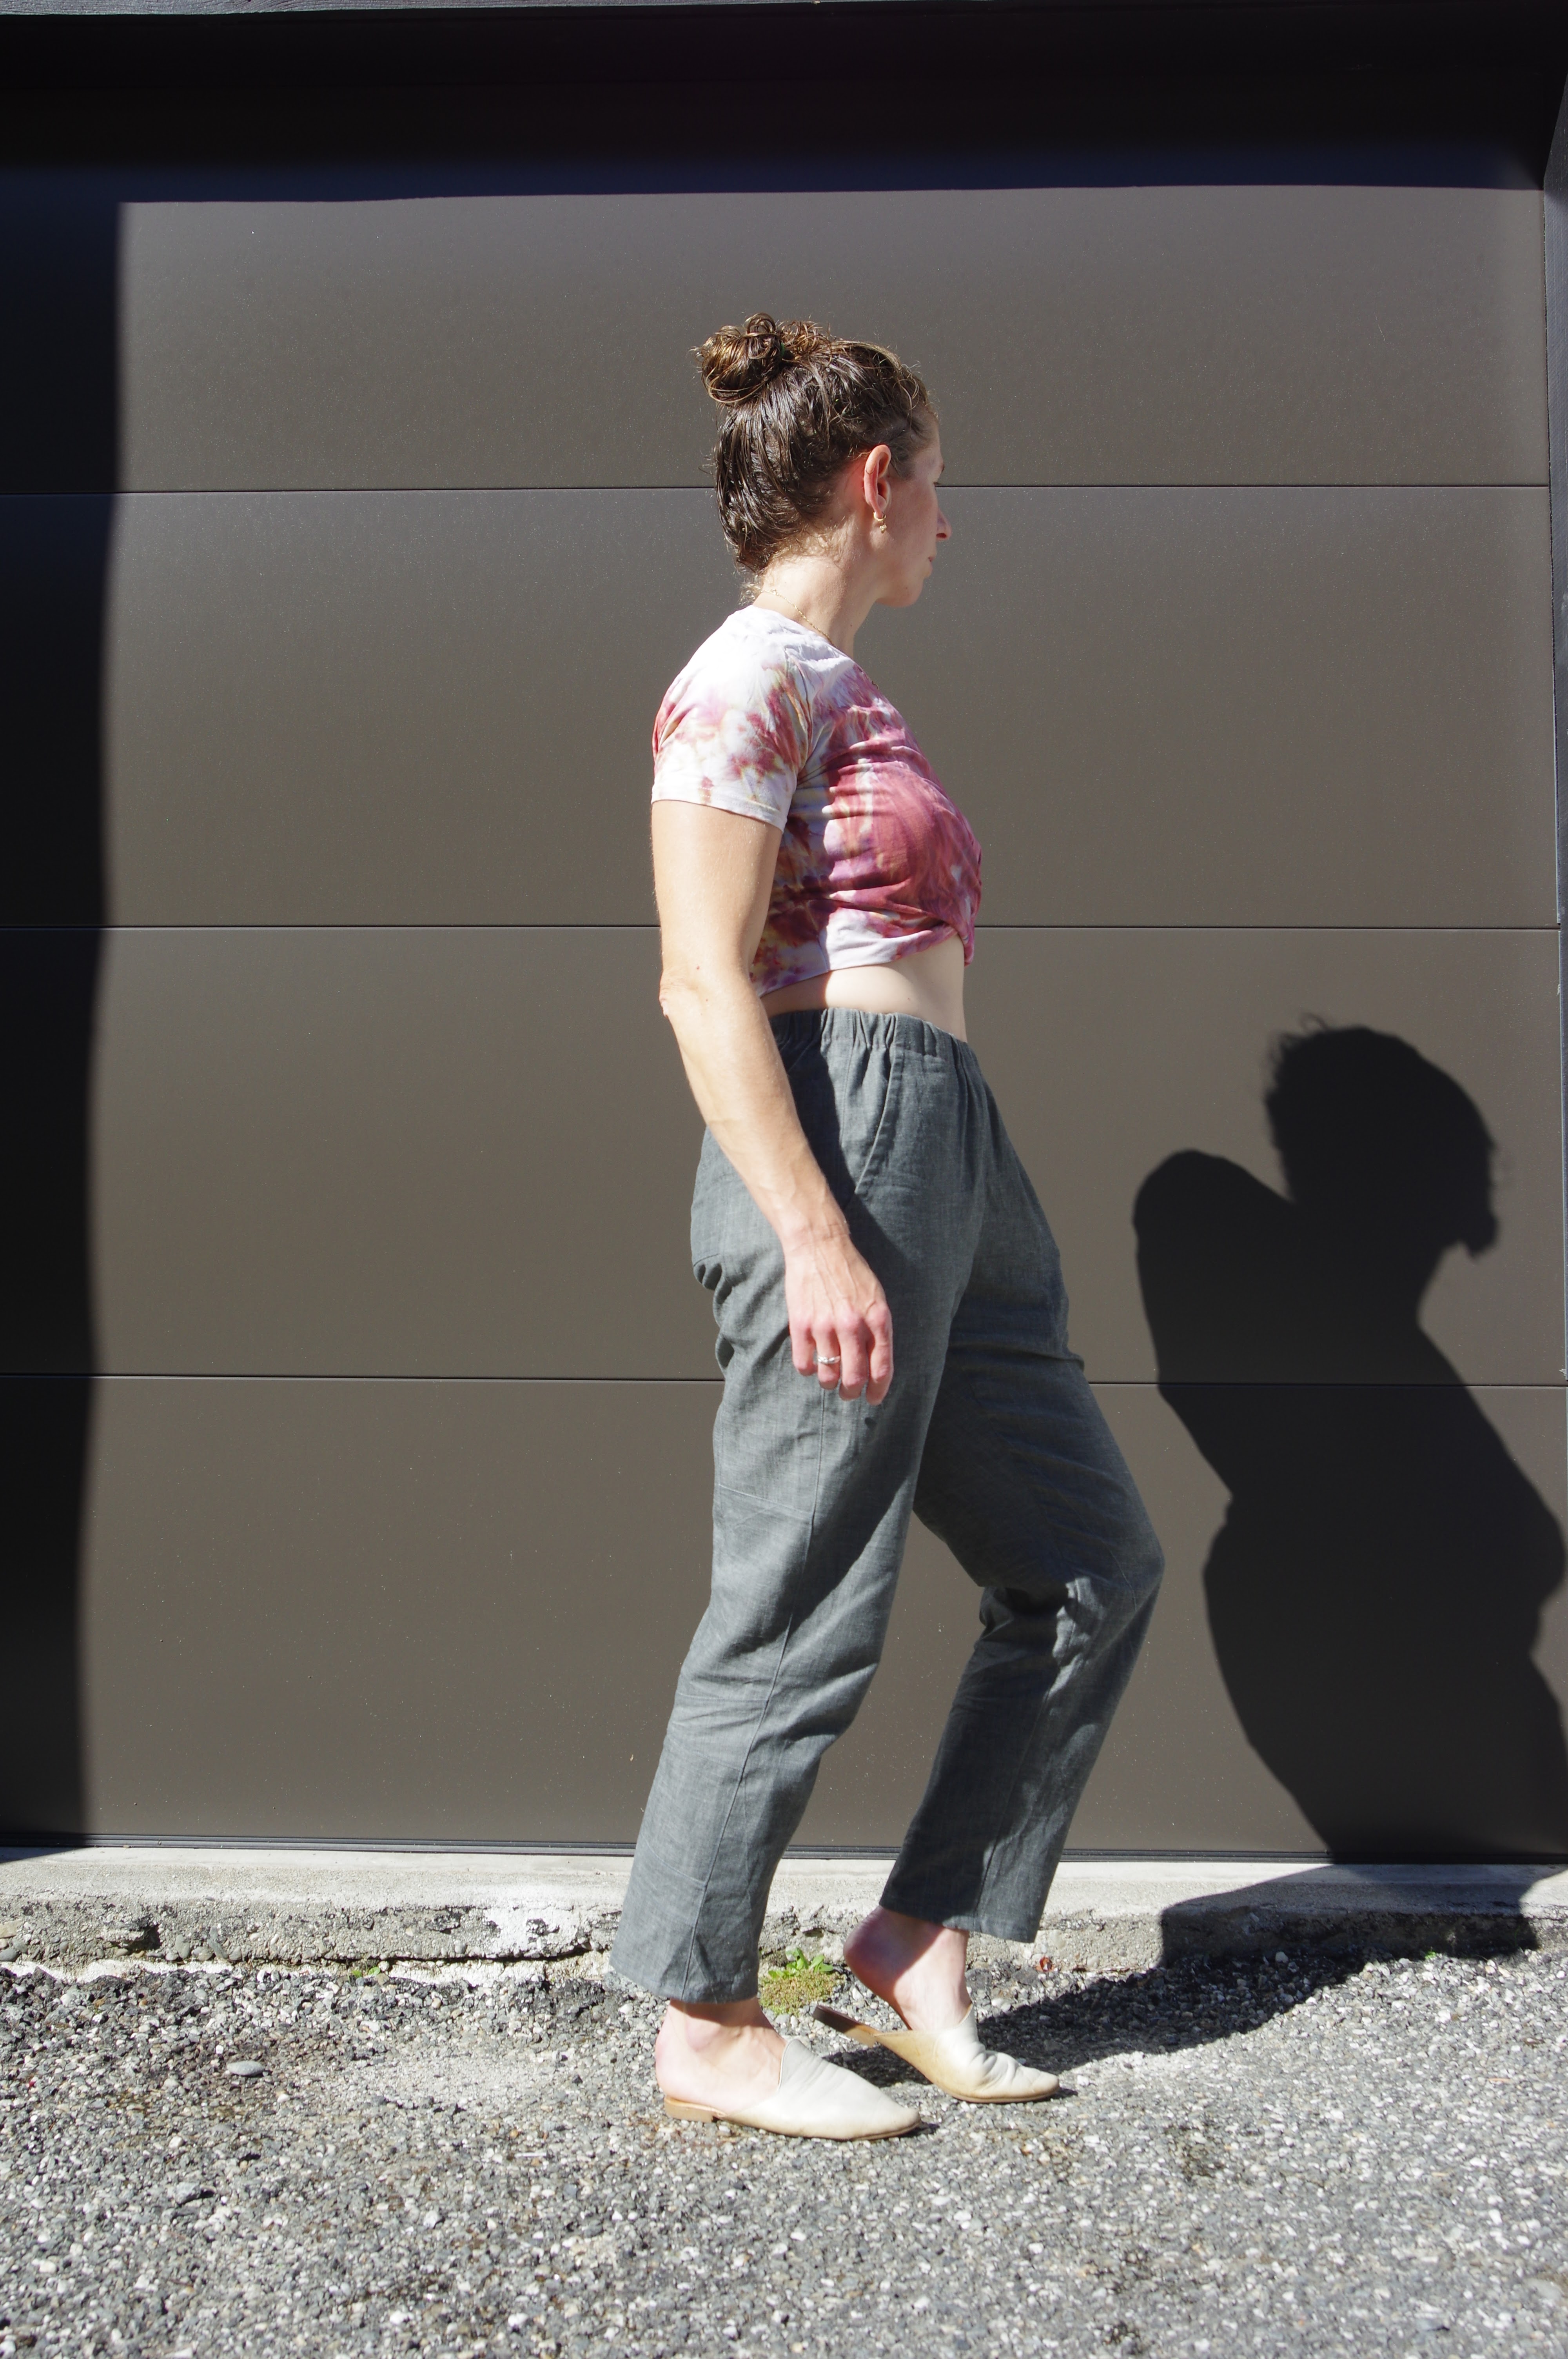
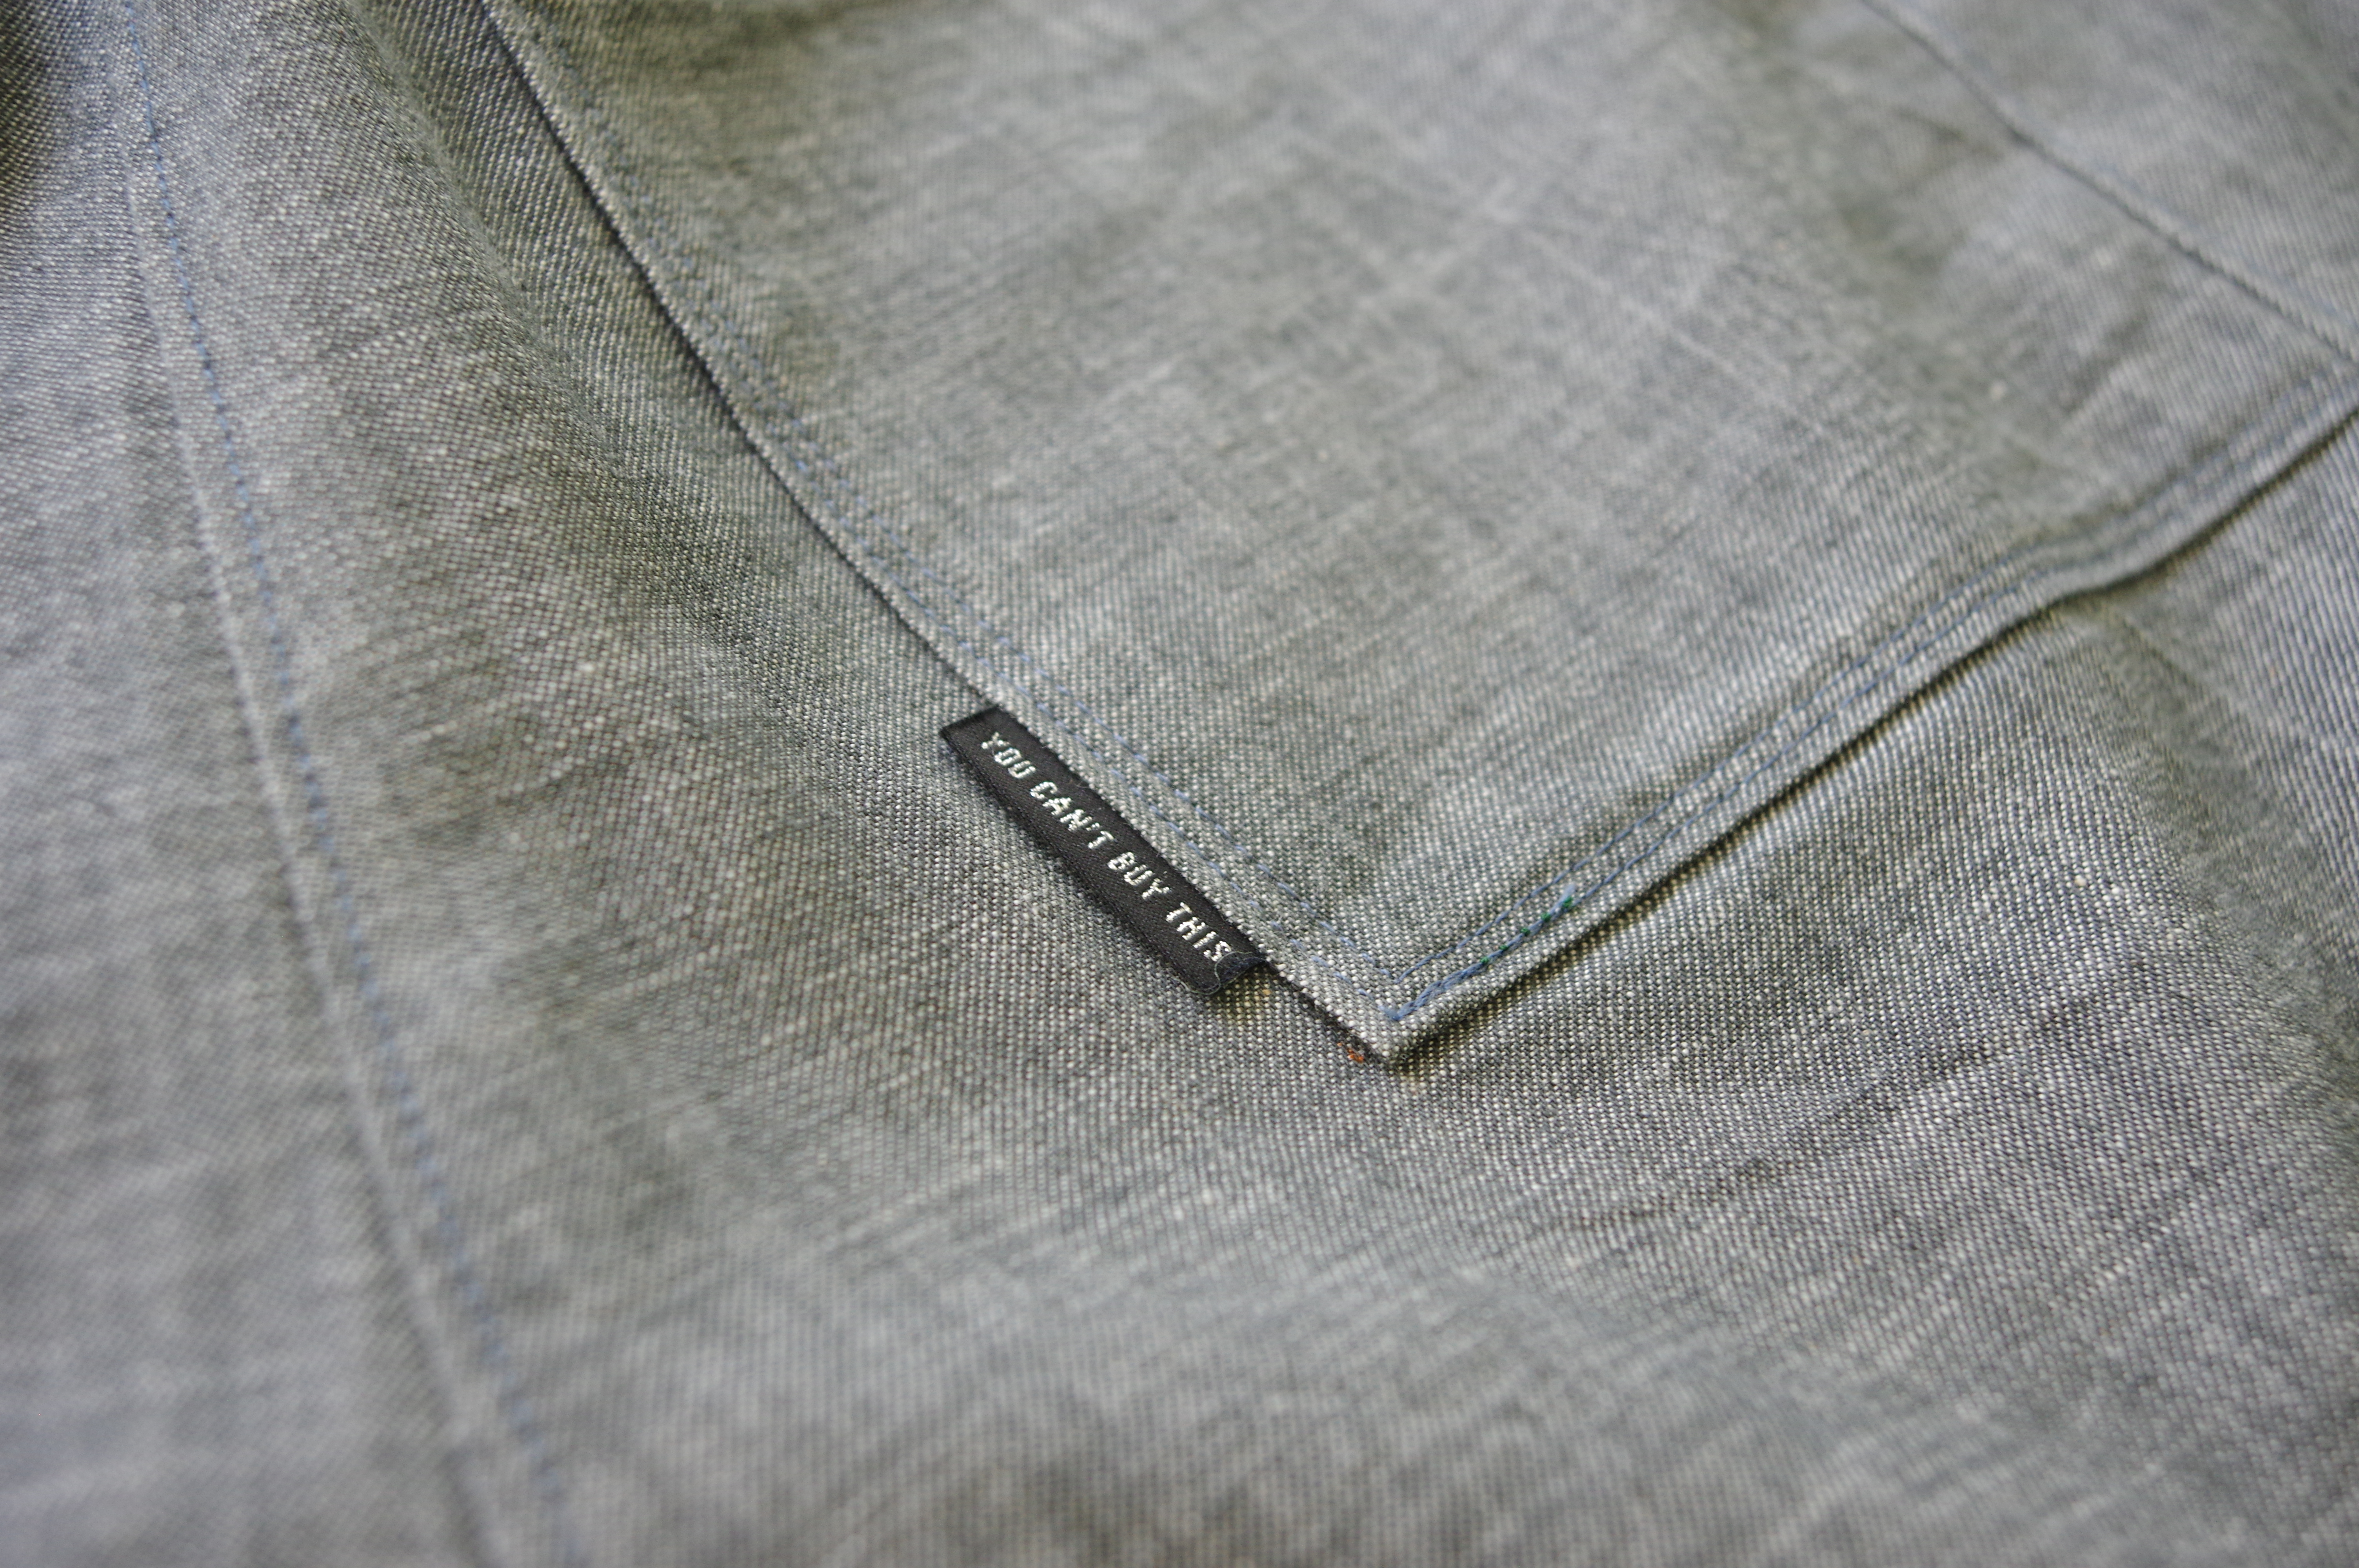
I wanted to use the leftover chambray from my absurdly massive Bisque trousers (they have found a happy home, do not fret.)  That fabric was just so nice in trousers - it's lightweight, holds a press nicely, and a perfect colour. 

I didn't have enough, specifically, for the side pieces.  Two months passed while I sadly had no time to sew, due to bad life choices.  I was so ready to make these and be done with thinking about it.  I had set out some silk to use for the size pieces.  But then it came time to actually do the job, and I realised what I wanted to do was tetris tiny pieces of the self fabric to create those side stripes.  So that's what I did.  It took an extra 2 hours!  And it's kind of funny that the extra work is really invisible.  


 My new photo location is in direct sun, I am still looking around for better spots.


I am happy with these, but they are never going to beat out my ridiculous plaid flannel pair.  I wear those crazy pants SO OFTEN.  Maybe I should make another pair in something that looks like pajama fabric?  Also, I note in my photos that the butt isn't entirely shapeless all the time.  

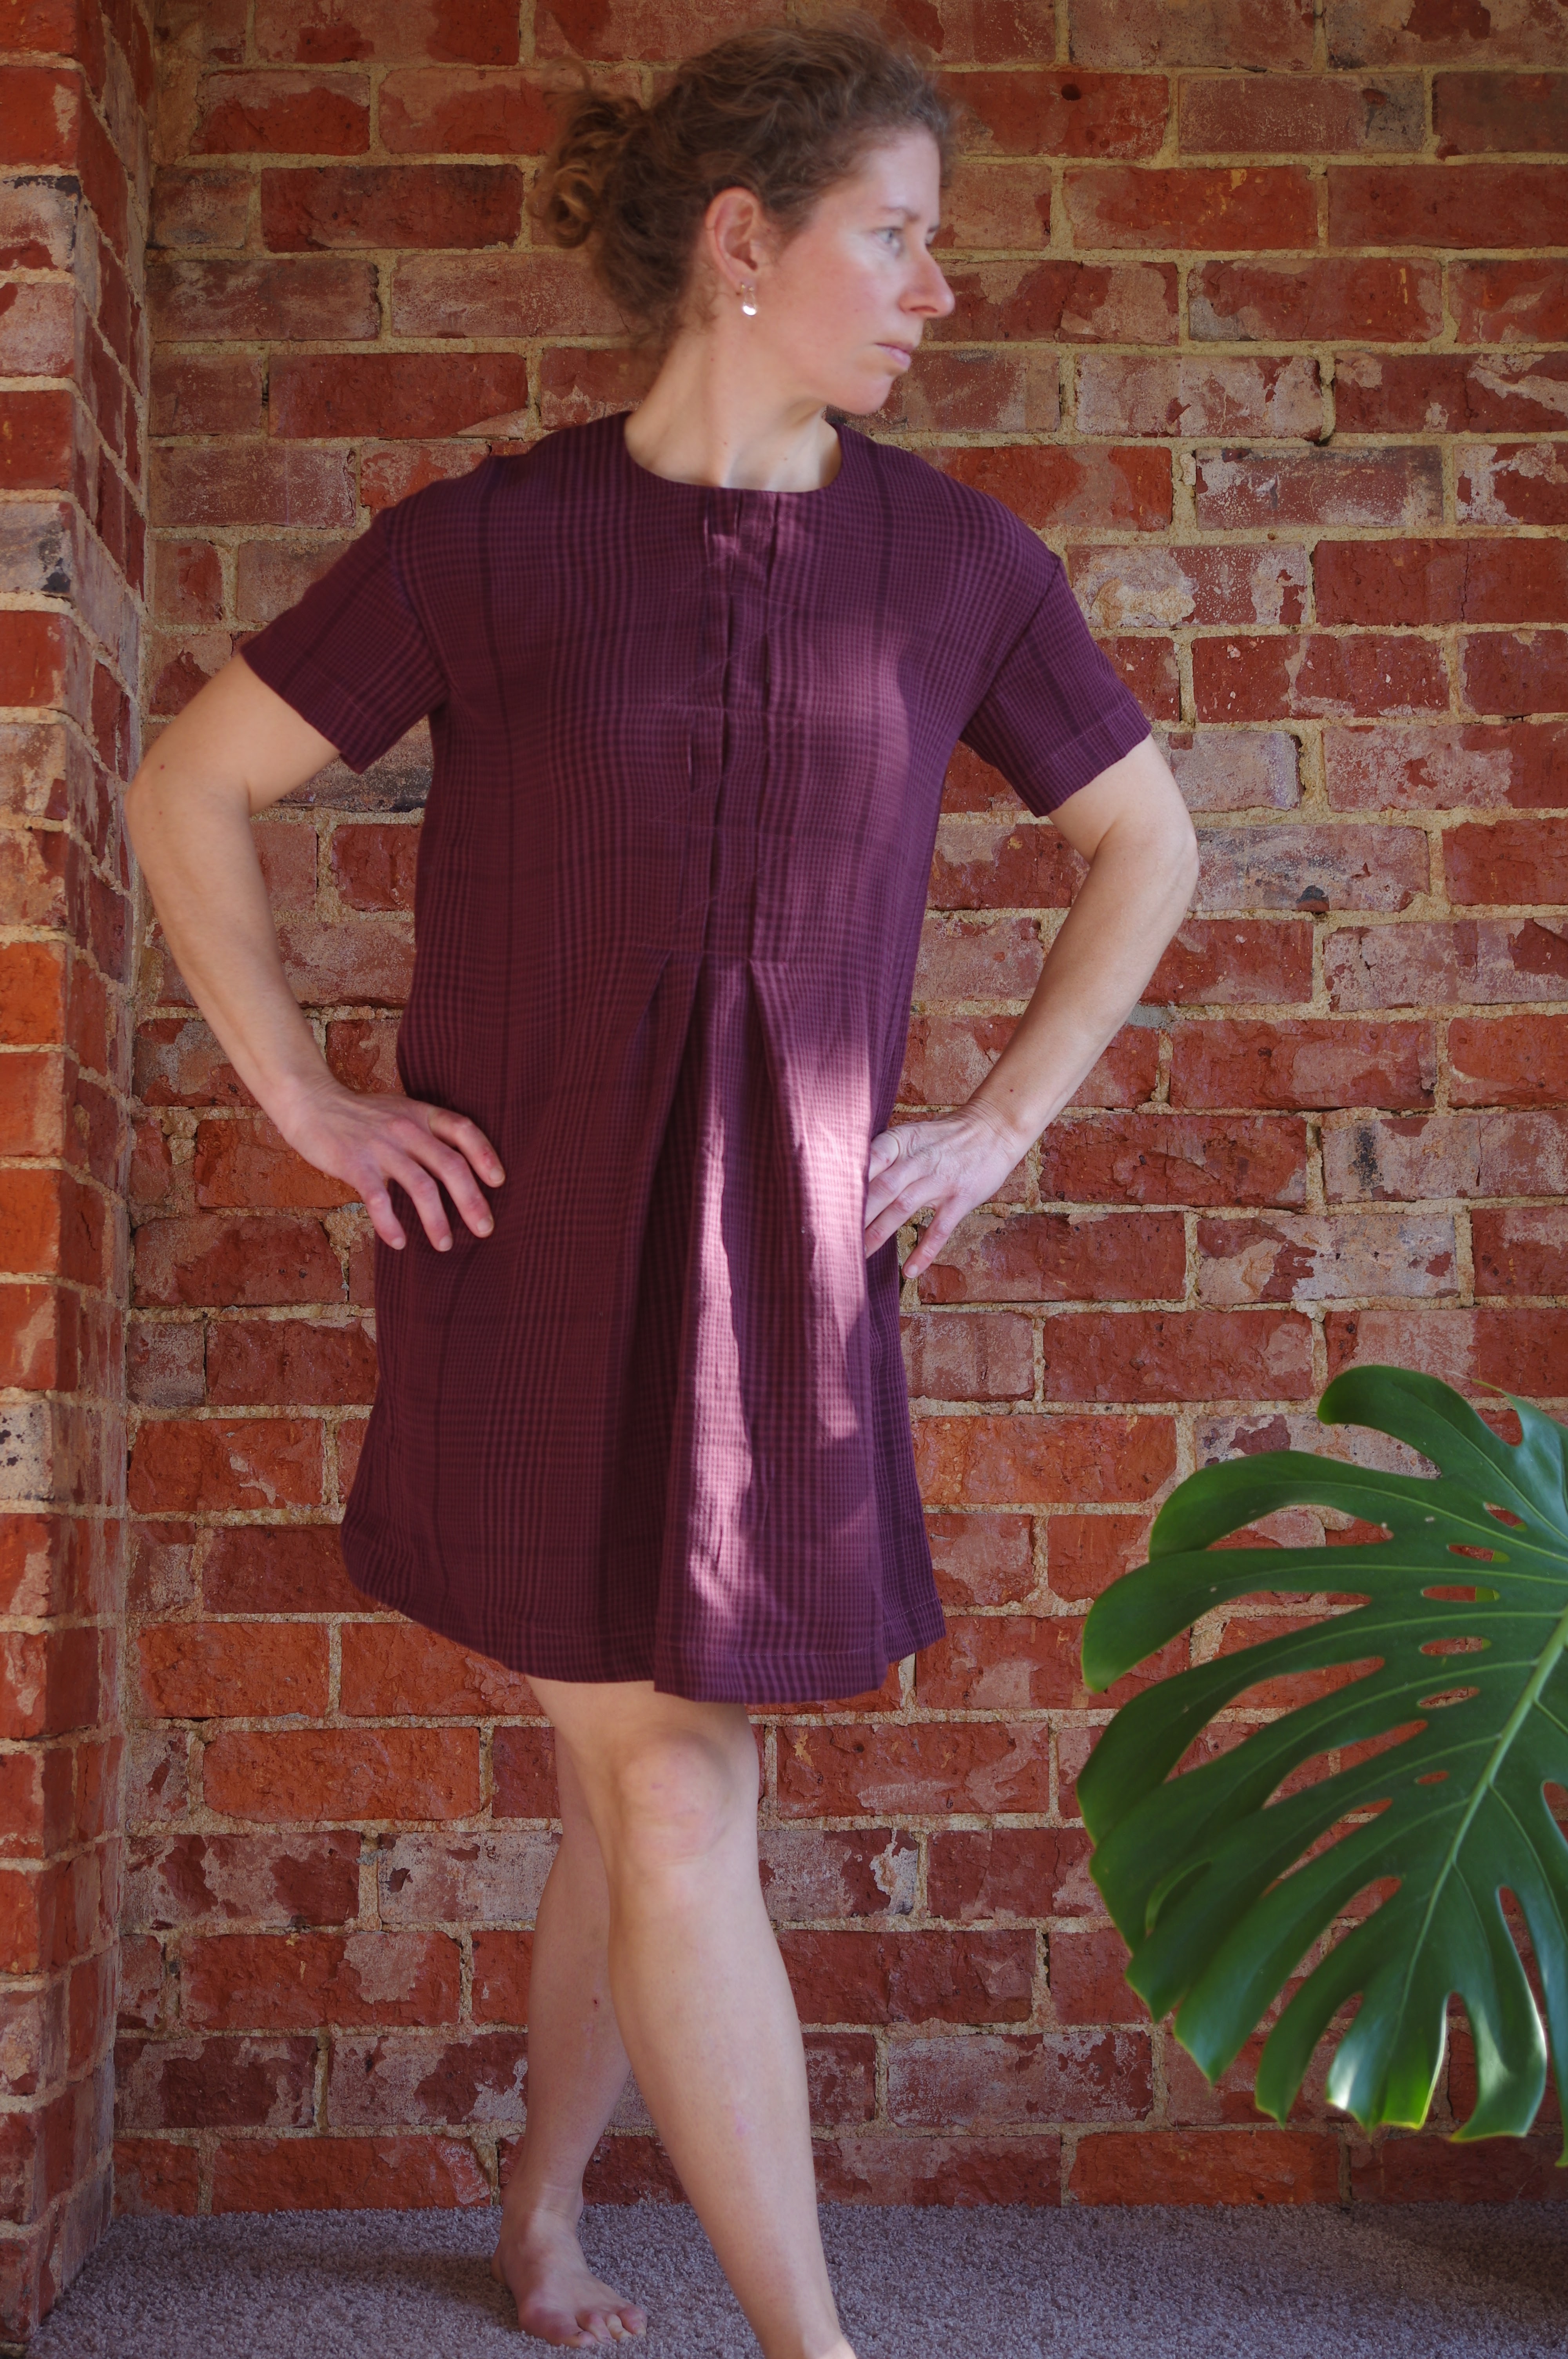
Since I didn't document these adequately (regarding those previous makes) there is no blog post specifically ABOUT the plaid free range slacks.  But I dare you to find 5 blog post instances when I'm wearing them to model other garments...

Saturday 3 June 2023

Papercut Patterns Axis dress, my turn!

I actually united this fabric with this pattern in my head a long time ago. It's nothing special, just a cotton lawn from Spotlight.  Not special except it is covered in *parrots*  I am a bird person, which you might not have known, and when Spotlight had a huge number of parrot prints I had to struggle and limit myself to 2 lest I end up with 37 bird prints in my wardrobe (the other smaller cut was made into my stunning success of a short Summer fling dress, here).  

I knew it wouldn't have any extra amazing drape etc but it seemed like a fun fabric to try out Axis with and because I love it there was a greater chance of my wearing it no matter what.  Frocktails was coming, I was about to travel and sewing-time poor, and this was likely to be my Frocktails dress because of timing limits on the other ideas I wanted to explore.

Rarely these days, this pattern has lots of blog reviews! Hurray!  I read Fiona's blog and based on that I did a bunch of pattern adjustments (possibly too many, arg.)

Cut size 2 at the top and tapering out to size 3 for the skirt, A line skirt (I'm no pencil skirt girl)  On this: really I could just have done size 3.  The armscye is a bit small.  Also the A line skirt is a joke, it's really practically a pencil skirt. 

Remove 1" from the waist of the top, and taper a little chunk out of the back strap to fix my sloping shoulders (that taper was a perfect fix, the shoulder fit is stupendous). 

I reckoned I would skip the little hole for the tie to go through.  It looked too airy and I'm happy to overlap.

So I made this for Frocktails.  I found the instructions surprisingly useless.  I found this to be far less fun than all those reviews suggest.  I had a lot of weird intersections that didn't line up.  I put together the top, fine, put together the skirt, ok, except it doesn't really tell you how you will finish it, so due to possibly a lack of foresight regarding the seam allowance, as I was folding over the waistband to hide my zip, it became uneven, and weirdly the folded over waistband had to totally diverge from a nice fold in order to meet the side seam.  This means no easy stitching in the ditch to get the inside held down.  On one side I hand sewed it.  On the other I left it flapping because there was nothing to attach it to.  

It wasn't really clear either exactly what goes on top: the skirt or the top? One overlaps the other, but how? I overlapped the top over the skirt.  When I put this on, either because of shortening the bodice, or because of the skirt actually being too snug, or for other mystery reasons, the skirt comes up to the small of my back.  I mean, fully.  So, unlike with everyone else, if I just tie the ties in the back, they cover my bra because they are so high up.  This therefore feels like a very enclosed dress.  In a good way, like wearing a snuggly outfit that is protecting you.  But strange, considering what everyone else says about it.  

Also I added pockets 

Which then immediately bagged out because - hips. So I had to sew them down, and they are mostly invisible, but initially I panicked a little.  Then, after all that drama, I forgot to take any proper photos, despite having identified the very sweetest spot in my house to take beautiful well, lit pictures...so I only have the ones I took with my phone. 


After making this dress, including the emergency trip to The Fabric Store for contrasting fabric as I ran out, and all the thinking that had to go along with it, I was severely unenthused.  I did think it would do for frocktails (and it did).  I wore it to work to get some reviews, and people like it, but I feel strange in it, like I'm trying to hard.  A friend of mine who is very picky messaged me that she wanted it, so I decided to wear it to frocktails then send it on to its new home.  This has all happened and everyone is happy.

However I had expected to really like the Axis dress, and in the end I would not make it again.


Thursday 1 June 2023

Merchant and Mills Jack Tar bag x 2

It seemed totally sensible to make two of these at once! I was going to make one for a friend then after that, make one for me, with a few additional clever modifications.  It did work out just as anticipated, except that in the end I liked the first one because the strap was subtly longer and I could wear it as a crossbody...so I sent the cute modified one to my friend.

This is really a 2 hour project.  I had the rivets from Merchant and Mills, two different scraps of oilskin - the grey is leftover oilskin, the yellow is dry oilskin, both are from Miss Maude.  The strap leather was bought awhile ago, it is the stuff in Merchant and Mills kits and in fact I possibly had bought one of the Jack Tar bag kits, very very thick solid stuff, I think good for bags but it feels rather unpleasant to start out.  One of the pieces was harvested from my previous little Merchant and Mills Field Belt.  I decided to replace that strap with an oilskin one because it was too heavy for the little bag.  

I didn't have any problems.  I used one layer of interfacing on the lining for the yellow bag and two on the 2-color bag.  I thought a lot about where to place the colours on the grey and yellow bag because I didn't have enough of just one colour, and I am happy with the results.  The 2-colour bag is much heavier though.  It has 2 layers of interfacing, plus I interfaced the internal pocket, and the normal oilskin is heavier than dry oilskin.  A heavier bag can be nice - it holds more and maybe lasts longer, but I was surprised, after all my efforts to make it my dream bag, to like it less than the simple one.  In the future if I made it again, I would stick with the simpler plan and lengthen the strap about 15 cm to make it a true crossbody - it is doable but tight as things are.  I will definitely use a bag more when I can wear it crossbody.  An external pocket is also necessary, and easy enough to add. 


I think to make both of these really took about 4 hours.