Showing posts with label silk velvet. Show all posts

Thursday, 12 October 2023

Halfmoon Atelier Roma skirt, blast from the past


Suddenly saw a pool of leftover silk velvet on the floor and thought it would be a mighty fine Roma skirt.  I had a piece of fabric earmarked for it for years, but left the pattern at my parents and the fabric went to something else.  The first version took a long time to make as I didn't have an overlocker and I had a specific bias-tape related vision.  The pooling in the front was present then, but I had forgotten about it.  I don't think it lasted very long in my wardrobe.

This is truly a fast thing to make, obviously even faster if silk velvet isn't involved. I apparently made size M and seem to have shortened it approximately 8 inches.  I wrote the SA on the pattern and didn't engage with any instructions.  I overlocked the edge and folded it over, getting a bit lazy on one curve but otherwise the overlocked edge is under 1cm. On the previous version I overlapped the edges whereas this time I sewed them together but I don't think it would have changed the size much.


It took about an hour. Final thoughts:  that pooling in the front belly is really hideous, and the skirt pulls upward in order to create that pool.  I would need to size up even more, and it's getting silly for me to make an XL.  It's a cute skirt but not the nice fun loungeskirt I had envisioned, despite the feel of the silk.  I do think silk velvet is a great choice for this!  In fact, stretch velvet would probably work out nicely - I think this pattern would suit stretch fabrics really well although I don't have good advice on getting rid of the front pooch.  It's probably one I won't make again. 

Sunday, 3 April 2022

Velvet Pomona pants, a new sewing room, requisite disasters

 Not much to say here that I didn't summarise on Instagram: Don't Forget the Nap! 

So I finally organised my new and very messy sewing room.  Having moved from a spacious three bedroom house to a tiny postage stamp house, there is just STUFF everywhere which I find exasperating.  It made it hard to have the spacious thinking that inspires me to sew.  But I was getting itchy to make some things before I have to wear scrubs at work because it's quite a bit more fun to make a thing and then wear it the next day.  Rather than making it and not wearing it for 18 months, which is what often happened in Gisborne.  So.  

I made the tactical error of making these while listening to an audiobook.  I don't really multitask when I sew.  For good reason. 

My Pomonas are like a sewing rut. I do them the same all the time. Size 4, 1" taken out of the upper pelvis area below the waistband.  I have marked front pockets on the pattern after getting tired of doing them last and poking myself in the thighs 56 times while trying to get the pockets straight.  (Nonetheless, they are not quite even.)

This is the narrow leg version, the wide leg version I think I like less.  I did however lengthen the legs of these back to normal, I had shortened them an inch previously and that's just the right length to get hung up on bike pedals (which is worse with the wider leg cut).  I think I'm over cropped pants now.  It's too cold in Dunedin.  Even in midsummer.  I cleverly (not cleverly) used less fabric by *totally forgetting about the nap and putting my leg pieces in opposite directions.*  Otherwise the sewing was great! It took about 3 hours or whatever, because my audiobook and the velvet made things a bit slow, or because my sewing room mess, etc.  The velvet was its usual obnoxious self but velvet is so drapey that the end result is beautiful, if you don't, you know, try to catch me in the light.  

I finally paid attention to previous pain and made the waistband elastic 2" longer than I think I need, and I finally have a waistband that isn't too tight.  I'm not sure why it took me so long to figure out.  Part of it is that elastic shrinks when you put it in the wash!  Who knew?  So it's best to be a bit too loose initially rather than too tight as I have always tended to go. 


 (Photos: me, pensive, wondering if you can see how ridiculous this nap problem is.)

There were opinions on Insta that I should flip the same side pocket so it looks like a Design Feature but I think I'll just try to wear these so much that all the nap goes crazy and no one can tell which side is up.  They feel great.  Pants just like these by some New Zealand designer, probably made from the exact same fabric, and in the same colour are selling for $300 (though it probably goes without saying they have done the nap properly...) so I'm now a fashion maven.  

Monday, 1 March 2021

Papercut patterns Mito cami review

 Lately I covet everything made by a brand called R13 and I've been putting in some effort to recreate their stuff (or track it down secondhand.)  I would have overlooked the Mito in the past due to its lack of coverage but now I want to recreate this dress: 


I figured I could easily hack the Mito into this. I read a few blogs and sized down with misgivings to an XXS. My bust is 32 and I have a lot of back, but I didn't want it to droop open to my belly button.  I also decided for some reason that pink and blue bra sliders were not the thing, I would have to just figure out the right strap length and sew the right length. This complicated matters a lot because I ended up changing the order and trying on the top many times with it held together full of pins, in order to adjust the strap length.  

My fabric is silk velvet and I lined it with a very stable silk remnant, which was great, as it helped me keep my main pieces in shape.  I didn't have trouble lining up any of the pieces. The drafting seemed fine.  The instructions were fine.  The fit...hm. 

Worse with pins in, but it's really hard to get over my head.  I suffer from clothes claustrophobia, if my arms get caught in it I am really unhappy and to create the amount of coverage I did, the straps are short and the claustrophobia is real.  


This was an experiment and I don't really like it.  To go on and copy my dream I would have to do some major modifications of the bra cups and how they come around to the back.  I would probably add an inch to each side seam.  I doubt I'd make this again as it is. Though I think it looks ok, I would prefer a really oversized look and in that case you lose all the coverage! This type of top (looking at you ogden cami) also really swamp me somehow.

 I am, however, impressed with how much coverage it does provide -- if you're willing to keep the straps short, you can actually wear a bra with it. 

Tuesday, 31 December 2019

Whitney Deal Ryan top review and variations


I was determined to make a velvet top using this pattern, but I knew from the beginning that it would take a few muslins to get the right fit.  I've never used this pattern designer before and I found the pattern somewhat lacking to start with.

It is a PDF with no A0 option.
The tiled A4 pages had borders on some pages, but not on others, so at times I had to line up pages and guess the right size of the gap.
The instructions have a 1/4" SA on most of the top, and a 5/8" SA on the side seams.  This is one of those new things indie pattern designers are doing, and it's annoying.

I made my first version in the smallest size, which says bust 30-32".  My bust may be in the 32-33 inch range, but my back is wide and this often confounds measures.  I knew the top would be way too long, and so I made zero changes initially in order to capture the fit.


Version one is as expected.  Pretty unglamorous.  I do like the fit just under the yoke with the gathers, but it pulled across my back, and the top is made for people with stick arms.  As expected, it is very long.


This data in hand, I increased the width of the back yoke by about 1.5 cm on the fold, lowered the armhole by just about an inch to make the sleeves roomier, cut off the bottom 10 inches of the pattern, and normalised everything to a 3/8" SA.

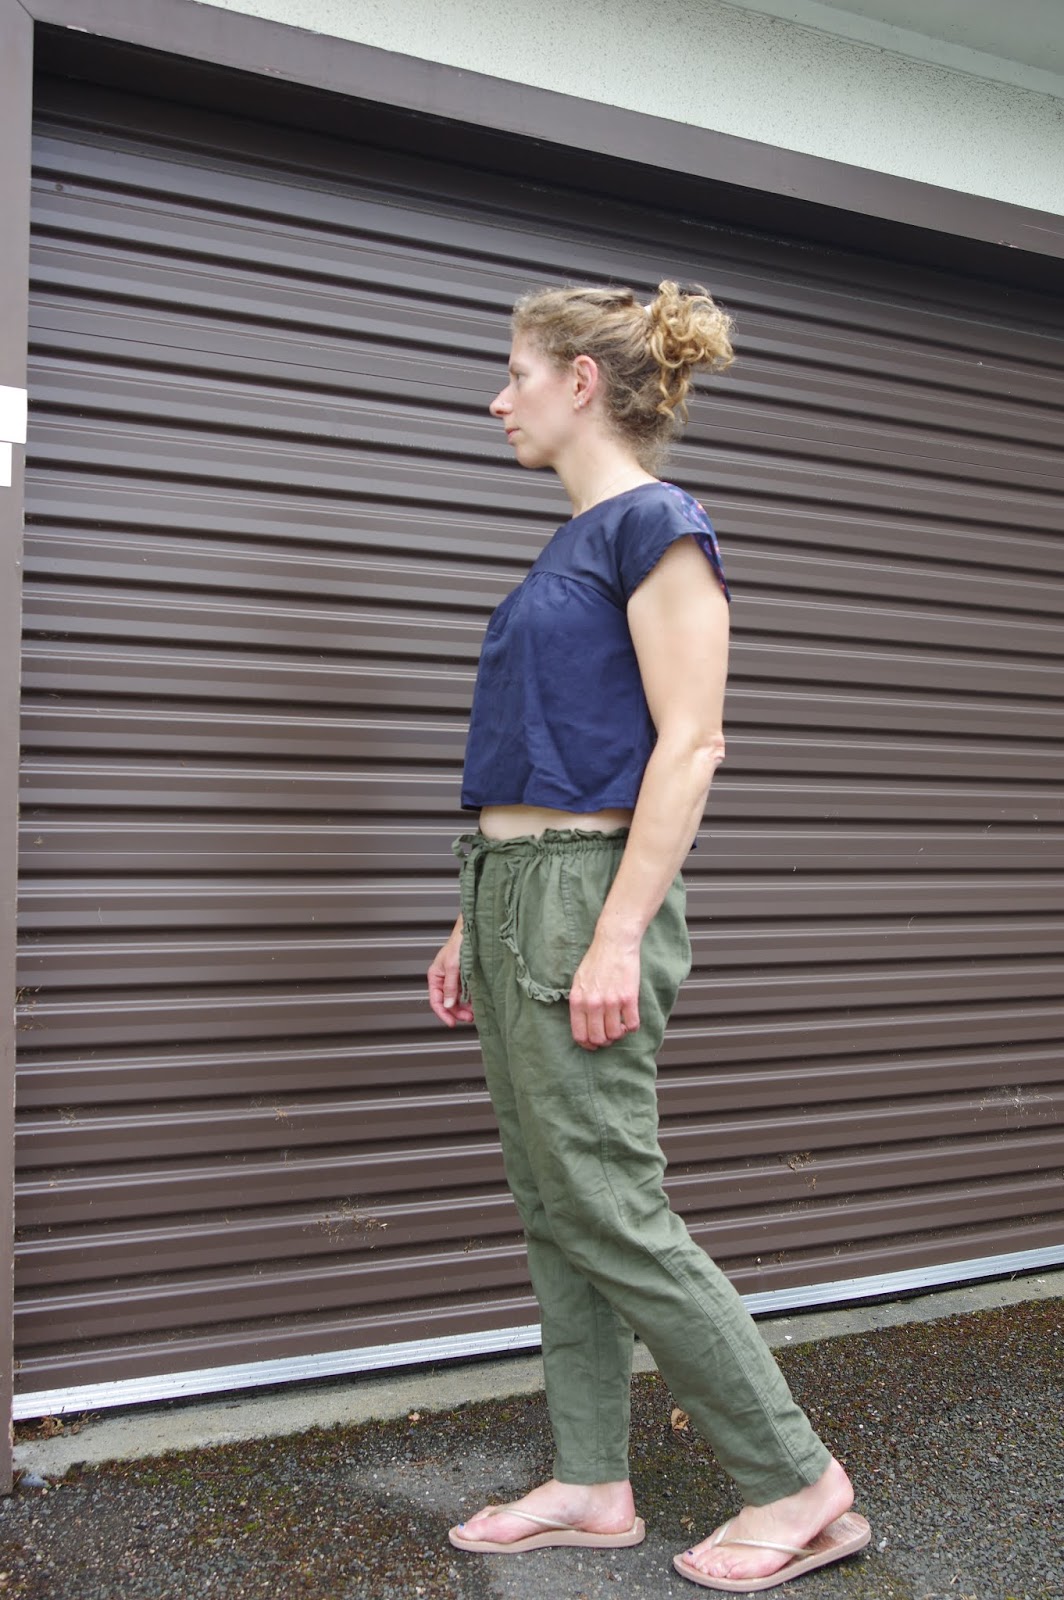
I scavenged up matching scraps and actually they are quite precious ones - the back top is a light silk cotton voile that I am oddly in love with, previously made into a horrific Vogue top (here, lurkers!) and the front yoke is a cotton voile I've used to muslin my Japanese pattern dress with.  The bottoms are delicious linen viscose from an etsy seller who subsequently vanished.  It has great drape and a bit of texture. If I wanted it to be less twee I might have skipped out on the hearts, but anyway it is cute.


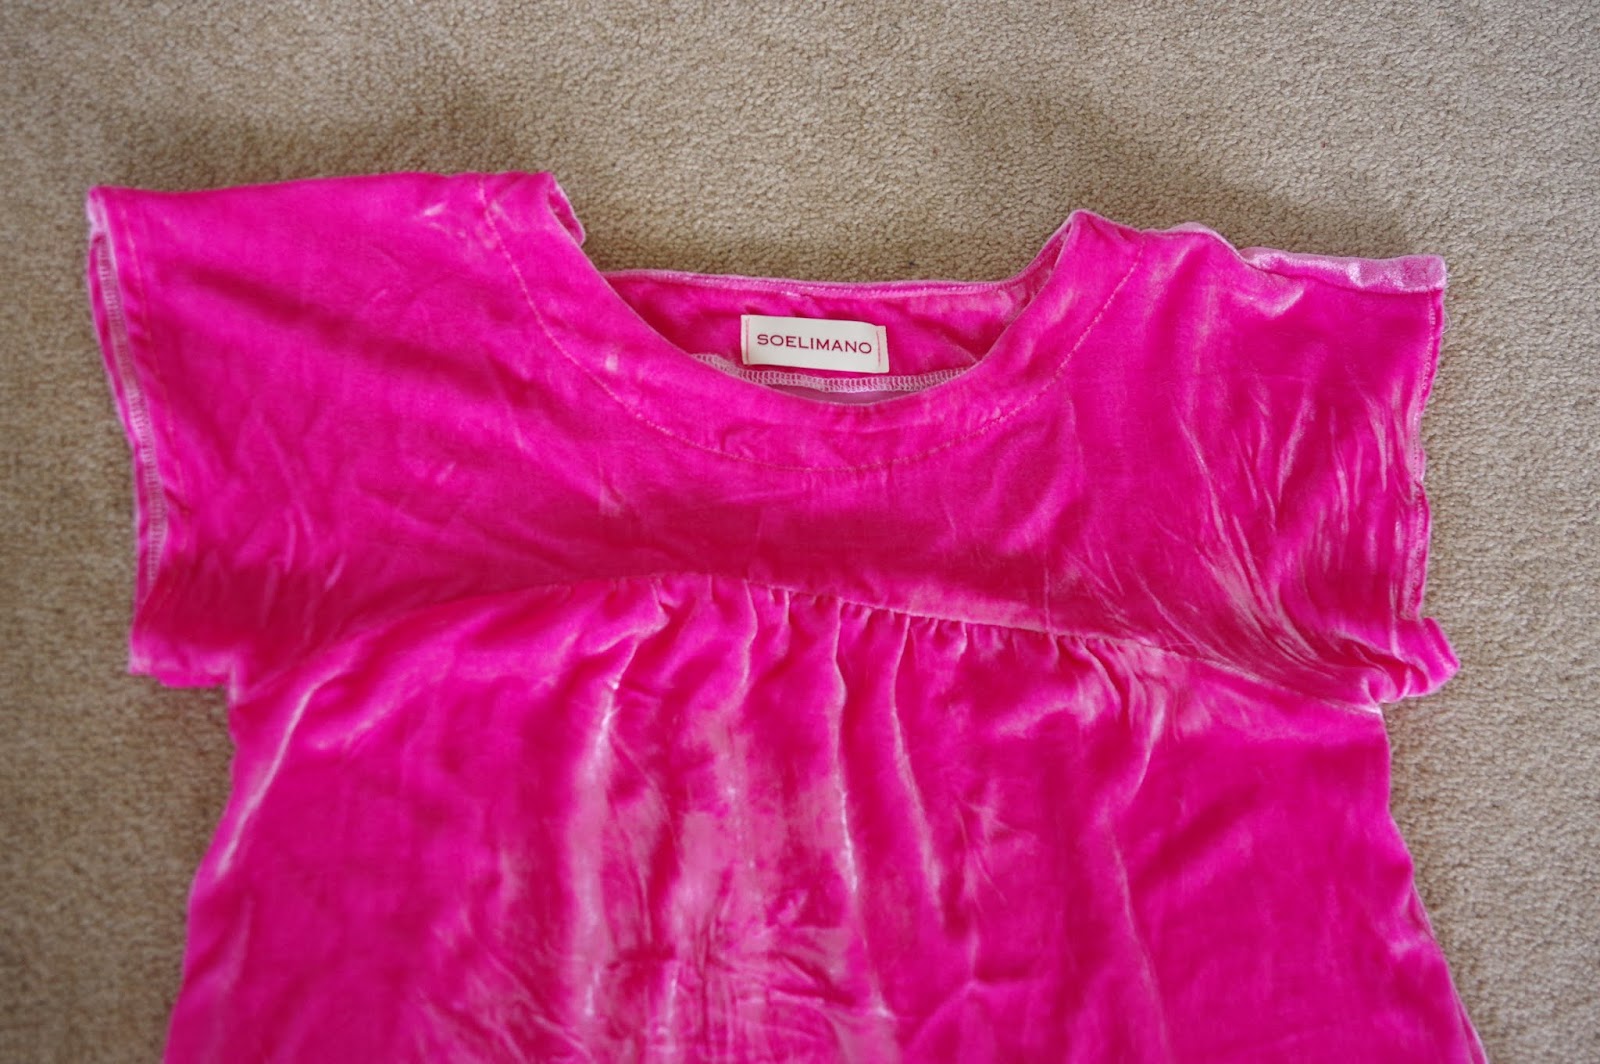
I was actually really surprised to achieve total success with my adjustments, though I conceded I cut the top a tiny bit too short and lengthened the final version by another inch.  I've stuck with this pattern because, of course, I had a vision involving that hot pink silk velvet.  The only remaining question was whether to do the tedious and horrible facing when sewing with slippery silk velvet. I concede that the velvet would feel best against the skin, but a bit of bias tape would be much easier.

I went with the velvet. Actually it wasn't that bad to cut or to sew.  I used a lot of pins, and didn't have any trouble with it shifting around. I ironed only sporadically and doubled the top over itself when ironing so the furry side was always facing another furry side. Now that I'd made this three times it was a fast sew.  I overlocked all the insides.  The facing seam isn't quite straight on the front, but it's not too obvious and everything else was easy.


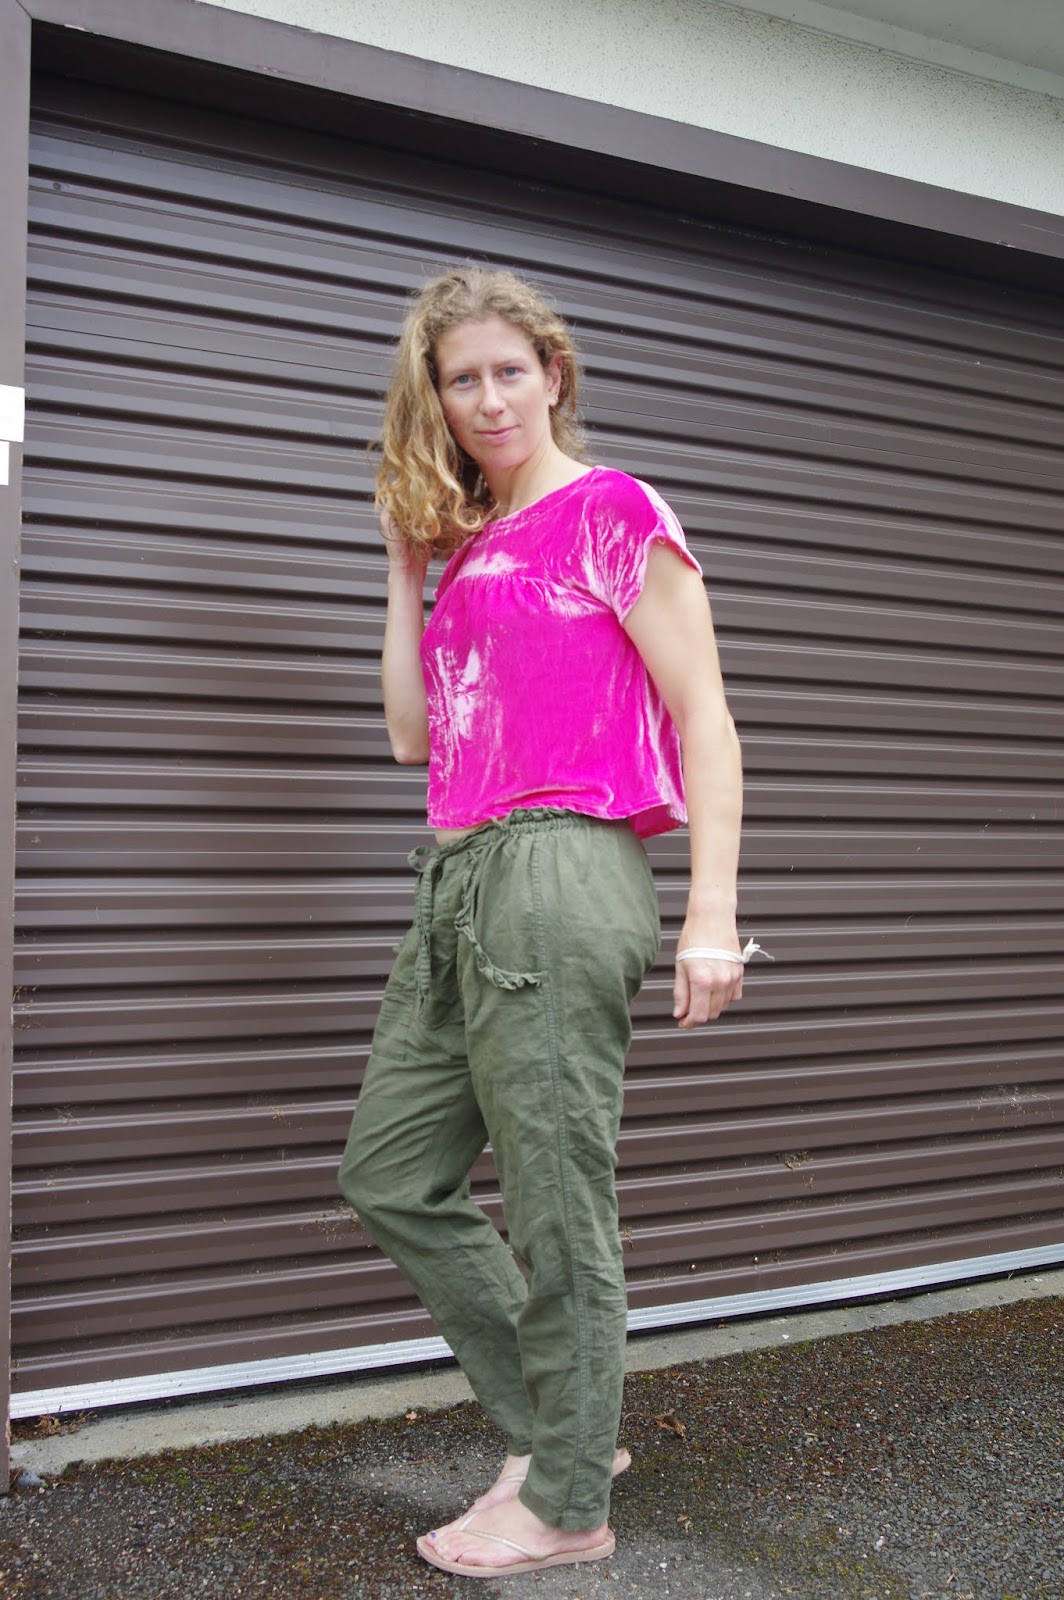
My velvet top is actually totally perfect.  I prepped the fabric by handwashing and airdrying so it should be pretty easy care.  I'm not all that fussed by how wear is crushing the velvet, because it's almost iridescent in the light and looks good wrinkled, hooray!


Can you tell by my pictures that I love this top?  Or do I just look like I have zero posing skills, as usual? 

Saturday, 15 February 2014

Deja vu: Grainline Scout, now in silk velvet

I couldn't part with my silk-velvet scraps when I left New Zealand so I quickly did the wide shoulder adjustment I'd been putting off and cut the project out.  It was my first thing to set up when I arrived at my parents and surveyed the Necchi.

Welllll, how did that go?
It ends up that velvet is made up of all these hair-like fibers that stick up.  Remembering to iron it with two layers of velvet stuck together - that was pretty easy.  But getting things to line up for sewing was tricky.  It ends up being nefariously shifty, not like silk, but like suddenly shifting a 1/4" as the fibers all simultaneously bend.

Put this together with some bias tape and I was screaming bloody murder and blaming it on the machine.  The poor plodding thing wasn't really at fault though...so I'm really glad I did a velvet practice project.

Moral of the story: don't sew with velvet.  Hah!


Luckily the Scout is easy and until I got to the bias binding I didn't have real trouble.  A walking foot would have been nice but the tin full of feet is full of weird feet (except for a rolled hem foot, I recognised that one, yippee!) and none looked like a seamonster-walking foot.  I zig-zagged my edges and then for the hem and sleeves I just folded that over and sewed it down.

In the end even the neck isn't too terrible, because once the bias tape was attached all the mess disappeared inside the shirt.  However I am really dissatisfied with the final fit.  My best friend, Dana, taking the pictures insists that it looks great but the sleeves seem to downright droop off my shoulders (was 1" too much?) and the usual shapeless Scout looks particularly shapeless in velvet.  Or is it just me?  This is the same size 2 that I have made for all the other versions, except that I idiosyncratically lengthened the hem, more in back than front for a bit of asymmetry. 

Not sure about this one yet, but it was a good practice project.  And I'm done with Scout tees for awhile!


Pattern: Grainline scout, size 2, slightly lengthened, 1" shoulder widening.
Fabric: silk velvet with a touch of nylon, from Global Fabrics in Wellington