Tuesday 17 September 2019

Szeki 7115 & the Japanese dress

Otherwise known as Japanese pattern-copy-hell.

We all know from Japanese pattern books that the pattern pieces are deceptively simple.  A few pleats here, a slight angle there, and a pattern piece which is functionally a big square turns into an amazing, truly ingeniously draped work of art.

Despite which, when one of my work colleagues offered to let me borrow this nice dress from the pattern designer Szeki, I said yes with enthusiasm instead of with foreboding.  The dress was still on the website as the "kimono dress" in another colour, though I believe the one I was borrowing is a few seasons old.

Here is the original dress that I'm trying to copy.


The fabric is a blend of linen and viscose which gives it a lot of weight, a certain crispness, but also luxurious drape.  I had to search to find a similar fabric, which I got from Germany on Etsy. The seller has vanished, but the fabric is great - it was about 50/50 tencel and linen with a slubbed texture - just what I wanted.

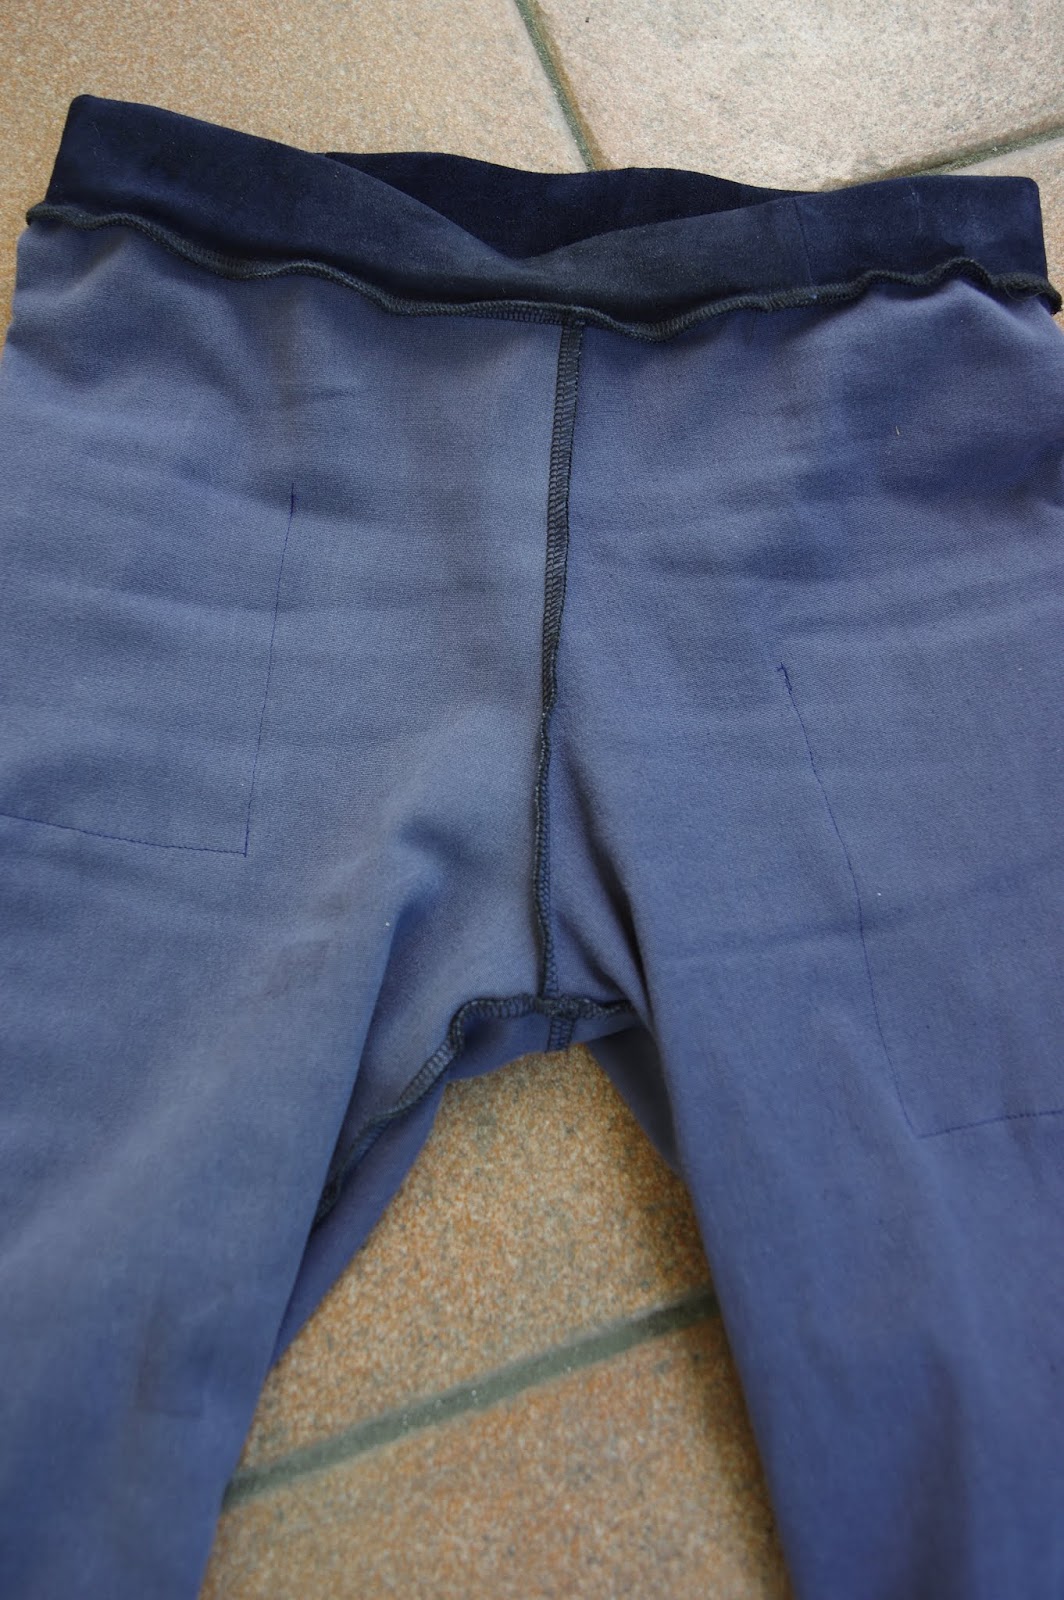
In the meantime I had some cotton that I had bought in preparation for this pattern, just plain lawn.  However what happened is that I tried to trace the dress onto paper, and something in the middle was getting lost.  This dress is 2 copies of one just about rectangular pattern piece, with a mid front seam and a mid back seam.  There's a shoulder seam that creates the armholes.  So simple...yet not.

I could not properly capture the curve at the shoulder.
I had to cave in and use my fabric to make a muslin.  I basically pinned it onto the dress and cut around it and then copied my "muslin" and basted the two pieces together.  Then I laid the dress over it and tried to figure out what I'd done wrong.

The complexity was compounded because both the front and the back are V shapes, and I kept mixing them up.

I was excited and so I bought some fabric in the interim, from Miss Maude.  It's the viscose by Atelier Brunette so it's still luxury expensive stuff, but much lighter and floatier than the Japanese dress.

After the muslin, I traced that fabric onto a piece of tracing paper, lined *that one* up with the dress again, and finally decided it was as good as I could get.  I cut out my first attempt.  Here you go:


I had planned to make it shorter than the original anyway, but I only ordered 2 metres of fabric so I ended up also not having enough for the full length.  I reshaped the hem after cutting, to try to approach the semi-tulip of the original, and probably overdid it.  I just overlocked everything because I had little faith in my final outcome.  

On my version the shoulders sit a bit further forward and I originally thought I had it way off.  I realised after some tugging that the weight of this dress does not pull it backwards enough, but that my v shapes were close to the original - the back V is a bit smaller.  My armholes are much bigger. 

I modified the pattern after this, taking a strip out of the pattern piece that would functionally decrease volume and decrease how big the sleeve opening was.  I didn't change the V neck.

And finally in the viscose-linen:


I felt very frustrated at the end of all this and glad to be done with it.  My second copy mimics the original with all french seams on the inside.  It doesn't feel the same as the original when I have it on, but I was really surprised by my photos.  They look so similar!

This experience was hard!  I'm going to be even more appreciative of complex yet simple patterns, especially Japanese ones, after this.  The original dress & the identical copy go back to the owner, but I'm keeping the viscose version for myself.  I think it'll do as a summer dress.


Friday 13 September 2019

Virginia legging experiment in stretch suede

Last year sometime, I discovered Stouls, who are in France and make washable suede clothing. The quality is exquisite and the prices are sphincter-tightening, especially when a relatively weak currency like the kiwidollar is involved.

In the States there is better access so while I was there, I took the opportunity to investigate.  I determined that although they are great quality, they are made with the assumption that you are about 185 cm tall.  And the fit is nothing spectacular.

Well, I can make leggings.

Thus began another sewing odyssey.  A lot of time was spent thinking, for instance, what would I do with the waistband?  Would it require special management?  Could I get away without using elastic? How to sew it together?  I assumed that overlocking would be impossible. 

I bought some stretch suede from the Fabric Store, managing to score it on a day there was huge sale on.  I bought 3 skins. My leather legging cost: 200 dollars.  Stouls leather leggings: 1500 dollars.  I reckon I'm winning here.  

I made a practice pair from some black fleece that had similar stretch characteristics.  High waist, size XS.  They were amazing!  In fact they were so great that a friend begged me for them and I gave them to her.  They confirmed the fit, and I just used a piece of the fleece for the waistband.  I cut about 3" off it to make it tight enough. With the high waist that was perfect.  They were a little tight on my calves, and I reckoned 3" too long.

Another investigation: I washed a piece of my beautiful blue stretch suede.  It seemed to do ok, confirming that they could be washed in an emergency, but I wasn't sure if the stretch was just a bit lazy after that.  So better not to wash them. 

To prep the pattern, I cut off 3" of the bottom of the legs, and I used that same length of waistband that worked on the fleece pants.  I traced all my pattern pieces and then started chopping the piece up until it fit on my skins.  I ended up with a lower leg piece, a horizontal seam, and two thigh pieces with a vertical seam.  I cut the waistband in 2 pieces.

This suede is pretty thin, so after only minimal hesitation I went for it and used the overlocker.  Absolute success. I overlocked the crotch seam, inseam and the waistband, but just straight stitched the pieces together on the sides, and also straight stitched the lower calves onto the upper legs.  Some topstitching was involved to help strengthen those seams, and I topstitched the back crotch to add stability.  I found that the topstitching decreases the tension on the seam, which obviously is a good thing on stretch leather trousers as who wants the butt seam to fall apart?

Added pockets.  I measured them to be the size I wanted, where I wanted.

When I tried these on I discovered an interesting technical feature of stretch suede.  What stretch it has widthwise ends up shortening the fabric lengthwise.  So the fixes that I borrowed due to the fit of fleece leggings were not helpful - the leggings are much shorter and the crotch height is much lower.  The waistband, because the stretch is horizontal, was too loose. I ended up fixing this by opening up the back seam and adding in some elastic. I hadn't wanted elastic but now I'm really glad for it as it makes the pants feel more secure.  They feel a bit tighter than the practice pair but overall I'm happy with the fit. 


So the best thing about doing it yourself is that you can add pockets!  I have pockets!  They are so stretchy that I should have reinforced the pocket tops by folding them over, otherwise they are great, and of course the right size for my phone (left pocket) and my car keys (right pocket).

Verdict: some learning and a huge amount of thinking for an awesome result.  I'm so proud of my suede pants and I think I'll get a lot of wear out of them before the weather gets too warm.  I finally feel like a fashion success when I'm strolling around town after surfing!

Wednesday 11 September 2019

Megan Nielsen Dawn Jeans Odyssey


Making these jeans was not a quick, one day process.
It seems that somehow I really had not made jeans.  I mean, I'd made pants from jean material (here) and they were the second pair of pants I ever made!  They still fit well and get regular use!  So I didn't understand the hype about jeans until I realised all the topstitching actually takes time and different equipment.  I've been delaying making Ginger Jeans for about 2 years now, at least.  And then my most close to local fabric store, Miss Maude, had really nice looking non stretch Cone Mills denim and that was it.  (Is it sad that an online fabric store is all I can count as local?  Anyway, they are awesome!)

I trawled the internet for reviews, of course, people are not blogging like they used to but there are still a few posts out there.  Overall it seems that no one had any huge gripe about these and the instructions are top notch.  I reviewed the evidence and cut out my size based on my measurements - size 6, no alterations.

My waist is 27" and my hips are 37".
I measured the 11" front crotch and it actually seemed like it wouldn't be too high, so I didn't shorten it.  The only thing I did is add about 1cm to the calves because I thought between my slight knock knee and my large muscular calves I should never assume skinny jeans will fit.  Also it's better to have too much fabric than not enough. 

I got topstitching thread locally, it's Guterman without any other letters or numbers on it, and it might be lighter than usual topstitching thread, I'm not sure.  And I bought kits with rivets from Megan Nielsen to keep it simple and make sure I had everything I needed.

All this acquisition of supplies was great because it meant I could procrastinate on actually starting to make jeans.  I was binge making knits and getting sort of stressed because I really wanted to do these...but I was already really nervous.

My prep is that I actually followed the instructions.  I tested topstitching thread and adjusted my sewing machine tension which I basically never do.  I used Bernina jeans needles because my local store is Bernina (it's a terrible store with bad customer service and is probably the main reason I have a Babylock and not a Bernina overlocker, but I guess it's nice to at least be able to buy thread and needles locally.) 

I started the jeans while on night shift. It was actually a relief to do it that way.  I didn't have any time line to finish, and I could only do one thing and then I got too tired to sew.  The fly was probably the easiest fly instructions I've ever used.  It was so straightforward.

I will say - it's hard to find the online stuff for the Dawn Jeans on the Megan Nielsen website.  There apparently used to be an Ash jean sewalong, and it's been removed.  There are posts that refer to both Ash and Dawn, including the zipper tutorial that I used, so once you do find them you're sweet.  But it's too bad it no longer seems to come up as a set of links on the website.

Fly was good, pockets were good (I didn't have any pretty fabric to use on the pockets, sad!  I need to start sewing up my Liberty so that I have some scraps.) Crotch was fine, legs went well...waistbands, other than buttonholes, are my sewing nemesis.  I've never put on a waistband that I was truly happy with.  Plus now it had gotten to the weekend and I wanted to finish these nowwww!  And yes indeed, the waistband is where it went bad.  My sewing machine wanted to die.  In fact, it tried to die.  The topstitching thread was weaving nests on the bobbin side.  I changed needles to a leather needle, I changed tension, I really struggled.  It's mostly invisible but the fronts don't quite line up perfectly, due to how much I was stretching them and resewing that front corner.

Also on the interfacing:  I tried to interface.  It ripped.  You have to ease the waistband to the jeans, which is great, but unless you use nice stretchy interfacing, that won't happen.  I was using my shittiest stuff to get it used up and it was too firm, and then just ripped before I could ease the waistband at all.  So, I went without.  No loss.

In the end I figured out the problem - the IDT on the Pfaff can't do the heavy layers.  It's similar to what I learned with sewing lace.  The IDT is there for you and is amazing...until it's not.  I removed it to do the belt loops and though they are not perfect, I didn't have the huge tragic dramas that the waistband gave me.  I had a little trouble on the hems though, just enough to realise the problem wasn't over. The leather needle did help a lot though.  

After all that, I drew my buttonhole by hand and then used my newfound skills bar tacking!  I bar tacked the buttonhole!  It was so fantastic, I'm definitely going to use that technique for now.  Lately I'm learning the limitations of my fabulous sewing machine. (Buttonholes on waistbands where there are layers, topstitching...)  There's a dusty old Singer in this house and I am going to pull it out this week!

The rivets were also totally straightforward!  Amazing...

So the verdict, of course you want to know how they fit right?
They fit like store bought.  I had basted them and tried them on and knew they would be fine.
But what is happening - the crotch sits about maybe 1.5 inches below my crotch.  The legs are a bit too skinny at the top for my legs.  The waistband is great, the waist is great, but there's this extra fabric waiting to go somewhere.  This means that the butt pulls flat, because the butt is below my butt.  I don't know whether these will break in and fit well, or if they will break in and have a flat butt and have an inch of excess fabric bagging in the front crotch.  I'm curious about that.  So I've taken my pictures during the first wear so you can see how they look before I've done any squats in them.

I have a problem with the pocket openings, and I'm surprised no one else has noticed this.  They are tiny.  I can barely get my hand in there.  The pocket openings need to go lower and wider by a lot.  I will fix this. I think it'll improve the aesthetics of the front of the jeans too, and distract from those wrinkles that always happen in high waisted jeans over the belly.  


The next verdict is that despite this odyssey, I'm kind of addicted.  The simple precision of topstitching, the calm of a project I can't do too fast, the result being clothing I really want in my wardrobe...yep I'm hooked.  I have a summer pair of jeans planned and I am going to try tracing out the crotch fit from the Persephone pants onto these and see if that suits me better.  It might be a few weeks before I'm ready for that though!  In the meantime I have to finally make the pants I promised my cousin 9 months ago oooops.  My 2 year old UFO pile is much smaller than it was when I moved here but it still has a few things in it!  Unfortunately the rest of my luggage from the States will also arrive soon with even more UFOs, patterns and other sundry bits and pieces....

Tuesday 10 September 2019

Grainline Hemlock binge

Welcome to the Grainline Hemlock!  I didn't like this pattern at all when I first made it.  Since then styles have changed, as they do, and I don't know what sounds better than a drop sleeved oversized curved hem top.  This pattern is free and it's one size fits all.  It is better suited to lightweight, drapey fabrics.  Don't be like me and make it out of a stiff sweatshirting weight jersey (here.)

It took a few modifications to perfectly achieve my vision.

Version 1 is shortened 4 inches - this is the original pattern I used a few years ago.  In a drapey silk viscose knit it's fantastic.  I used about 2 inches of the sleeve.  I love this shirt and I think I was insane not to love it before.  If I keep rediscovering my own patterns, I'll never need to buy more!


(Yes those are my new Papercut Palisade pants.  I recycled pictures!)

Version 2 used the short version as the side seam length, and then lengthened (the back) and shortened (the front) using the curve from the Megan Nielsen Briar tee.  I also inspected the sleeve and changed the curve of the body, slightly like the Strata top body-sleeve area, so that it would not bunch up in my armpit as much.  (Interestingly this is the same design feature that I complained about on my first Strata top.  I reserve the right to contradict myself freely.)


Version 3 is the version of my dreams.  I lowered the front curve a bit, and also extended the shoulder seam down one inch.

This is merino blend from Otara in Auckland, land of cheap fabrics.  There may be a lot of blend in there because it's quite lightweight and doesn't feel like merino. 


And then on version 4 so I wouldn't have too many TOTALLY IDENTICAL items in my wardrobe, I added cuffs, but the shoulder seam is back in the previous location, same as the grey one.  This merino is from The Fabric Store, and it feels quite a bit denser than the stuff from Otara.  The challenge is on: is $40 merino better than $10 dollar merino?


I'm done with this now!