Showing posts with label Kylie and the machine. Show all posts

Sunday, 26 June 2022

Partner overalls, by Ready to Sew, a review


So there are patterns that take a project which feels really complex and they baby sit you through every stage of it so you have these warm fuzzy feelings of security.  Nothing could go wrong!  

This pattern isn't like that.  It provides you enough info to make the overalls but the real nugget of truth is that overalls are easy.  They just look hard.  There is missing information (by missing information what I mean is that the Dawn Jeans instructions had it, and they are the Gold Standard for best instructions ever) about how you need to tie topstitching thread by hand on the back of your work rather than trying to backstitch to secure it.  Small details like that which just raise the quality of your result.

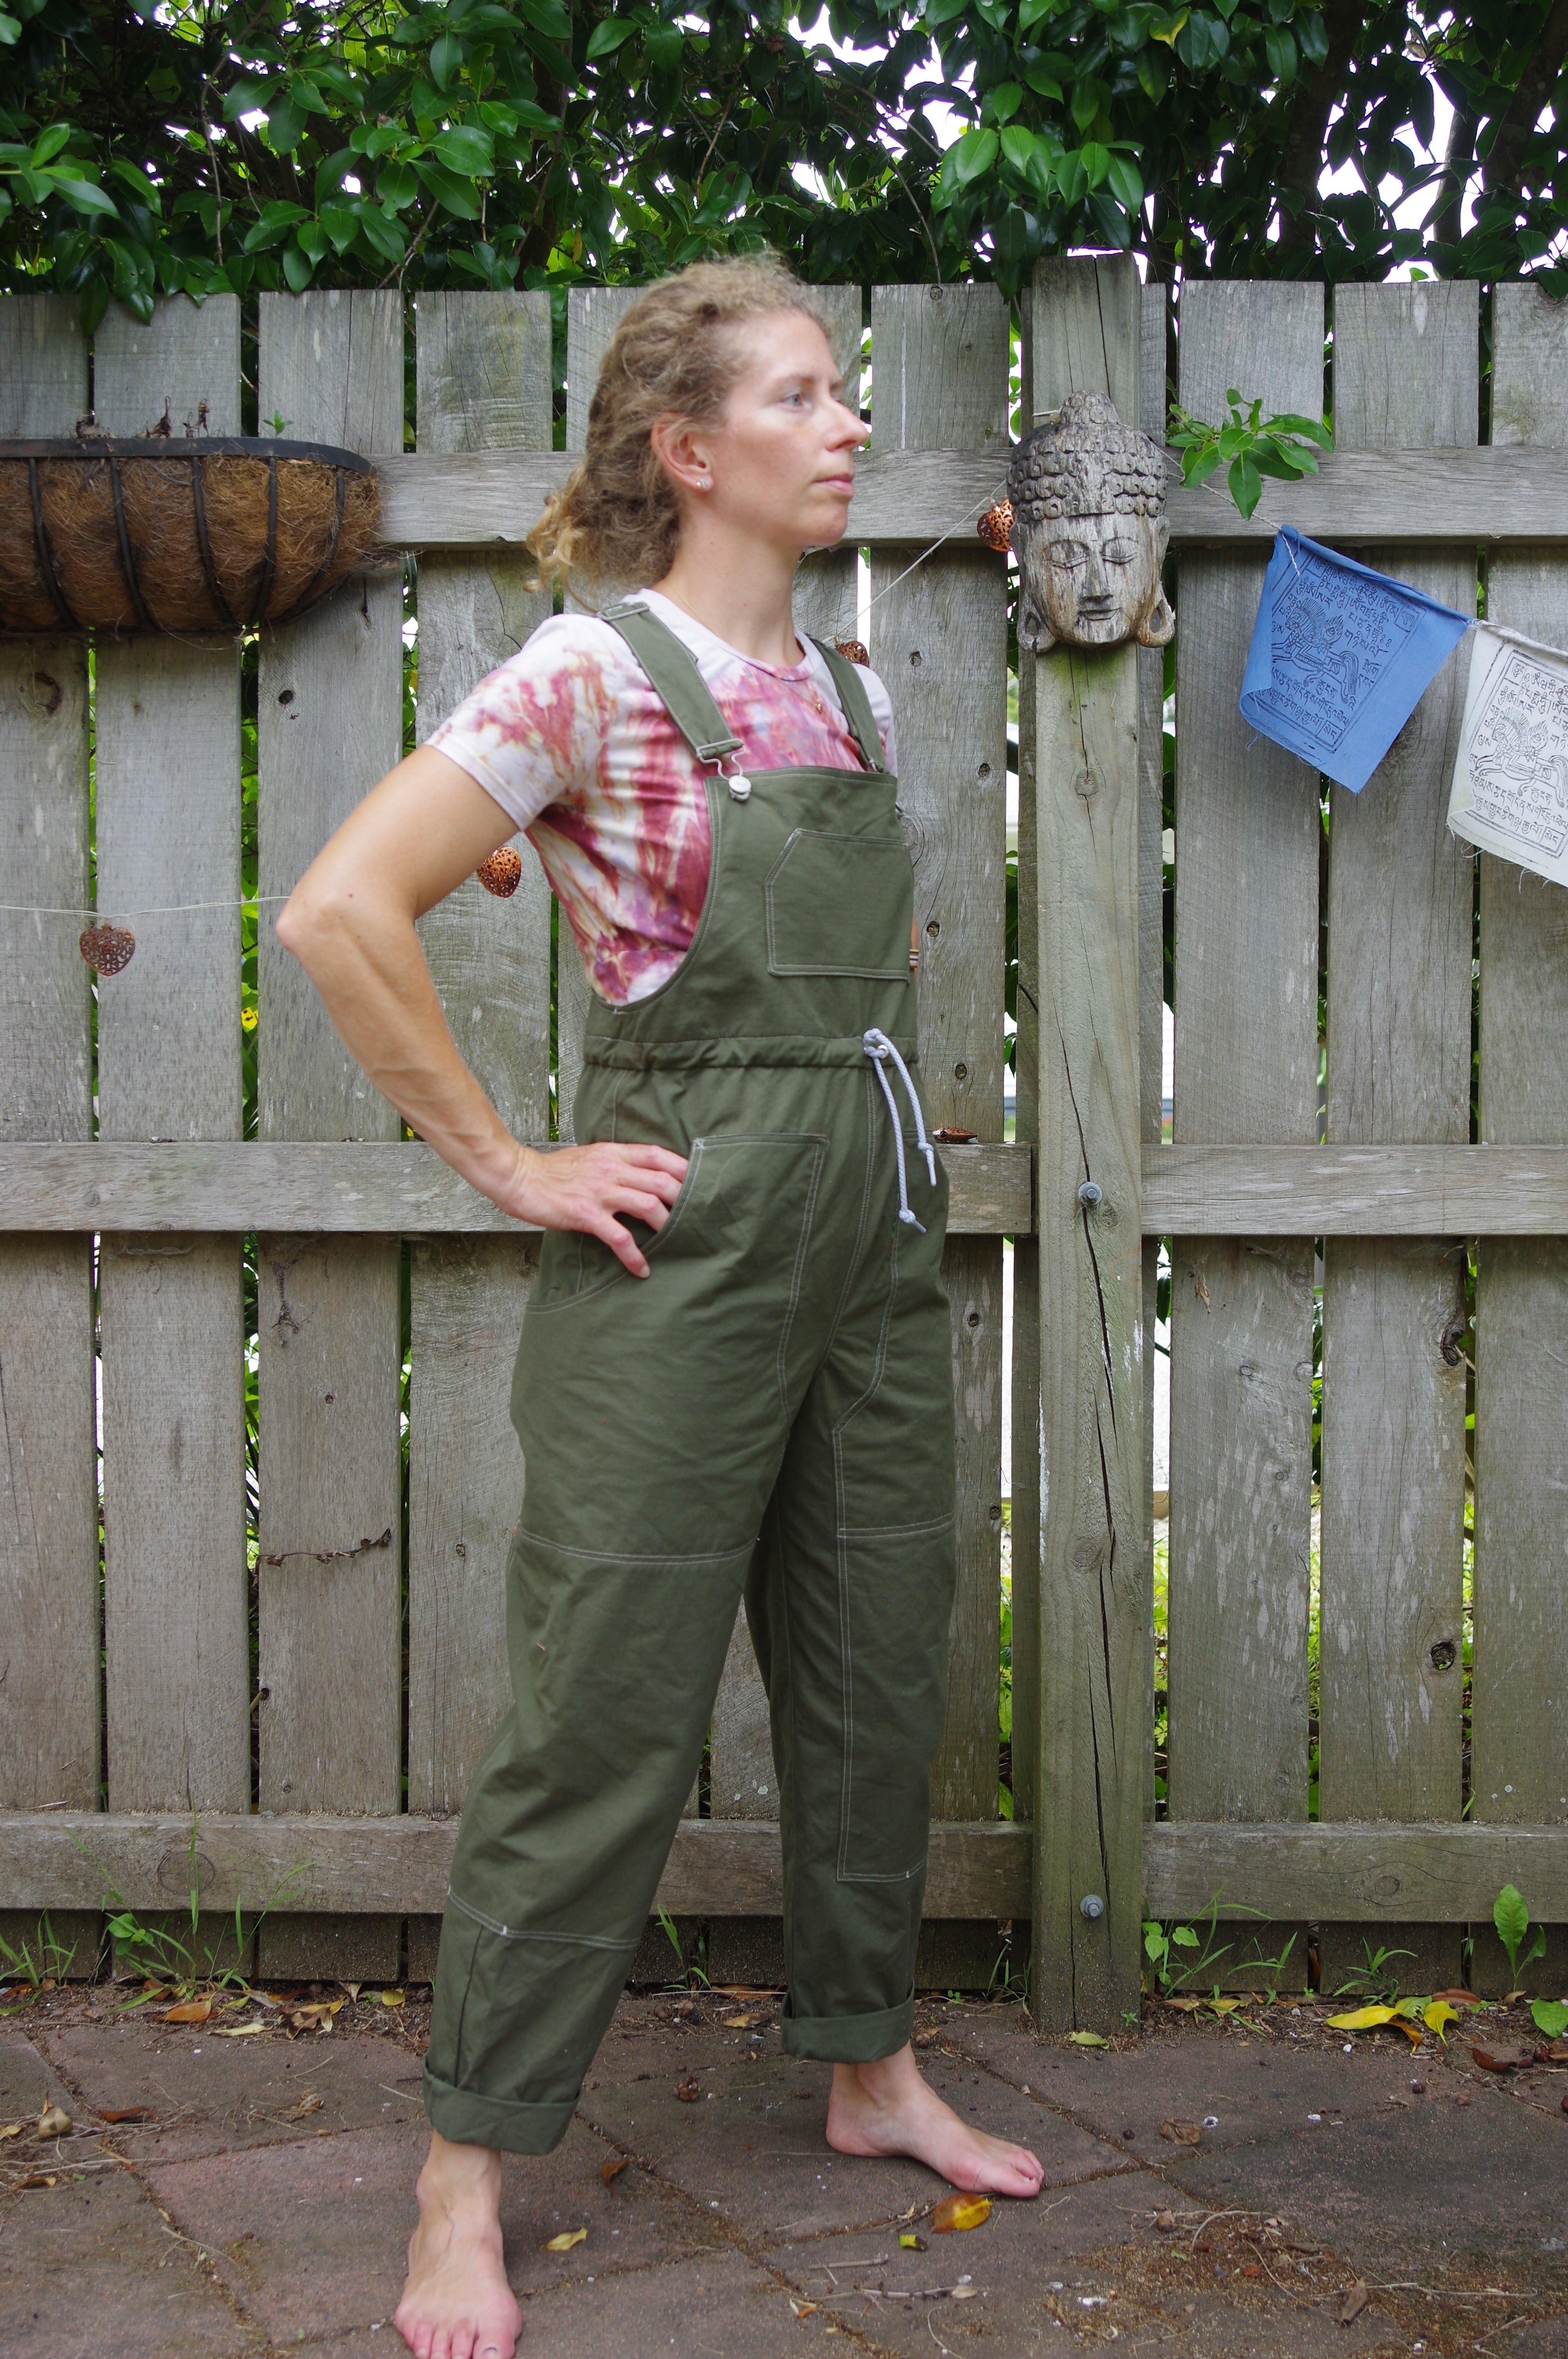
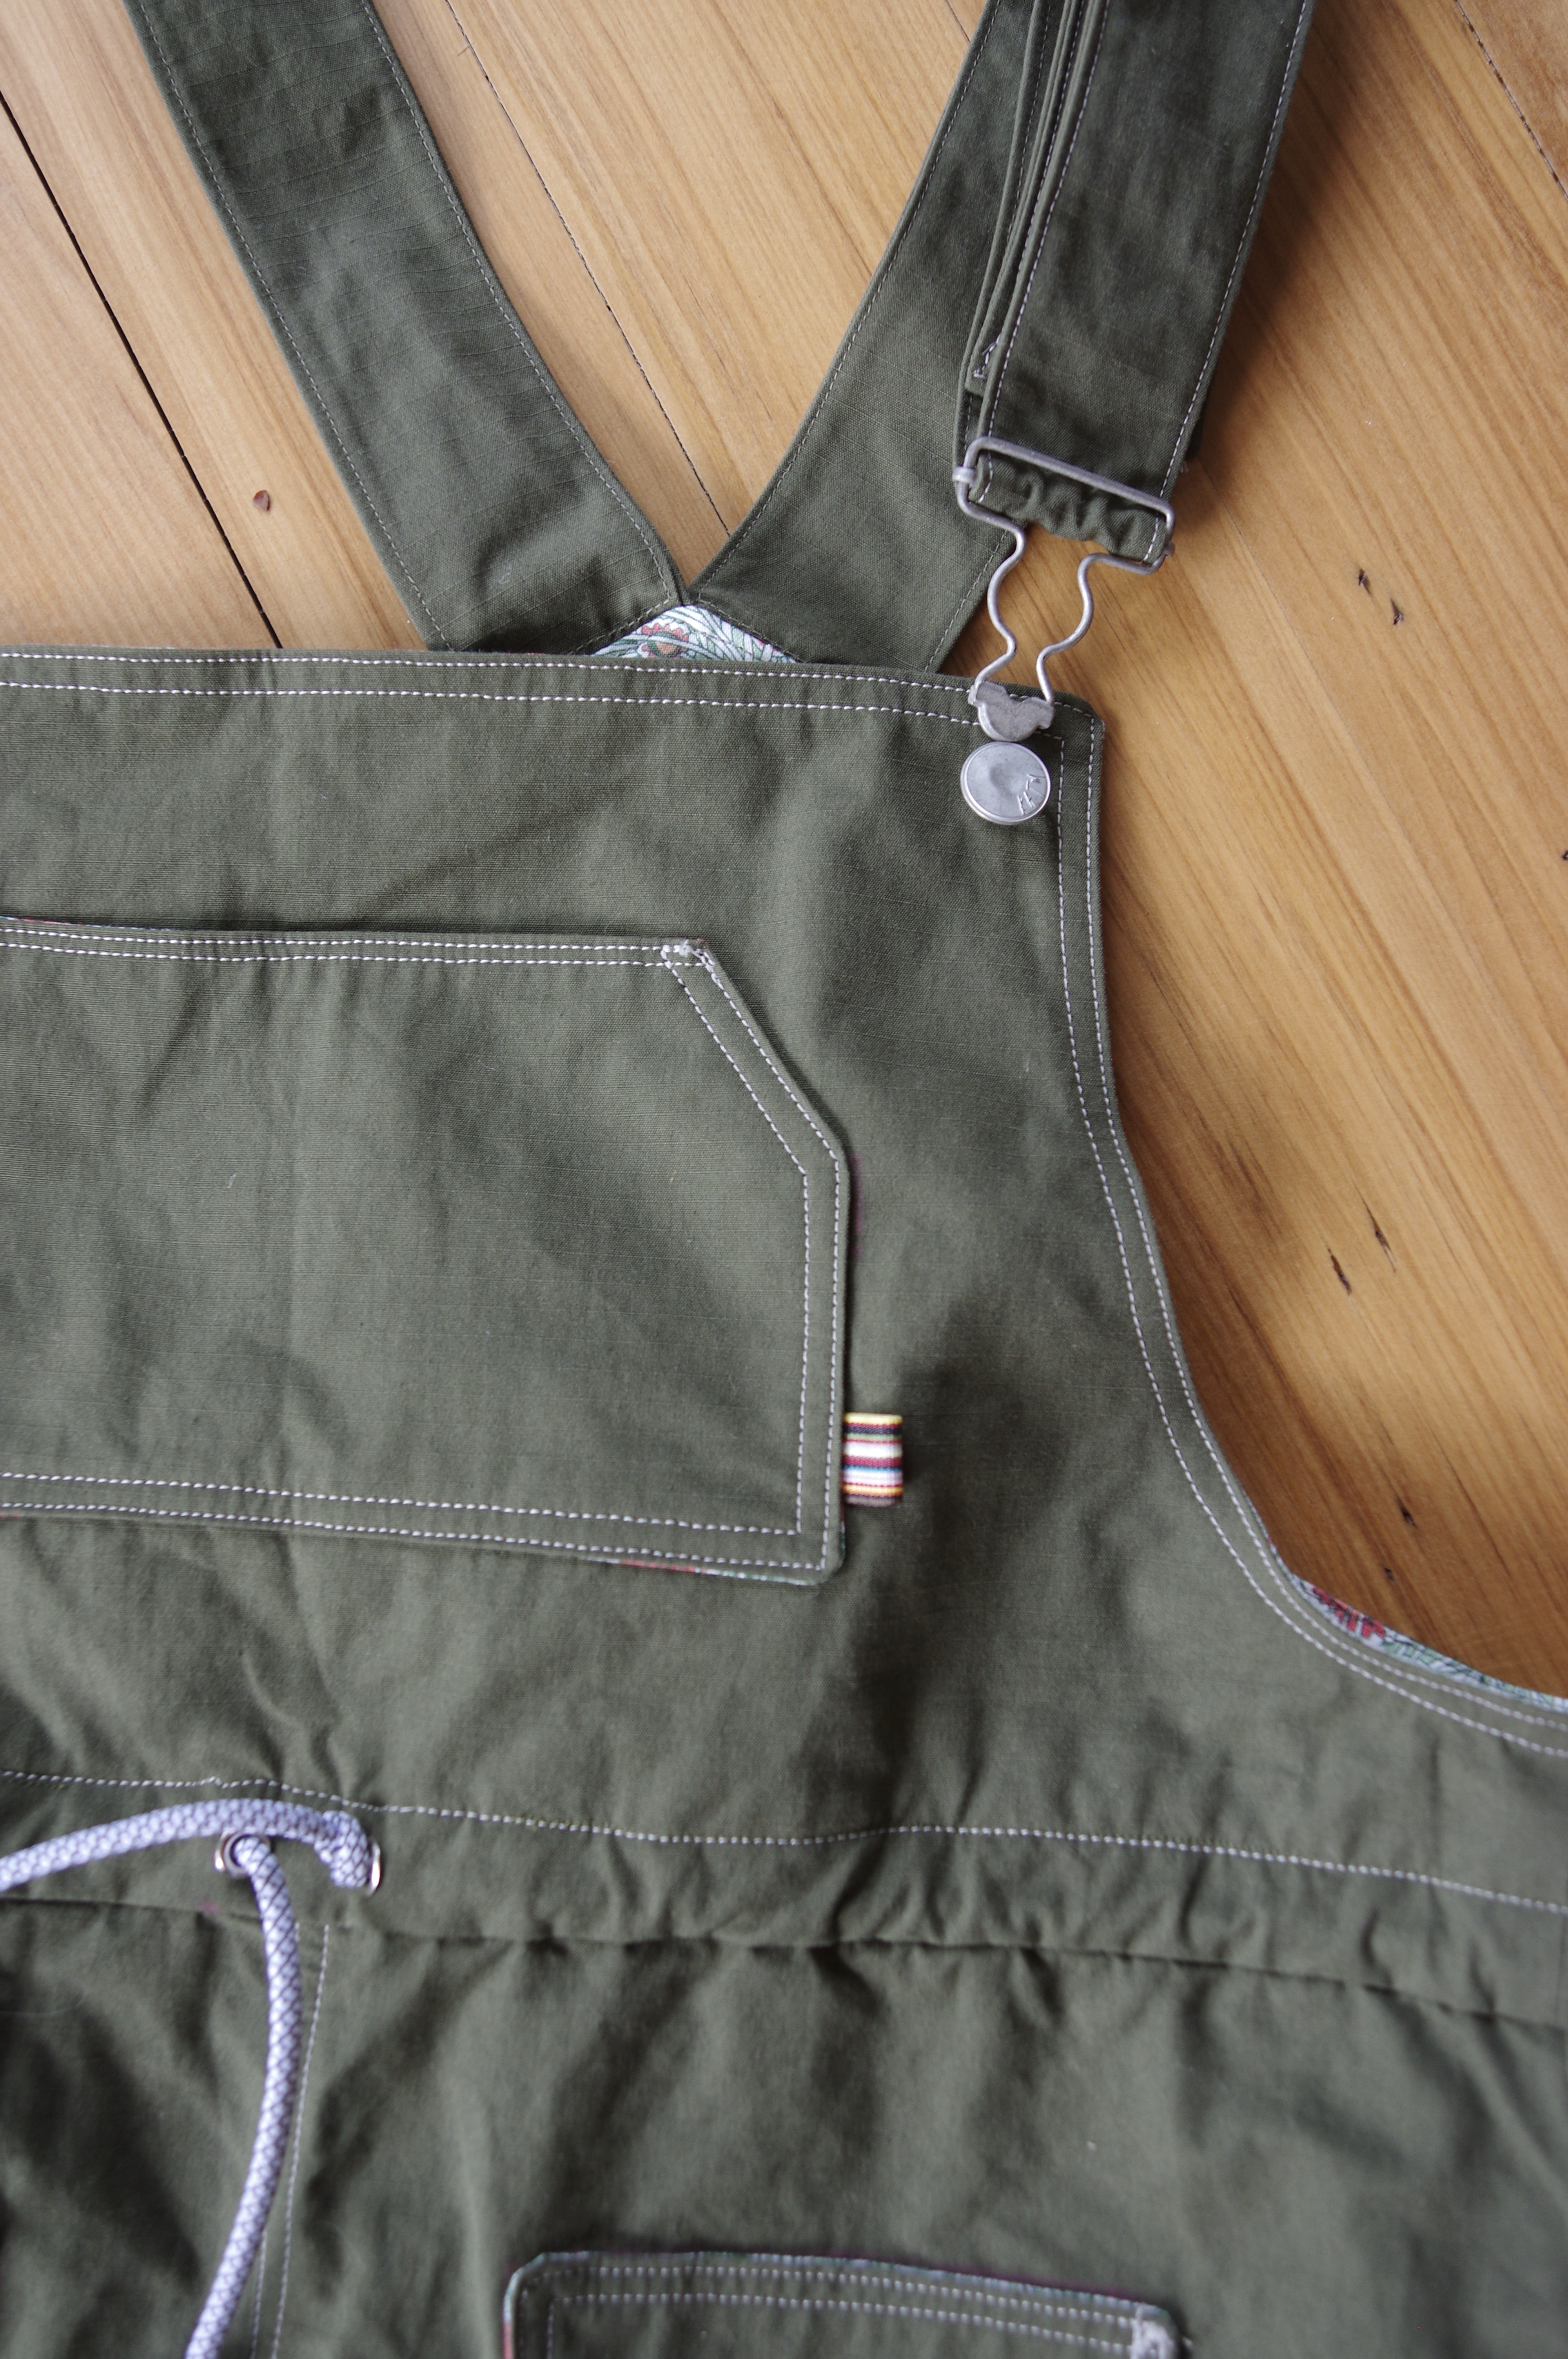
There are so many size choices that it's overwhelming to choose.  I think I could have gone bigger to get a baggier look, as it is they are in between baggy and fitted, kind of an uncomfortable lukewarm option.  I went with size 38. My hips are 37".  My fabric is a kind of windowpane poplin and I lined the bib with some liberty that I wanted to use up - same thing inside the pockets.  Ok so really you should use self fabric on the pockets because otherwise it peeks around the edges.  And I have no idea why the instructions have you do a partial bib lining instead of a full one - but I guess that's if you use self fabric and it is heavy...still I avoid partial facings whenever possible and it was simple enough to do a full one here.  I did the same thing lining my pocket then turning it right side out to topstitch it down.  

There were some kind of weird instructions about the pockets too.  A lot of the topstitching literally defines the space so it's kind of scary to start because you pick a spot and go!  I was using Mara 70 topstitching thread which is lighter than usual topstitching thread, allowing me to treat it as normal thread.  My metal bits are a KATM kit from Miss Maude NZ.  (These kits are excellent quality.  Do not hesitate!) 

I spontaneously shortened these by removing an inch off the waist.  The bodice is a bit short actually as a result, but I can fix this somewhat by lengthening the straps.  I would advise against shortening them because it's better for overalls to be baggy and have some extra lengthwise room.  That might be part of why I feel confined in them when I wear them.  I have a really short torso and I would say this pattern fit me pretty precisely.  Because of that if you are in doubt, size up on the very ridiculously precise size chart.  If you are long waisted consider lengthening the bodice.  The result of this though, is that now I have the sense that Ready to Sew is a block that fits me really well which might entice me to actually sew up other patterns of theirs I have loitering around somewhere.


I did these in a day because it was my last sewing day with my friend Tessa before moving far away and I was Going To Finish.  And I did!  Aided by how, as I have mentioned, overalls are actually easy.  There are no buttons, no buttonholes, no zips, no flies!  In this case also nearly no distractions, though poor Tessa didn't finish her project because she was under great stress to Entertain Children and their Friends, Fetch Stray Husbands, Buy Emergency Bias Tape etc while I just binge sewed (though in my defense I did supervise the children decorating cupcakes in her absence and I took the requisite number of photographs of the event).  And yes that means this was already six months ago, sorry, moving took all my attention!  It is now cold here and I am not going outside barefoot.

In the end I find these to be really kind of ok.  I feel weird in them like they are a trouser straitjacket.  I have been peer pressured to keep them and try harder to like them and they do look quite nice over my knitted cropped sweaters so I suppose they will have a place in my closet. 

Wednesday, 24 November 2021

Merchant and Mills field belt in oilskin

 I had been planning this for a year or so.  I had a scrap of suede, which is always annoying, I need to not buy leather without plans...

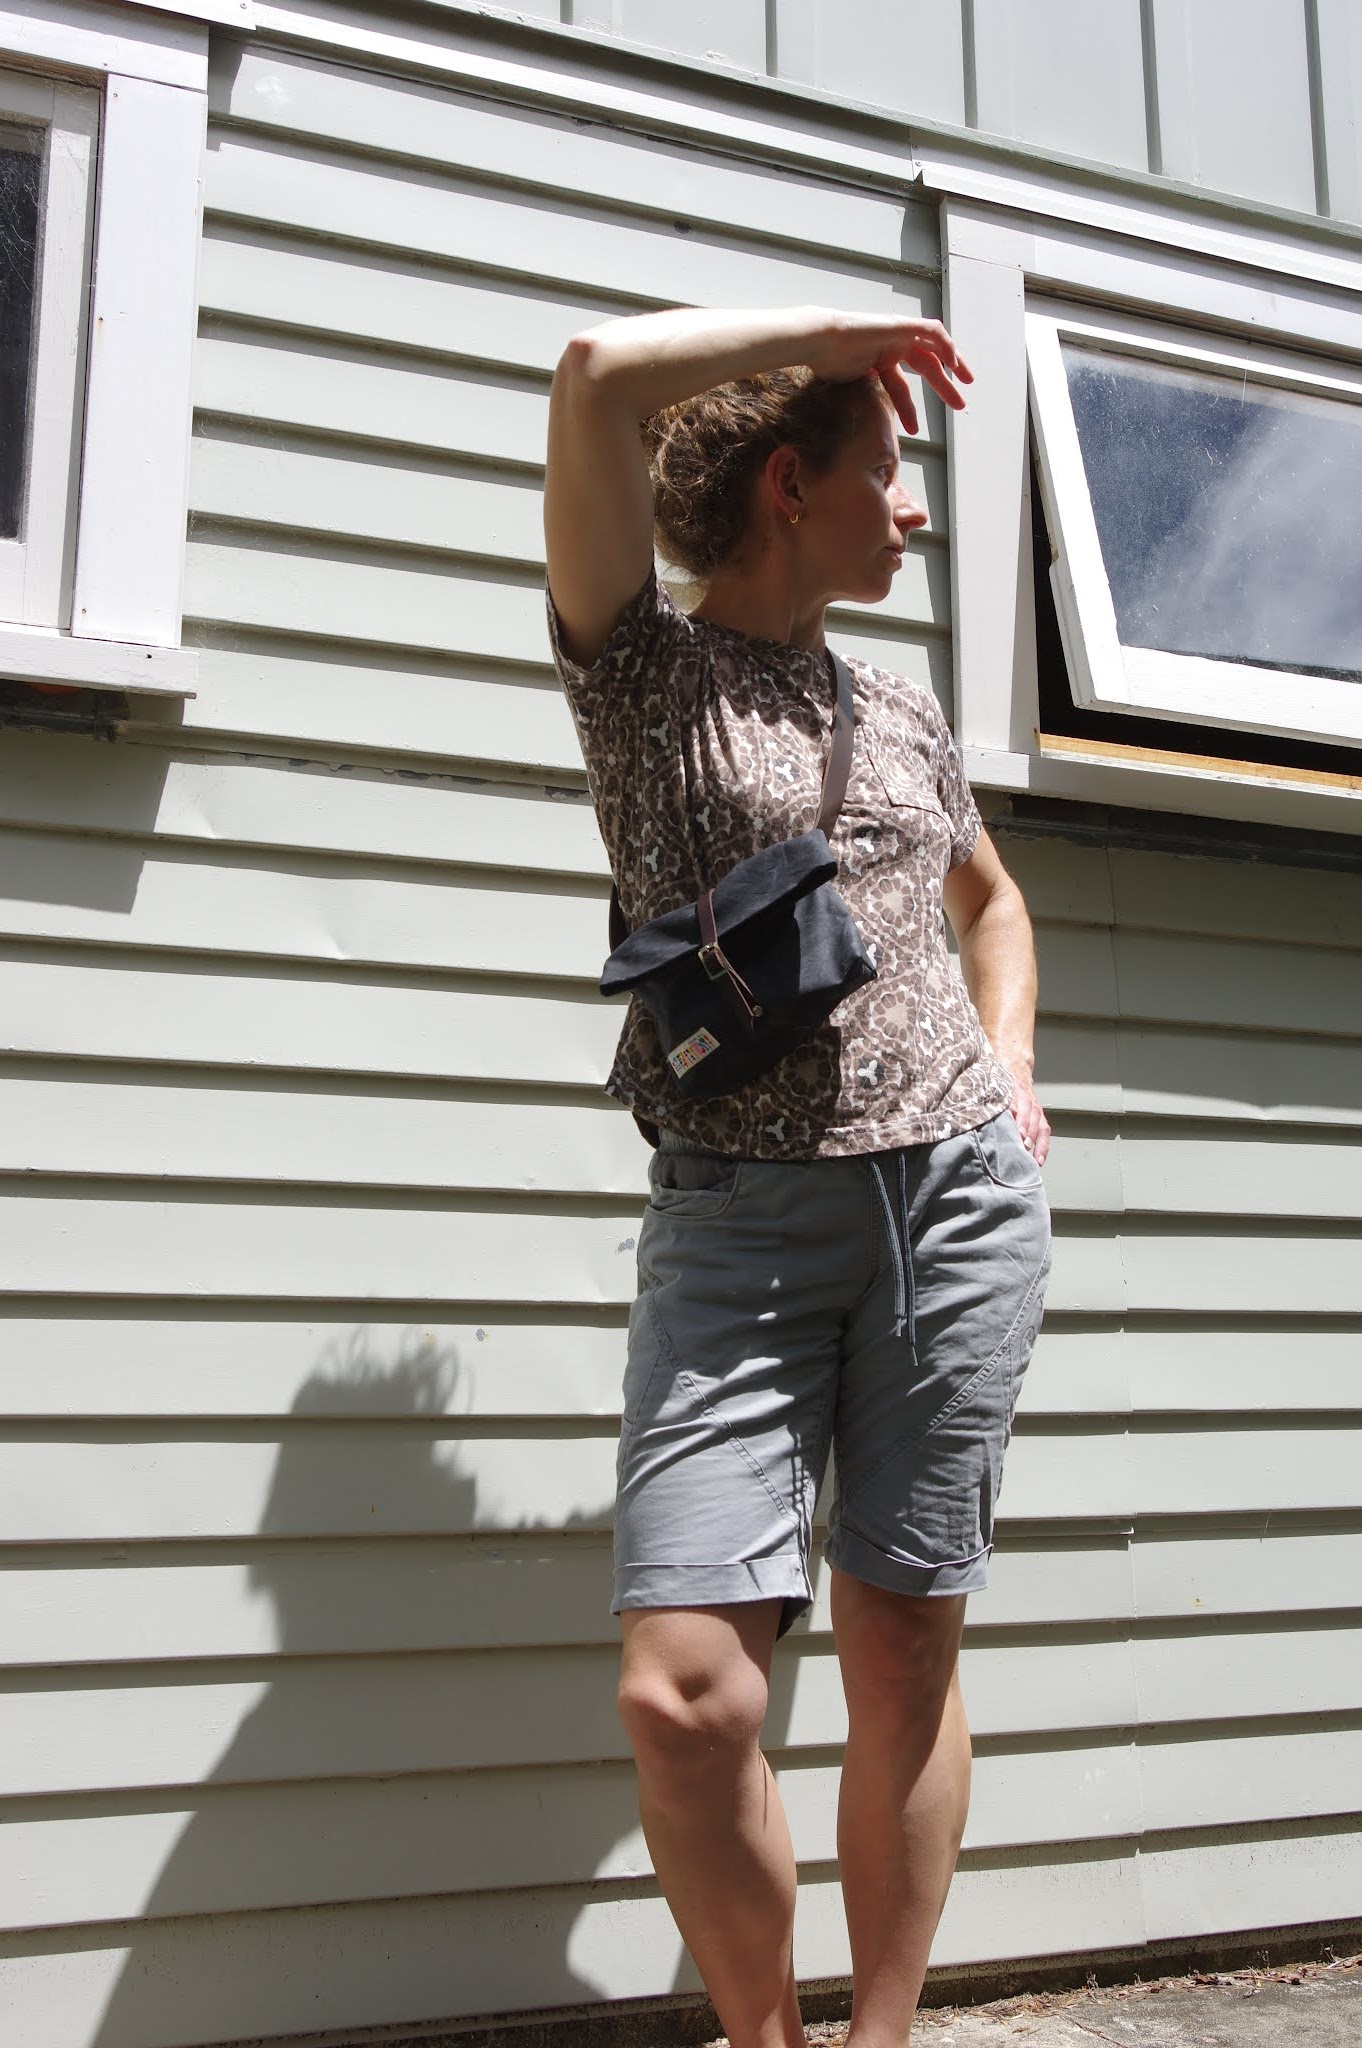
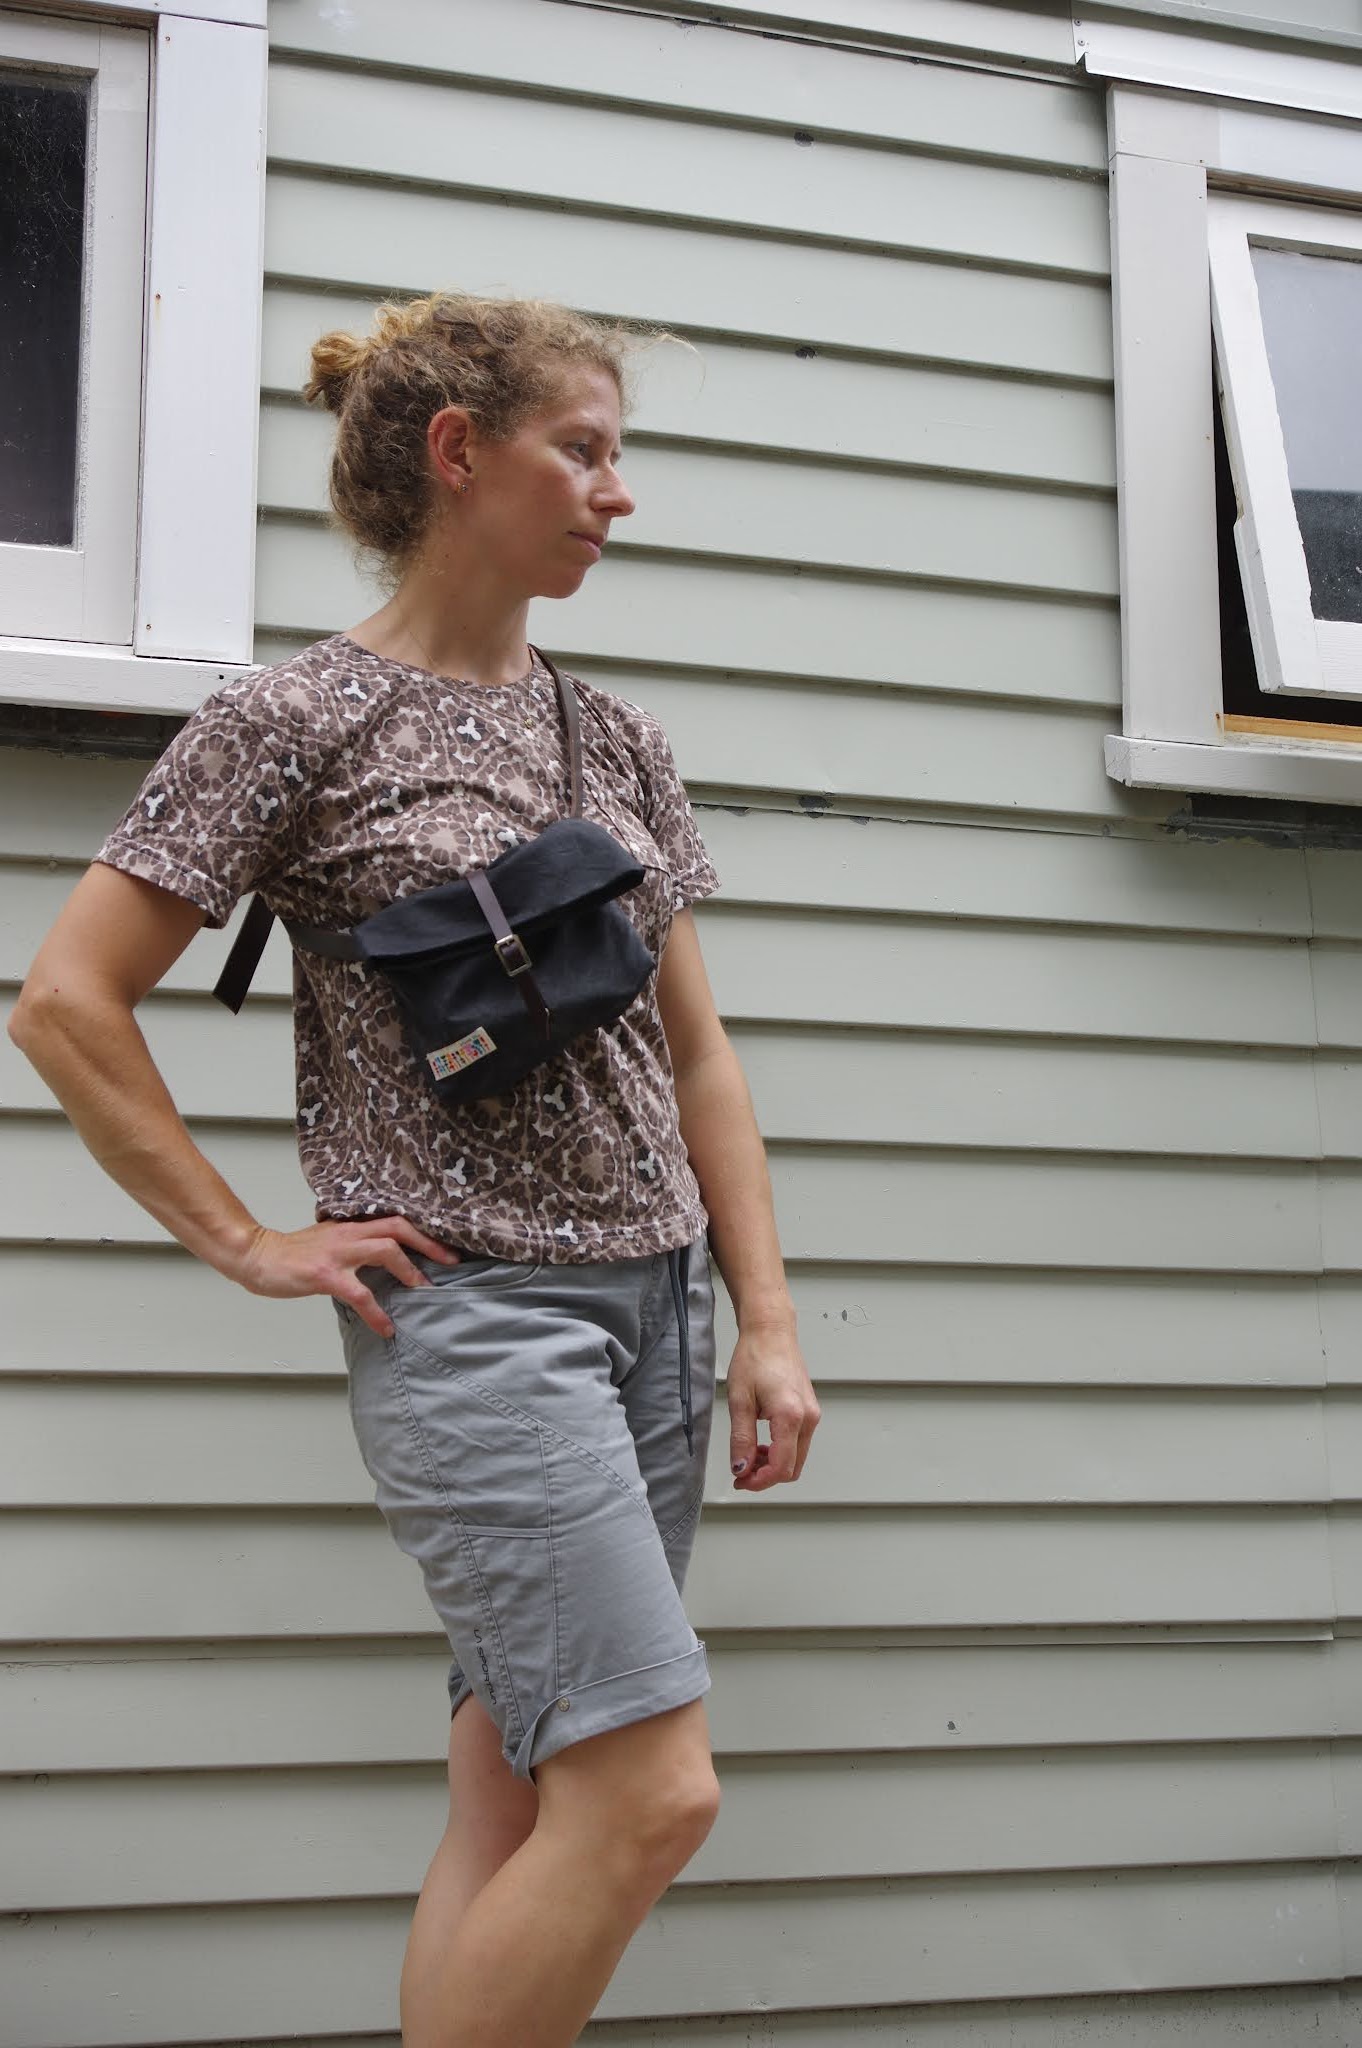
Anyway so something was blocking it.  And eventually I realised I didn't want it in suede.  I finally had the true vision! Bought grey oilskin from Miss Maude, the oilskin backing, and used a piece of my precious heart fabric that I sadly made into a crappy and thus far not salvaged top!  I had the notions kit and it was so amazingly easy!  Really easy!  I want to make all the bags, and I want to make everything with oilskin now!!


This is basically a rectangle that you fold up and you apply the clasps strategically onto it, bag out a lining and box the corners - that's the hardest bit since they are at the bottom.  I had been thinking about this bag for so long that it came as a shock when the entire process took an hour or two.  The rivets in the kit just hammer together with no tools, and my very old hole maker for leather performed fine at making holes.  The only trick is getting the buckles on upright, the picture is correct but somehow seems wrong, which played with my mind.  I used a teflon foot for the oilskin but I'm not sure I even needed it.  My machine definitely got oiled a bit!

A fun little project. The bag is very small, and the leather belt is very firm, so my only grief is really a fabric belt or something floppy would have been more comfortable, because I'll never get enough weight in the bag to need such a substantial belt portion, since I will wear it loosely belted as a bum bag, or as a crossbody.  Maybe the leather will soften.  Also the leather belt really is sized for a man, I could have done with about 10" less length altogether and I've added more holes but probably still not enough if I want it relatively high at my waist. 

I now want to make a whole wardrobe in oilskin.

Wednesday, 10 November 2021

Made for Mermaids Juniper Jumper review

I bought this pattern without planning ahead of time, and sent it to the printers with a bunch of other patterns.  Then equally rushed I cut it out of beautiful scuba fabric from Blackbird Fabrics.  And then it sat on the floor and collected dust because I wasn't sure I cared that much.  I got rather sad to have used this gorgeous fabric on this as other ideas came and went. 

Size: purple.  Matches my waist/hips, and my bust of 33 as the "high bust" seemed fine, the bust measurement was 34-35 and really I would not have wanted this style to be tighter, though I see many of the pattern testers preferred a snug fit.


I used the high front, low back, but as you see, it's not particularly high front or particularly low back though the armholes are quite cut out towards the front.  I expected to need a top under this, and instead it's a dress all on its own! 

I'm not sure there were marks on the skirt for where to put the pockets (could have been me since the pieces sat for a few months.)  I put them 1.5" down. 

I got annoyed by the dust bunnies and summer is basically here and dresses are great, finally inspired me to get on with it.  I actually sewed this entirely on my sewing machine except for the waist seam and the hem seam (to make it prettier.)  I didn't finish any of the other seams because of the scuba fabric.  The top is fully enclosed. I understitched the neckline, but the SA is 1/4" which is too little to snip into and in the scuba even with understitching it rotates outward.  For the first time I get the appeal of the larger SA on this spot.  The SA, other than the neck and armholes, is 1/2" so beware! 

The scuba from Blackbird - bought probably last Feb or so, so I'm not sure what it is.  Maybe bamboo.  It has a standard scuba look on one side, and a paler, matte on the other which is so beautiful.  I used that matte as the exterior.  This scuba has more drape than usual scuba fabric, less body, and is a bit thinner.

1" hem. 

To my surprise I love this little dress.  It's so cute and simple and in a fabric like this that doesn't need finishing, the innards are so very neat.  The pockets are a stupid shape, there's no reason to not make them into Elbe Textiles Bardon pockets (the platonic ideal of pockets) or reshape them deeper, because the skirt billows out enough to hide all.  I knew this and didn't do it.  Live and learn.

Saturday, 21 July 2018

Ida clutch binge

Around the time I discovered Kylie and the Machine and her lovely cheeky labels, I found her free Ida pattern and printed it out.  I needed something to push me to actually start making bags instead of clothes...and the Ogden-Ida swap was just the thing, so I signed up!

While I was in Seattle I picked up a pigskin at MacPherson's, the local leather dealer (sorry vegans!)  I wanted something lightweight and easy to work with and this colour just sang to me so I went with it.  It was about 30 dollars for the skin.

From it I got 3 Ida clutches, one oversized Ida yarn-bag, and one undersized Ida wallet-purse.
I have some scraps left over but I have no more desire to sew pigskin for awhile.
However I think I have mastered this pattern!!

The clutches went to: my Ida Ogden exchange partner, my sewing friend Tessa, and my friend Tina who was leaving on a trip to Switzerland. 


Learning curve pearls:
snaps are fine, but magnetic snaps are better.  A normal snap pulls at the fabric itself when you try to open it.  The magnetic snaps are easy to apply and don't pull as hard.  I had 2 magnetic snaps from Seattle and bought normal snaps locally to compare.

All the zips were from my stash, and the normal sized clutch zips were all Riri from Switzerland so they are really nice.  Pretty amazing that I had that many zips in the right size!  The big one for me was a plastic one, and the small one for me I actually bought in order to choose nice coordinating colours.

The scales-lining is Liberty tana lawn.  I forget the name.

This was really fun and such a great way to get comfortable making bags.  To make the yarn bag I basically did an FBA.  I cut the pattern in half both horizontally and vertically and increased each one and then smoothed out the curve of the top.    I added a little strap made of a single strip of pigskin.  I should have taken that more seriously and either quilted it or doubled it because it feels frail compared to the rest of the bag - but I've been using this for my knitting and adoring it so much that when pink hazel sold out of bags in 3 minutes at her last upload, I didn't cry.  Luckily knitting is not heavy so I think the strap will be fine.

When I made my little wallet purse I shrunk it with a similar technique to the knitting bag.  I decreased the height and I shrunk it across, but a few inches away from midline, and then redrew the curve back up to the same centre point.  And this time I braided a strap for it.
I also added a totally ridiculous piece of coral elastic to double around it.  It's totally for fashion but I like the additional tactile element.  


My wallet purse.  It fits a wallet, phone and keys