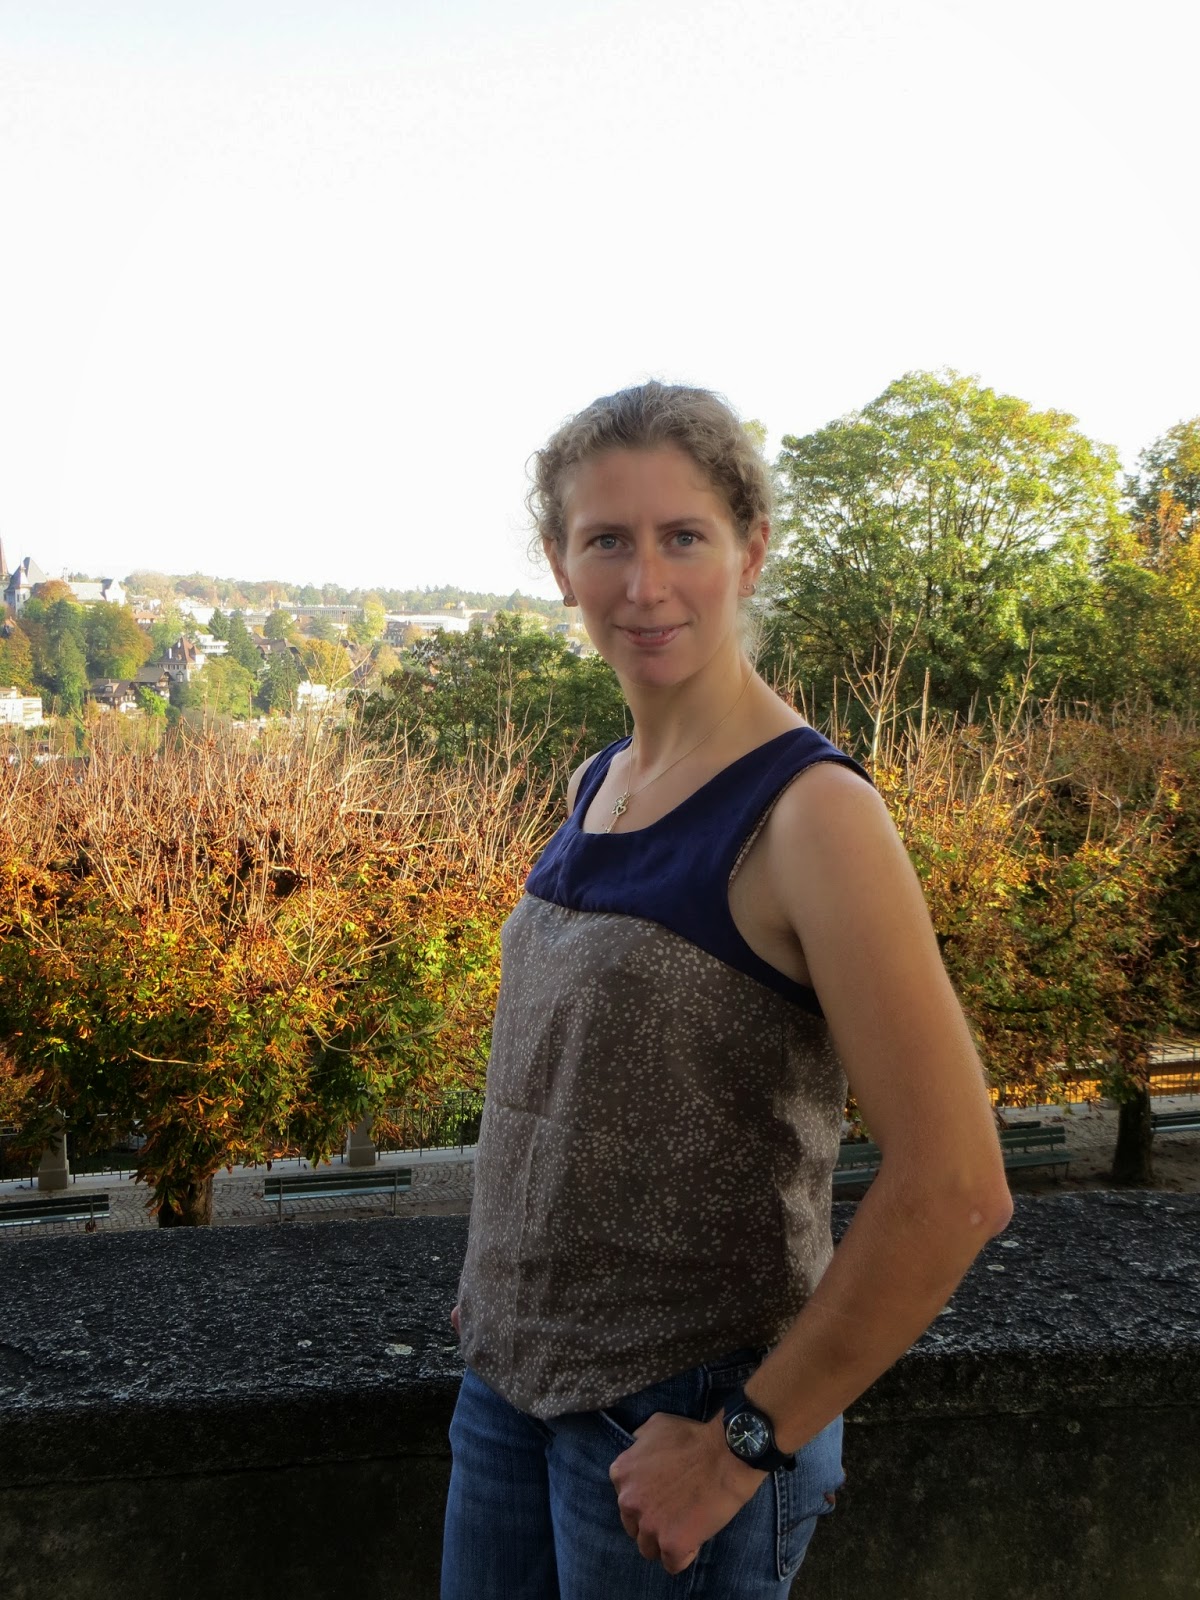
This is the project that seemed doomed. I had all these jacket plans for the summer, hatched on that bed in the hotel room in Arizona in May. It looked, from that vantage point, like I'd have so much summer time to sew jackets! You may note this is only the second jacket. There is a third one still out there waiting to happen.
Fabric: Marc Jacobs grey wool tweed, from Mood.
Lining: silk from ramieandlinen on Etsy.
Bands: Pacific Fabrics in Seattle.
Zip: my new local shop 'Nählädeli', after the worst, longest hunt ever. Who would ever believe that a shop open for about 12 hours a week in a village of 1000 people would be the one place I would find this zip?
Size: XS or XXS?
I sized down (XXS) after reading all the blogs. I figured I wanted this jacket to fit pretty closely and I didn't want the bagginess issue many have had. Also I thought wool would be relatively loose. The blogs were very helpful regarding lining, but because I read so many I ended up confused. Overall I followed Anna's lining recommendations, but I think I was confused by Kim, who drafted her own lining. I assumed I had to do that, which made this project slow to begin as I was nervous about drafting anything. Not to mention it was unnecessary, and ended up complicating things later on.
I assumed that I would have no problem at alllll with the welt pockets, since no one else did. I didn't do a lot of prior research. Um, oops. I had everything ready, including a US-purchased 35cm zip that has since vanished during the move. I attacked my jacket front with scissors and installed my first ever welt pocket to discover...a huge honking hole, because you are not supposed to cut your hole longer than the welt covering bit. Which the instructions, I must say, did not explicitly comment on! (Don't tell me it's obvious...)
After that I took a break, read up on welt pockets, found out nothing useful, and anyway managed to do most of the second one successfully while trying to figure out what I was going to do to salvage my hopefully amazing jacket. When I start a project I am always full of this zeal that it's going to be the best thing I've ever made, and whenever I make my inevitable first mistake, comes the sad downfall that it might not, after all. That made me hesitate for a long time, because my expectations were so high and my huge mistake was so early.
Contrary to all other bloggers, I found ZERO useful resources on welt pockets. Who knows - maybe I need scientific diagrams and words instead of pictures, but I did not return to my jacket edified. So it sat.
And then I finally was ready to try again and...my sewing machine (the Necchi that Istole borrowed from my mother - divine retribution?) broke.
So I packed this baby up in plastic bags, assumed it was hopeless forever, and shipped it to myself, where in a new, leisurely mood and fully freed from any expectations, I faced down the big massive hole in the front of my jacket, and realised there was no way I was going to undo everything and make a new front. The hole had to be hidden, and it was doable thanks to the loose weave of the tweed and well matching thread. There's a bit of a fold where I had to pull the fabric around the hole, but I was saved by how the tweed eats the thread so it's invisible. I sewed a zig zag over the remaining hole and then sewed the last bit by hand. Salvaged! And I still really have no clue how welt pockets work : /
The rest of this jacket went along in the same leisurely fashion. Because of my self-drafted front lining, but normal back lining, I didn't know exactly where to attach the facing to the lining, since they didn't share a seam. The bottom front where the binding, lining, facing, and front come together was also a puzzle that got pinned and repinned many times. I sewed it only just before putting in the zip.


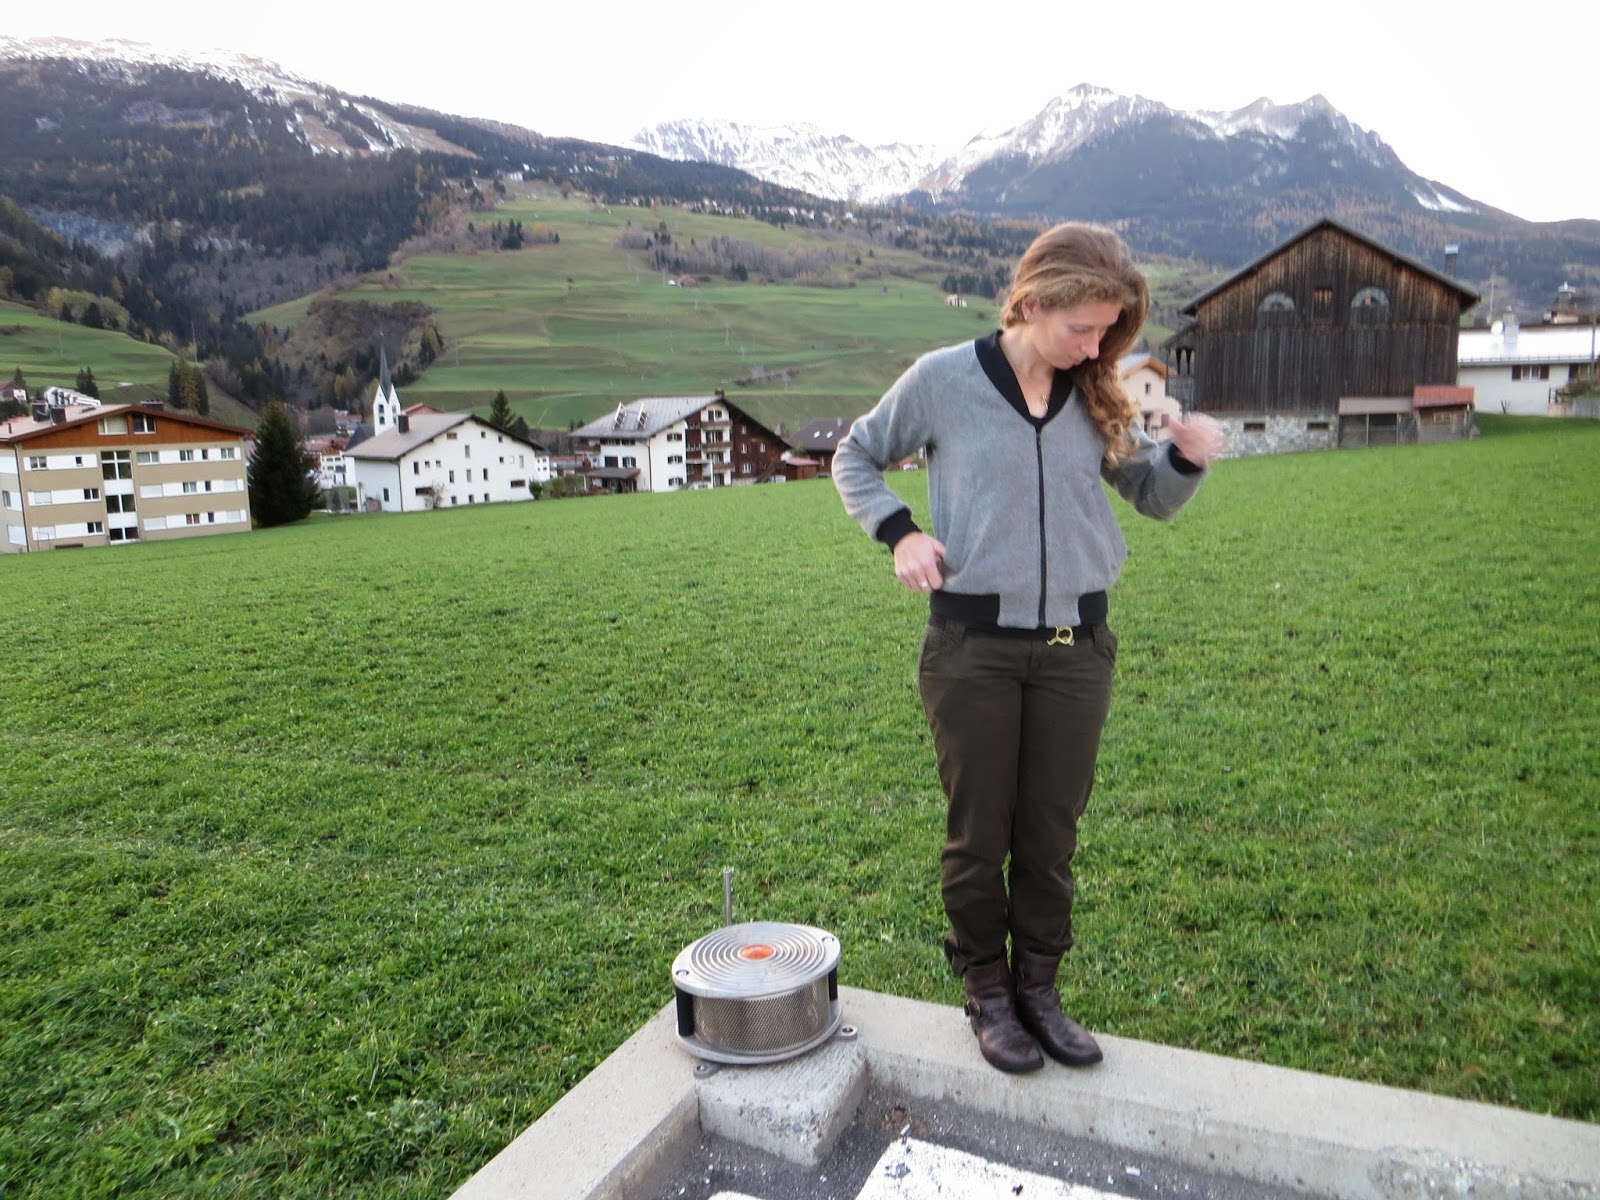


Thanks to my coworker Isabelle for the photos! Many of them are taken at the side of the hospital heli-pad, which at least has a nice view.
I sewed it mostly like Anna, as I said above - normal jacket together, lining together, attached them by sandwiching the hem band in all layers. After that I diverged slightly. I sewed the facing and the lining together by pinning everything into place and approximating where they should overlap. Next I sewed the sleeves in using the Sewaholic method from the Minoru, so my sleevebands were also fully enclosed. I sewed in the zip and finally sewed the facing to the zip and all the way around the neck. My technique maximised what I could do without a zip, since I didn't have it until the very end. Also, my final seam ended up being along the zip and then the neckline, and therefore basically invisible, while sealing everything in. The most finicky spot was the bottom of the facing/front beside the zip, which just had to be very well tucked together and ironed before I could sew it shut. This worked nicely in my wool, but if you were planning less visible topstitching on finer fabric, it might not look as well.
What I would do better:
-the thin silk pockets, I would interface the silk. They are important in a jacket like this and I feel like they are going to fall apart, especially since my welt pocket skills are still just about zero and I'm not totally sure how I attached the pockets to the jacket.
-On size and fit: If you are not short waisted, and if you don't have proportionally short arms, then make the arms longer. I changed nothing, and this baby hits just above my hips, and the sleeves hit exactly at my wrists. If I wanted it cozy, baggy, or to go over sweaters, I would need to size up. To go over a tshirt, it's perfect. The binding does make a blousy effect at the bottom, no matter what fabric you use. If you don't want this, then make the binding longer than the instructions ask for.
Ok but, shockingly enough and despite everything, my jacket is totally amazing. Of course, it snowed yesterday...
Fabric: Marc Jacobs grey wool tweed, from Mood.
Lining: silk from ramieandlinen on Etsy.
Bands: Pacific Fabrics in Seattle.
Zip: my new local shop 'Nählädeli', after the worst, longest hunt ever. Who would ever believe that a shop open for about 12 hours a week in a village of 1000 people would be the one place I would find this zip?
Size: XS or XXS?
I sized down (XXS) after reading all the blogs. I figured I wanted this jacket to fit pretty closely and I didn't want the bagginess issue many have had. Also I thought wool would be relatively loose. The blogs were very helpful regarding lining, but because I read so many I ended up confused. Overall I followed Anna's lining recommendations, but I think I was confused by Kim, who drafted her own lining. I assumed I had to do that, which made this project slow to begin as I was nervous about drafting anything. Not to mention it was unnecessary, and ended up complicating things later on.
I assumed that I would have no problem at alllll with the welt pockets, since no one else did. I didn't do a lot of prior research. Um, oops. I had everything ready, including a US-purchased 35cm zip that has since vanished during the move. I attacked my jacket front with scissors and installed my first ever welt pocket to discover...a huge honking hole, because you are not supposed to cut your hole longer than the welt covering bit. Which the instructions, I must say, did not explicitly comment on! (Don't tell me it's obvious...)
After that I took a break, read up on welt pockets, found out nothing useful, and anyway managed to do most of the second one successfully while trying to figure out what I was going to do to salvage my hopefully amazing jacket. When I start a project I am always full of this zeal that it's going to be the best thing I've ever made, and whenever I make my inevitable first mistake, comes the sad downfall that it might not, after all. That made me hesitate for a long time, because my expectations were so high and my huge mistake was so early.
Contrary to all other bloggers, I found ZERO useful resources on welt pockets. Who knows - maybe I need scientific diagrams and words instead of pictures, but I did not return to my jacket edified. So it sat.
And then I finally was ready to try again and...my sewing machine (the Necchi that I
So I packed this baby up in plastic bags, assumed it was hopeless forever, and shipped it to myself, where in a new, leisurely mood and fully freed from any expectations, I faced down the big massive hole in the front of my jacket, and realised there was no way I was going to undo everything and make a new front. The hole had to be hidden, and it was doable thanks to the loose weave of the tweed and well matching thread. There's a bit of a fold where I had to pull the fabric around the hole, but I was saved by how the tweed eats the thread so it's invisible. I sewed a zig zag over the remaining hole and then sewed the last bit by hand. Salvaged! And I still really have no clue how welt pockets work : /
The rest of this jacket went along in the same leisurely fashion. Because of my self-drafted front lining, but normal back lining, I didn't know exactly where to attach the facing to the lining, since they didn't share a seam. The bottom front where the binding, lining, facing, and front come together was also a puzzle that got pinned and repinned many times. I sewed it only just before putting in the zip.
 |
| It is not as baggy as it looks in these pictures! |
Thanks to my coworker Isabelle for the photos! Many of them are taken at the side of the hospital heli-pad, which at least has a nice view.
I sewed it mostly like Anna, as I said above - normal jacket together, lining together, attached them by sandwiching the hem band in all layers. After that I diverged slightly. I sewed the facing and the lining together by pinning everything into place and approximating where they should overlap. Next I sewed the sleeves in using the Sewaholic method from the Minoru, so my sleevebands were also fully enclosed. I sewed in the zip and finally sewed the facing to the zip and all the way around the neck. My technique maximised what I could do without a zip, since I didn't have it until the very end. Also, my final seam ended up being along the zip and then the neckline, and therefore basically invisible, while sealing everything in. The most finicky spot was the bottom of the facing/front beside the zip, which just had to be very well tucked together and ironed before I could sew it shut. This worked nicely in my wool, but if you were planning less visible topstitching on finer fabric, it might not look as well.
What I would do better:
-the thin silk pockets, I would interface the silk. They are important in a jacket like this and I feel like they are going to fall apart, especially since my welt pocket skills are still just about zero and I'm not totally sure how I attached the pockets to the jacket.
-On size and fit: If you are not short waisted, and if you don't have proportionally short arms, then make the arms longer. I changed nothing, and this baby hits just above my hips, and the sleeves hit exactly at my wrists. If I wanted it cozy, baggy, or to go over sweaters, I would need to size up. To go over a tshirt, it's perfect. The binding does make a blousy effect at the bottom, no matter what fabric you use. If you don't want this, then make the binding longer than the instructions ask for.
Ok but, shockingly enough and despite everything, my jacket is totally amazing. Of course, it snowed yesterday...