Tuesday, 26 April 2016

Megan Nielsen Briar & Thread Theory Strathcona Tee

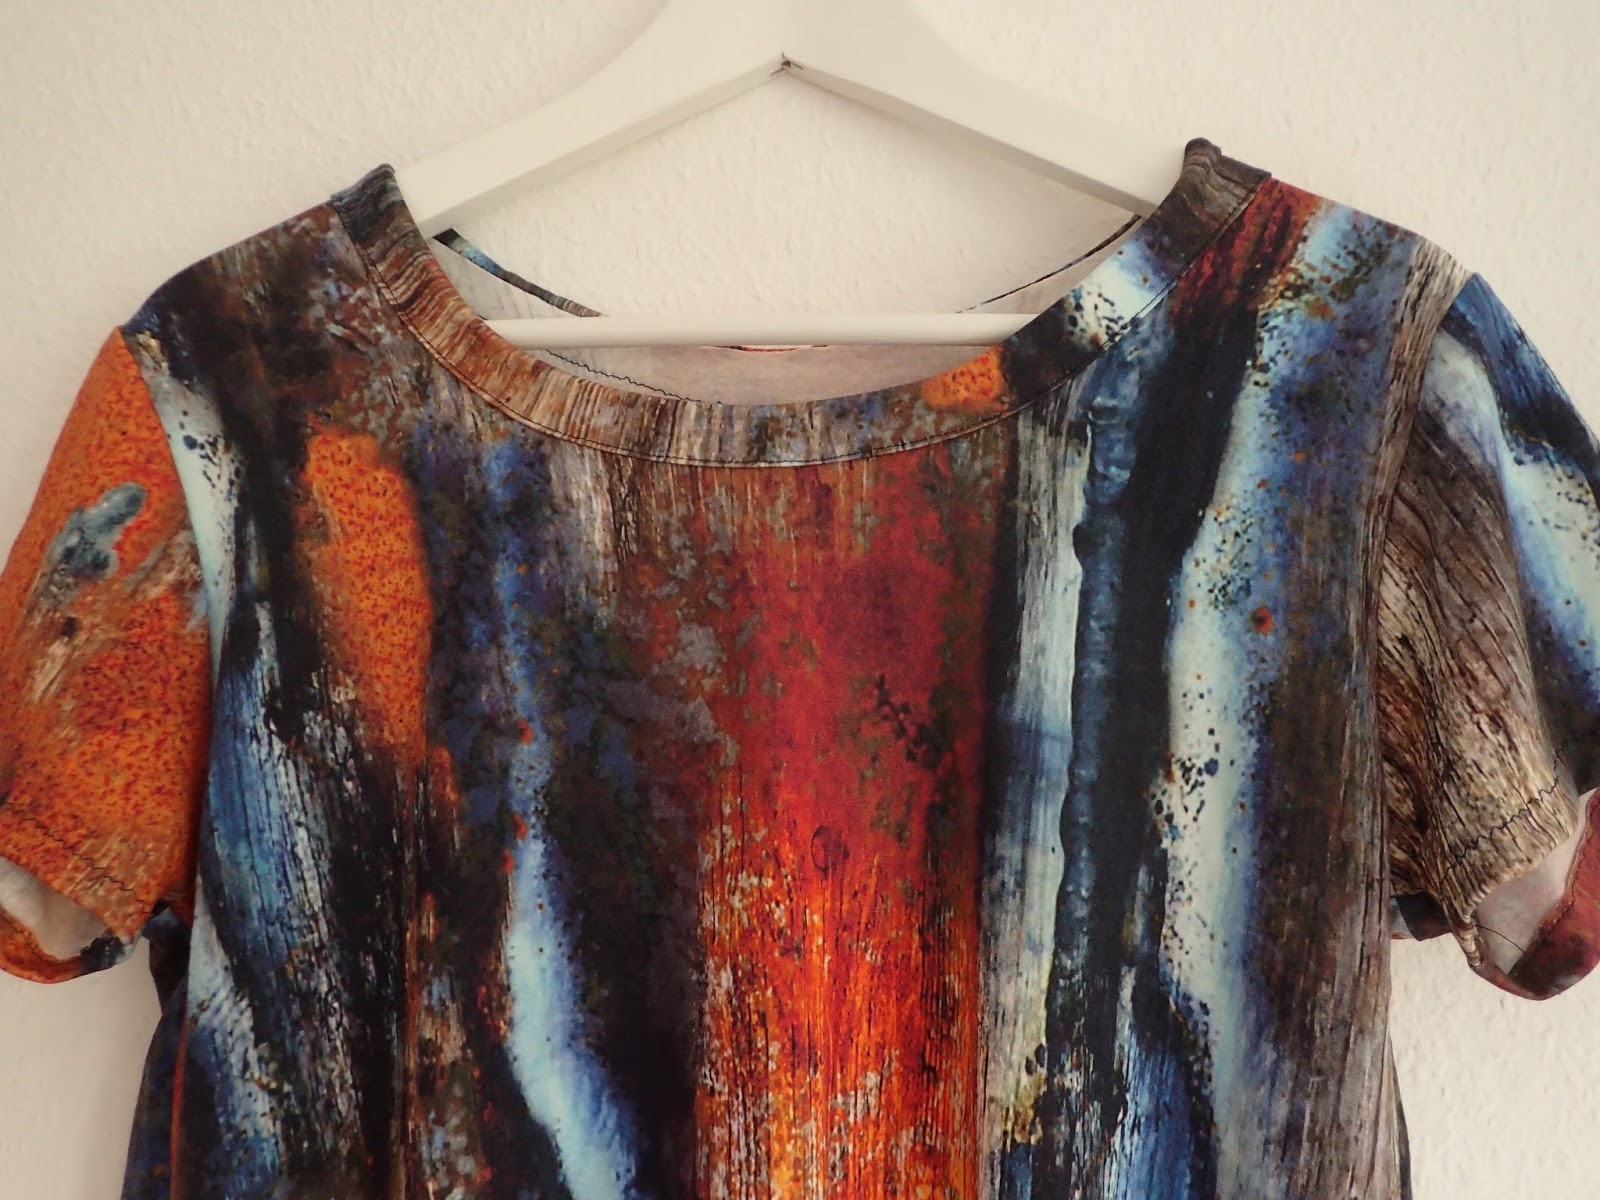
I realised during my first Briar: I'm over Briar.  Unfortunately I had more planned!  Sewing week was entering full swing...

The first, for me, was an amazing heathered black cotton blend from The Sweet Mercerie.  I really can't recommend this shop enough.  I found it only a week prior to my sewing holiday and I fell in love with the knits.  The photos are true to reality and the prices are super low.  Shipping was fast and cheap to Germany.  I got the last piece of this black stuff, and so I didn't do the usual Briar hem - I just cut it as long as I had fabric for and then evened it out a bit.


Yup, playing on jungle gyms makes you dirty.


The one for my friend had some additional requests - she wanted a higher neck and a bit more modesty at the belly.  I also cut one for her in green interlock knit but I ran out of time and didn't get to sew it.  Next time!  Overall I just eyed these changes.  My pattern was modified thus: I traced the short Briar line + 9 cm length, in a size S, with 1cm removed from the front shoulder.  Unfortunately it took me quite awhile to realise why I didn't love the results - I looked at my blog and saw that I had cut an XS, not a S to fit.  So this cm removed was irrelevant and the fit was too loose for my liking.

 Anyway, in the XS I get pooling in the front shoulder - see my Briar 2, and removing 1cm seems to fix it. The fabric is from the market in Delft, it's a very drapey rayon.  I have more and I'm still trying to figure out exactly what it should be.


Then I made my host a shirt to thank him for letting me turn his flat into a third-world sweatshop for a week.  I used the Strathcona Henley pattern and cut a size S according to his chest measurement.  I think the pattern runs a bit small because it was really fitted, and he was in the lower part of the size range for a small.  The instructions are really vague and kind of weird.  I think they are mainly for making the Henley - if you are making a plain shirt it's assumed that you know what you're doing.  (There is a sewalong if you need help.) Also, the neck binding is shown cut along the grain instead of against it, which I didn't like.  I forgot to lengthen the sleeves, so I added some cuffs, per the pattern.


I planned a second shirt (sounds like deja vu right?) with normal sleeves and a neck binding cut with across the grain...but I cut it out and didn't have time to finish it.  Anyway my friend was super pleased with the one he got. 

Overall a solid, simple men's tshirt pattern.

Pattern Fantastique Falda jacket


The Falda came out a week before my vacation.  I had a list and it was already long - more than a week of sewing long, but it was only 24 hours of hesitation...and I still decided to cap the plans with a big complicated jacket in dreamy denim from Merchant & Mills.  Because the fabric is so wide, I used 2 meters.  Part of me reaaaally wanted to use some linen and I compromised and did buy a meter of ice blue linen, but sadly my dress patterns got lost in the post:
It says: "Delivered without contents."  WTF?

Amazing detour: I wrote to Deer & Doe and they sent me replacement patterns the next day.  Are they not the most wonderful ever?  Unfortunately it was too late for my sewing vacation, and I was really really sad not to get to sew pretty dresses, but I did make a lot of interesting other things.  Like the Falda!

Wise decision? This jacket was the most ambitious thing I sewed, the most fun, the most interesting, and in the end the most overwhelmingly exhausting and stressful.  As sewing with a deadline tends to be, right? I was sewing this until the night before my departure and afterwards I was DONE.  As in, I don't want to sew for another two months.  Thank god I can't sew for the next two months.


I cut a size 8.  It was borderline with my measurements, but it's noted to be spacious so I went down rather than up and that was perfect.  The denim was just right - light but well behaved.  I may have been lazy with the iron on all my knit projects during my sewing vacation, but on this I took everything seriously.  I even used a ruler (I've NEVER done this before while sewing, how ashamed should I be?)  The instructions are very good.  In the beginning it's hard to tell what's up and what's what and so moving slowly is key, and double checking that what you've pinned matches the picture, but I ended up with no confusion - seriously none!

Annoying things: if you aren't overlocking, it's hard to know how to finish seams.  I didn't really have enough bias stuff to make a Hong Kong finish on everything, but I didn't always know whether I could fold seams over to finish them or if that would be in the way later.  I like this jacket as is, but I think I'd be very prone to make a lining on almost any other version of it just to get a clean inner finish.  On the other hand, huge amounts of bias tape would be a good option too if you just bind every single thing that says "interlock."


Next: zip length.  It says the zip can be 41-44 cm long.  Well, so I had a 45 cm zip shortened by approx 1.5 cm in the store.  I know it's in range.  But how do I know it's right?  There's no comment in the pattern that you match up the top of the zip to the top, and as long as it's not longer than the lowest snip mark, you're fine.  You end up folding the bottom up in a clever way to make a facing but it's really not obvious and I was puzzled to see that the zip was longer than the front facing.

Also you have folded the top of the zip over and the instructions don't really say when to stop doing that.  I could have used a sentence just noting that when you sew the front facing down you are finishing the top of the zip.  Maybe it's obvious, but on a pattern like this, even the obvious is in doubt!  I didn't mess up but I would have probably sewn the facing 2 mm lower just for a slightly neater finish.

Caveats aside, I am really pleased with this jacket. I think in linen it would have been fine too, although obviously some of the structure would get lost more easily.  It's a little weird and quirky but great for summer with big pockets and lots of room for air flow.  I'm not sure it's really flattering but it was really an engaging project (despite the oodles of stress).  The sleeves hit right at my wrists and not a bit longer so some people might find the sleeves too short.

It also is quite short.  I'm 5'4" and I'm super short waisted and it's the perfect length on me.  If you are either tall or long waisted then you should consider lengthening it or you will have a midriff-baring jacket. 

Sunday, 24 April 2016

Mission Maxi by Jamie Christina


I prepared this pattern when I was leaving Switzerland but I didn't take it with me.  It's been on my mind since then, partly because I had a big haul of perfect knits from Delft and I didn't have the pattern handy!

Anyway, finally I had my chance.

I started with a tank top for fit.  I cut at the tank top line.  I was a bit between sizes but sized down to a 6 because I definitely wanted it fitted.  I was using scraps so I had to make a front and a back center seam so I zigzagged them to make them into a Design Feature.


The binding is yet another new one: you apply it in the flat to the outside of the dress, then sew the side seams, and then wrap it to the inside and topstitch it down.  Initially I was annoyed because I wanted the feel of something done FAST and all these bindings....ugh, patience.  But I really really like this finish.  I think it adds substance to the top of the dress, especially key for the actual dress version.  I didn't know whether I should be pulling any tension on the bindings as I applied them, and the answer seems to be yes, just a bit, because I didn't and there is just a bit of gaping.  Also I am congenitally unable to topstitch and catch that binding so I guess I should be more patient and like, baste?   Instead I had to go back and hunt down all the bits that hadn't been caught by my topstitching.  Or maybe ironing?  Because I can't see you'd have more luck with basting and I also am lazy with the iron.   


I didn't change anything for the dress version.  It's a sparkly cotton rayon blend, obviously with some lurex, and rather thin.  Luckily I don't spend my life staring in the mirror and it's really amazingly comfortable so I can overlook the bulges.  I think I cut about 4 inches off the hem, but it might have been more.  I didn't finish the hem.  I'm not offering you too many photos as it's hard to get even borderline flattering ones, but I think it looks better in reality than in pictures.

For future hacks to this top I'd readjust the back of the sleeve hole to make it closer to the bra straps.  It's not quite racer back and not quite plain, which makes finding a bra a challenge. I would also shorten the straps a bit, especially on thinner fabric, as on the dress version it sags during the course of the day and my bra shows. 

I'm still on the fence as to whether I make a side slit for better movement in the dress, cut it shorter, or leave it as is.  It's really comfortable though!  I'll probably wait until I get to the States and using the magical shrinking machine (ie a dryer) and then decide. 

Friday, 22 April 2016

Named Inari dress

My first look at the Inari dress provoked a spark of interest followed by the certainty that it wouldn't be my thing.  Good instincts.

When I was prepping for my sewing holiday my mind got changed by the many nice versions on the blogs and the overall favourable reviews.  I wanted a nice woven pattern that would be simple.  I expected to have some issues with the arm/shoulders but when I measured it I was a pretty consistent size 36 so I didn't make a shoulder adjustment.  I was trying to measure the width of the shoulders but I'm not sure it gives me an honest idea of whether to do a wide-shoulder adjustment.  I shortened the pattern by 5 inches at the shorten here lines.

My first version was mainly a muslin because I still had suspicions about the fit.  The fabric is a rayon poly blend which also makes me twitchy because I hate polyester.  It has a great drape though.  After sewing lots of knits on my friend's cheap machine, it was a big of frustration to get used to wovens again.  There were some birdnests, some tension adjusting, etc, and I had to make a tuck when I inserted the sleeves because no way could I ease the arm into the armhole.


The fit at the armhole is good for me, but with the sleeve on it's too tight - similar to the Camber Set.  Interestingly, I think a higher, tighter armhole somehow makes for a better range of motion in the arm?  I need to study more on the armscye, someday...

But anyway there is no doubt in my mind, Inari is a total fail.  It's the combination, I think, of a small bust, a very short waist and the coccoon shape.  I wondered a bit whether doing a huge (6cm+) swayback alteration would help, but I think it wouldn't improve the hippy prominence.  I also don't think shortening it more would help.  This pattern is absolutely best for people with bigger busts and/or a longer torso.  I am very glad I learnt the nice way of making a split hem, but as you see I couldn't be bothered with the neck facings and the one arm I hemmed was a catastrophe.  Sorry about that.  You get the idea.  I have better things to spend the rest of my sewing vacation on. 

Sunday, 3 April 2016

Andi Satterlund Cropped Sweater


When I started knitting this sweater (in October) it was with shaky hands because I had never bought so much such nice such expensive yarn for a project.  Seriously, I think I had high blood pressure for the first half of the body. 

Mind you, I've started a lot of knitting projects. I learnt to knit at 16 (my 12-year-old host sister in Finland taught me) and I made loads of those useless cotton squares, I made legwarmers for myself, I later made 1.5 socks.  That was in 2003 and I think the second sock is still on needles.  I forgot how to do the heel.  I knitted sad, anaemic scarves with the wrong size needles and that nobody wanted, because I couldn't resist buying beautiful wool...and thanks to New Zealand I knitted a bulky pullover sweater that shedded on all humanity, and which I gave to a friend who immediately lost it. 

So this project came with a promise - a wearable sweater.  That I would finish.  No matter what.  I cast on in Delft, put it in the round in Reykjavik (thanks so much to the Finnish lady in Storkurinn yarn store, without whom it would have stalled, permanently twisted.)  I knitted in Seattle, Thailand, Laos, Cambodia, Vietnam, Hawaii and finally cast the body off in Ukraine.  At which point I discovered that my short cable was missing and there was no replacement.  I used the interim time to make some scarves (as you may have noticed) and practice short rows.  I guess I could say, this sweater (+ Ukraine!) finally turned me from someone who loves beautiful yarn but can't be trusted around it, into a knitter.  For which I am eternally grateful.

The Tuts+ tutorial was invaluable.  I went one section at a time and didn't look ahead too much, so I wouldn't get panicky.  Only a few new things are introduced at a time so it doesn't overwhelm.  Youtube was a big help since I didn't have anyone around to ask for advice most of the time.

I was on tenterhooks to wait months for access to the short cable needles, but when they arrived I took a break from the endless red scarf to do my first shoulder and it was amazing. The short rows were fun - not nearly as terrifying as they had been in my head, especially after the shock at learning that you take up stitches at an armhole/neckhole in a very unscientific way. (Youtube said - fold in half, fold in half again, place markers, estimate your stitches per quadrant.  Really???)  There are lots of little holes in my first underarm to prove that I didn't do these things very well.  How can I get rid of these holes? Also my second shoulder didn't really improve because I guess I hold my knitting differently than everyone and so the youtube videos don't all make sense. 


This is after blocking the sweater, but I don't see any difference...


By the time I finished the sweater my excitement had dwindled.  I guess because unlike sewing it's very clear what you're getting before it's done.  Let's see...I really should have done the extra-stretchy bind-off on the hem.  It's hard to get on and off because I did a normal hem bind-off.  It's very short.  I don't have any dresses to go with it.  In fact, as I looked through everything I have ever sewn, I realised I never achieved the simplest of sewing landmarks: the tried-and-true woven dress.  So unlike my dreams where I threw this sweater on and then swanned off into the sunset, I'm not really sure what to do with it.  

There's one good answer!  Sewing holiday in Munich is coming up soon : )  How much can I sew in a week?  What dresses should I sew to match my sweater?  And is there any way to switch the normal bindoff for the extra stretchy one?  I think I have enough rust coloured yarn left.  


Saturday, 26 March 2016

Purl Soho Diagonal Twist Scarf


There is nothing more annoying than a completed blog post vanishing into the black hole.  Except when it does so in Ukrainian.  In Thailand I managed to switch my blog back into English but I can't do it here and it's driving me crazy.

This is the Diagonal Twist Scarf from the PurlSoho website, modeled by Camille and Aiesha.  It's a free pattern and once you understand the 4-row repeat you don't need much help.  After making one housemate a scarf before her departure, I offered to make my next housemate a scarf too!  She chose the colour.  The wool is a Turkish blend: Valencia Lavanda: 43% “luster wool”, 7% angora, 50% acrylic.  I know that a lot of beautiful yarn is from Turkey but the options available here in Ukraine always seem to be somehow the ugly stepsister versions...but anyway this was easy to work with, is soft, and has a nice shine to it.


The yarn says to use size 3.5-4.5mm needles, but I used 5mm.  I wanted the scarf to be thinner than it looked in the pattern.  I also made it narrower - 46 instead of 66 stitches.  (It has to be a number that fits both elements of the pattern, basically (x-2)/2 must be an even number, that's all.)  I was worried if it were too wide, I'd never finish it.

The pattern is easy.  It's not fast though.  I liked learning the skill of knitting into my back stitches but after, oh, 20 cm I was bored to DEATH and the departure of my housemate was good stress to keep going.  Also her excitement!  There's nothing like a person who is totally ecstatic to receive your project!  Because of the boredom I would not recommend this scarf unless you really love the pattern.


Like what is that broken button between floors 5 and 6?  Just asking...


Camille insisted on her photoshoot in the elevator.  Our apartment stairwell, and elevator, have a lot of personality. 

With my thinner yarn the scarf curls up a lot.  I blocked it, I think even properly, using a yoga mat and some flag pins from work.  That lengthened it about 15cm.  Camille is really happy with the result, even with a certain hole in the middle where I mixed up the pattern.  The scarf is as long as a yoga mat : )  I guess about 5 feet.


I have one more promised scarf in the pipeline and I'm really hoping it is more interesting than this, but I'm going to finish my sweater first!  My short cable knitting needles finally arrived!  I do think that making scarves has been a great way of improving my knitting ability because it's kind of no stress - it doesn't have to fit perfectly and you see quickly how the pattern works.  Scarves also can use more complicated repeats than I'd be willing to use in a sweater, without seeming overwhelming.  My sudden departure into knitting has been borne of necessity but I'm starting to enjoy the results despite the frustration of waiting for each project to get done.

My project is on Ravelry too.