Thursday 29 July 2021

Burda Young 7020 coat review

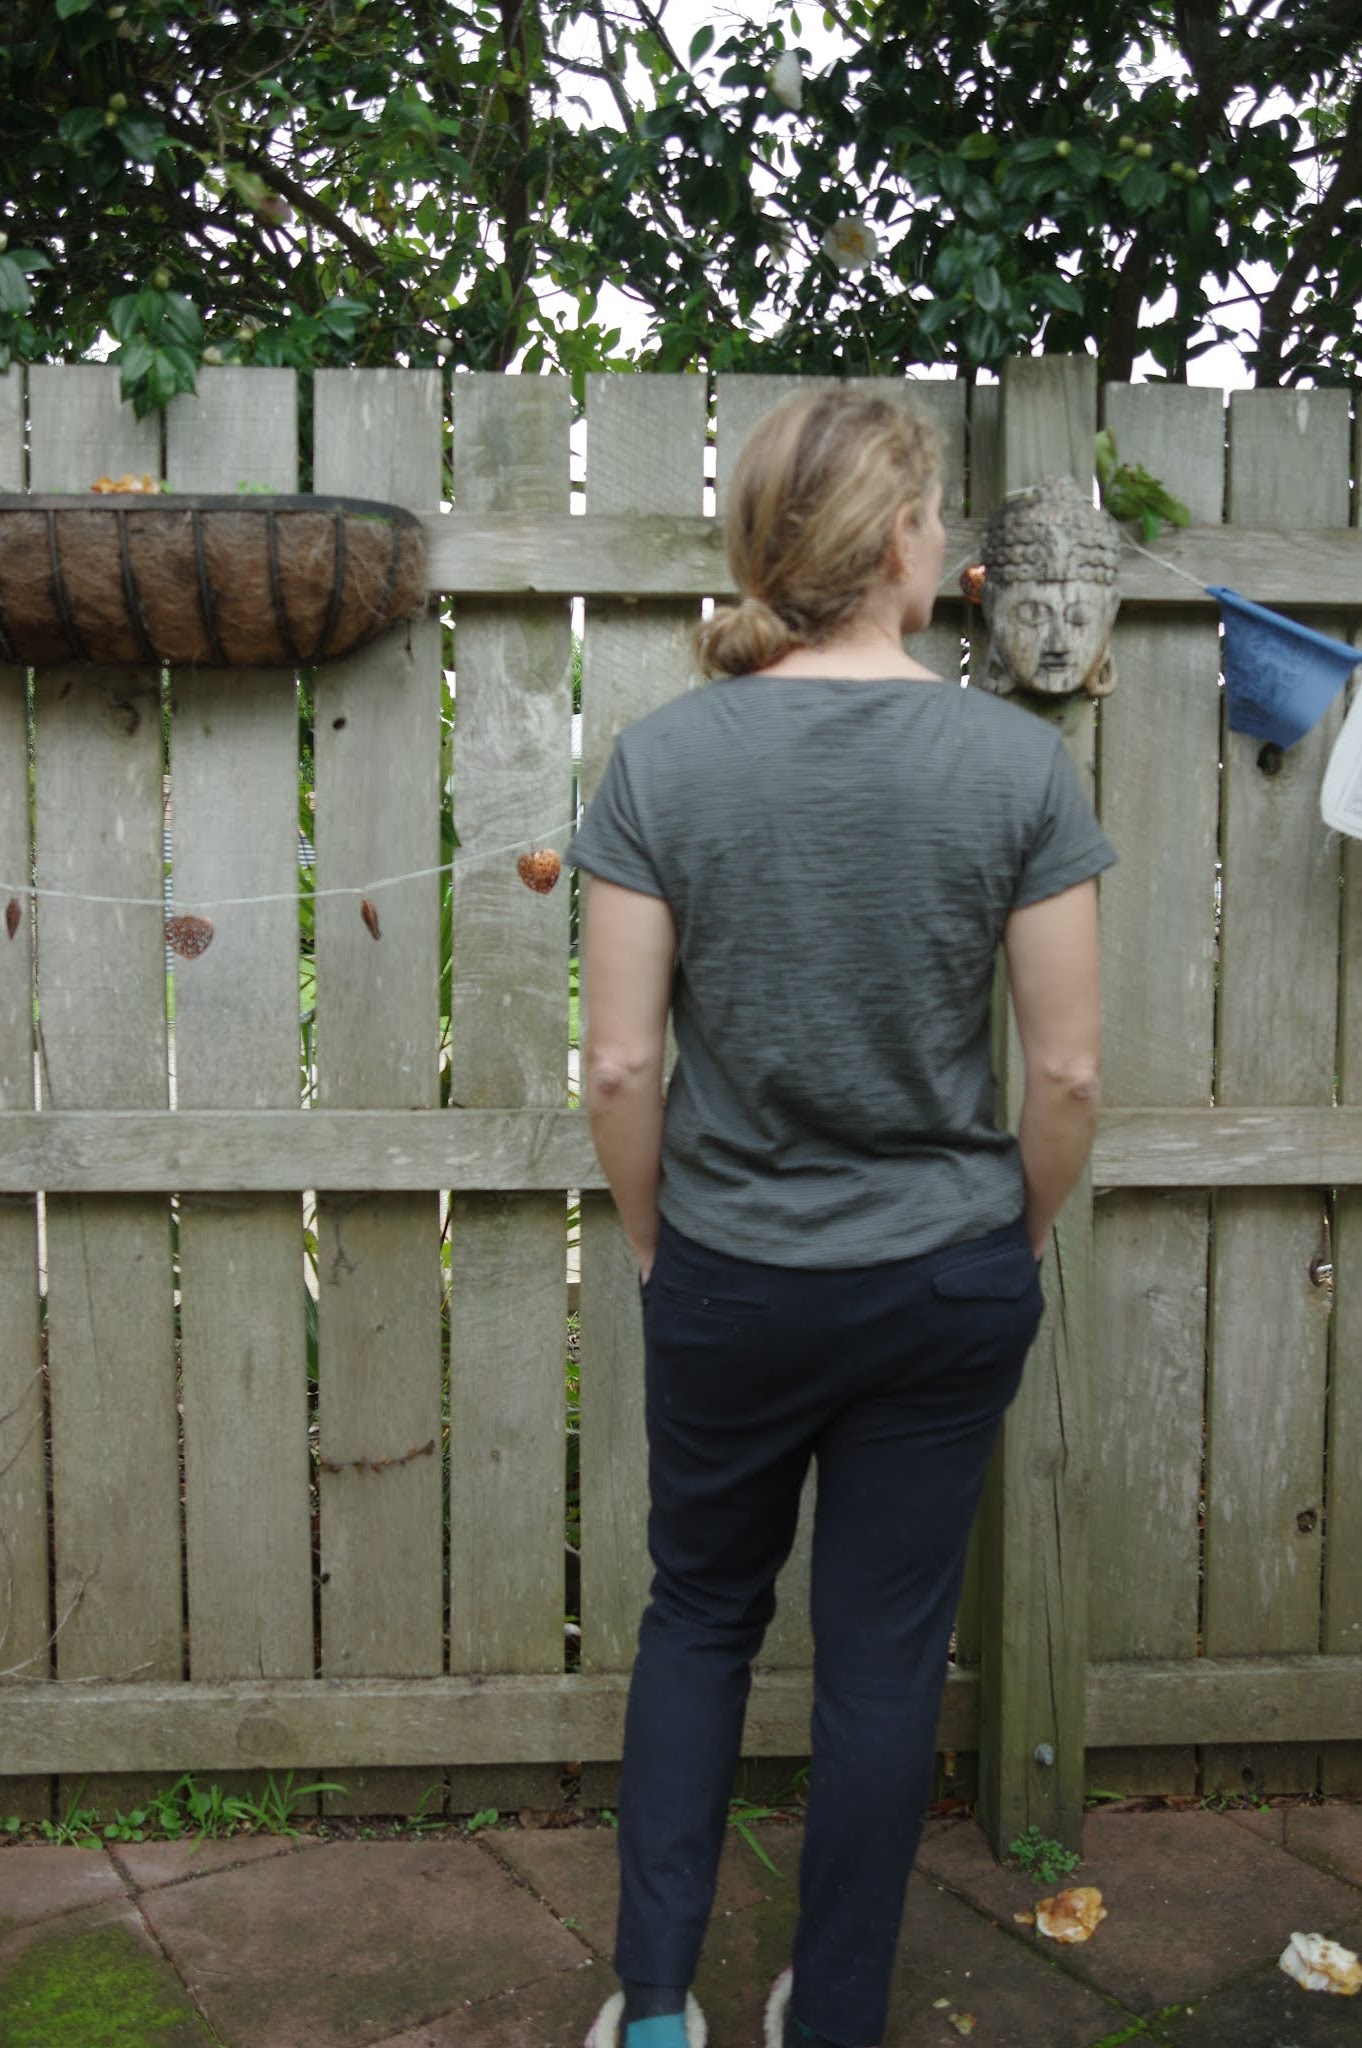
 Not a lot to say about this project. It was one of those things that was at the periphery of my attention for a long time: I wanted to use bulky coating to make a coat, maybe a Sapporo?  But then Sapporo (which I think is now called Nova) had all these fit problems, and the pattern was revised, but I had the old version.  Lost the plot on that but I still thought I wanted a simple coat...this seemed to fit the bill.  I got the pattern from a secondhand shop. The drawing on the front led me to believe it had princess seams with the dart coming off the seam and therefore slightly forward side pockets.  In actuality there is only a side seam so the pockets are standard side seam pockets, and the dart comes off the seam.  

I made a size 10/36 which was the smallest in this pattern.

 What I learned is that I will not be satisfied with throwing together a very simple coat.  Other than the thing I already know - which is that when you make a project NOW that you wanted 18 months ago you will be Not Interested. 


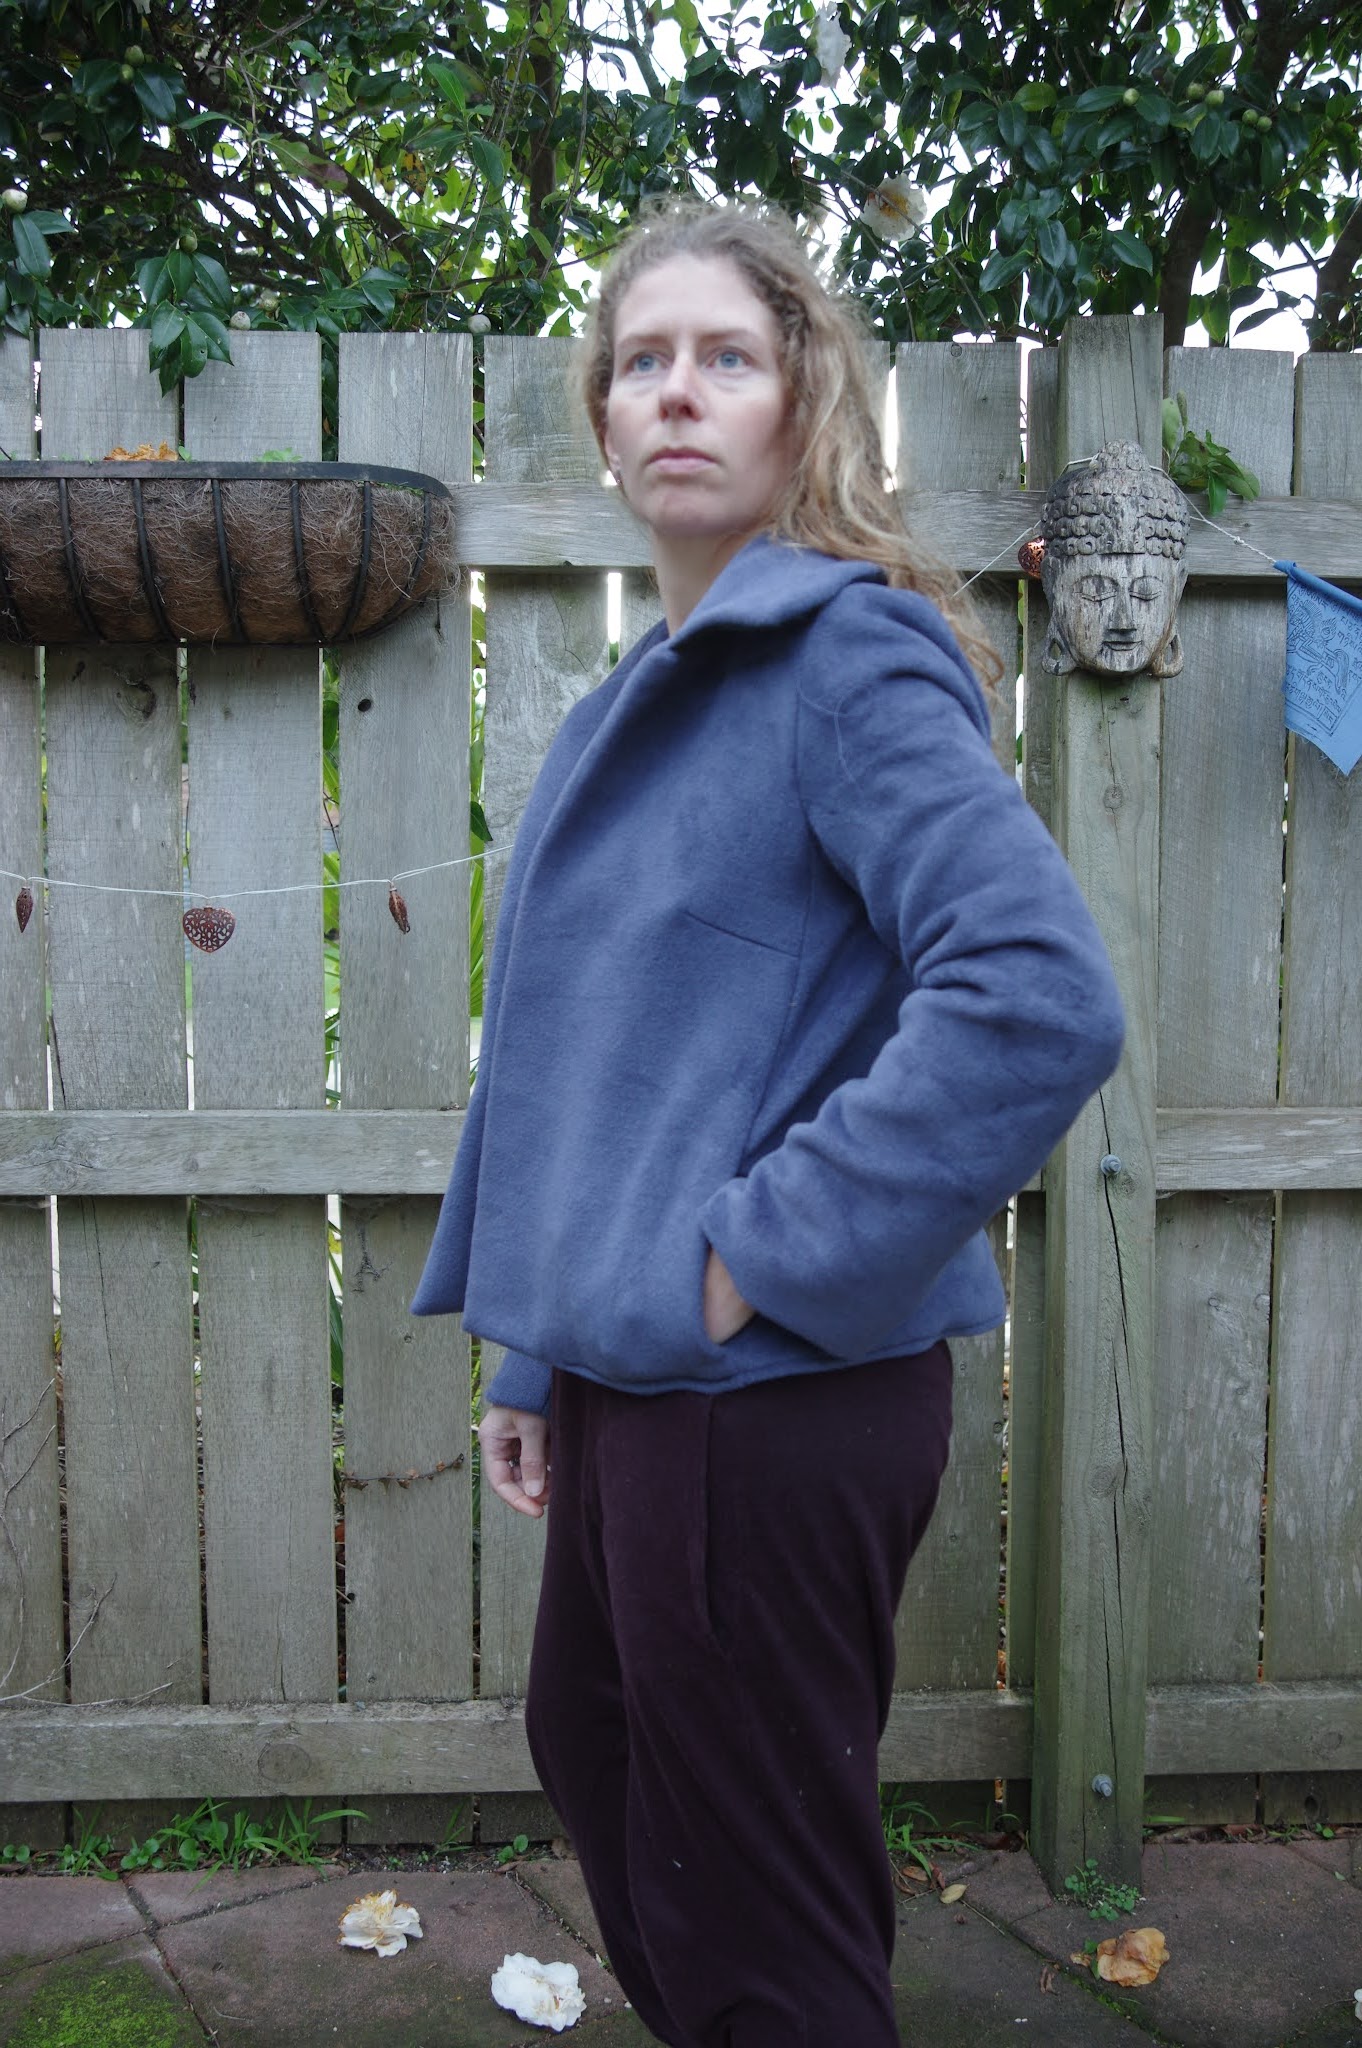
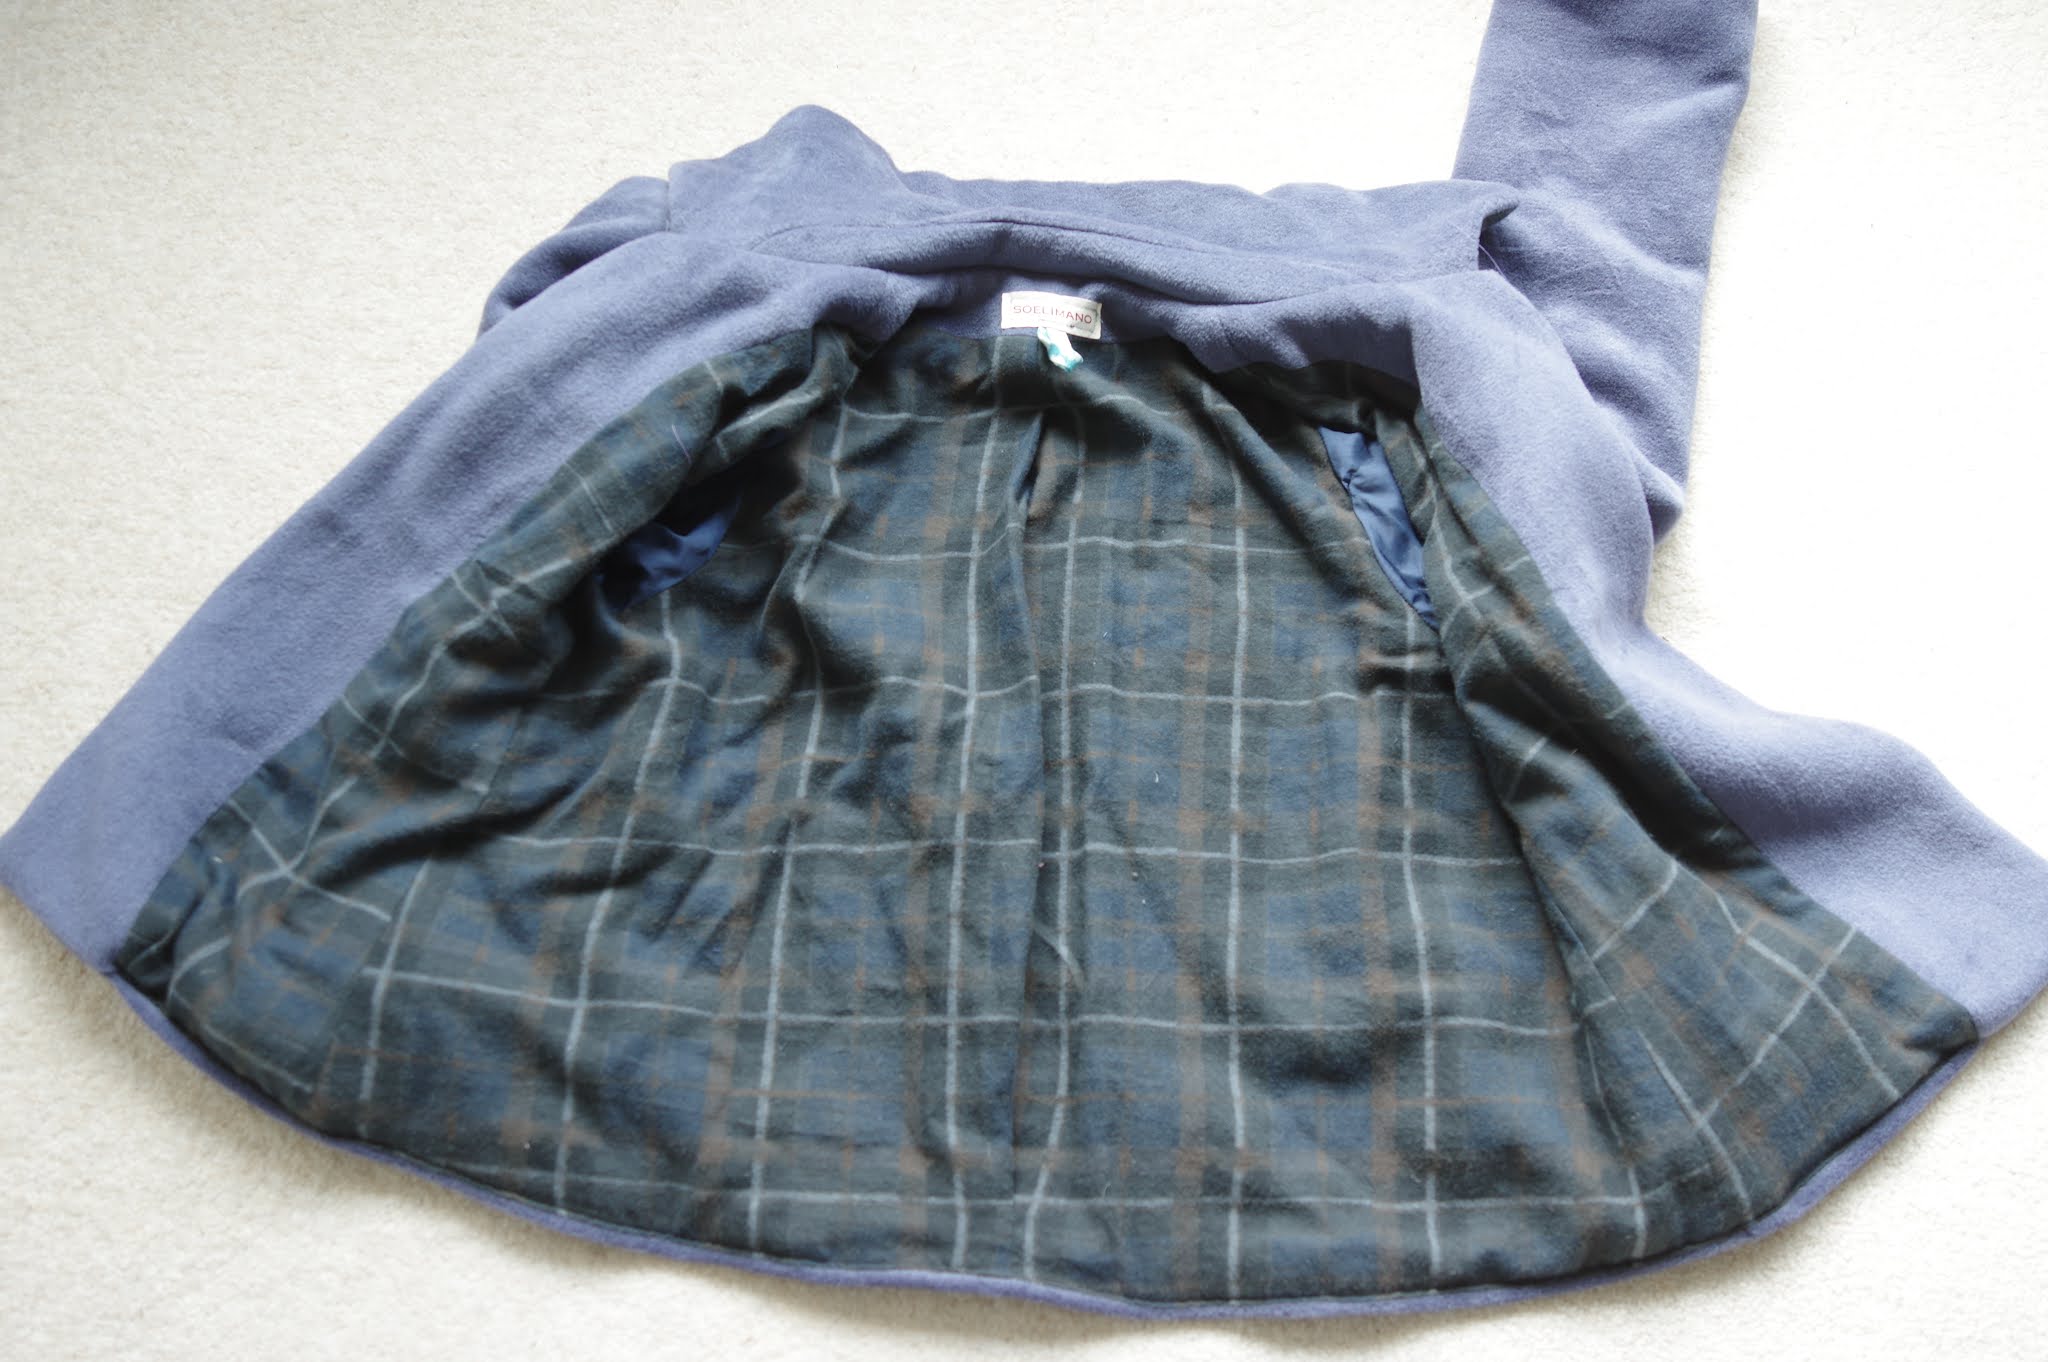
I had the basics handy. The coating is from The Fabric Store, and is lovely.  The lining is flannel, and the sleeve lining is slippery rayon.  The coat came together quickly.  But in the end, it is too simple.  In seam pockets do not work.  They are too small, they gape, they are in the wrong spot.  I got pretty bored with this by the end, and didn't even try to iron it enough, because really I'd been thinking about it for 2 years and was probably bored when I started making it (when will I learn?)  Thus I hemmed the bottom which also doesn't work.  You really have to hand sew the hem on these things or it won't hang properly.  I didn't put buttons on and it sat for many months before I attached a clasp in order to at least get it off to the secondhand shop while it's still winter.  (Took these pictures before I added the clasp.  Needed this out of my life already!)


The fit is not bad. If you go into this project really planning to wangle a super complex bulky fur or quilted fabric into submission then you might be pleased. But I think if I'm going to make coats, I need to be willing to up my quality game and learn the tailoring techniques to make a really nice coat. 

Wednesday 28 July 2021

Made more tshirts: French Navy Stellan vs Pattern Fantastique Equinox

First pattern is the free Stellan tee by French Navy now.  I made the XS, for once cleverly not sizing down.  I thought it was more important in this top to have a good fit around the hips, and sizing up a bit would keep the drop shoulder despite my wider shoulders.  I'm happy with the fit.

I had, however, lower expectations of this tee (compared to the Equinox) because of the fit on other people.  I thought it might look sloppy.  The fabric is a modal blend with merino from the fabric store which I chose specifically to maximise the drape and minimise said potential sloppiness.  I shortened the sleeve 1.5" as it's frequently commented on how nice and long it is (no comment) but made no other adjustments.  I didn't do the back neck reinforcement because I was lazy and also impatient to make my tees!  This is a free pattern, but it comes with a pattern piece for the back neck, as well as instructions for the reinforcement - very amazing for a free pattern.  I will have to actually try that out sometime.  (Soon! I am getting tired of the overlocked mess at the back.) 


When I took my pictures I see drag lines from the front shoulders to the underarms.  I think to some degree that happens any time there's a dropped shoulder, and the fix is to either make a larger size or modify the armscye.  I however don't feel it and I love the fit of this - it feels like a RTW fitting tee.  In a good way.  

So I'm not fussed and I made another one with no modifications except to add a pocket.  Which I put in a weird place and which is *not even straight*. sigh.  Plus this fabric, which is a light cotton jersey by Marc Jacobs - got it from The Fabric Store in Dunedin - is patterned at an angle to the grain, and was really hard to fold on grain, so I gave up.  This tshirt caused a surprising amount of drama, mainly because I adore this fabric.  And yes, I get that you cannot see the pocket at all.  It's there.  At an angle.


The next half of this particular binge is the Equinox tee by Pattern Fantastique.  I expected something novel from them because I have made the Falda coat and their stuff is very interesting and edgy.  I made the size 8 to start out with.  - I also bought the whole tshirt set of 3 shirts, so when I'm ready for another tshirt binge I'll already have some fodder.

This pattern is not printed on the fold so first off it's a lot of pages.  Not much wastage though. There is a weird thing with the seam allowances going on which I finally just cut off. The neck band is not actually the correct length, you have to cut it to measure.  This is *not* a free pattern so that seems like laziness.  I used merino from the fabric store which rolled up to the limits of my patience, and I measured the band for the neck and cut the pattern piece to measure so I won't have to keep doing it - I figured merino is the least stretchy thing I use, and so although I'll have to measure the band each time, at least I save the 5" of fabric.  The rolled edges drove me crazy but luckily a tshirt is a simple thing and even traumatic seaming doesn't last too long.  This looked really shapeless while I was making it but also turned out great.  


I decided though that it might be even nicer smaller and luckily the pattern was nested directly one inside the next so I cut down to a 6 and made version 2. It's organic cotton by Lillestoff and I got it from Ansje Handmade.  I also shortened the body by 1".  It's possible I cut the neck band a bit shorter, and it's not just possible, but certain that that was too short.  It gathers up a bit.  Hopefully time will loosen the fabric and settle it.  Too tight, regarding neckbands, is probably better than the annoying sticky-up of too loose neckbands. 


This fit is better and is what I'll do in the future when I make this tee again.  (With tshirts it's always when...not if...)

I spent all week crazed looking forward to my tshirt binge!  I have one more pattern to go but it will get its own post as it's a bit more complicated and I'm anticipating having Many Thoughts and I'm tired of tshirts and am going to make something else first.

Monday 26 July 2021

Waffle Patterns Arare jacket

 I am on a binge!!  

Well actually I started to feel very embarrassed that I had some patterns printed last year (the ones that had some incorrectly scaled pages in fact!) and had not used them yet.  It made me realise I should only buy and print patterns at the moment I want to make them.  It's really important in sewing to follow the crest of your enthusiasm - which was an easy thing initially and then for years I have gotten trapped in lists of things that had once peaked my enthusiasm but which no longer do.  

Anyway I got newly excited as I realised this jacket would be amazing in this polyester I recently bought.  Poly is not my thing, but flocked velvet spots on a burnt cinnamon background are my thing, so I had to compromise.  I did that by underlining the entire jacket with high quality rainwear nylon - it was one half of a nylon-jersey two face fabric but the two faces came apart in my prewash.  The underlining added a few minor complications. 

This, similar to the Azuki pants, was one day cutting and two days sewing, though there were also days in between dithering.  Jackets have an additional fear factor: the gizmos!  The drawstrings, the things that hold the drawstrings, the grommets, the zips...these are the things that, when done well, elevate the quality of the result, and when done in a make do fashion make the results seem very hand made.  

I chose size 38 and I am so grateful. The size chart might have convinced me to size down and it would have been a terrible mistake.  The 38 is very small.  I think because this is quite a narrow cut for a pullover jacket, and I somehow need heaps of room to pull things over my head in general - I absolutely get claustrophobic trying to put on narrow dresses.  So this fits but it's a tight pull on.  I would consider this a spring weather item - it's not warm, and it's not windproof but it probably provides some weather protection.


 The instructions are very good. I chose the welt pockets because I thought they looked nicer and they have a nicer finish, on the kangaroo pocket you end up with a kind of naked zipper under a flap that I dislike.  Of course the best ever option would be a kangaroo pocket with a handwarmer behind it...because you really need both a place to put things, and a place to warm your hands, in a pullover jacket.  

Construction with the zipper protector was very cool, but in a lightweight fabric I recommend interfacing the flap behind the zip because in my lightweight nylon it gets trapped in the zip rather than lying flat behind it.  I was able to source big grommets locally and they were easy to install.  The hood lace is a shoelace.  The wrist attachments are velcro.  And the hem lace is two pieces of elastic that are harvested from a mystery garment and saved, they just happened to barely be long enough.  I only had 2 toggles and one of them is very small but I managed to thread the two elastics through.

I was disappointed in the welt pocket instructions. I've made a few lately in a row and I have experienced really good instructions and expected these to be very good - in line with other instructions in Waffle patterns.  I haven't done enough to be able to do them without instructions, and I still need details. These instructions are horribly misleading as they don't clearly indicate the sew lines/the box of the welt pocket itself, etc.  Sometimes I think indie pattern companies try to reinvent the wheel by making New Clever ways of explaining things and the old way was totally sufficient and the new way sucks.  True here. So google other welt pocket instructions before settling into these.  


When putting together large pieces a few times my underlining and my outer fabric wrinkled separately, but really once you have done the pockets and the zip, everything else is just the usual putting together of big pieces.  It's such a beautiful finished garment with my underlining!!  The hood is spacious and I love the wrist adjustments.  The pockets are not super deep as they are limited by the hem of the jacket, but they are ok for handwarming.  Overall this does lack utility for me a little as there's no place to Put Stuff but I'm ok with that...I think I'll make a Landgate now.

Summary: size up a lot.  Be wary of the welts.  Enjoy! 


Saturday 24 July 2021

Helen's Closet Blackwood cardigan review

 I realised this would be a great match for my interesting sweater knit from The Fabric Store. I bought a lot of it and it's taking up a lot of space, because actually I'm not really sure what to do with it.  I wanted something simple and cozy.  Winter in New Zealand is cold indoors (even when outside is lovely) because this country was late to discover insulation and still hasn't discovered central heating.  

I was debating between this and the Driftless cardi by Grainline.  There are more blogs about the other one, I suppose because the pockets give people more to talk about.  I thought for my thick fabric this pattern was a better choice.  There aren't that many blogs...because there's not much to say.  It's a really easy pattern.

Sadly in this case this pattern did not take up heaps of fabric! I made size 6, and I have about 1.5 m left (out of 3 m) after cutting this out.  It was straightforward.  I paid good attention on the pockets, and whipped it all together on my overlocker.  


 I think others have noted that this cardi is meant to hang open without the fronts coming close to each other.  I could put a button right about at waist height if I wanted a way to get it to stay secured there - it does come all the way around at waist level, but not higher or lower.  There are maybe 6 cm of space at the chest, slightly less at the hips.  As long as you want an open cardi I can recommend this. The sleeves are relatively narrow but not too much, I have big muscles and would struggle to wear long sleeves under this, but with tank tops it's great.  Though itchy. 

Thursday 22 July 2021

Forget me not patterns iris tee review

 Being a connoisseur of tshirts, I couldn't let this one slip past me once I'd noticed it.  

I printed the A4s, you can use layers, which was nice. There were an average number of empty sheets.  I did get annoyed that every single pattern piece seemed to barely cross onto an almost blank sheet which leads to lots of small floppy bits when you are using the taped together piece.  The pdf instructions are crosswise - landscape style in the pdf which drives me crazy, but for a tshirt I only needed them to instruct me on the sleeve pleats so I didn't need to scan around through the pdf.  The instructions are neatly laid out with good drawings, so that's a star for this pattern company.

I made this in size 32 which was just a tiny bit smaller than my measurements, but the final measurements of the top convinced me it would be the best fit. For the first version I decided despite having never done so before, that I should size up the sleeve. I cut the sleeve and armscye of 34.  Sigh.  It's fine.  But that was really unnecessary.  There's added puffiness in the sleeve and it is a bit loose.  It ends up that those pleats add a lot of space to the sleeve.  

On the pleats: no matter how many times I made them I ended up with an uneven bottom edge.  On all 4.  I cut it even which then leads to a tiny rise in the sleeve at that point.  Maybe this is why there's a sleeve binding!  I also on principle don't like unfinished edges floating around in my makes, and the unfinished bottom pleat edge can't really be finished in any way.  The SA is 1/4" which is nice for waste reduction but again - on an item that you need to be able to manipulate to create a new feature, you lose flexibility with that. Also, how do you stabilise the shoulders when the SA is 1/4"?  I have run out of seam tape but my seam tape was definitely just under 3/8" so I prefer that.  The pleats make the sleeves more roomy.  I was sort of musing on that and on drafting of sleeves when you are adding volume - but the no-pleat sleeve is nicely drafted, so whether there are possible improvements to the sleeve with the pleats is a question far beyond my expertise.

Version one is hemp jersey from Blackbird fabrics.  It's a bit thick and spongey feeling and has a lot of stretch.


Version 2, I reprinted the sleeve and went to a straight size 32. This fabric is from Mood, and it's a lightweight, almost shiny cotton (blend?) jersey.  Maybe there's some silk or rayon in it.  It's thinner with an average amount of stretch. 


The fit of that was so convincingly amazing that I made a plain tee as well.  I added a pocket which I think I put a bit too low oops. I avoided the hem on the sleeves by cutting the sleeves on the fold so they are double thickness.  This fabric is also from Mood, it's the jersey half of what was supposed to be jersey lined rainwear nylon.  The two separated in the wash and I used the nylon on another project.  I love this top!  I think I've found something just about as perfect as the Renfrew for a simple, fitted tshirt.  


So after I made these, I wondered if the pleats would drive me crazy. I've been wearing these tops to work and I don't notice them at all.  They stop looking quite so orderly and cute - they puff out a bit and the area above the pleats just billows, so I guess I'm a bit lukewarm as to whether I like them, but I definitely like all three of the tops and the basic tee fit is stellar - so that counts as success.  I think maybe the longer sleeved shirt with the pleat would be quite nice as if it did puff out it would be bracelet length, but I don't need anything like that in my wardrobe so I didn't try it.

Studio Calicot Boreale windbreaker, the tragic review

 WELLLL I think we could say this pattern is a total fail.  Too bad, I was looking forward to my oversized windbreaking jacket with cozy pockets...noticed there are really not many pictures of this online and I was hoping to triple the number haha.  


 I used a fleece lined softshell from Ansje Handmade. It made the pattern more stiff than it would be otherwise, but worked out fine overall. 

I did a lot of reviewing of my implementation once I got halfway through the pattern and realised it was miniaturised.  Sadly I did NOT notice until I was halfway through sewing it up - which has been a real lesson to me.

My pattern: printed on A0 by my local pattern shop.  I print a lot of patterns with them, and this one was in the middle of a pile that were printed all at once...

So why did my resulting product end up sized to fit an 8 year old?  LITERALLY? 

The seam allowance is 4/8".  This offered me the first hint of something being off, because this pattern had a really LOT of notches, and many seemed to be SA notches at 3/8".  But the pattern instructions said 1/2", and I did follow the instructions.  I didn't have problems with things lining up, there were too many notches, but in places you need them, they were there. In retrospect the alarm bells going off about the discrepancy were reasonable!

Yeah you guessed it. My print shop did a fail.  And I did too, because I assumed it would be great and I didn't check the size box for scale prior to cutting it out.  In fact, it took me *3* messed up patterns to realise that my print shop was at fault. 

Here she is: she loves her new jacket. 


Summary: 

I made a cute but tiny jacket, left off the ties because at that point I just wanted to finish it for its future 8-yr old owner.  It's a straightforward, simple pattern.  Obviously check the sizing square when you make your patterns!  I used my dream fabric for this and it's sort of burst my bubble regarding this jacket.  I have 2 more jackets to make this winter so hopefully I'll have better luck with them!