I have made two previous attempts at the Tamarack jacket. Maybe I should have just followed through on my first one so many years ago, which I wasn't going to quilt, but anyway, I really wanted to do it properly and after my second one, which was of prequilted fabric and with patch pockets, I wanted the experience of doing it all. Having made a quilt took the fear out of a lot of things, and quilting is one of them.
I will say: making a quilt was horrible but it has paid such dividends in new skill learning! So worth it!
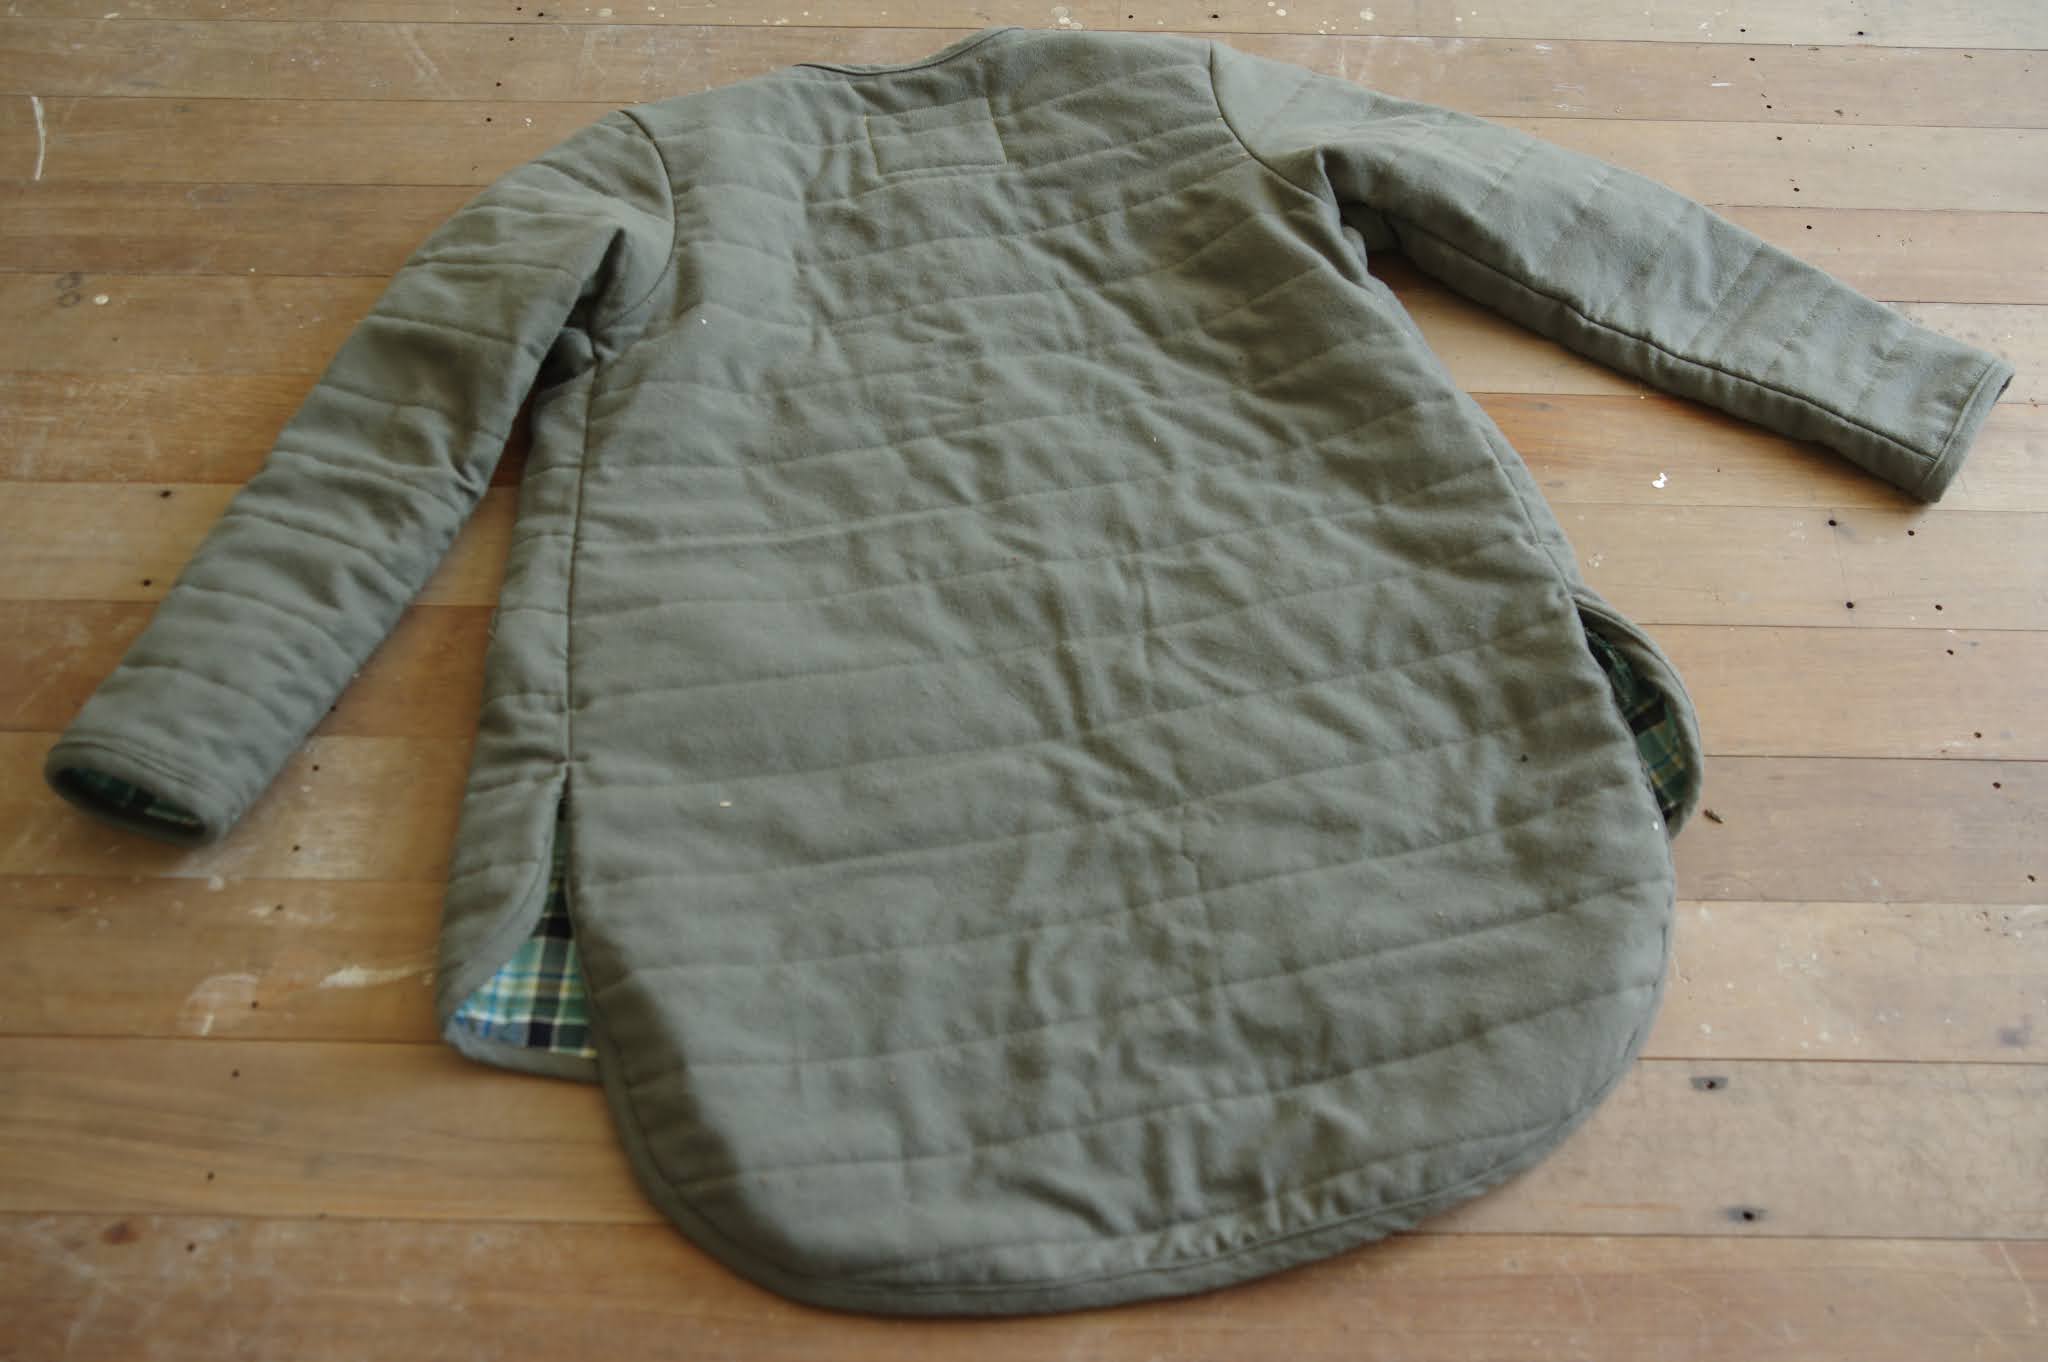
When I finally got on the road to making this particular Tamarack, it was due to inspiration from a RTW jacket with plaid lining, maybe a year ago. I made the black quilted Tamarack which seemed to fit ok, (I made size 4) and which I gave to a friend, and then had the confidence to trust I should quilt one for myself. I had this fuzzy wool blend from Mood from a few years ago, and after investigating plaid linings I got this wool woven from Emma One sock last year, but then I had to wait - because I was going to use the same batting from my quilt, so I had to make it first. Hah. (The batting wasn't enough and I still had to buy more...)
My big vision was that I needed to shorten the front and back separately so they would still meet quite high up. I lengthened the front 2" and the back 6". Once I had done that it was straightforward to cut everything out and quilt it and then trim everything down to shape - but it did take time! That upleveled the feel of the jacket because quite a bit of effort goes into it. I used a bias binding on the side seam edges and the shoulders. It doesn't look particularly good, I'm not sure how other people kept it from being lumpy. I overlocked most of the other seams because I didn't have enough pretty matching bias tape and it seemed kind of like a wasted effort anyway.
My major drama was with the welt pockets. After quilting, you've already done a lot of work and you want it to go well. I found the instructions bad, of the vague variety, and they didn't lead to very successful welts because I didn't cut the sides down properly. For this reason I recommend with these instructions to do a practice welt on scrap fabric so you can understand what they are saying. It's hard to know what edges to finish, and in the end I had to hand tack the top of the pocket in place - both the top of the pocket inside the jacket, and the sides of the welt outside the pocket, where there were sad huge gaps. The insides look ok because they hide the messier bits, but it's not a satisfying aesthetic for me. I've now done a bunch of welt pockets this year and I think I'm starting to itch to FIGURE OUT the welt pocket so I can just do them my way and know they will satisfy me.


Also, the fit of the body is comfortable, but the sleeves of this jacket are slim cut. On me, it suits as a spring jacket with a tee underneath. I would not be able to wear any more layers. The prequilted version felt very very light, and was much looser, so this is an effect of quilting. Of course I knew that quilting would make it smaller...but it's different to actually experience that fact. Quilting also makes it feel heavier and more substantial especially with this heavier outer fabric.
For the snaps, I considered using my prym snap kit but I'm very suspicious of the quality. Maybe unnecessarily - I recently used it on my Landgate and the snaps were perfectly fine. Anyway in this case I hand sewed snaps in place, and I'm really pleased with the secure feel of them.


I'm really glad I made this. Too bad I took so many attempts to get there! It's not a pattern I found particularly fun, and the fit of it is only ok. Now, in the meantime quilted jackets have gotten popular and I think there are other patterns that suit me more. I will most likely try the Hovea pattern next year.
No comments:
Post a Comment