Wednesday, 22 April 2020

The Autumn tshirt binge sew

If there's one thing you can count on, it's that when I stop remembering my last tshirt binge sew, it's time for another one!  I don't know why I can't just stick to my TNT tshirt patterns, because I definitely have a few...there's a unicorn out there...

In this binge I sewed:
-The Lane Raglan
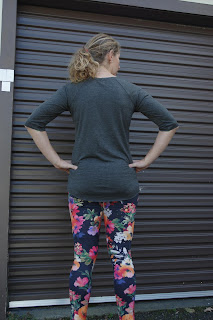
-The Woodstock swing tee, a free pattern by Hey June in teen sizes up to size 16
-The ebony, low neck version A since I had made the raglan sleeve top during my last binge
-plus the Instinc-Tee by Sasha from Secondo Piano, also a free tshirt. You can find it here.

This particular binge sew had me thinking about serial sewing - you know, when you sew one new pattern 3 times?  Everyone who blogs really well made things...they all do it.  And they kind of duck their heads in embarrassment and say, well, you know, I made one so then I had to make a few more!  I think that's actually a genius way of instinctively riding your enthusiasm for a new pattern until you get it to fit - because the truth is that no pattern is going to magically fit.  (I'll write about my Alabama Chanin experiments soon...)

Lane Raglan:
Size: S
Scrap of merino +?  silk?
Verdict: great fit at the shoulders, way too long, and the front and back are easy to confuse. 


Version 2, which is actually the tshirt I've been envisioning for the past 6 months and which was the cause of both of the last 2  tshirt binges.
Fabric: liberty jersey
side panels: merino blend jersey
I shortened by 4" and removed the curved hem.  I sewed this last thing at night, and you know, I did say something like the front and back are easy to mix up. Right? So my binding is on backwards.  I'm very grumpy about this, but I'm trying to convince myself it's a design feature.


Woodstock tee, size 16:
free pattern!
Free fabric!  (Thanks Tessa.)
I'll make the sleeves a bit longer next time, otherwise this is great!
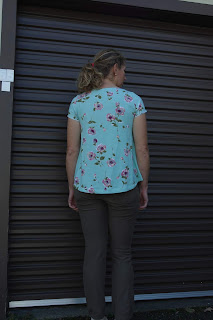


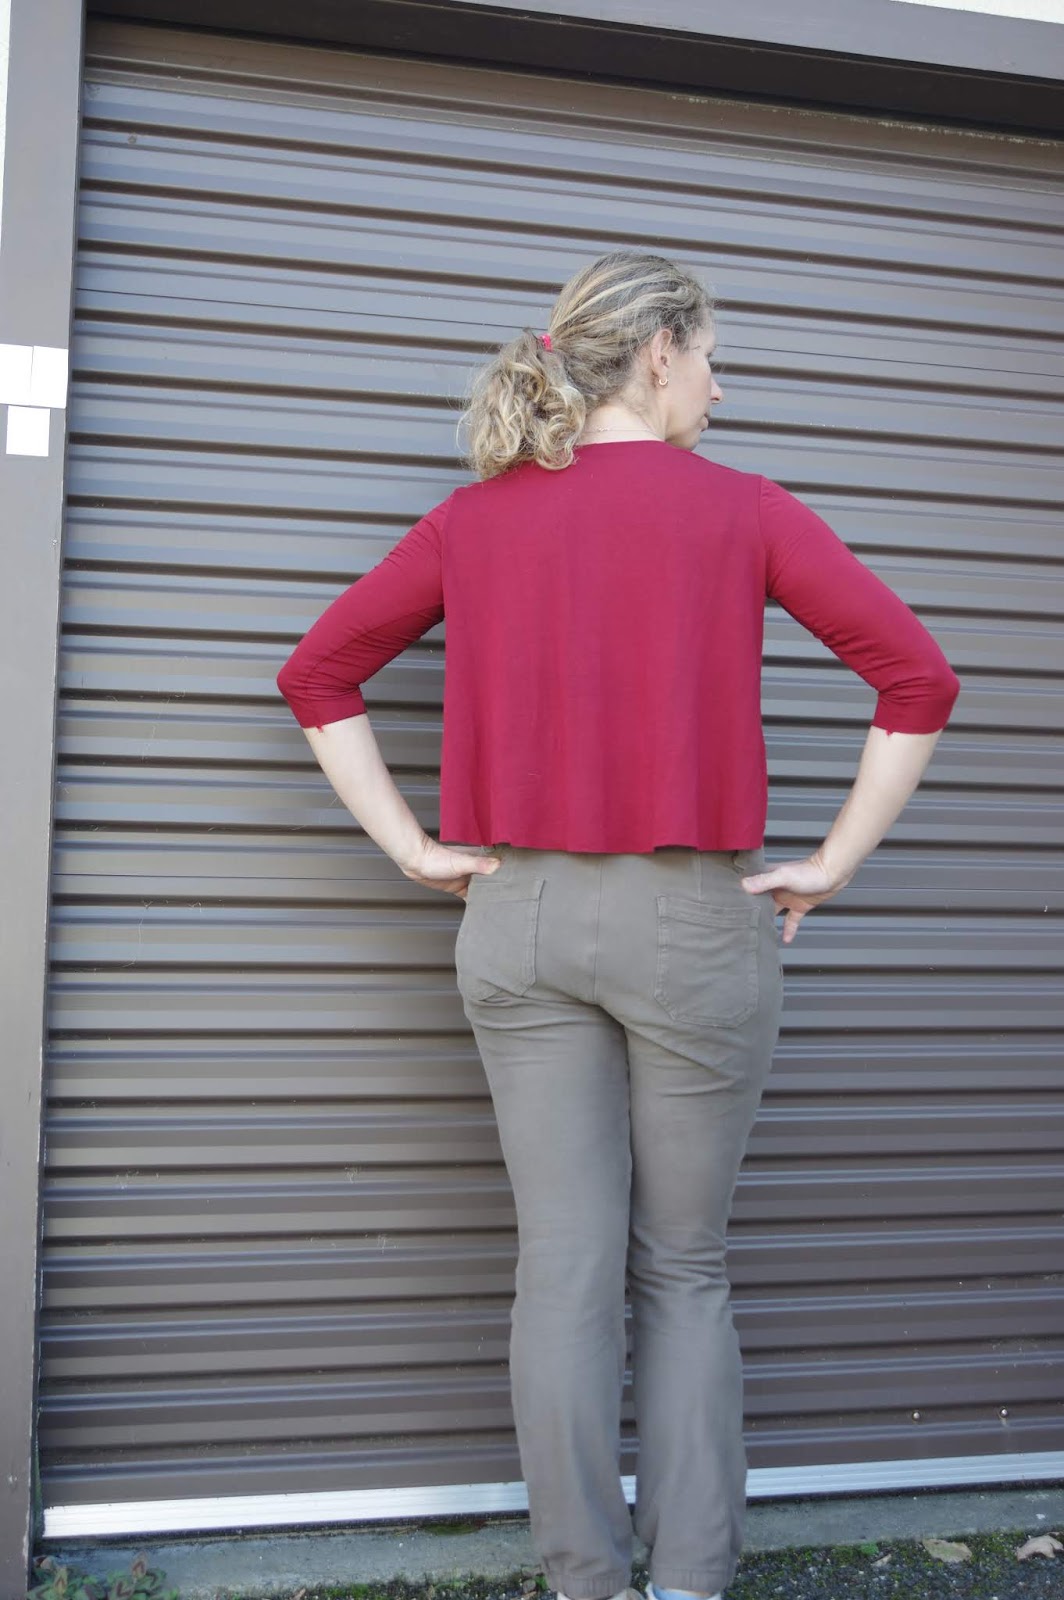
Ebony, size 2:
fabric: silk blend, still lots left over
verdict: wtf this is short...
I also found the arms really really tight.  


 So I made another one!  I lengthened the pattern 2 inches, but I made sleeves out of the tiniest leftover bits so they were just as long as I had fabric for. This fabric is a difficult scrap - it's a rayon blend, which is almost cheeseclothy, and it hates the sewing machine, it hates being touched, but it kind of sticks to itself...anyway I tried not to touch it too much and I'm definitely not hemming it. One of the maps on the sleeve is upside down but all the body pieces are right side up!  Tetris score!


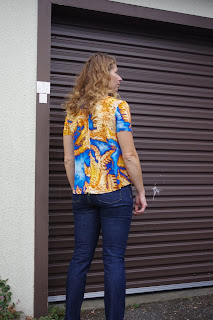
And here is the Instinc-Tee. It is size XS and I have shortened the pattern somewhat.
This counts as one of my TNT patterns.  I had enough flowers left over to do it! I've found it works really nicely under scrubs. 


As I was photographing this with my Dawn jeans I realised I've just hit the epitome of sewing:  I've mastered jeans and tshirts.  I basically never need to buy anything again. (Hah! As if.)

Until the next tshirt binge!

Tuesday, 21 April 2020

Merchant & Mills Top 64 review

I made a muslin first.
It's a really horrible muslin.
I used size 10, and shortened the sleeves to fit my fabric.
The fabric is all heavyweight knits!
But despite being kind of hugely long for me the furry cozy sweatshirt sleeves made it feel really nice on!  I finished it well enough that I can give to my local secondhand shops.  I will absolutely have a giggle if I see it on someone in town next year...


What I ascertained:
-shorten the body 6"
-sleeves about 5" longer than I made them (I think I shortened them about 12" due to fabric limitations.)
-Make the pockets as long as possible - in the pattern they are weird micropockets.

The photos were also really helpful, because though I feel like I'm swimming in this top I was completely shocked to see that it looks great on.  So if I wanted a long version I could do the pattern with no modifications (except extending the pockets.)

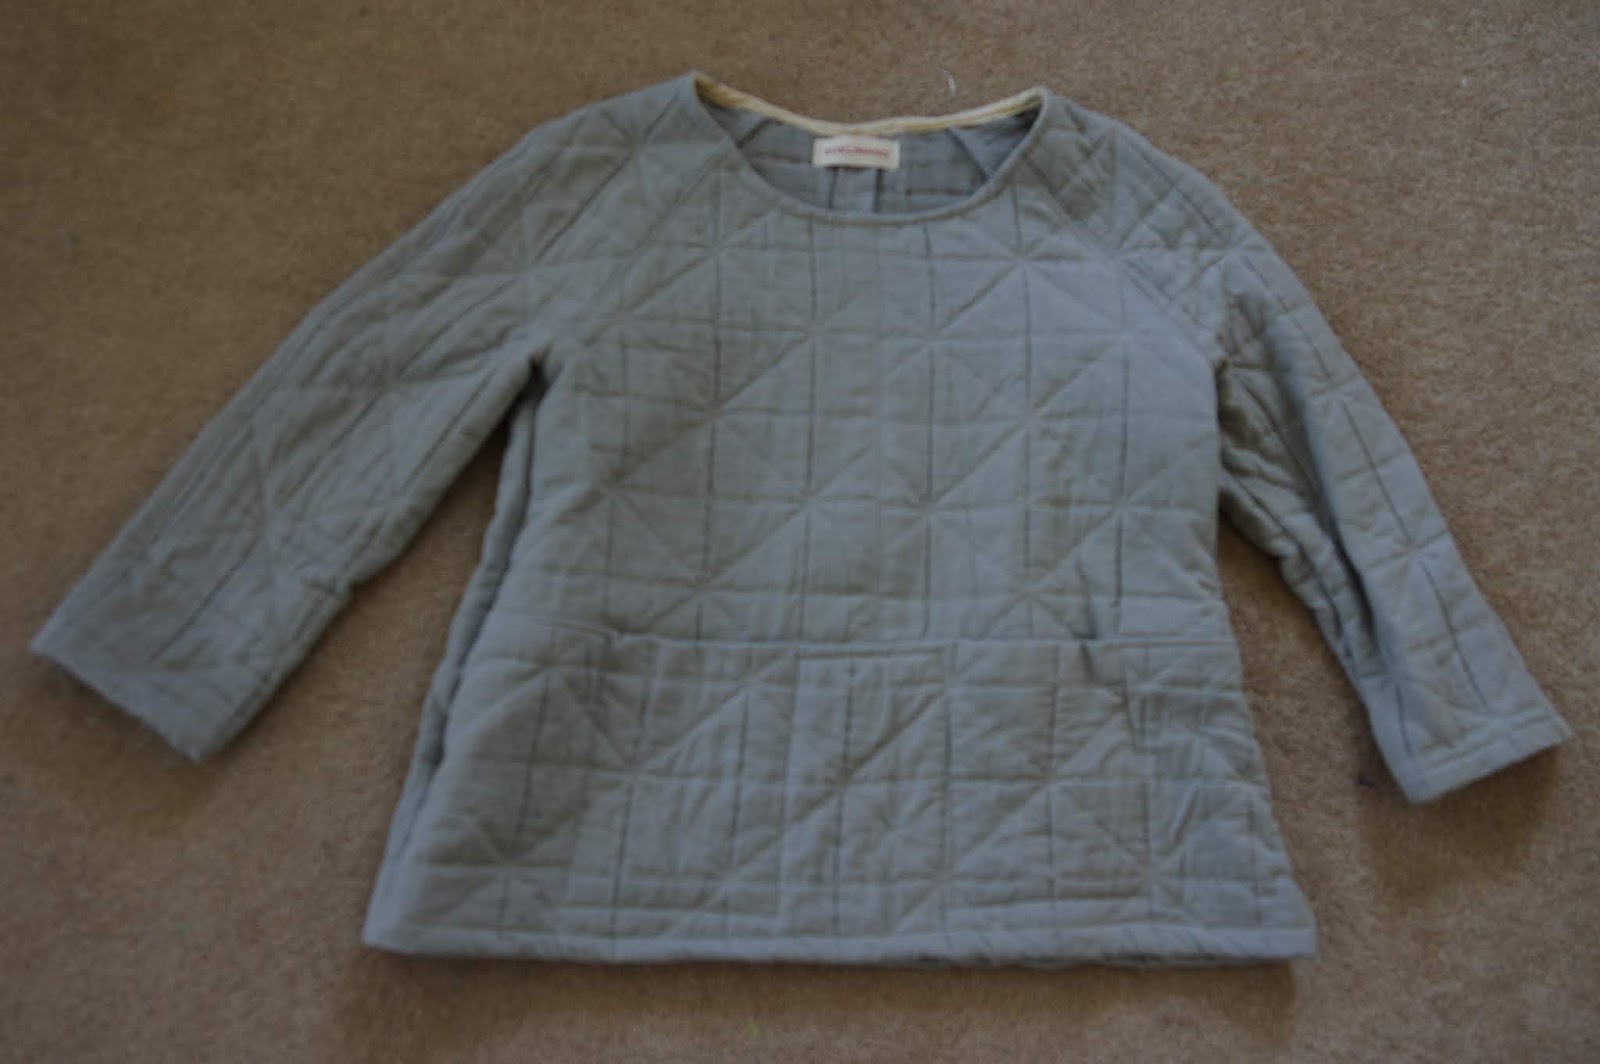
When I can buy fabric again I really want to do a leather and boiled wool version, but luckily I have some luxury cozy quilted layered gauze to tide me over!  Also quite good for layered lounging at home, I foresee.

I was happy with the pattern measurements in terms of size - it's pretty impressive that it fit over my hips with no need for swayback modifications. I would say that it's meant to be roomy and it matched my expectations that way.

For version 2 I really felt like removing 6" was changing the pattern too much, so I removed 4" below the narrowest part of the waist.  I lengthened the pockets 2" but didn't widen them at all.  I think my sleeves are now about 5" shorter than the pattern.


The weird shaped front pocket pieces and the two part sleeves make this pattern take up a lot of fabric!  Well, plus I always only buy 1.5 meters of everything.  This fabric is a multilayer quilted gauze, and it did start to fray and shed pretty quickly.  I overlocked and topstitched everything.  I did bias binding on the neck.  I didn't top stitch the pocket part of things, I sewed from the underside, which is probably a sign of laziness on my part and has resulted in wonkiness on one side.  The pockets are now a bit too narrow for their length, also.  


Overall I'd still like it a bit shorter, hah!  BUT I guess it's ok the way it is.  I'd widen the pockets a bit and make them not quite so much deeper, maybe 1" would be enough instead of 2".  My enthusiasm started to wane while I was sewing, which is characteristic of my current binge sew, I suppose. What's the NEXT EXCITING PROJECT?  Oh there are five.  Next week I'm back to work lots of days in a row so I'm allowing the wildness to run crazy for now.

Wednesday, 15 April 2020

Waffle Dropje shearling vest

I know, all I do is complain about what's wrong with patterns and then I go and make four of them. (here, here and here.)
Wellll you'd think by now I would have perfected this one.

This concept came to me fully polished while I strolled through Upper Mustang in Nepal.  Yep, it was hot and I was sweaty and hiking up hills of dirt, and I was thinking about making a vest out of animal skins.  I never said I was logical.  I did however drive straight to The Fabric Store from the airport to pick out my skins, and the vest was put together the following day.  However they were one skin short so I had to hold my impatience together while waiting to put on the hood.

I had some trouble figuring out the size.  My last post was oddly vague and all my pieces appeared to be size 36.  I thought I had sized down.  I decided that on a shearling vest, oversized was totally ok.  I went with about 1 inch longer than the pattern piece length, but no waist binding.

For the stretchy side panels I used two layers of merino which I sewed together along the top and bottom to enclose them.  Then I just sewed them to the front and back as normal since those seams won't unravel. (Note: I topstitched them down *to the merino side* not to the shearling side, a fact I just recently thought may have caused later problems...)

I then relocated to Greymouth but luckily my new office manager had a sewing machine so there was no problem! I managed to just barely tease the hood pieces out of that finicky little Singer.

I didn't have leather needles, and my usual sharp needles were not very good - I did most of this using the needles that come with sewing machines that are always in the little hidden storage area.  It was heavier duty and generally didn't skip stitches.  The borrowed Singer was not as good as my Pfaff, and I was really nervous about putting on the pockets.  They aren't perfect, but they are definitely fine and are so so cozy!  I just used a piece of paper to measure about how I wanted them, and then traced two.

This project stalled after that because I was moving and didn't manage to keep all my little bits in one place, but also because I noticed something right away - little rips occurring forwards and back of the merino stretch panels.  I could see that is a spot which has increased wear from pulling it on and off, and the leather can't give the same way the merino can.  I had no idea what to do to fix this.  I thought anything I put on it to bind it will be hard to get on and might make things worse.  I don't have access to an industrial sewing machine that might be able to manage lots of layers.  I asked a lot of friends, and my mother, and didn't get any useful ideas.

Luckily despite my impasse, I planned the rest of the steps for this vest!  I bought the bone buttons in Kathmandu specifically for this project, and then got thick waxed leather thread to apply them.

I planned to use strips of the original shearling for the button holders, and I saved the edges of the skins where there was no furry back.  I strengthened them by stitching down the middle of each piece. All the bits were together, waiting for success.  I even realised I could use grommets in the front for the buttons to strengthen them.

Friends told me that if I used grommets around the armhole it would redistribute stress.  I was finally reunited with this project, all those bits, and my grommet kit, however when I was making shoes recently the grommets were a huge catastrophe and all came out bent, so I worried I wasn't on the road to grommety success.

Fast forward to Isolation 2020!  Haha in between binging on whatever project enters my head in a wheeling free for all of sewing, I decided it was my duty to do my old, scary UFOs.  (Also two bras sitting on my desk collecting dust ughhhhh).  I got out the grommet kit and -ahem- read the instructions.  And realised I was using the wrong bits to put grommets in.

I tried to sort through these pictures but I couldn't choose which strange expressions were less strange than the rest so I kept them all.  Go figure I decided I needed an exotic photo shoot right when gale force winds started blowing!


So that's it, in one morning I: installed grommets all over the place.
Put in the buttons.
Sewed down my button holders, just as I had imagined MANY TIMES in the past two years, thank god I'd already marked placement and everything!
I glued the little rips with shoe glue
And for extra support I did a few sets of stitching down the seamlines of each of those suspicious seams.  I'm hoping between the grommets, the glue, and the stitching I will have redistributed stress enough that it won't rip any more, but I'm also more prepared to glue the entire armholes, or even add little strips of leather for support if I have to.
And then I was so excited I went and took those pictures.


This project really stretched my sense of what I could do.  I started out with inspiration and my inspiration was totally, perfectly fulfilled.  Did I mention that I even reshaped the front of the hood to cup my head without a hood drawstring?  So many perfect plans went into this, but it actually took me all of those two years to get the skills, equipment (shoe glue, miracle worker!!) and sheer determination to deal with the unexpected issues that cropped up.  Sometimes things do need to sit in time out for awhile.