Sunday, 5 September 2021

Ginger jeans x 2 review

 I made these over a year ago in very stretchy lightweight black corduroy (here).  The fit was good but I didn't love the tummy stay thing.  I managed to sneakily wear these as uniform pants at work once our month of covid lockdown ended...until the butt split open along the side of the pockets - which is the risk when you use a too light fabric for something like jeans with all their topstitching.  I had apparently made size 2 but my pattern pieces say 4.  So I made a size 4 this time and I suspect I made a size 4 the first time too.

When I made the corduroy version of these I knew I wanted more and I planned 2 more pairs right away.  Unfortunately I didn't MAKE those two right away and I realised I was delaying due to the general feeling that Jeans are Hard.

Pair 1, in retrospect, should have been jeggings as this is another super lightweight stretch denim, and I think they won't last too long.  But that's ok because I think 1990's throwback jeans probably need to live hard and burn out fast...


I made these in about 4 hours.  I was in shock, in fact, that they were so easy. Nothing went wrong.  I used the pocket from the Dawn jeans, it just needed some modification along the pocket opening, otherwise it was a perfect match.  I didn't interface the waistbands. Of course I had some advantages that made these easier - the lightweight fabric didn't even need a denim needle and I was topstitching with my same thread.  I used my Bernina for the buttonhole and the tops of the belt loops.  I played around with my new embossing kit and some leather scraps.  These jeans are great!  They are very snug!  Hm except for the waistband which I really did say was too loose before.  I had a hard copy of the high waisted Ginger pattern and gave it to a friend, but I feel like I'm hitching these up a lot.  

On to the jean fabric.  Tried to stretch the waistband a lot to improve fit. Also shortened at the hems by 1.5".  It didn't really help with the waist, I think I need to actually either take it in, or make the high waisted version of these.  Also while doing the pockets I realised my replacement pocket piece was not actually a perfect fit and I had to make a few adjustments, but they were not dramatic ones. I'm...happy with these.  They are really pretty!  They also were easy to make with no dramas.  I used Mara 70 topstitching thread in grey, and a kind of sea theme with my wave pockets and seamonster pocket bags.  I sneakily stuck on a label harvested from some old jeans that I upcycled.   I used a jeans needle, and topstitched with a second machine, so everything went smoothly. I do, however, feel like these are a kind of ok RTW fit.  Like, they are nothing impressive and I expect they will fall off my butt as I wear them because they are a bit loose.  Which all makes sense, since I did nothing to really make them fit better. 


Summarising: I think in retrospect these are easy because I have made 3 pairs of Dawn jeans, and two of them in the past year.  The Dawn instructions are amazing.  The instructions for Gingers are ok.  They are not amazing.  I again referred to the fly instructions in the sewalong because the written fly instructions are confusing.  But after making so many Dawns and the amazing hand holding that went along with it, nothing surprises me...it ends up that now I KNOW how to make jeans.  And because the Dawns were non stretch, I put in more effort to get the right fit.  I think if I wanted to make tight but nice fitting jeans now, I'd use my modified Dawn pattern rather than the Ginger pattern.  The Dawn jeans I have made are really snug and I think I'd wear them more if they had a bit of stretch. 

I'm really pleased that making jeans has entered my skill set, I'm planning a pair of Morgans before the weather warms up too much and I'm excited rather than being daunted, which is great.

Misusu shift tee review

I was in full tshirt mode when this pattern came out and I was also still so enthusiastic about my Dia sweaters that I bought this right away. 

Because I hadn't sorted out my recent print shop issues, I printed this at home. Be warned: 75+ pages and many of them are blank.  I appreciate inclusive sizing but I am waiting for it to be improved on with multiple nesting options on pdfs, so that you have the option to choose a nest of limited sizes and print fewer pages.  However this pattern does list what pages you need for each option (long or short sleeves of the two different views) so you can limit extra pages if you pay attention. 

I made size BB. 
Because my fabrics are scraps and all are rayon and quite drapey, I made version A because I didn't want to do to much hemming with my sewing machine.

View B with the shaped hem will benefit from a firm jersey so that it can handle the sewing machine stitching instead of overlocking or coverstitching the hem. 


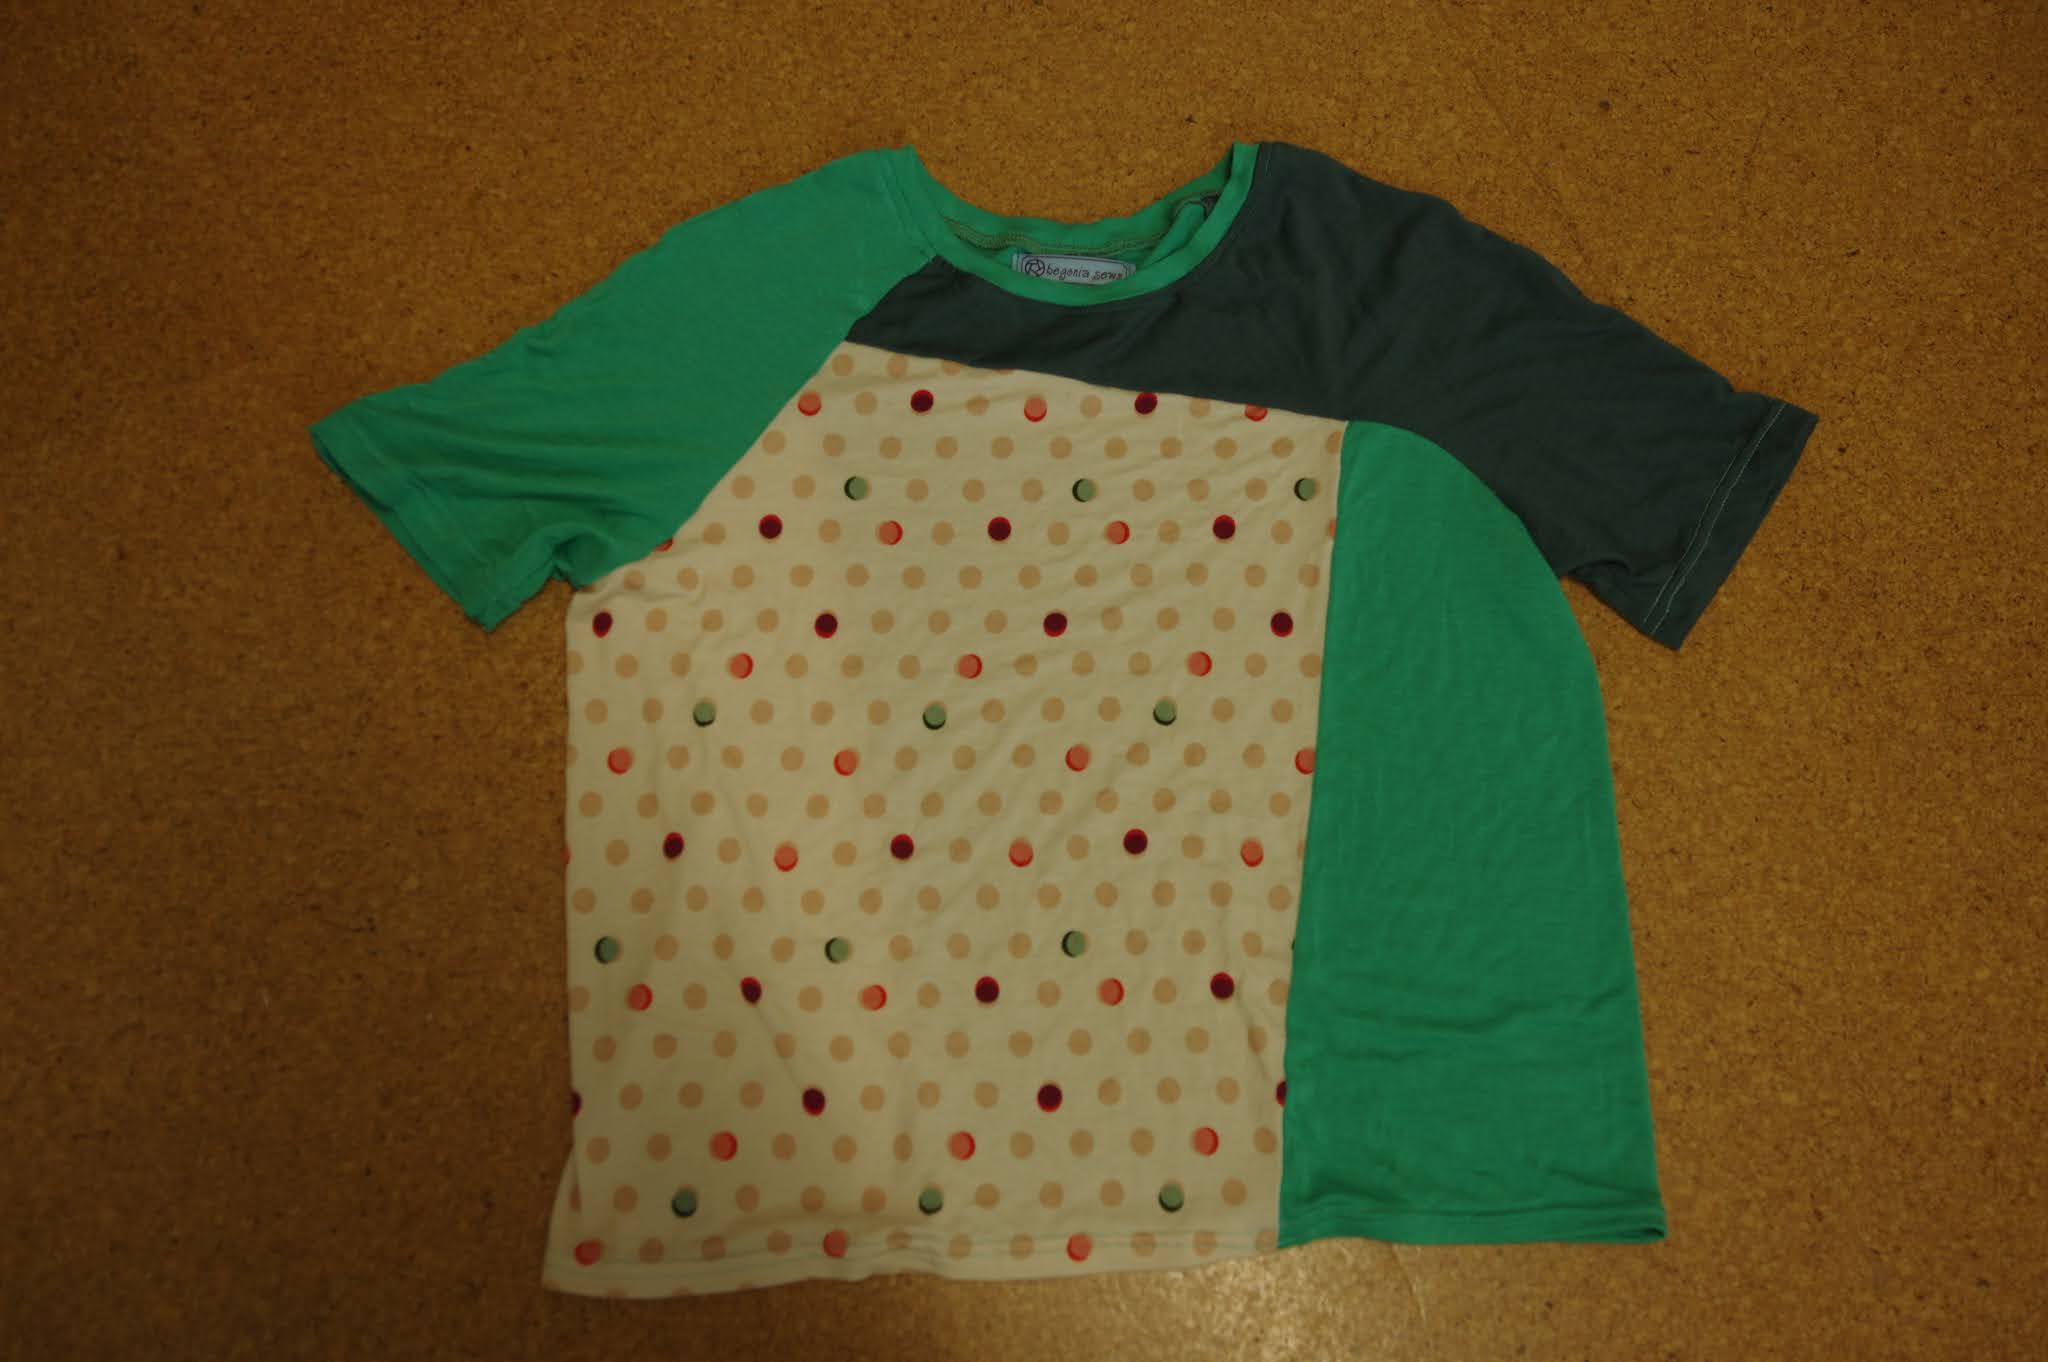
Between buying the pattern and making it I kind of lost interest - maybe I've finally just gotten done with tshirts for awhile?  (Is that possible??)  It really didn't help, the 75 pages to tape together.  In fact when I finally did it and cut out the top and made it I was suprised how simple it is.  I like the ingenious way of making a raglan top and the fit is fine.  I shortened it by 1" because my spotted fabric wouldn't fit unless I did that, and I cut the cropped version.  Note it's not very short or cropped on me...  

I like it more than I expected but my enthusiasm is still low.  I think this pattern will deserve another look when I have some firm jersey and want to try the split hem option, because that's really very cute and original.  

Saturday, 7 August 2021

Snowflake quilt, otherwise known as I Am A Masochist

I have heard that there are people out there (like unicorns?) who love both quilting and sewing clothes.  I even know one such person.  Maybe the only one.  And in fact it's her fault that I had to make this quilt, because she made it first and I fell in love, and I felt that sinking dread that only the idea of cutting out 495 3.5" squares could birth. Oh that and sewing them all together with a 1/4" seam allowance.  THAT dread.  


It took about 18 months for me to finally cave in.  I bought the supplies last year: rotating cutting blade, cutting mat, washable pen, 1/4" seam allowance foot (with guide) and a huge pile of batting.  The reason I finally made the quilt is actually because I got sick of that batting taking up my closet space - that and the pile of scraps.  I like a clean sewing space, which is totally ridiculous as my sewing space is a vomit of fabric scraps, and anyway getting this done seemed like a step closer to the unachievable goal of Empty Floor. Also my brother's wife was kind enough to lie and tell me it takes a week for her to make a quilt.  So, bolstered by the idea that suffering is impermanent, I forged onward.  

Discovered that I'd used my white silk to make a dress and then got rid of it and so I had to use velvet scraps to supplement the white.  So now add in: sewing shifty velvet with a 1/4" SA to the list of torture.  It took 3 squares for me to realise this was time for wonder tape to save the day. One roll of wonder tape was enough for every single velvet square to be taped to all its neighbors.  Unfortunately that did leave sticky edges on the front which I suppose will eventually be washed off.  (Neglected to do so before quilting.)

I honestly, truly, did not think that making a quilt would be horrible.  I was so wrong. Cutting out a million little pieces with no room for error was boring and made my hands hurt.  Making the half-squares was terrifying since I didn't have any extra white if I messed up.  Laying it out on my floor was the first bit of satisfaction...then I realised I now had to sew the entire thing together.  It was the most boring sewing I have ever done, and I even started listening to music and podcasts to make the time pass.  I literally woke up with dread for days in a row, pining for a simple sweatshirt project.  But like many things that are TOTALLY TYPE 3 FUN the only thing to do is do it all without hesitation, otherwise it would surely be crumpled into a corner for the next 7 years. 


It took me about 3 weeks, maybe 4 to make the quilt top.  That included a lot of knitting time and surfing time instead of sewing time.  I took a short break then pinned all the layers together with all the pins in my house and left it folded into a little porcupine hiding in the corner. After that, I took a few (3) days months off...mentally thinking of everything that might go wrong with the quilting.  I mainly anticipated stress from things bunching up.

I had also decided to wash all the wonder tape off, but forgot before I pinned all my layers together, so I thought that might make my machine foot sticky.  (It didn't).  I procrastinated.  I sewed all my wips and then waited til I was woozy from night shifts.  That's when quilting 99 straight lines started to sound like fun sewing.  I quilted from the centre out, following the lines of the squares.  I don't know how you're supposed to do it but what I rapidly learned is that you should always quilt in parallel, do not do a perpendicular line to "hold things in place".  That perpendicular line caused heaps of trauma as the quilt bunched up right before it on each row, and I ended up ripping most of it out but rather after it had caused the damage. 

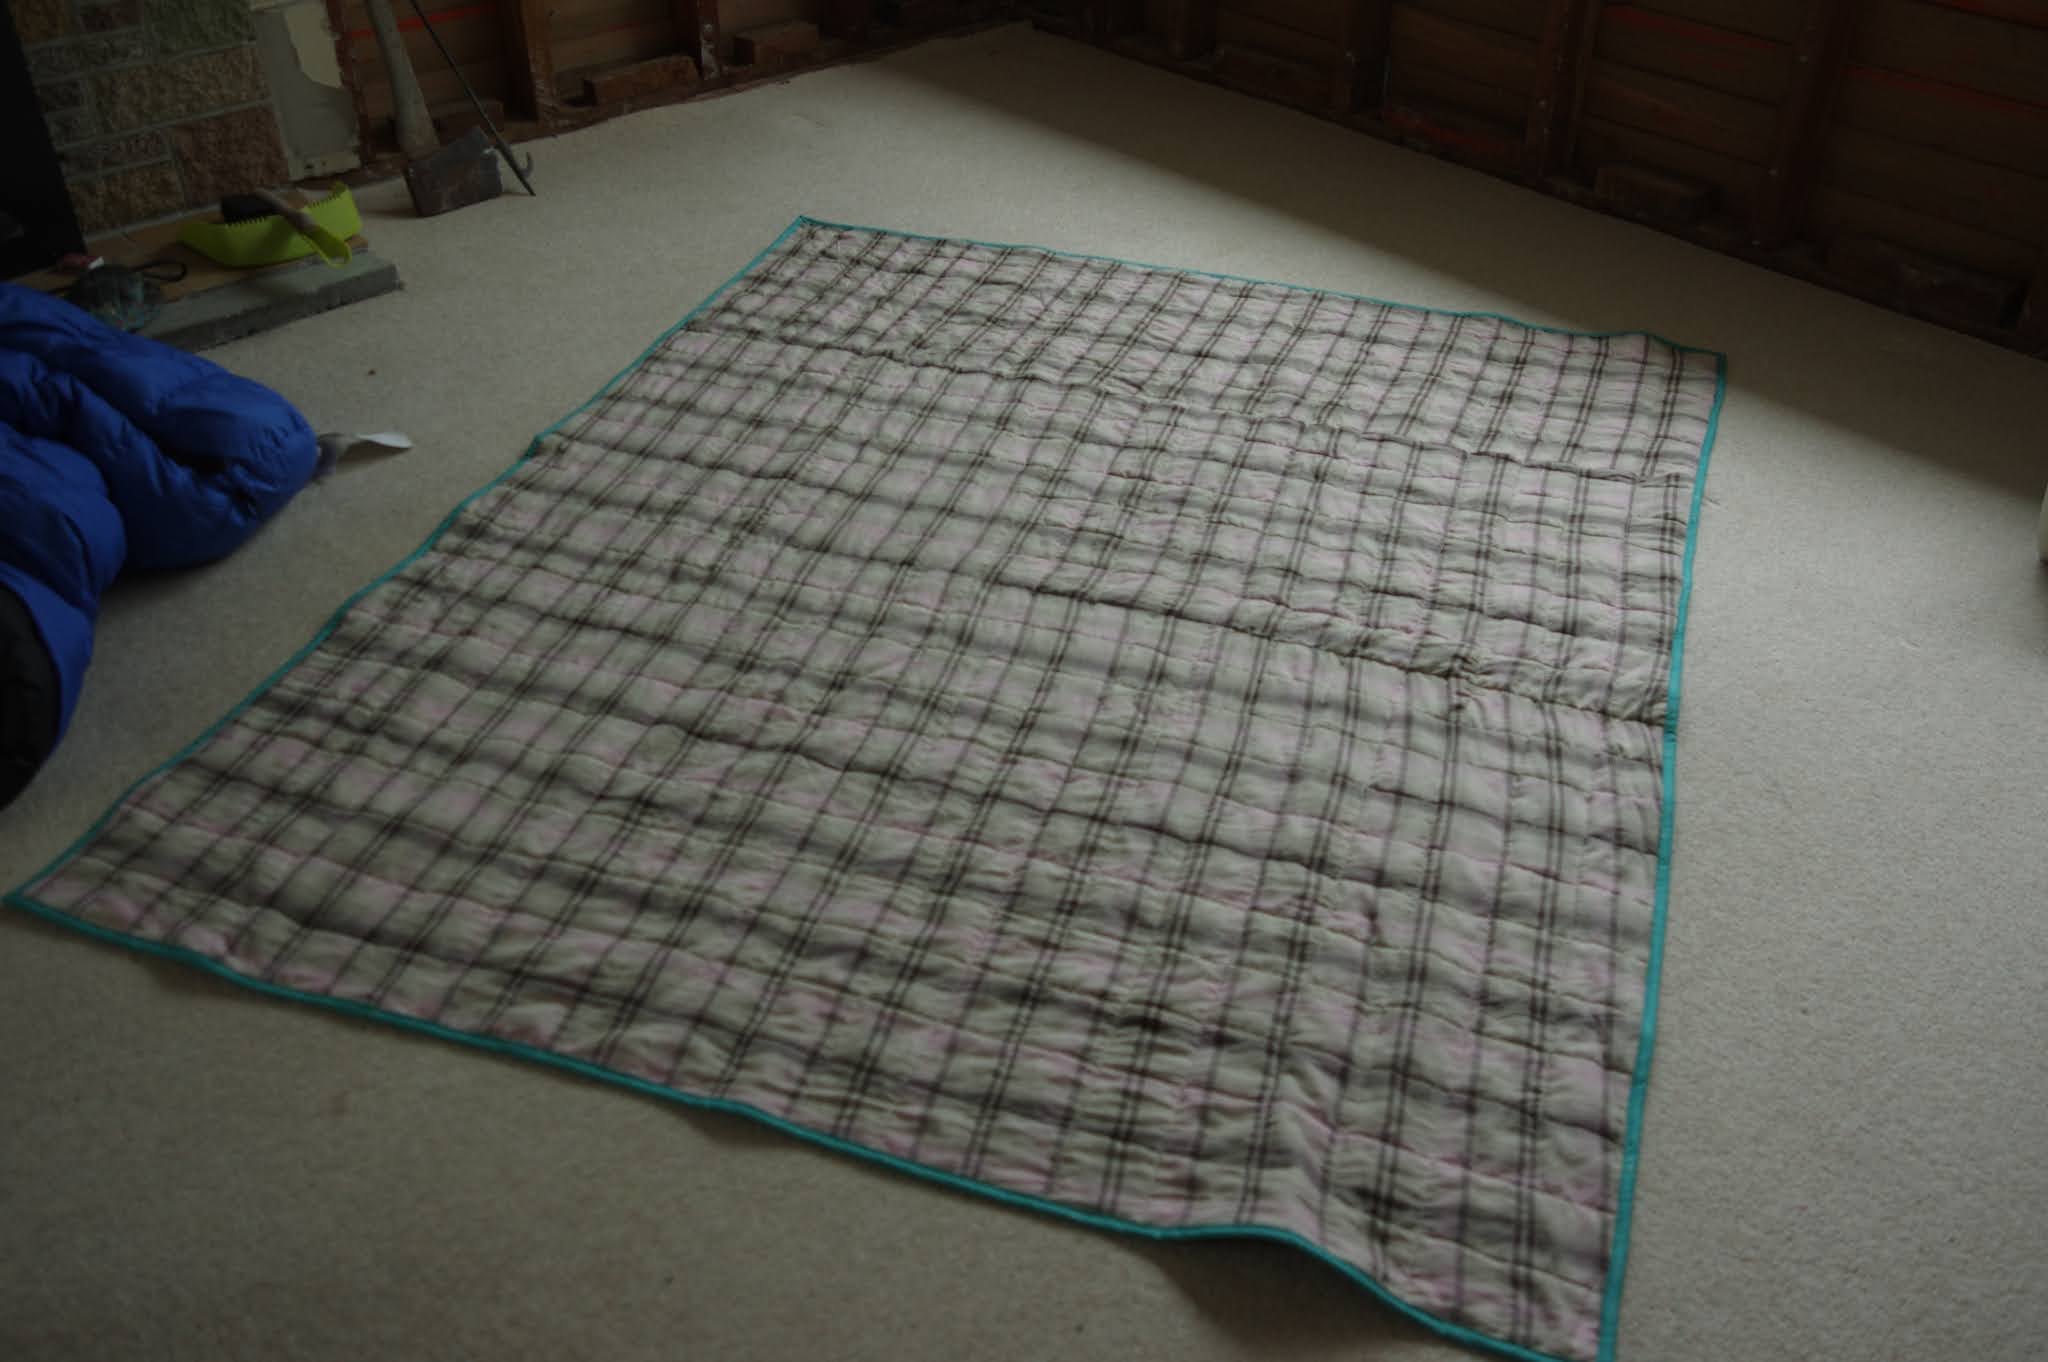
The single best advice I read about doing the quilting was to not worry about it puffing up, that the puffiness is what makes a quilt "quilty."  That really took the stress off.  There are lots of spots which aren't precise, or where it did bunch up, or I didn't catch a tiny fold in the fabric, and I felt ok leaving some of those if they weren't easy to undo.  I would have finished in two sessions (the first being that post night shift one) but I was called in to work extra and it took 3 days.  After that I cut all the edges flush and prepped my non-bias tape.  Yup, it is just strips, no bias!  The cutting (cutting!  What if it turns into a parallelogram?!) and the binding were also kind of alarming and I both googled and asked Tessa how to do it before I bound the edges. She recommended not even trying to hand sew or stitch in the ditch on the back of the quilt, but just to topstitch the back binding down and expect that line of stitching to show in the front.  I did it in lime green.  Honestly as it got to the end it was weirdly anticlimactic.  The hard part was done, the stress had subsided and now...I have a quilt! 


Finished before going on my birthday hiking trip/week away.  This was planned...I will return to a space actually not full of longstanding wips, which I thought is the best birthday present I can give myself.


Friday, 6 August 2021

Janet Celeste Gena crop vs Stitch Witch Atlas - a review

 The Gena is available on etsy. It's by Janet Celeste Patterns, which I've never heard of before.  I made a size C.

This pattern is fully lined - you cut 4 identical pieces.  There are no shaping darts and it is quite short.  I'm short waisted. This is *really* short.  You finish with the shoulder straps and a few options are provided.  Sadly, hand stitching is clearly the best of the lot.  For future reference....

I decided to cowboy my own instructions and didn't sew the bottom together.  After sewing the top, I finished the straps (which was not that easy and made me regret this choice) then topstitched the hem.  The problem with this is that it becomes a bit more curly rather than sitting flat.


The final result is really too short, even on me, and pulls funny.  My feeling is that it's too small, that somehow my wider back needs more accommodation than this.  However, I used a piece of fish fabric that's absolutely precious to me.  My pattern placement is fantastic.  And it's the middle of the winter.  I'm well aware that midsummer I will probably wear the hell out of this, (it matches my favourite summer shorts) so it's going into the closet. 


I did however think that a knit version would be amazing.  I stuck the pattern pieces together to get rid of the side seam and I lengthened the pattern 2" (lines are on the pattern to do this.)  It was very short work in this drapey and beautiful jersey - modal? The fabric is from Mood.  I just topstitched the shoulders together.  I did learn one major life lesson though - why you sew long continuous knit things in two separate goes, from the centre out. I've seen this in instructions but not really understood why...By the time I got all the way round on the hem to the second side, the grain had twisted in a horrible way.  It was not fixable but I managed to cut off the end and just put that side under the other one so it's less obvious...though heh, it's totally reversible so it ends up on top half the time.  I will *definitely* be wearing this top a lot, even before summer!   


The Stitch Witch Atlas is a bit more sophisticated of a pattern at first glance.

I was totally sucked in by the Hollywood dart, which is a rare choice these days. (Ominous overtones of Vogue 1247, see here.)  There is a partial front facing, which I was willing to commit to because it does go all the way to the underside of the armhole, but the back panels are fully lined.  The side seams are thus somewhat visible inside the top. 

I cut size 6.  Again I risked a piece of very precious fabric - my last scrap of linen with flocked spots.  I was very kind and used most of this fabric to make a dress for a friend (it was a masterpiece).  I should have bought the entire bolt, I love it so much.  The back is a lightweight silk linen that I had hoarded together with the dots, and the linings of both front and back are white voile.  I did interface the front facing since my fabric is so light.  


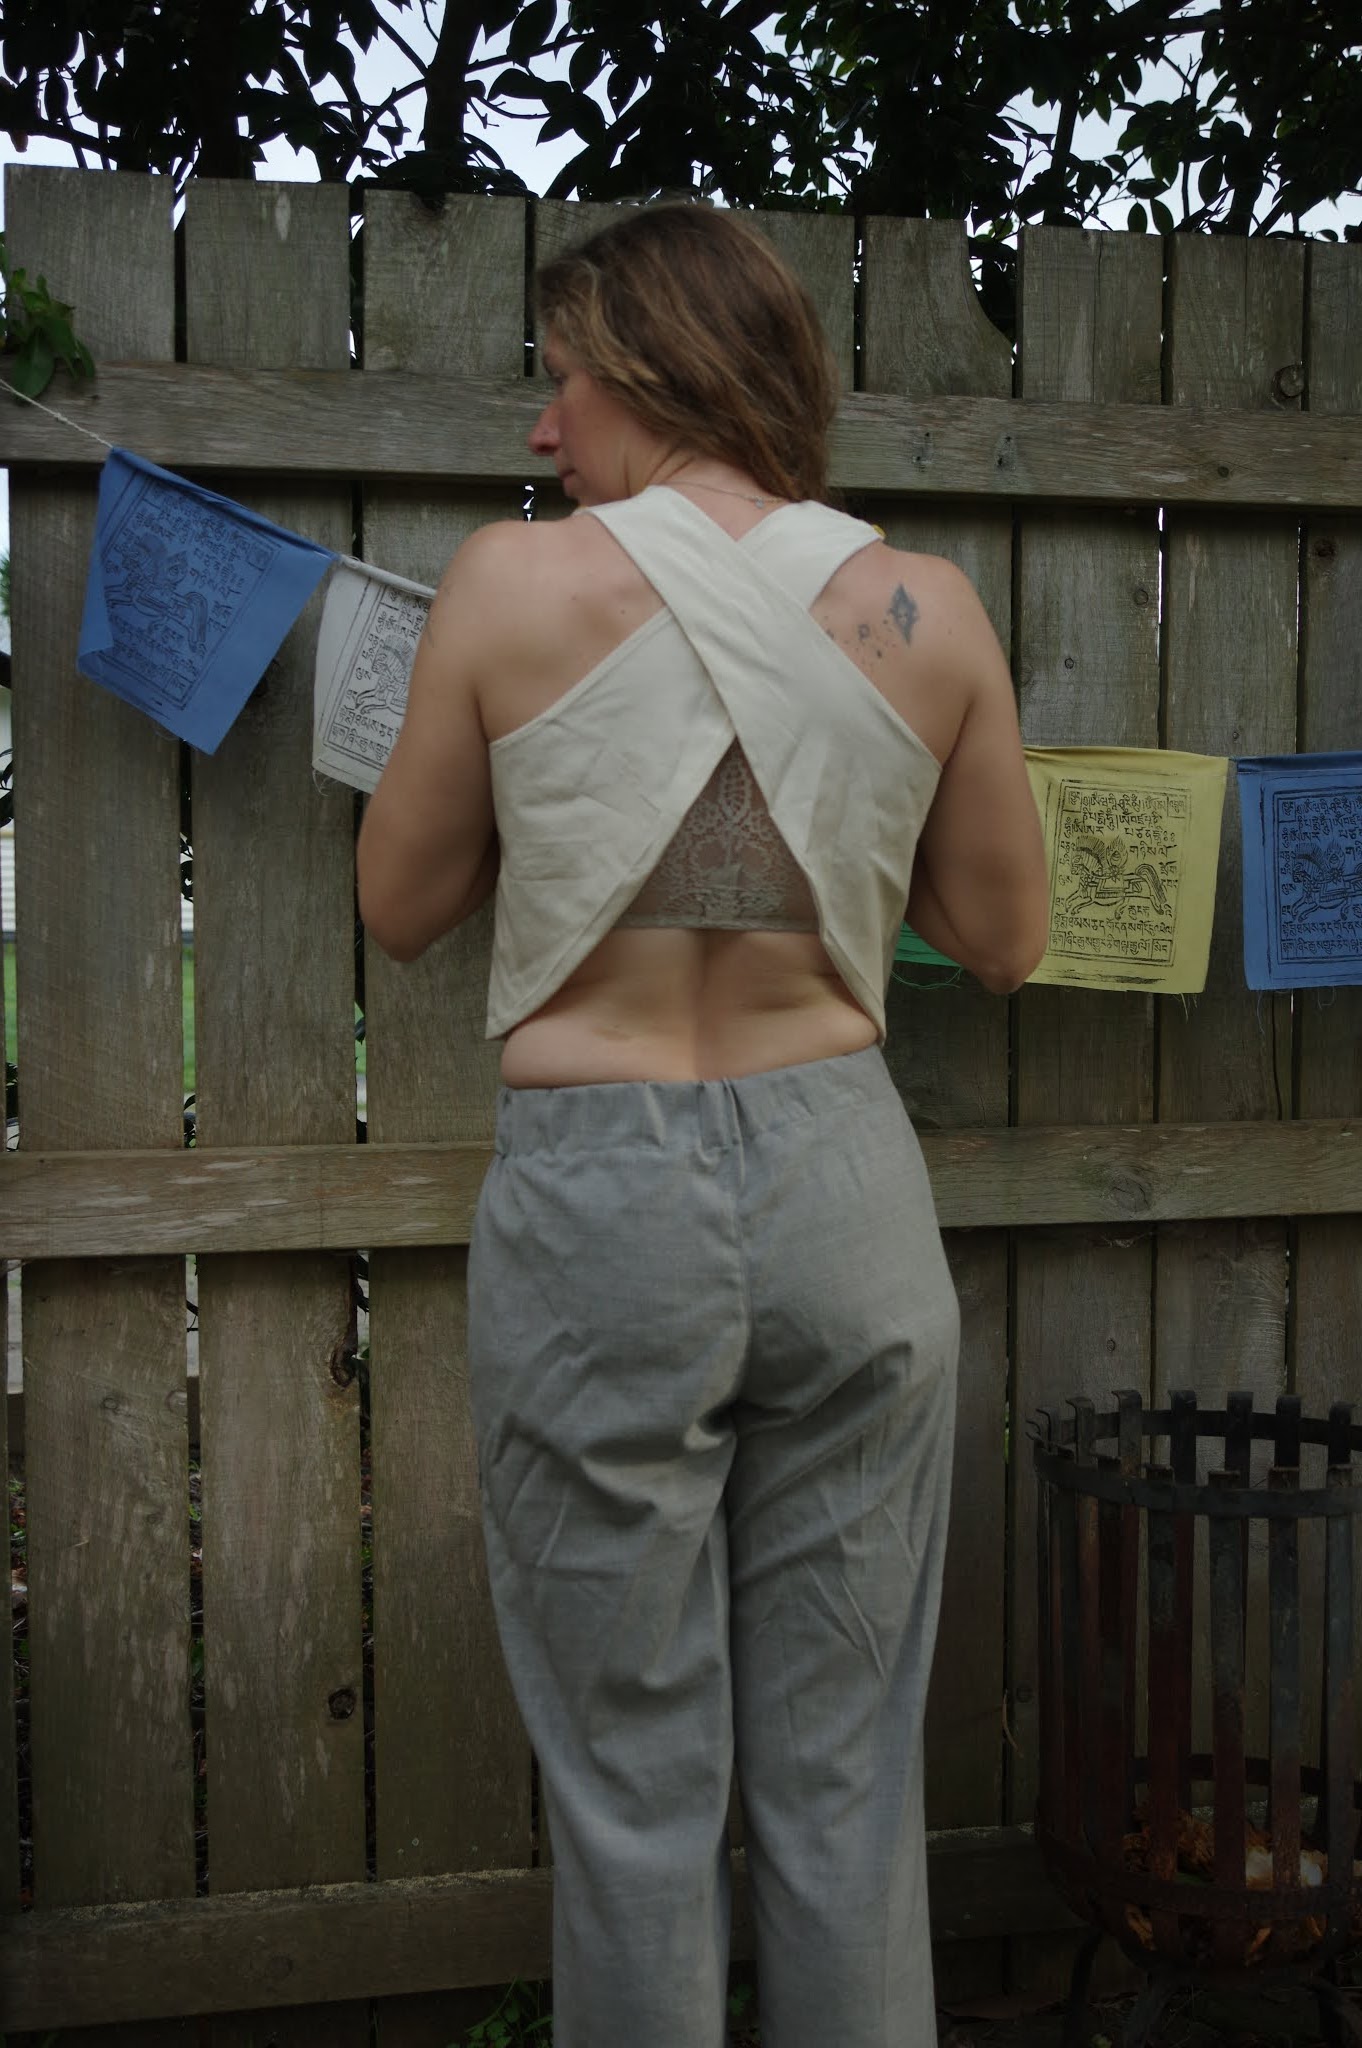
WELL since V1247, my relationship to Hollywood darts has not improved.  I do not like this at all.  I hate facings.  I hate this facing.  The dart makes everything lumpy in a weird way.  The top is also very short, and it also seems too small through the back.  The curve of the back straps seems thinner and higher, I was really unsatisfied with a lot of my photos too - it just doesn't make me feel as comfortable.   For this cross back type of garment I clearly need to size up.  I think this top is a lot nicer in the photos than it feels when I'm wearing it, which makes me think another version someday, fully lined, might be fun.

Initially I thought that the Atlas would be the clear winner of this comparison test.  I thought the finish on it would be nicer and that the dart would add shape.  The Gena does have instructions for adding a dart, and that would definitely help the front to not stick out a lot, but I will probably resolve that issue by wearing sporty compressive bras with it.  In the end I found the Gena to be easier to make, with a better finish and enough instructions on how to hack it that it spurred me to creative effort. (ahem, follow the instructions!)  I didn't find either PDF particularly hard to put together, and the instructions on both were fine.  Possibly mashing the two together conceptually would get the best result, ie make the darted Atlas but with the lined finish method of the Gena.

Tuesday, 3 August 2021

Alabama Chanin car coat, experiments

I bought this pattern during my Alabama Chanin binge last year. I couldn't resist!

I will say - Alabama Chanin are not out to market their patterns. I get the impression that they grudgingly provide the patterns, but they aren't trying to compete on the indie pattern market. What I mean by this is that the layout of the pattern in A4 is quite wasteful. Every single piece, including the pockets, crosses multiple pages. There were at least 5 pages that could have been done away with.  Ok, anyway I survived. I would prefer an A0, which there *is* so that's for next time as obviously I threw away all the rest of the pattern other than the cropped coat and I hate A4 taping.

I've settled on S as my size for Alabama Chanin patterns, though on the size chart I would be M. Also, this coat is meant to be crazy oversized so I wasn't worried about it fitting.

For version 1, I used a poly/merino blend knit that's smooth faced and has nubbly bits on the other side. I think I used the same fabric for my Mabel miniskirt.  It's very stretchy and a bit heavy, and in fact halfway through I got worried that it was a bad choice, since it doesn't have the characteristics of interlock jersey.  1.5 m was totally sufficient for the cropped version with cropped sleeves. I lined with various merino scraps.  Yay, it's great! It's so cuddly, I didn't expect to love it. The lining sticks out all over the place and so I decided to go with my new theme and hand topstitch the whole thing together, which would have been great if I had black thread.  I would have used ANY black thread...but I had to wait a bit to get hold of some.  I waited to put on the pockets until after I'd gotten the lining nicely controlled. By then I lost the fabric so there are no pockets.


The pockets are (like the Papercut Stacker jacket!) oddly tall and not that wide, it does look nice but it's tricky to get hands into them, I noticed this and tried to make them a bit wider than the pattern piece for my pink version.

I immediately moved on to version 2, which is what I was excited about.
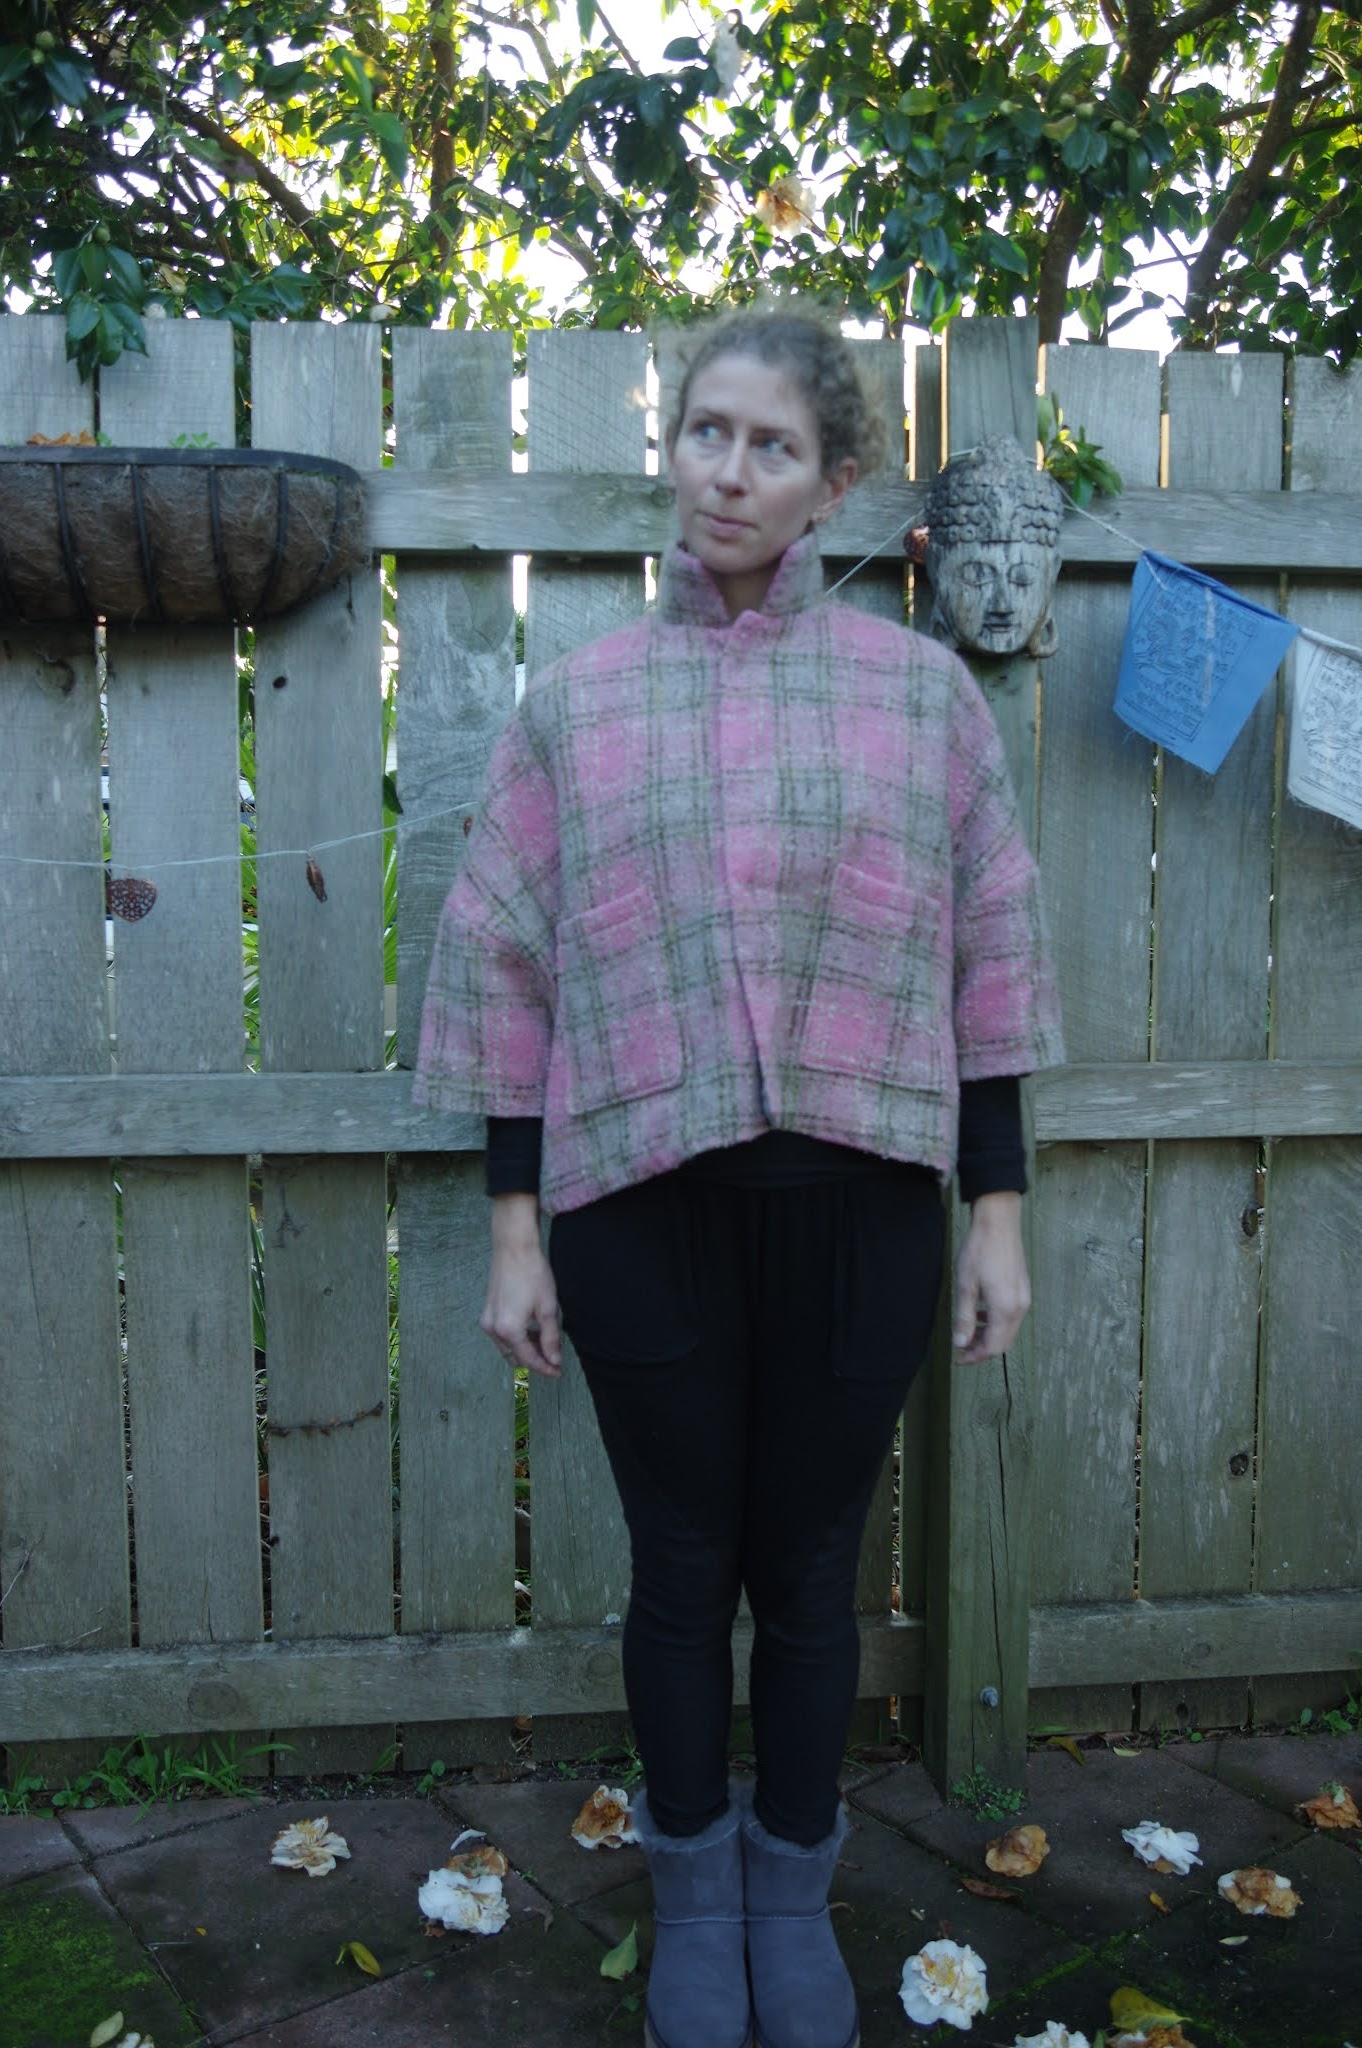
This is a single, narrow meter of wool that I bought when I lived in Switzerland. It has a lot of memories associated with it. I was supposed to make a miniskirt, but I didn't and then I convinced myself it shouldn't be a miniskirt after all, but what would possibly fit such a small piece of fabric?  I considered every coat, every top, every skirt...I kept coming out at a loss. (Now I think gosh, I should have just made that damn miniskirt! But anyway.)


It fit on my fabric perfectly and I even had enough left over to pattern match the pockets.  I matched the fronts and backs and then let the sleeves do their thing. The lining is stretch silk, chosen because it'll help give more structure to the loose wool.  I did a lot of hand topstitching here because I could.  I let this project drag out over about 3 days, though it's really about a 3-hour effort.  I totally panicked halfway through worrying that it would have too much body, but in the end I'm happy with it.  I do notice that the hem of both of these pulls up a bit, as it's not my strength to hand sew hems with the lengths matching properly. 

I loved both of these in theory and was happy with how they came out, but I really delayed getting snaps, so they sat around for quite awhile.  I wanted snaps from Alabama Chanin but couldn't handle the shipping cost, and then finally bought some locally and then I moved house and didn't have my stuff in any order for months...and then it was summer.  So only as I have started to clean up my winter plans did I sit down and apply the snaps and think about whether these will get worn...and well, a friend likes the pink one but I think the black one is off to go out of my sight.  I was at one of the local secondhand shops and the racks were nearly bare (seriously, only in Gizzy) so I pretty much feel like it's my duty to share the things I make and don't need!
 
I, nontheless, really want to do a long sleeved long version of this coat in 2 layers of interlock knit, in true Alabama Chanin style.  I think the short sleeves feel useless to me, the body of the pink version is too much, etc. Long and funereal, that's where it's at: it fulfills some dream of being a grunge princess that I didn't know I had.  This aesthetic of mine has been evolving in the past few months and it seems the rest of the world is with me, have docs come back into fashion?