Tuesday, 9 February 2021

DP Studio: le 001 Hoodie review

 In the middle of winter I decided to make this hoody.

I went with the smallest size, 36.  I actually planned really hard on this, to get a mix of fabrics that I envisioned in my head.  However that turned it into a challenging project because the different weights of the media caused some drama.  And in fact, I started to move house, and this went into a corner for six months.  Here we are midsummer and it's done!!

The fabrics are from The Fabric Store.  They are a heavyweight liberty sweatshirting, some lightweight black rayon knit and some black sweatshirt knit which is so cuddly.  In retrospect?  I should have done the whole thing in the cozy sweatshirt stuff.  Lesson learned.  I actually Really Do Not Like the Liberty.  It has a weird cardboardy feel, doesn't stretch much, and the design actually bothers me.  Obviously things can seem great in the shop and just not so great at home, c'est la vie.  

There are various tricks with this - in the beginning the pieces aren't obvious because of their strange shape.  You have to pay attention to which side of the sleeve is what, but once a few pieces are together it isn't too complicated.  I had trouble at the three way intersection of the body, the sort of hidden pocket, which is under the body, and the side piece.  That's partly because the weight of my fabrics was so different.  There were little holes I had to go and overlock shut after the fact.  I recommend using a stable sweatshirting fabric for this to make it easy to sew.  I also double layered the hood because I was using a really lightweight fabric.  I used self fabric bindings and they were insanely floppy.  I think I understand now that the instructions provide you a really long binding piece for you to put elastic into.  I bought some actual rib, and I think my piece was 2/3 of the length of the pattern piece to get enough actual pull in of the sweatshirt.  


The instructions are good enough, but they are not excessive.  It's not a difficult project overall but I do recommend working through it slowly due to the unique construction.  I don't recommend very loose or floppy fabrics since it's already a very loose and floppy thing.  

In the end I'm happy it's done, and I actually really like the concept.  I think to make this work I would need to use a single colour and keep it simple.  I will probably source some cuddly, easy to work with sweatshirting to do it for next winter.

Monday, 8 February 2021

Elbe Textiles Staley top, variations & review

I bought this pattern awhile ago and had an idea that it was a heavy sweatshirt pattern, which it is not.  I liked it ok but didn't feel much imperative to sew it.  I even printed it out and set it on my pile of to-do-soon but it didn't make the cut for my tshirt binge a few months ago.  (Too many pages, ugh, pdf patterns.) 

Like many patterns now, with so many sizes nested you will invariably have a lot of paper wastage if you cut a small size.  I don't see a great way to fix this, as everyone benefits from a few nested sizes in order to have flexibility - so clumping sizes in units of a few sizes (like Style Arc does) would solve the problem a bit, but would make people sad who are on the limit of one nest unit.

I cut a B.  I initially made view A with no changes, and view B with 3" shortening.  I shortened 1" at the upper lines, and 2" at the lower lines.  I am 5'4".

View A is in a stretchy and ridiculous gold lame stuff from Emma one Sock (still available!) It was fabric meant for a dress, but the dress pattern was from an op shop and it didn't contain all the pieces.  Also very sadly my life doesn't really have a need for gold dresses.  The fabric has a great drape and was easy to work with.  I did actually read the instructions before I made this, and the interesting prep for the side slits is fun and novel.  When I got to application of the hems, I was suspicious.  You do a lot of things that seem like they belong to woven fabrics.  Worth the effort?? Sewing in the ditch? Gahhhhh.  I mostly did what it said for the front to test out the clean finish, but I didn't sew in the ditch.  On the back hem I ditched the effort and, after sewing the sides of my binding and flipping it right side out, I just overlocked it to the hem.  The disadvantage: overlocker ears on the edges.  The advantage: fast and easy.  It's in the back, so I don't notice it, and thought that seems totally worth it compared to the drama of trying to sew knits in the ditch.  


View B: hm very short oops.  In a linen knit which is a bit sticky to work with but has a good drape.


I loved these immediately and wore them immediately and so I set forth to make a second set. 

View A: flowers from Guthrie & Ghani that I loved enough to pay the postage. It is a tencel rayon sort of knit, very drapey.  It has since sold out. And in fact I bought it planning to make this very top.  This time 1" shortening.  I shortened the sleeves 1" as well, they are very very long otherwise.  I used the quick and dirty hem method and now I am a bit contrite.  You know, that clean finish?  Maybe worth it.  Overlocker ears?  A bit annoying.  Ok you choose.  


View B: stripey stuff from Miss Maude.  This time only shortened 1", at the upper line.  I think this is a good compromise length on both of them. Maybe I'll shorten the tee one more inch, but I think on view A I'm happy. The side slits make view A more flexible too so even the long version doesn't seem long. 

 I also read the instructions for view B this time and did my hem coverstitching before I sewed the sides together.  I am still not really comfortable with the coverstitch machine, and doing all the pieces on the flat definitely is easier than stitching in the round.  I guess reading the instructions can be good that way...


Taking photos at 6 am = very good light.  Also in evidence, my dubious new/secondhand jeans from R13.  I have strange strange obsessions and R13 is one of them, but this particular pair seem to be too big.  Lesson learned...I'm about to copy an R13 jacket and one of their silk dress designs. 

I am really happy with this pattern, and it's nice to discover a new tshirt pattern I'm so enthusiastic about.  It has some of the nice features of the Briar, a good fit, two interesting options...I will probably finally commit and use this pattern for some designer fabric I've been hoarding.  Probably.

Saturday, 30 January 2021

Style Arc Shaza jersey pants review

Holy Crud what is going on here!? 


Well I started out thinking it would be neat to try an actual harem style dropped waist pant, instead of the hacked Anima pants I made last year (here - and actually one of my top 5 makes of 2020). 

I went with size 8.

The pattern is very simple, only two pieces and a waistband.  You have to cut them out flat instead of with the fabric folded, which on my oddly sticky rayon-linen knit was kind of a pain (or maybe it was the heat, ugh, so hot right now.) But backing up - the pdf was easy to put together, and I think I chose the correct size. To the best of my recollection, size 8 in StyleArc consistently is the correct one for me, although I'm not sure I've ever had great success with the patterns because of fit problems. 

The fabric is from Backstreet Bargains, and as I bought it to specifically make these, I actually did buy enough yardage. (I'm allergic to buying over 1.5 meters of anything, arg!!) It was cheap, and linen, yay!

The instructions are sparse (they always are with Style Arc). I didn't realise the pleats should be done with the wrong side up, so my pleats might be reversed, oh well.  And I think the waistband instructions are ridiculous - the technique listed is to fold the waistband, insert the elastic into it, baste it shut...and THEN sew the crimped up thing onto your massive pleated waist.  No thanks.  I sewed the waistband on sans elastic, leaving a gap in the back, inserted my elastic in standard fashion, and then sewed it shut. 

Also of note, the SA is 1/4" so my notches were too deep. They left holes along the waist that I had to fix later. 


Though these are not terribly unflattering, I have two major problems here. 

The pockets are created by sewing a line from the top down between the pocket part of the pants and the waist part of the pants, and voila, a pocket flaps forward, which you then sew towards the front. There is no such line at the bottom of the pocket, which means that it's just another pleat among pleats until you go looking for it.  Once you find it, the pocket seems very shallow because nothing is forcing it to stay fully flapped right side out against your thigh. My sticky fabric might be making this worse, though it is linen, and does drape nicely.

The other issue is of course everything happening below the knee.  Really I'd call these pants a success if they didn't narrow so much, but this is ridiculous - about the knee, they suddenly become leggings.  Like, absolutely leggings.  Way too long, too.  It's a fabric hungry pattern and I could have saved a lot of fabric by cutting off the bottom 4", which are all hunched together down there.  But better yet, I'll probably cut them off below the knee because I think the legging bit is horrible.  

Saved! But not for repeating as is. Beware the calf tightness, and widen appropriately. Pockets: hm.  Maybe better when objects are in them.

Wednesday, 27 January 2021

Summer Fling dress review by Sew This Pattern

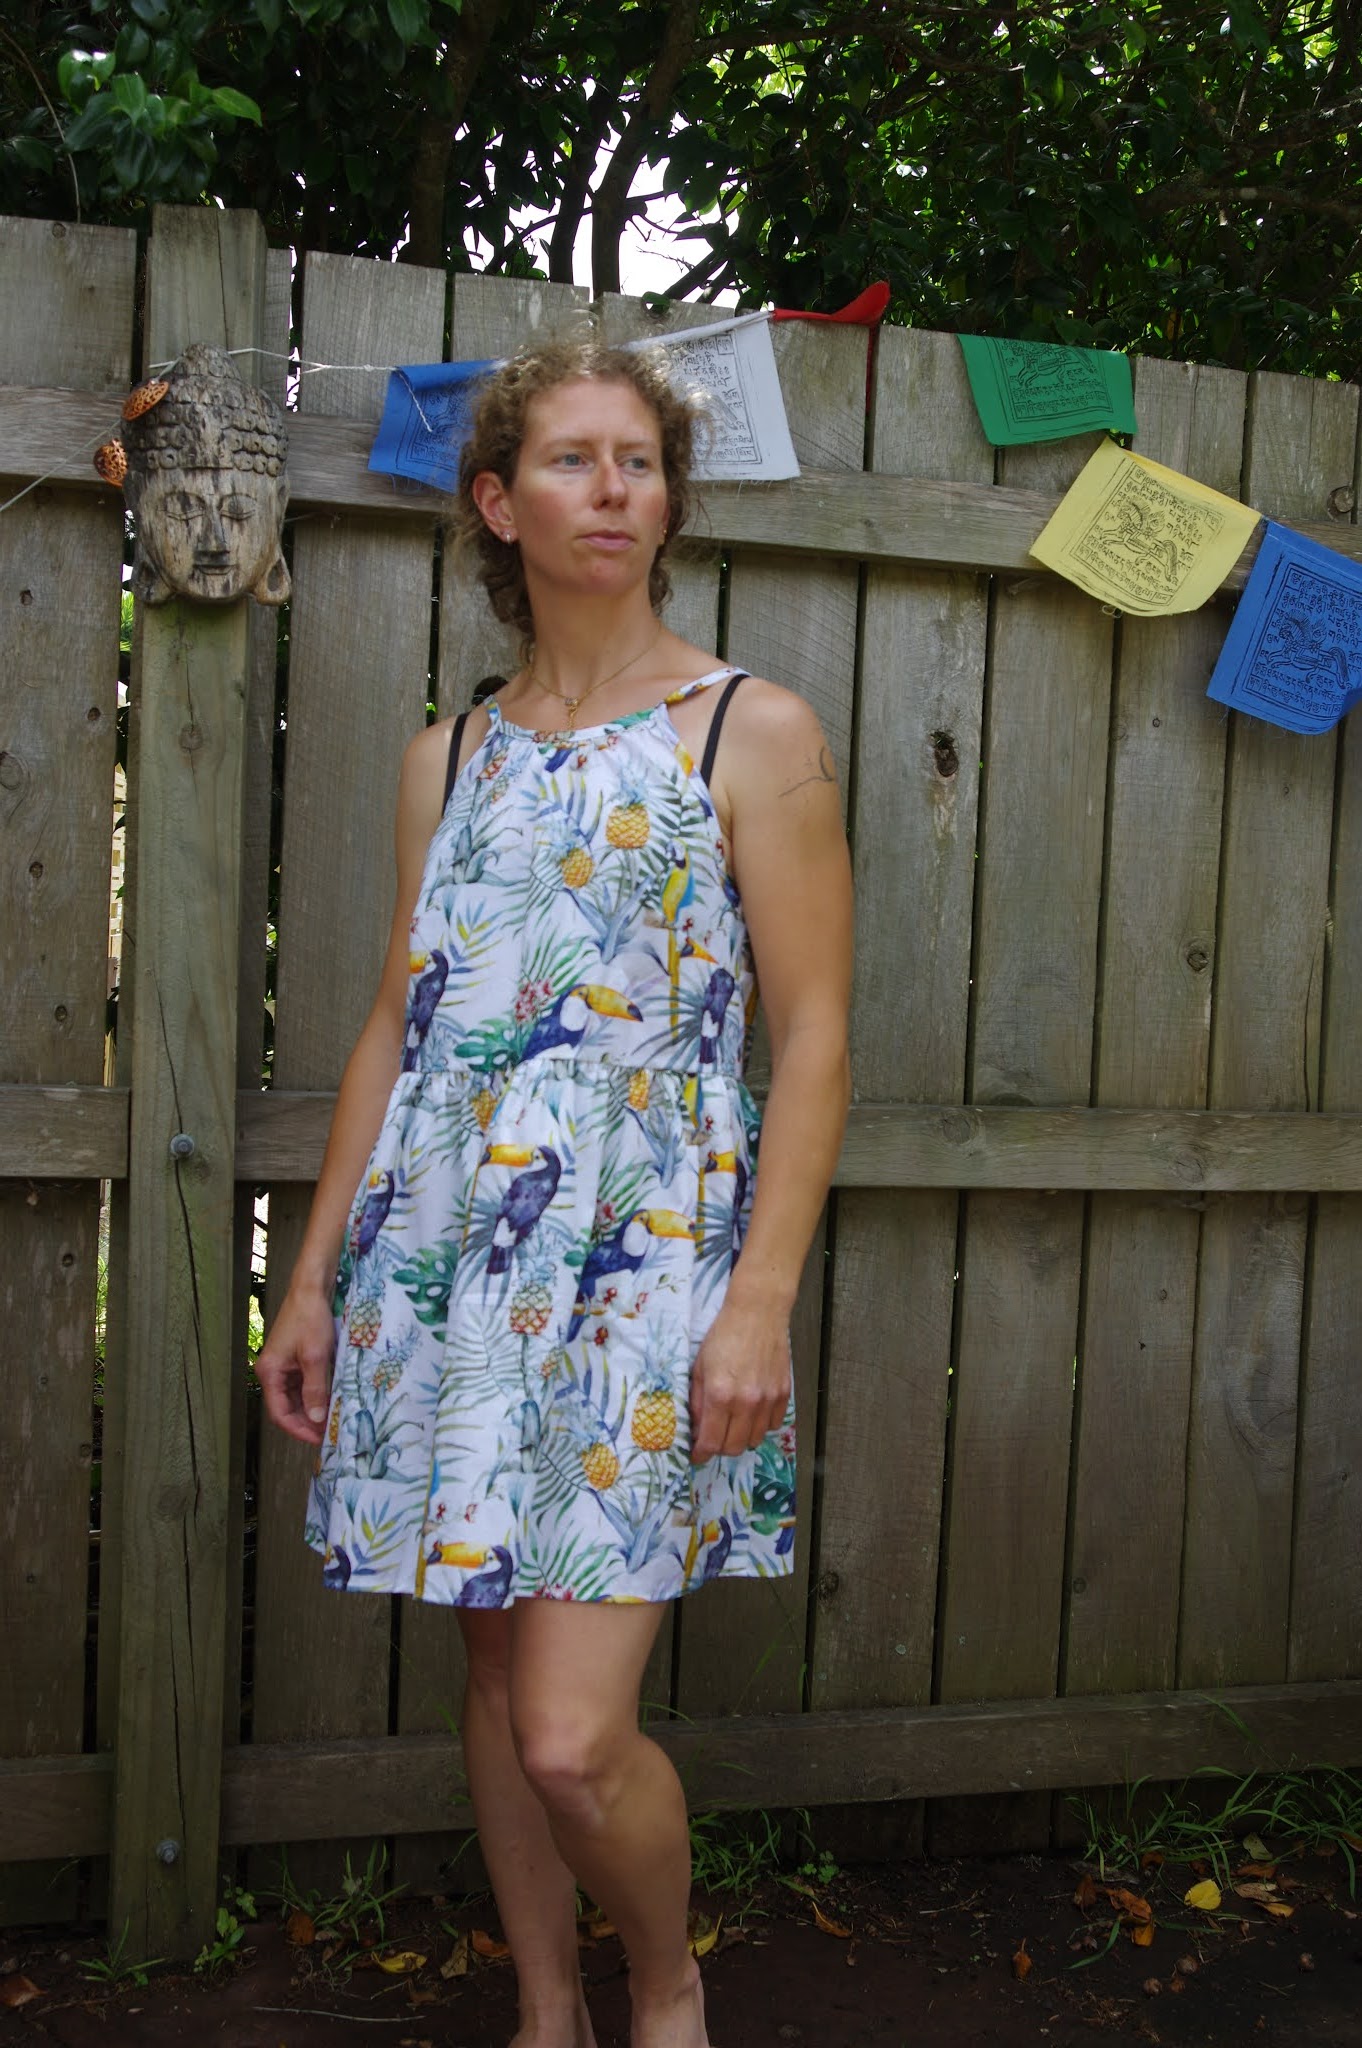
Multi-tier dresses for summer! Yes! Gathers forever! Yes! Low cut back! ...hm. 

I saw a dress in a shop that inspired this dress with its modifications.  The dress in the shop was made with something like 6 metres of Liberty lawn, and cost a hot $700 (very heavy too!)  It had a low cut U back gathered into the bias binding - a thing I didn't even think was possible until I saw it.  

This is the Summer Fling top pattern, with dress expansion, by Sew This Pattern (a company I had never heard of before.)  When I discovered this pattern I thought it would be hackable into a nice version of what I'd seen - a bit less on the fabric use front, but also far more doable and not 10 kg!  I decided not to make a muslin of the original pattern, because I have an aversion to ties.  I cut size 8 based on my measurements, but I think the 6 might have been better. There's a huge amount of ease in this dress creating quite a lot of tenting, as well as a wide cut armscye, and the smaller size would have given a touch more coverage.  As it is I wear a normal bra and it's only visible a little bit on the side front.

To create the U back I basically lowered the curve on the back piece which is meant to go under the tie, and then just extended it into what I envisioned as the U shape, with the bias of the back and armscye  meeting almost at the same spot as in the original.  I was interested in lowering the triangle formed by the bias and the back bodice too but I wanted to keep the bias tape that goes over the shoulders at the same spot rather than changing too much at once.  I cut a little bit off that back triangle, but I ended up attaching the bias without changes - one of the reasons the dress may pull a bit more forward than it should.  I did a lot of pinning of bias and testing before I sewed it together.

I didn't have enough fabric for the bottom tier so this dress is pretty short! I did add pockets, using the Bardon dress pocket piece, which is huge - so this has massive pockets that are barely shorter than the whole dress.  

 The bias taping and gathered front were super straightforward, and this was a really fun and exciting make.  The final effect is absolutely wearable, and in fact I've been wearing it heaps.  The pockets are so big it's like a purse, it's short enough to wear on my bike, and it's possible I've ever worn it skateboarding...


The remaining issues are that the front pulls forward slightly.  The balance of the dress probably should be about 1 cm further back - something I knew I was mucking with, and that I wouldn't be able to judge with my first attempt.  The second part of that is that the bias edge of the neck creates a funny hump because it's designed to pull in around the back of the neck, not come out into a wide curved back.  In order to fix that I could give up on the perfection of my vision and do a X back version next.  The other alternative would be to use the bias piece from the front neck to continue as the straps, instead of the armscye piece.  I'm also going to take 1" from the side seam of the back and the back skirts, to see if that helps bring the dress further back and in to my body.  I will have enough fabric for the next version to have the full length skirt, which might also help with more weight to pull the dress into a better balance.  On the whole I'm really pleased with this make. 

Tuesday, 26 January 2021

Elizabeth Suzann Clyde pants review

I acquired the pattern for the Clyde pants along with various other Elizabeth Suzann patterns around the start of lockdown, when she was requesting people make donations in exchange for the patterns.  They are no longer available, but will eventually be back up on her website in some form.  

  I made these in size 4 short, going by the size chart on the pattern pieces.  

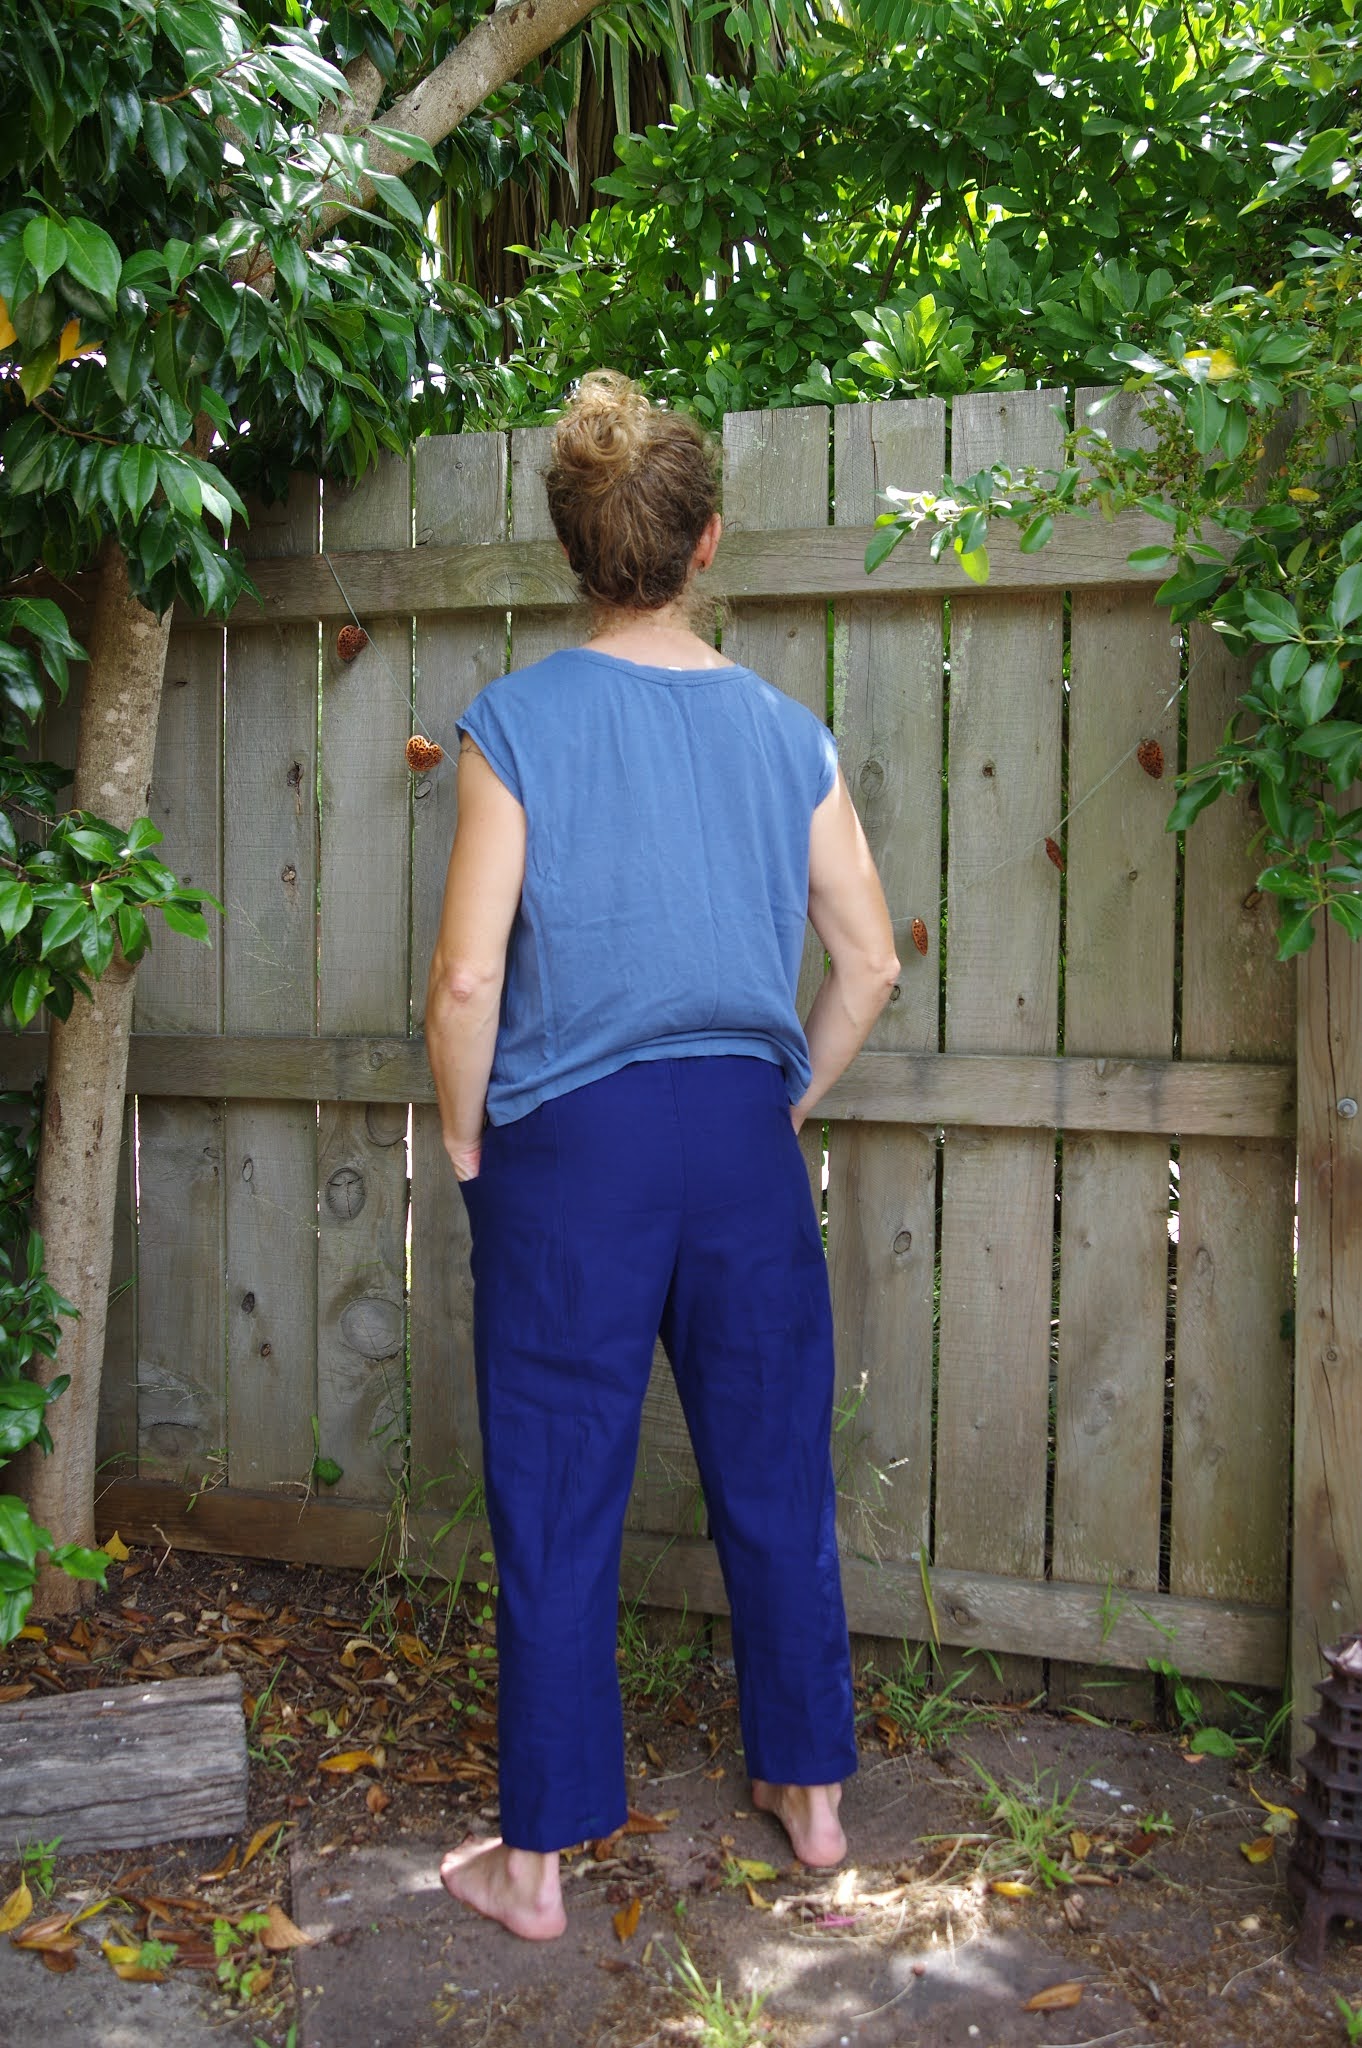
Fabric is an upcycled duvet cover made of a linen rayon blend. (I match my curtain!)

This pattern is remarkably similar to the Arenite pants and to the Papercut palisade pants. 

The Arenite have more fabric gathering to the waist and don't have a narrow version for sale (just instructions on how to make one) and the Papercut pattern has a shockingly high waist and shallower pockets.  However, the construction on this type of trouser is identical.  There are a few tutorials on Instagram as well, but I didn't need them. 


Well above my belly button here.  But a much nicer fit in the crotch.


I put these on and was severely lukewarm.  MEH. 

I did kind of doubt whether I had correctly identified the front once I put them on.  These pants have a lot of extra fabric in the crotch.  Though I experimented for my photos and if I pull the saggy crotch all the way up to my crotch, it goes away.  If I do that, the waist is about 3 cm above my belly button.  Could these be improved by a shortening of the rise? Would that be easy?  Or would I also benefit from a taper of the front waist angle?  I have a lot of stretch sateen fabric.  Not sure I'm inspired yet.  I find it fascinating lately to see how much I benefit from my photos - I don't love taking them but they really help me to understand what I enjoy wearing and what sits well on my body. 

I am also kind of annoyed lately that nothing has a good butt fit.  I'm sort of tired of seeing myself in mirrors out and about with this saggy butt because of my pants.  

End story: people love these, great if you don't have a short rise and do love a high waist, easy to make, but I am not yet sold. 


Sew Liberated Hinterland x 2 and review

 I had successfully made a muslin. (here.) 

I had planned to stop there if I didn't like the dress.  But the fit was really good, so I decided I might as well forge ahead. I used the same size 2 as before, but used the front placket this time.  This is a piece of Liberty tana lawn that is very precious to me, but I'm tired of having a stash of precious fabric so I've been planning my way through it. 


This dress may look ok on me but I felt kind of stupid in it.  The sleeves are a little bit tight, and I'm not sure if I've ended up with a tighter fit than on my muslin - for the muslin I widened the front to make up for the absence of a placket. 

However, I had had a vision and I was determined to see it through. Said vision including white loomed silk from Nepal and a full front placket.  I thought I would maybe like this dress more if I could wear it over other dresses and partly open.  I also committed to the method used in the instructions for the bias band at the neckline.  It's different than I've done before, including 1/4" seams which made me very wary, but to my surprise I ADORE the end result.  I have already used it elsewhere.  I french seamed everything except the sleeves and side seams - I have not yet bothered to learn how to french seam pocketed seams, though I believe Carolyn has a tutorial on her blog. 

I added a bit of additional width in the back piece to make it less tight, and I sewed the sleeves with small seam allowances.  For some reason my sewing machine has behaved and sewn all the buttonholes without catastrophe.  Probably it only hates jackets.  I went for mismatched buttons to make the look a bit more interesting.  


Vision notwithstanding I feel stupid in this dress.  We can sew and sew but it takes something extra to figure out what you actually like to wear.  My instinct on hinterland was a solid NO and only after years was I somehow convinced to give it a try.  The fit is good.  If I wanted to make it and love it I think the two possibilities are: sleeveless.  Always more versatile.  And shorter, to wear over pants.  Maybe in linen.  I've already sent the Liberty dress to a friend (actually with the assumption that she will wear it hiking haha) and I suppose I'll keep the white one around to see what I do with it and if I feel less stupid in it at any point, but I think it's been a reminder that woven sleeved dresses and I seldom suit - or maybe I should aim for very oversized?  Always some food for thought for later.