Tuesday, 10 September 2019

Papercut Palisade pants in jacquard

Each Papercut collection is really a joy to see.  I love the aesthetic and the development of the designer's style.  I also generally like the simplicity of the patterns. The newest collection, Geo, was no exception. I kind of wanted to make everything, but I kind of wasn't sure what I actually was going to like...I've made the Fjord cardi, and I've made the Pinnacle top, so here we are at the Palisade pants.

I noticed that a lot of people went crazy trying to fit these pants. I was actually going the way of the muslin and then for some reason I decided to get this slippery black jacquard fabric and dive in, and seriously just make one good pair.  I was working on these while on night shifts, and so it took days because I couldn't trust myself to do anything the least bit complex.

I chose size XS, which matches my measurements.
I thought about trying to make some adjustments, like shortening the crotch, but I didn't.  The result is that the waist of these seriously has a relationship with my ribs.  These are NOT hip huggers.  I'm ok with it for now but I'd definitely shorten them between the hips and the waist about 2" on future pairs.  The waistband elastic measurement was spot on for me, I could maybe do with it a touch looser, but I'm sure time will loosen it.  I found the casing to be about 1 cm too big for my elastic and so I wonder if I got the wrong size, but I didn't much care. 

I think others have noted - you get the buildup of lots of layers at the pocket area, so it's worth considering if your fabric will get too thick in that area.  I do find the pockets are in an odd location for me, so if I want to put anything in them it will be right over my hips, which is annoying.  Maybe if they are higher, when I shorten them, that won't be a problem anymore.


With my 31" inseam these just about hit the ground.  The fit is very good other than the super high waist.  They don't do anything special. The fabric is pretty heavy and was a fantastic match for the pattern. The pattern was easy to understand and put together and I never got confused or irritated by it.  Because of the high waist they look really classy! 

Summary: fun to make, neat pockets, not particularly flattering, not particularly unflattering...they were fun!  I'm glad to have them!  But I won't make them again for awhile.  Maybe in a few months I'll do up a capri version.

Friday, 6 September 2019

Persephone by Anna Allen, version no. 3

My beautiful green Persephone pants shredded in the wash. It turns out that the velvet wasn't so strong and the stitching at the waist couldn't hold it together.  It wasn't going to be easy to repair so in the meantime I have them in a corner awaiting some upcycling-brainstorm.  (A delicate jacket, methinks.)  So I had to make more.

Also because yet again I just don't seem to understand the concept of heavyweight duck fabric, I made some Persephone pants out of a wool woven.  It is somewhat heavier than all my previous Persephones, so I'm getting there!  Also this time I made the big leap and sized down from a 4 to a 0.  Spoiler: I think a 2 would have been a better choice.  Live and learn.

I'm pretty good at making these by now.  I made them on a Sewing Day with my friend Tessa when I was over in Hamilton visiting the nice places I used to live.  I used my size 4 pattern to adjust the crotch height, the total decrease was about 1", above the level of the hips.  I could use even more of a decrease.  In fact, when I make these again at some far away point in the future, I should do the size 2 and I should remove another cm off the top of the pants. Then the waist would be a bit bigger, and that would be nice.  I'm 5'4" and seem to be about 27" waist and 37" hips.  I'm somehow very short everywhere.  My torso is short and my pelvis is short.  I'm beginning to think I need to shorten all pants patterns below the waist, the way I'd usually shorten a tshirt above the waist. 

As it is, the effect is sort of that I have been poured into these.


Sadly even though I'm reunited with my beloved Pfaff, I am not doing good buttonholes.  I had a lot of trouble on the main buttonhole, though the small ones went ok, and I think from now on I'm going to just do them manually.  That is in the instructions in the Dawn Jeans (which I'm currently making) and it would save me a lot of drama. 

There is a huge tummy tuck happening in the front, it's like all my guts are sucked in by the tight pants, but it is rather too much.  I am giving these to a friend because they are too tight for comfort!

Thursday, 5 September 2019

Ogden cami by True Bias

I'm seeing the light at the end of the UFO tunnel. It is however not as fun to make all these UFOs because I'm dreaming of projects that I'm a lot more excited about and I can't touch them!

This UFO was cut out in 2017 and is the same washed silk that I used to make my first Arenite pants.  I reckoned that the boring colour would translate into a totally useful basic. I then participated in the Ogden & Ida swap and after making one Ogden cami I couldn't handle making a second one.  For no reason, I HATED the process of making it.

A friend has recently told me she adores this shape for summer tops more than anything. She's just moved to the UK - somewhat unwillingly - and as a consolation I plan to make her a few so I guess I have to get over it.  (This one's earmarked for her to test the fit.)

This is a size 4.

My pieces were not stay stitched prior to packing and shipping, so after a good iron I have no idea whether they've stretched out.  I went ahead and stay stitched now, better late than never...there was a little bit of stretching that I saw in the facing pieces but overall everything lies pretty flat.


Because of the past hate I didn't do anything like french seams.  I overlocked seams that might show - the body sides I overlocked together but the facing I did each side separately so it would lie flat.

It would be grand to say that I love this but I absolutely can't stand it.  I feel like the fit is not particularly flattering to me. It's a bit too narrow across my back, though the front is fine, and then it balloons out below the bust rather than skimming.  It pools in my back due to my swayback/muscled bottom.  I don't think it would take heaps of work to change these things but I didn't enjoy making it and so I don't plan to do that.  I do wear cami tops but I just can't get myself to love this one.  I'm really pleased to have a friend who wants it!


Verb for Keeping Warm Endless Summer tunic, round 2

When I got this textured dobby cotton fabric from Miss Matabi I knew I wanted to make this Verb tunic.  I thought the heavier weight of the fabric would make it into a dress or a great layering top.  I cut it out and then away it went into the black hole of travel!  I actually thought about it quite a bit in the intervening time and I was sad a few times not to have it.  So I expected it to be really amazing.

I made the smallest size.

This is pretty easy to put together and I used the overlocker a lot to get a nice finish.  The corners of the back yoke can be tricky to get lined up just right, but in general I think it's not something you see from very far away.

My previous version, here, was in cotton lawn and it was beautiful but so lightweight I just wasn't sure what to do with it.  I gave it to my cousin.


The pockets are a bit low for me, but the fit on this is otherwise good. I obviously didn't remember the bit about the pockets so as to fix it this time around. I think this is a nice way of using a pretty piece of cotton lawn for a summer top, but overall I'm not that convinced by it.  I passed it on to my sewing friend Tessa who is wider in the hips.  It looks great on her - might be better suited to people who are more full figured.


Tuesday, 30 July 2019

Tank top binge: Mission Maxi tank & Halfmoon Atelier Super Basic tank

Not heaps to tell here, but I hadn't presented the Super Basic tank before, so it's always nice to have a bit of comparison.

For the Mission tanks, my usual size 6 with the front straps shortened about 1".
I removed a generous 4-6" off the hem as well.
Previously I really loved this finish.
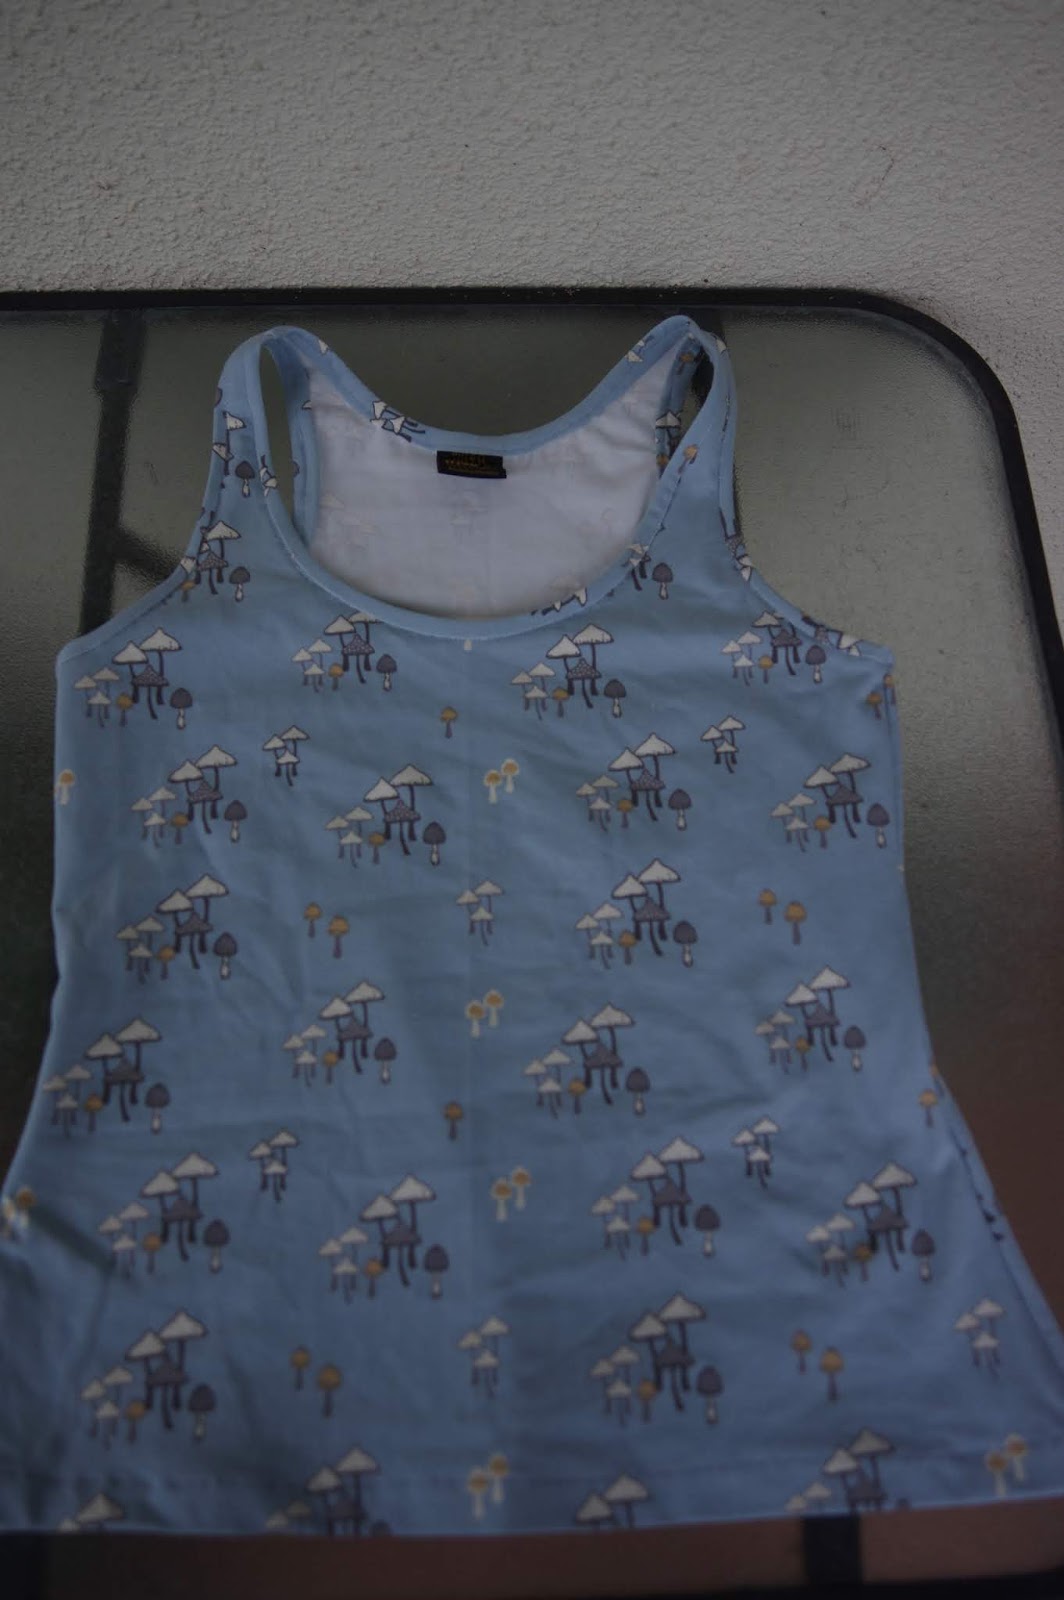
I think it works best on stable knits.  On the extremely floppy rib knit, I overlocked the binding edge prior to folding it over, and the result is that it splays outwards and I ended up doing two layers of topstitching to control it.  None of that happened with the mushroom top, which I did in the usual fashion without extra overlocking.


Yep that's a label pinched off an upcycled dress...

The two layers are thicker and overlap at the shoulder strap because of being overlocked. 


As for the Super Basic tank, I was a pattern tester so I'd already honed into the right fit. I cut a size 3.

I think I shortened the front strap a bit here too, as that's a usual fix for me.  I cut these out months ago and so I was puzzled what was the front and what was the back - they looked the same!  I had to try it on a few times before I chose an orientation. Next time I need to remember to mark the front or back to make it more obvious. My fabric is a super stretchy modal blend. I shortened the neck band about 4" (should have done more) and the arm bands about 3".


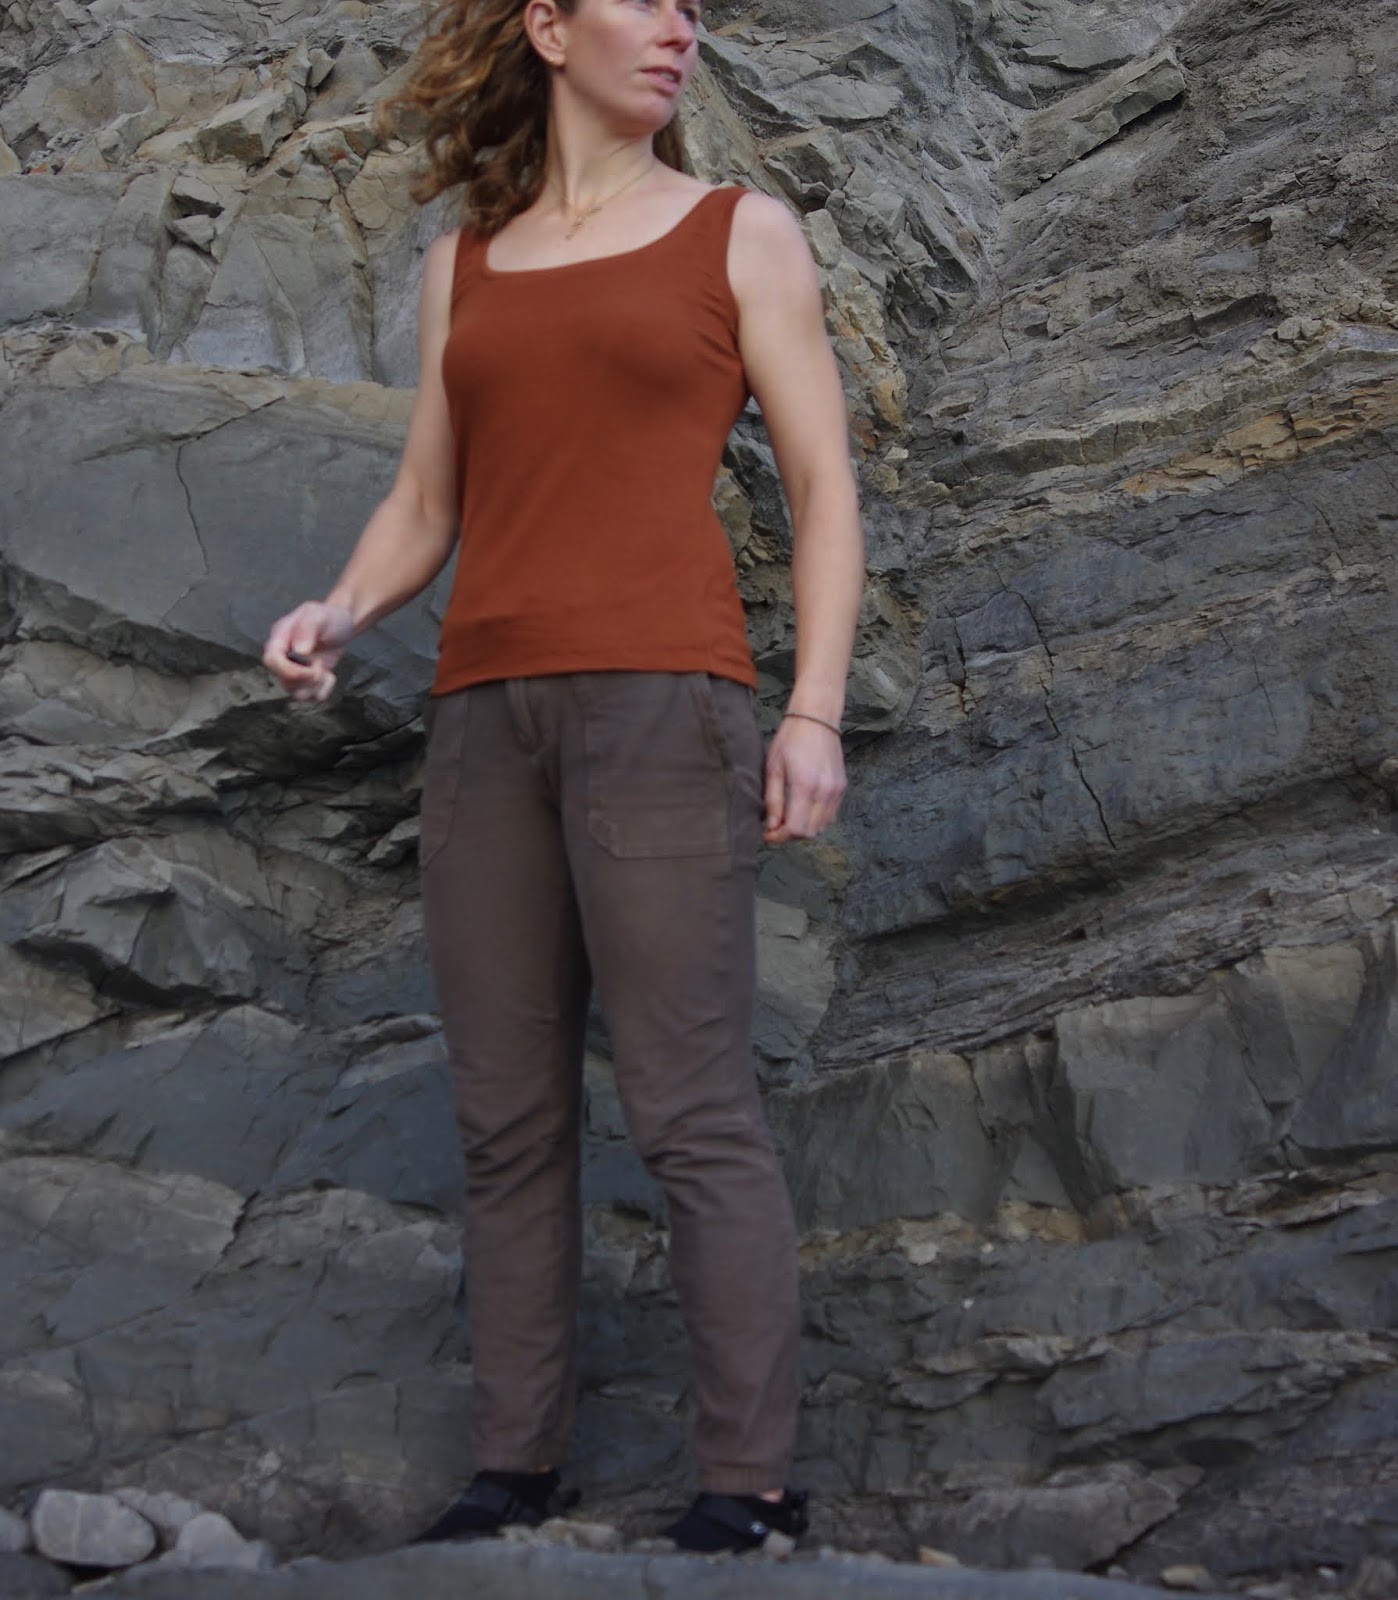
I was thinking that overall I find overlocking the edges of neckbands seems to make them bigger. I used to just do a zig zag on the sewing machine and that is a very controlling stitch that doesn't stretch the fabric out - my tees and tanks done in that way have survived since literally my first year of sewing!  Overlocking may feel like it beats RTW but that is just not always the case. With that thought in mind I did the terra cotta tank (another very floppy ribbed item) with a zig zag instead of trying to feed it through my emotional catastrophe of an overlocker.  (There will be a review eventually, but unlike the reviews that I read prior to purchasing, I find the Babylock Imagine to be more like the Babylock Don't Imagine.)


I shortened the bands a lot more on this since it really needs strong bands to make up for the stretchy and floppy fabric. On the Mission since the binding overlaps, it controls the edge really well but with a normal neck binding like this, you need to have enough tension or the whole top won't fit right. I didn't measure very scientifically, just pulled it around the top until I got a sense that I had reasonable tension.  I also tested out a new photo location but didn't quite calculate properly...all the photos with good light had my head cut off. You're welcome.